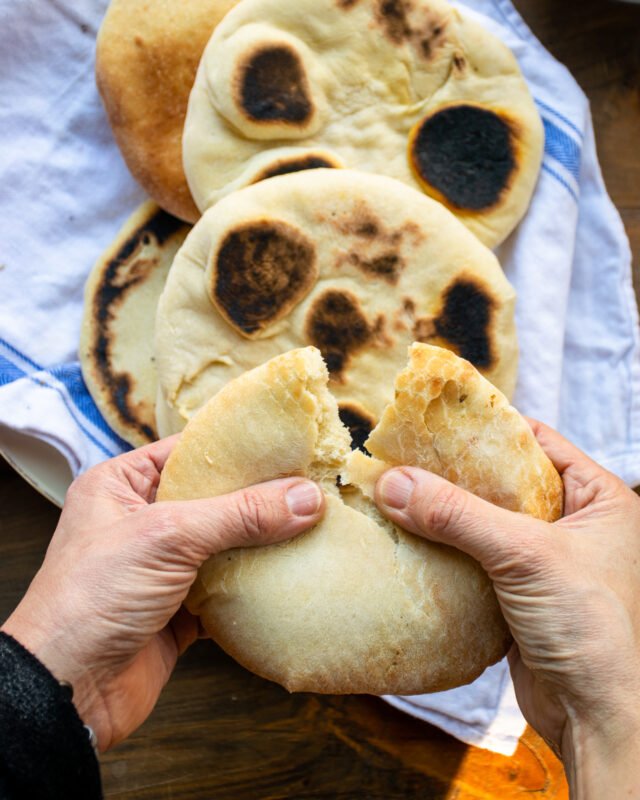
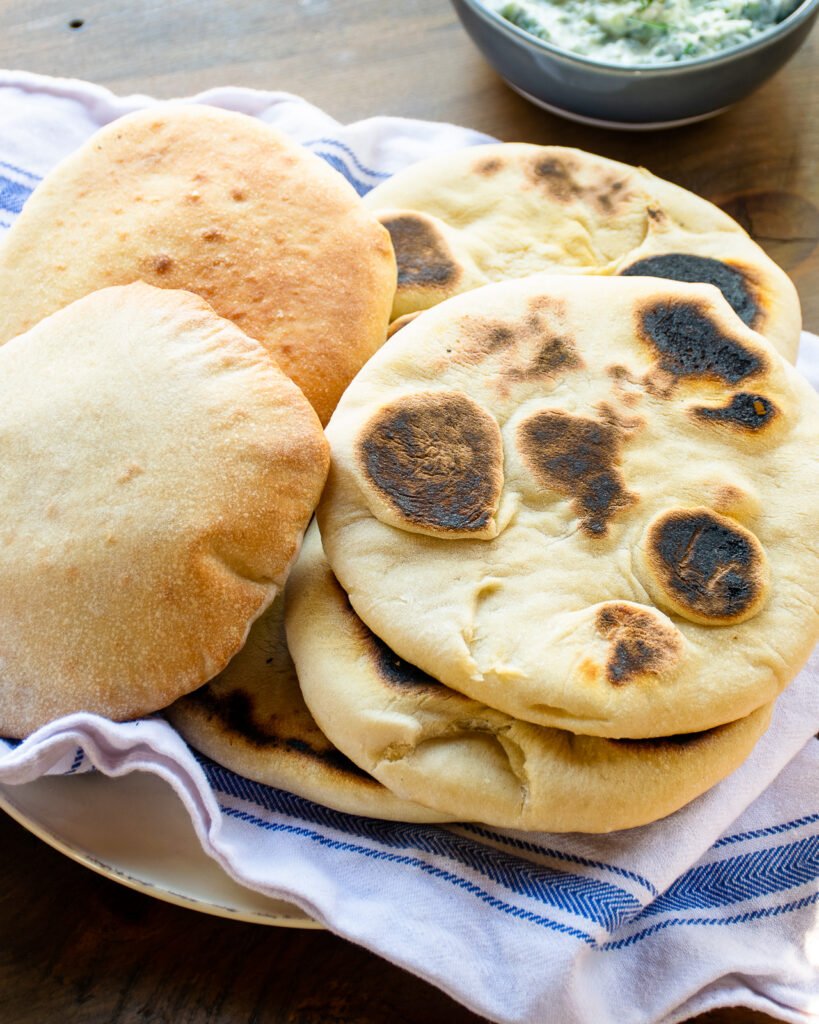
Homemade Pita Bread
Not all pita bread is made equal. This is a fact. While I have definitely bought different brands of pita bread in a grocery store or bakery, I rarely enjoy any of them as much as homemade pita bread. There are a few reasons for this. First of all, store-bought pita bread tends to be thin, drier and less pliable than homemade, which is no surprise since it has usually been sitting on a shelf for a few days. Depending on the brand, some store-bought pita breads seem to exist only as a vehicle for what you might put inside. Homemade pita bread, on the other hand, I could eat all by itself very happily.
How to Make Pita Bread
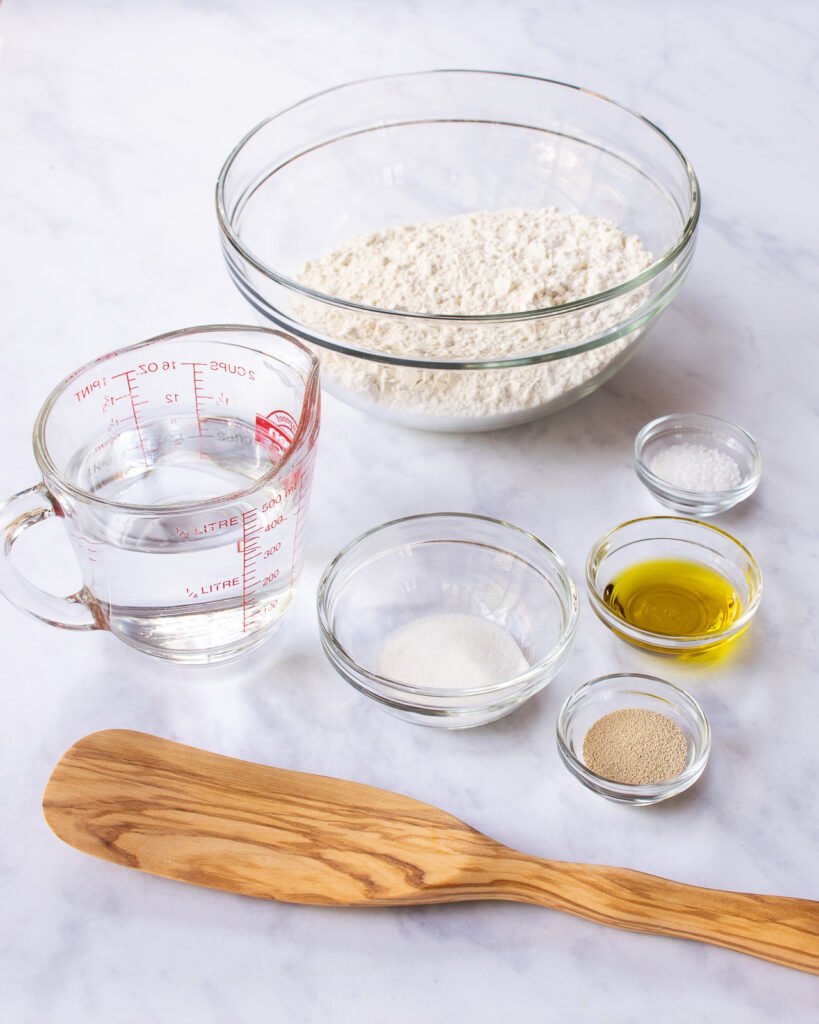
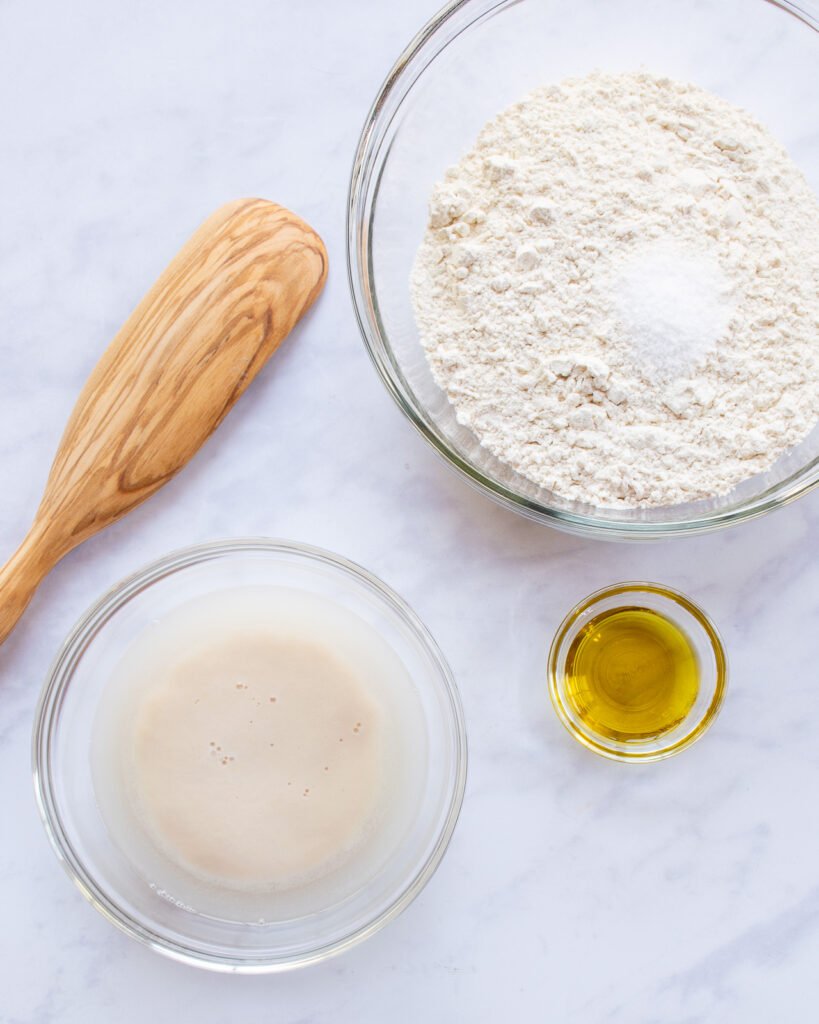
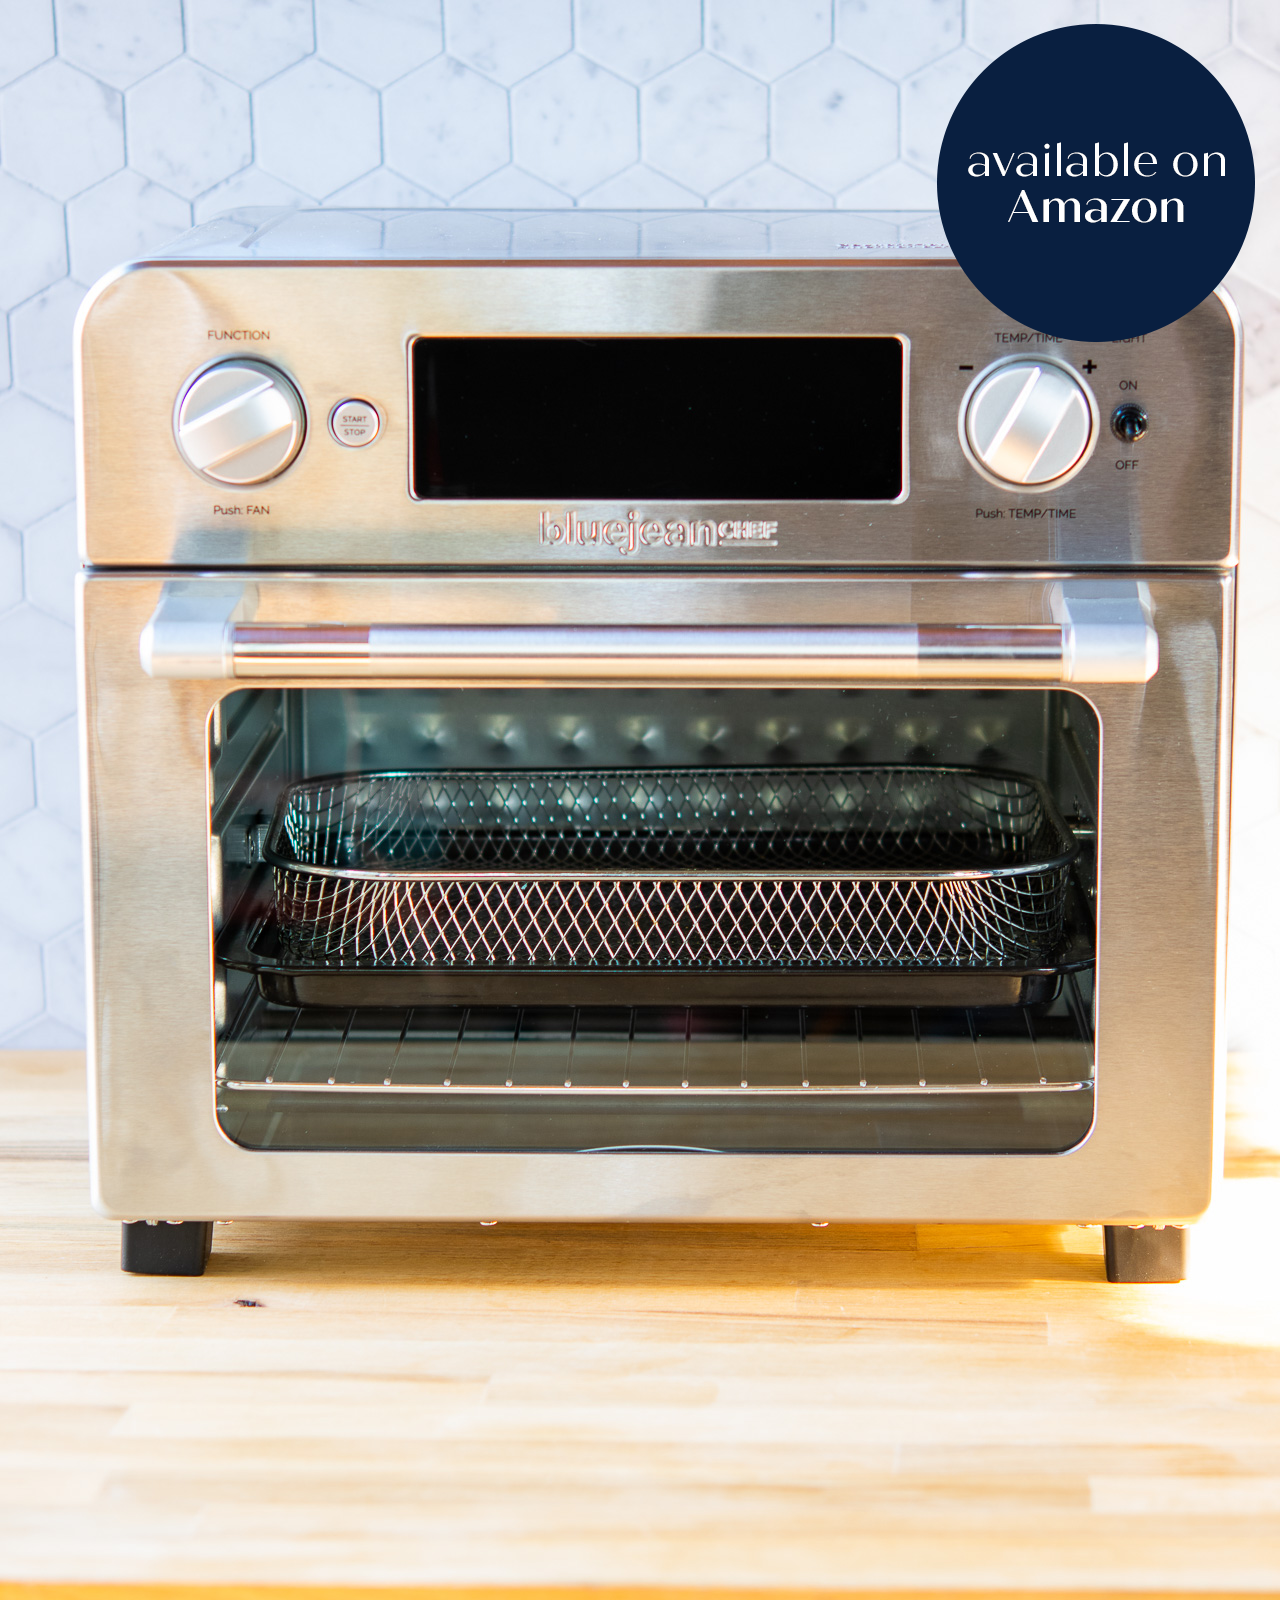
To be honest, making homemade pita bread is also a lot more enjoyable than buying it in a store too! It’s one bread recipe that gives you almost immediate gratification. You start with yeast (proofing it in warm water) and make a basic bread dough with flour, sugar, salt and olive oil. It takes a couple of hours to rise and then you roll it out and cook it either in your oven on a stone, steel or cast iron pan, on the stovetop in a cast iron pan or in your air fryer. That cooking part only takes a few minutes and before your eyes, you have pita bread!
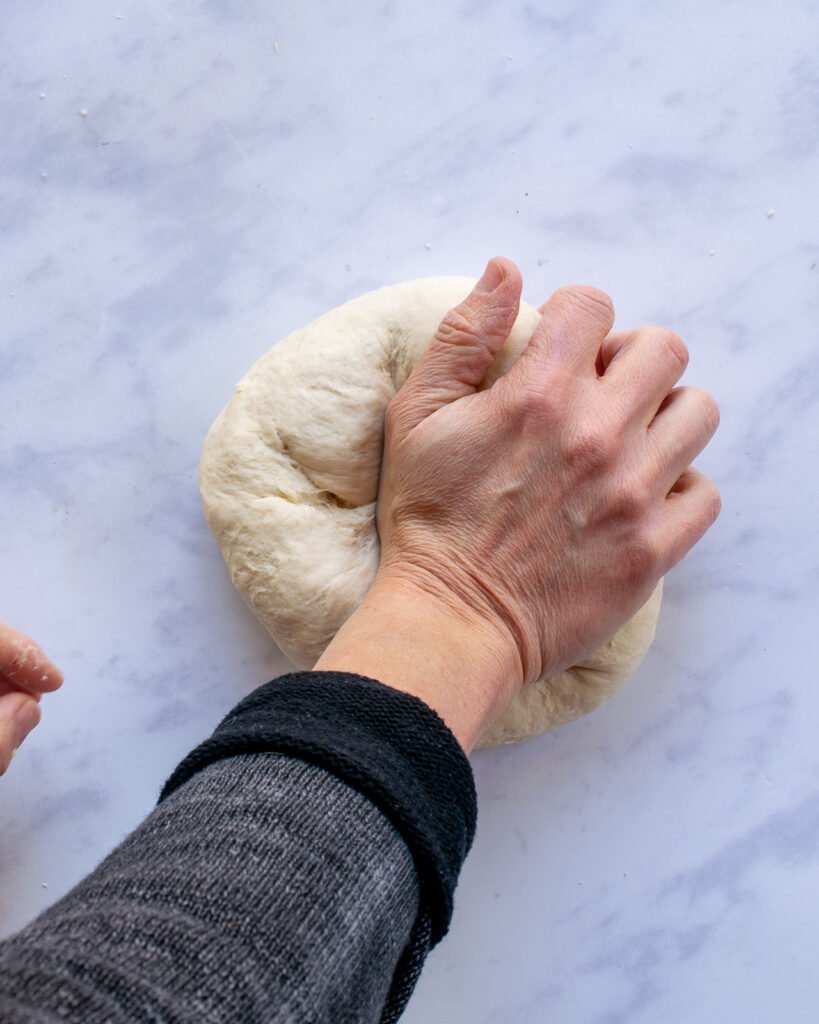
Kneading by Hand
I prefer to knead pita bread dough by hand because the dough is smaller in quantity and you get a better feel for when it has been kneaded enough. It will start out ragged, but as you knead, folding and pushing the dough over on itself, it will transform into a smooth pliable dough.
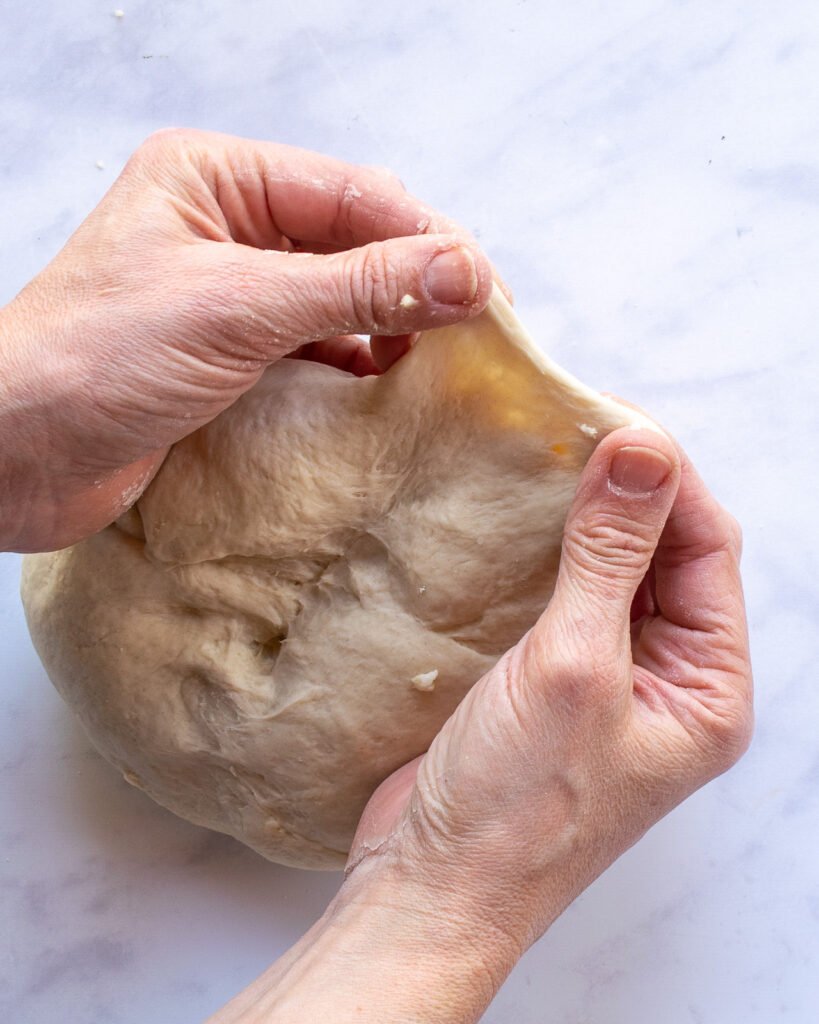
How to Tell You’ve Kneaded Enough
You’ll feel the difference happen underneath your hands, but one good way to check to see if you’ve kneaded the dough enough is to test the strength of its elasticity. To do that, pull a small part of the dough away from the ball gently and see how thin you can get the dough to stretch before it breaks. You should be able to see the light through the stretched dough.
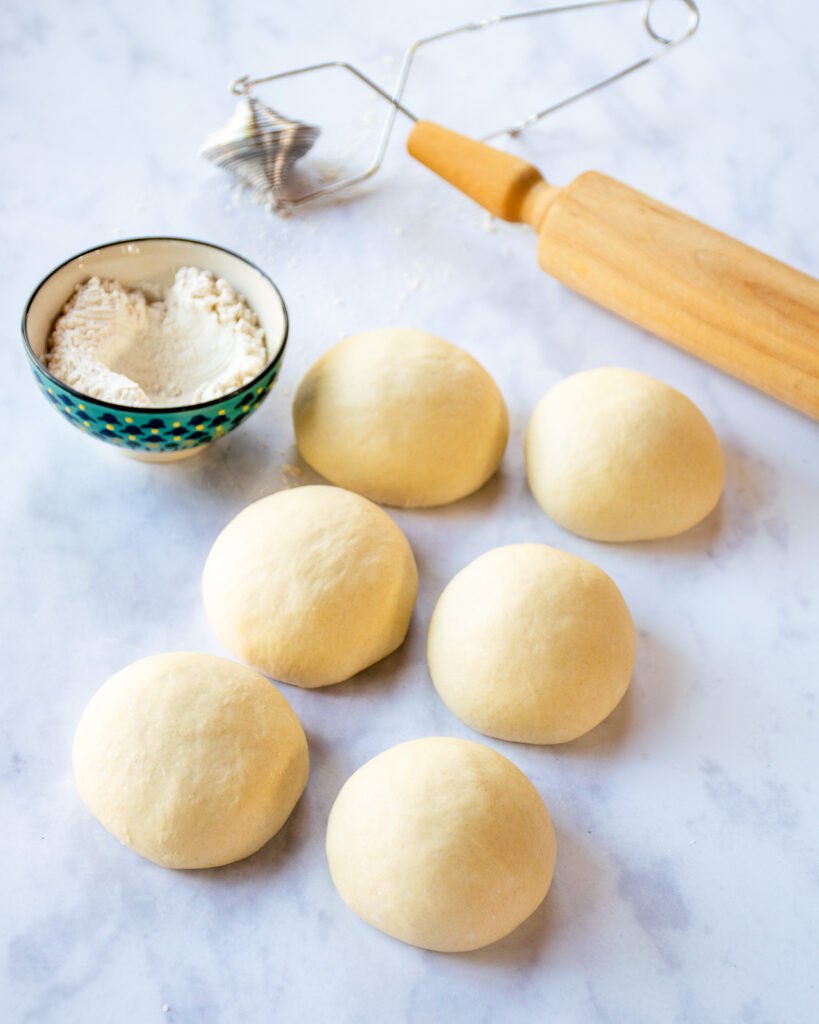
Let the Dough Rest
After kneading, the dough needs to sit, relax and rise for a couple of hours. It should double in bulk and when you poke it with your finger, you should see a fingerprint that rebounds ever so slightly. Then, you can divide your dough into 4 or 6 pieces, depending on how big you’d like your pita breads to be. Then, again… the dough needs to rest. Every time you touch and work the dough, it needs to rest so once you’ve shaped your portions into balls, take a break and let the dough do the same.
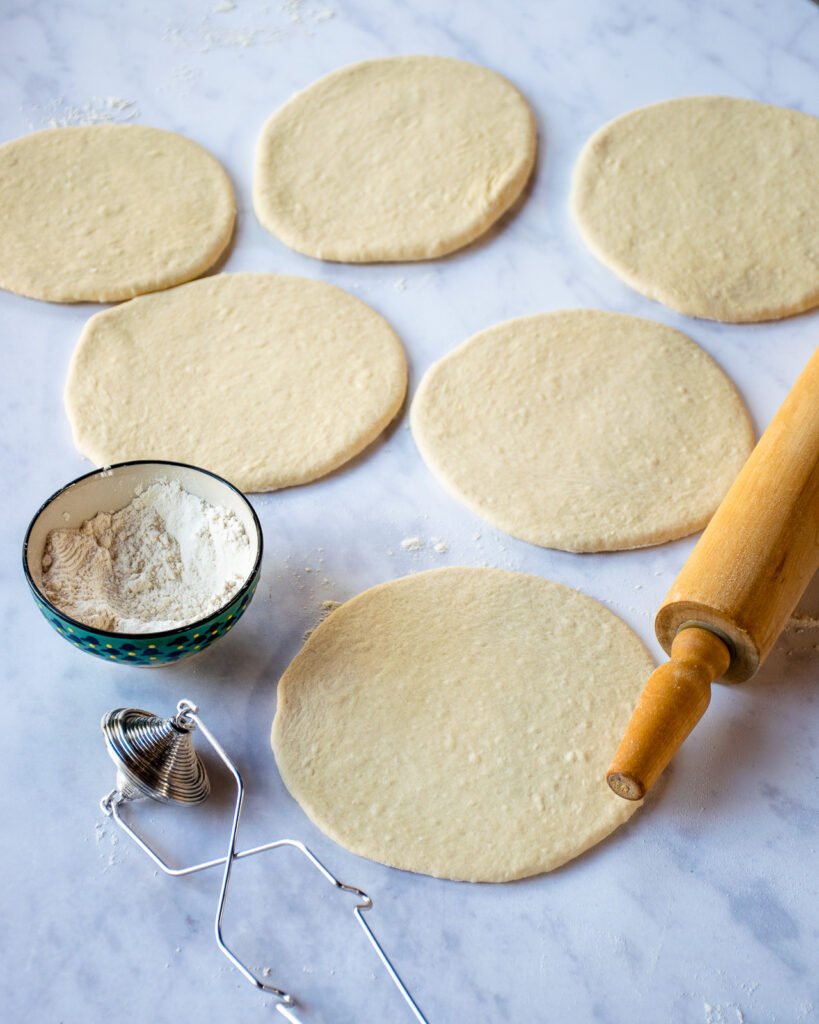
Roll out the Pita Bread
When you roll the pita bread balls out, be careful not to roll them too thin. About ¼- to 3/8-inch thick is good. If you roll them too thin, you won’t get a pocket inside. Roll the balls out while you pre-heat your oven, your air fryer or your cast iron pan.
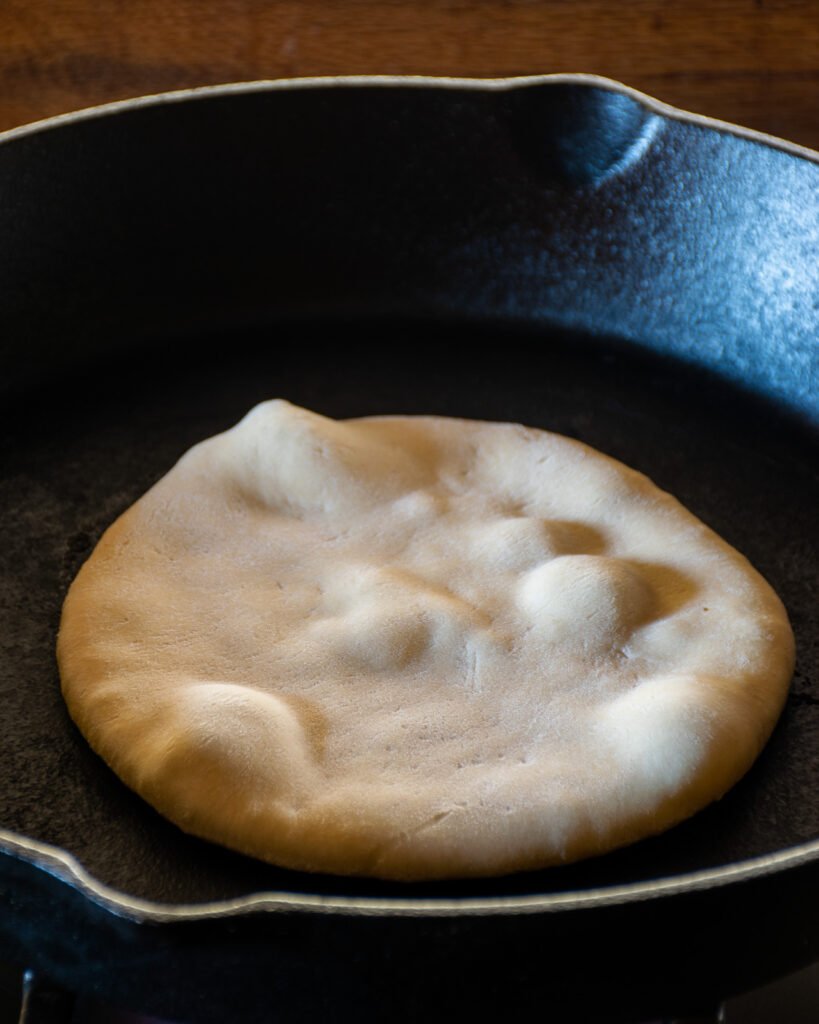
Stovetop Pita Bread
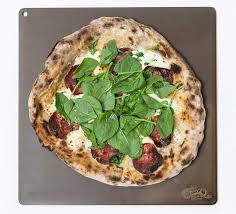
When you make pita bread on the stovetop, you’ll see the air pockets develop in the dough as it cooks, which is rather exciting. You may not get a full pocket when you cook the pita this way, but it will be delicious and tender. There’s no need for any oil or fat in the pan – that would just brown the bread too quickly. You may need to adjust the heat underneath the pan as you continue to cook the pita breads so that the pan doesn’t get too hot and cook too quickly. I like to use stovetop pita breads as flatbread bases (think: Peach, Prosciutto and Burrata Flatbread), or for scooping up delicious spreads like Tzatziki or an Edamame-Kale Dip, or as wraps for Chicken Shawarma or Chicken Gyros.

Air Fryer Pita Bread
In the air fryer or oven, your pita bread will puff up, giving you a perfect pocket to stuff. I don’t need to give you ideas for what you might stuff inside a pita, but I will anyway! You could make my Turkey Waldorf Pita Sandwich in an air-fried pita bread very nicely.
What to Serve with Pita Bread
Pita bread is a perfect accompanying bread for lots of different foods. You could make a Greek meal with Chicken Souvlaki and Greek Potato Wedges, or use the pita to scoop up the end of your bowl of Mulligatawny or any soup or stew that needs mopping up afterwards to get the last drop. Of course, if you’re like me, you might just like to enjoy that pita all on its own!


Could you please say how long and at what temp if baking in an air fryer? Thanks.
Hi Karen. On top of the recipe title are different tabs to click on for different cooking methods. Click on Air Fryer and the air fryer version of this recipe will pop up.
I just made the pita bread. The dough was tough and difficult to roll out, though. Also, after cooking the dough rounds in a cast-iron skillet, they tasted bitter. Any suggestions? Thanks!
Hi Nikki. If the dough was tough and difficult to roll out, it was too dry. The challenge in replicating recipes like this is in the measuring. If you are scooping your flour when you measure, you’re adding more flour than you should be adding. Check out this article on measuring: https://bluejeanchef.com/cooking-school/how-to-measure-ingredients/ Volume measurements can vary so much, which is why professional baking recipes always use weight measurements. The other thing that might be happening is that your yeast was dead. If the yeast was inactive, it would not release any gasses into the dough, there would be no rise and the dough would be tough. Make sure you proof your yeast before using it to make sure it is active by putting a little yeast in a bowl with a pinch of sugar and some warm (90ºF) water. Wait 15 minutes and you should see some activity. If there’s no activity – no bubbling or foaming, you need to start with new yeast. As for the bitter taste – I can’t think what the problem was there unless the bread was picking up some flavor from the pan or the flour or olive oil was rancid. There are not a lot of ingredients to blame in this recipe.
Would love a whole wheat version for the pita recipe.
Hi there. In most recipes, you can substitute 50% of the flour quantity with whole wheat flour instead. Give that a try for the whole wheat pita version.
I made the pita in my bread maker because of my wrists. I did not get the bubble inside I was hoping for. I followed the instructions & baked them at 459 degrees. I was wondering if I turned the pita over too soon to not get the bubble? The bread tasted good.
Hi there. Sometimes you don’t get the bubble if you roll the pita too thin or if the surface you’re putting it into isn’t hot enough. If you were baking in the oven in a cast iron pan or on a stone or steel, make sure you leave the pan/stone/steel in the oven long enough to be really hot.
One more great recipe looks so delicious, my kids loved it, I will definitely try your recipe, looks seem easy to make. Five stars for you and thanks so much for this guide.
How can you give a 5 star rating based on “looks seem easy to make”?????? And ,”I will try your recipe”
Would love a response.
Many thanks and BTW, I will try it and review.
We publish all the comments as written, so if they are attached with a rating then it is posted too. Sounds like they are giving Meredith a 5 star rating and were looking forward to trying the recipe. If you try this recipe, let us know what you think! Thanks!!
I was wondering if anyone has tried to make these gluten free? I love pitas and these look so wonderful!
This recipe has not been tested with gluten-free flour. You could try making them with white rice flour, gluten-free flour or other flour alternatives. Let us know if you try it!
Just wondering, is that dough or did you take a picture of my belly?
Thought you could use a good laugh.
Alice
Can these be frozen once cooked and browned?
Sure, they can be frozen once cooked, but they will always be best when enjoyed fresh out of the oven (or air-fryer, or skillet).