
Why it’s Important to Measure Properly
Sometimes we cook from the hip, off the cuff, footloose and fancy-free. That’s great and fun, but sometimes when you’re following a recipe, it’s important to measure ingredients properly so that you can be sure you are going to have the same success as the recipe writer. This is especially true for baking recipes where a little too much, or not enough of any one ingredient (flour, sugar, baking powder, milk, etc…) can have a big effect. If you haven’t used the right ingredients and measured them properly, you can’t really blame a recipe on its writer. So, learn how to measure ingredients properly and create good measuring habits.
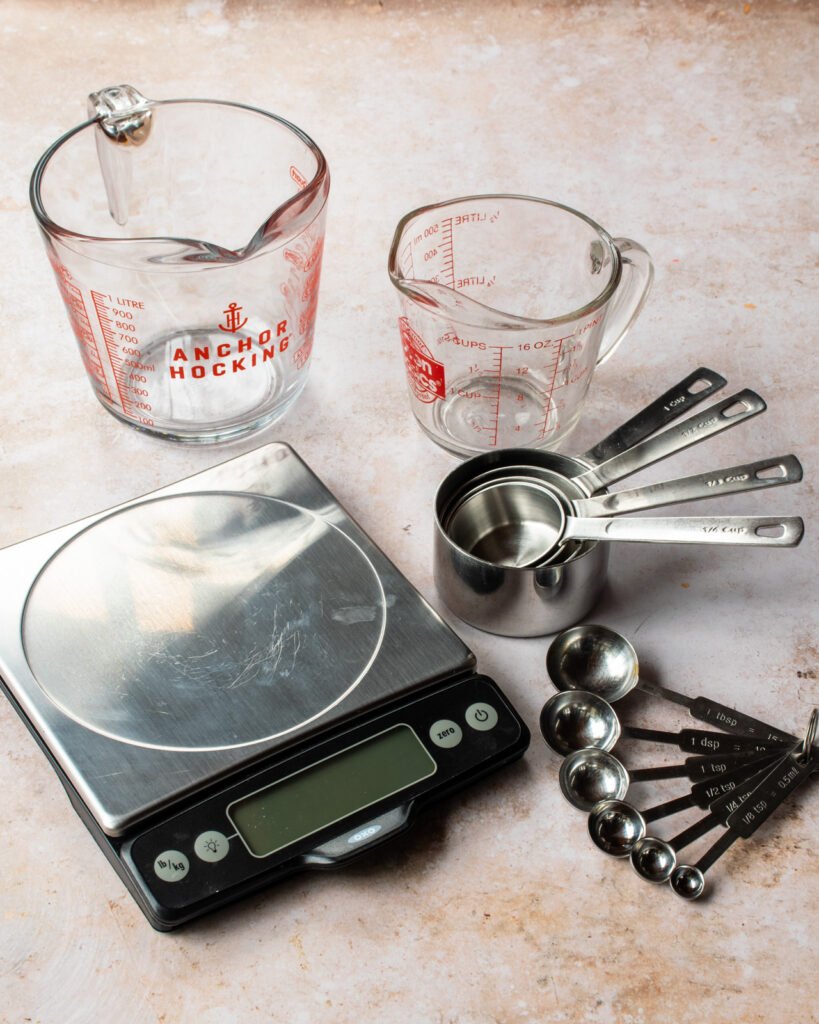
Essential Measuring Tools
There are just a few tools that you must have in your kitchen in order to measure properly. You will need a set of dry cup measures. There are infinite different designs of dry measuring cups, but I like metal cups that have the measurement etched into the handle. These are the sort of measuring cups that will last a lifetime. The measurement won’t wear off in the dishwasher, they won’t crack or break and their straight sides makes measuring easy.
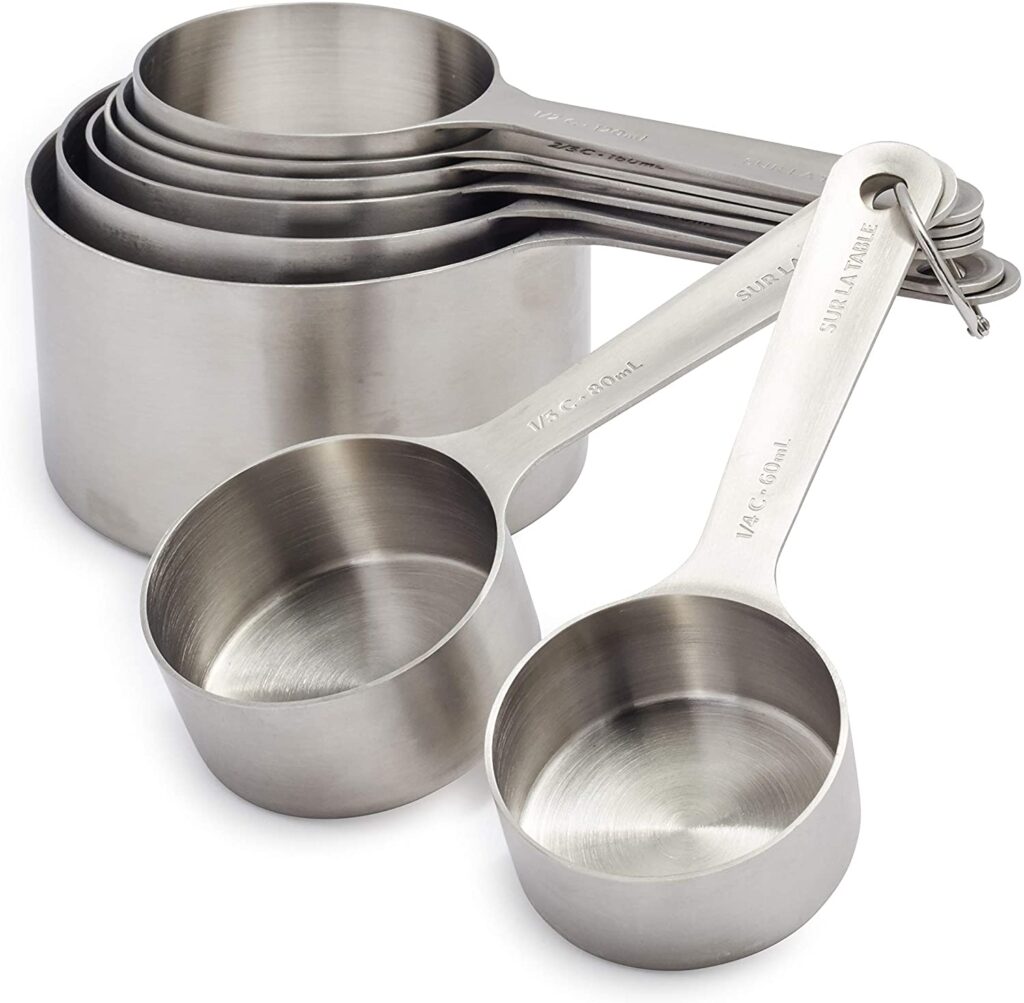
You will also need a set of measuring spoons. Again, I prefer metal spoons with the measurements etched into the handle for the same reasons as above. The spoons must include measures for 1 tablespoon, 1 teaspoon, ½ teaspoon and ¼ teaspoon, but it’s also very helpful if they also include a spoon for ⅛ teaspoon and ½ tablespoon.

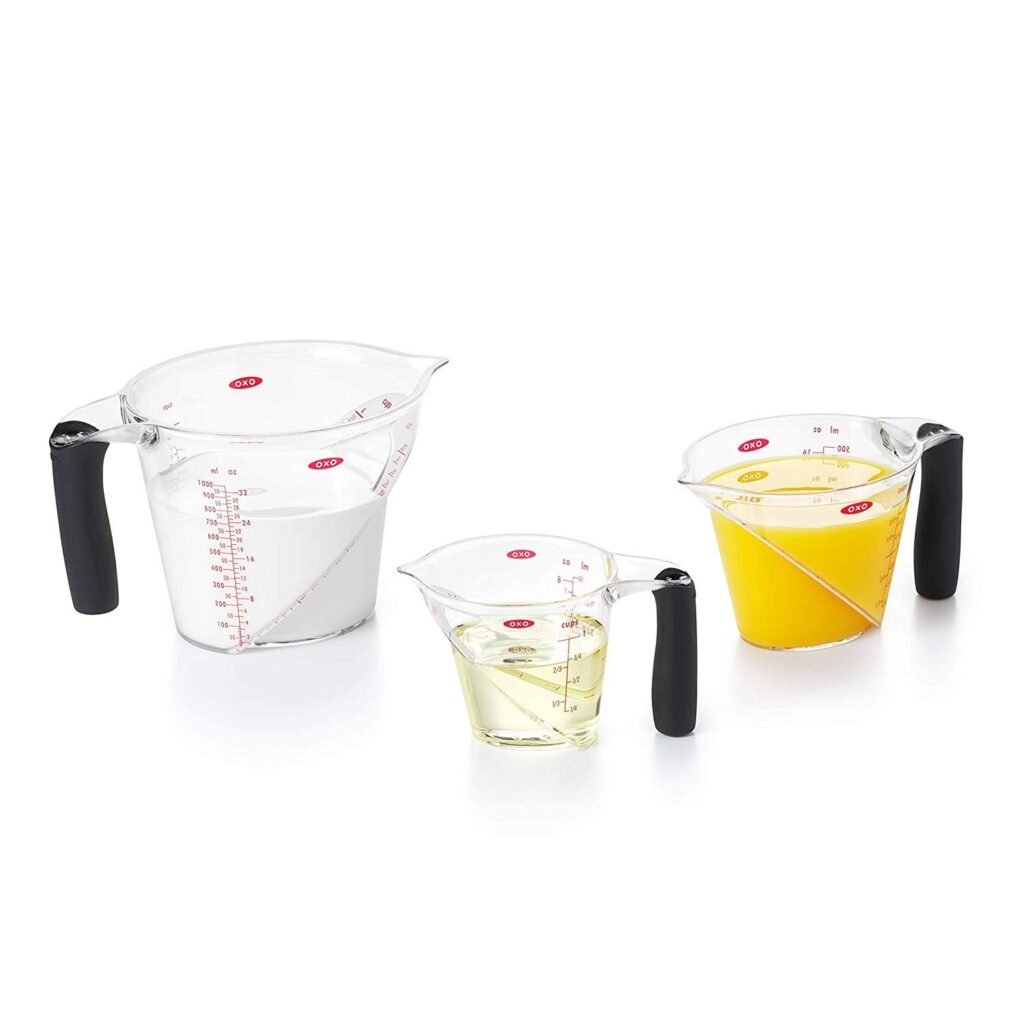
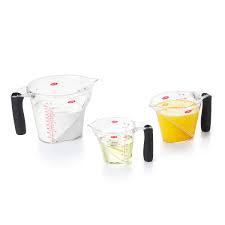
Next, you should have at least one liquid cup measure. This is a cup with a pouring spout and measure markings on the side. I do like glass measures because they are the easiest to see through and wear the best in the dishwasher, but these cups that are BPA-free plastic have a handy measuring scale that works from the top down as well as from the side – helpful if you don’t feel like bending over to get on the same level as the cup measure. It’s really nice to have a set of liquid measures – 1 cup, 2 cups and 4 cups – but generally one cup will do.
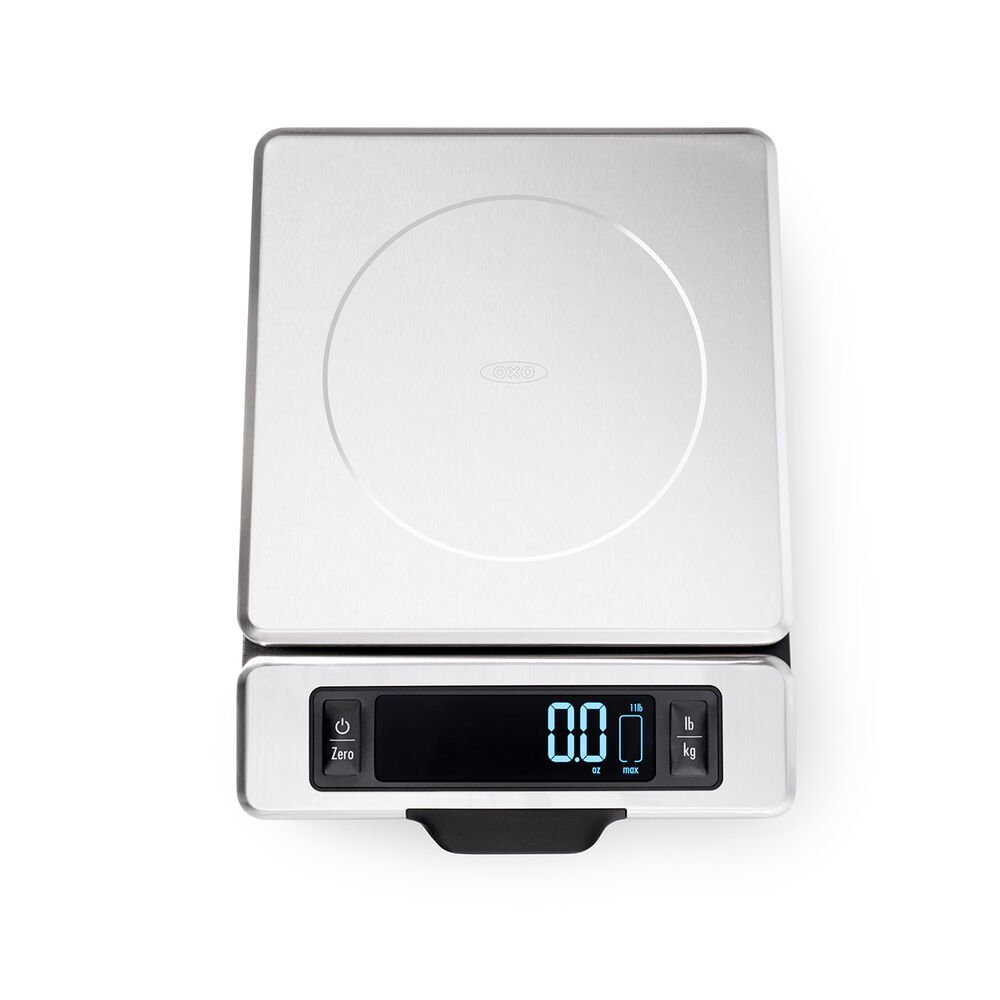
All of the above tools are essential to your kitchen arsenal. If, however, you want to be the most accurate measurer possible, it’s a great idea to invest in a kitchen scale. I love my kitchen scale and have even been known to travel with it (especially when I have plans to make bread wherever I’m going). A scale takes away the room for human error. For instance, one pound of flour will always weigh one pound, no matter how you put it on the scale. One dry cup measure, however, can be more or less flour depending on how hard or how lightly you compress the flour in the cup measure. That means that you are probably using more or less flour each time you make a recipe. With a scale, you’re perfectly accurate every time.
How to Know What Tools to Use
Once you have all the tools you need, you need to know when to use which set. Here’s how. Ask yourself if the ingredient you’re measuring is self-leveling. That means, if left to its own devices, will the ingredient become level in a cup. All liquids are self-leveling – when you pour milk into a glass, the surface becomes level because… well, gravity. Most dry ingredients are not self-leveling – flour, sugar, oats all remain in a pile rather than level off by themselves. At this point you’re probably saying this is pretty obvious, but there are some ingredients that fall in a gray area. Ketchup is not self-leveling. Honey is self leveling. Ask yourself the question. Then, if the ingredient you are measuring IS self-leveling, use a liquid cup measure. If the ingredient is NOT self-leveling, use a dry ingredient measure which will allow you to level the ingredient off yourself. Get it?
How to Measure Dry Ingredients
Since dry ingredients are NOT self-leveling, use dry cup measures to get an accurate measurement. The key to usign dry cup measures is to fill the cup all the way to the top. Don’t use a liquid up measurement for dry ingredients because you won’t be able to level off the ingredient when the measure markings don’t come all the way to the top of the cup. So, first rule, use the right tool.
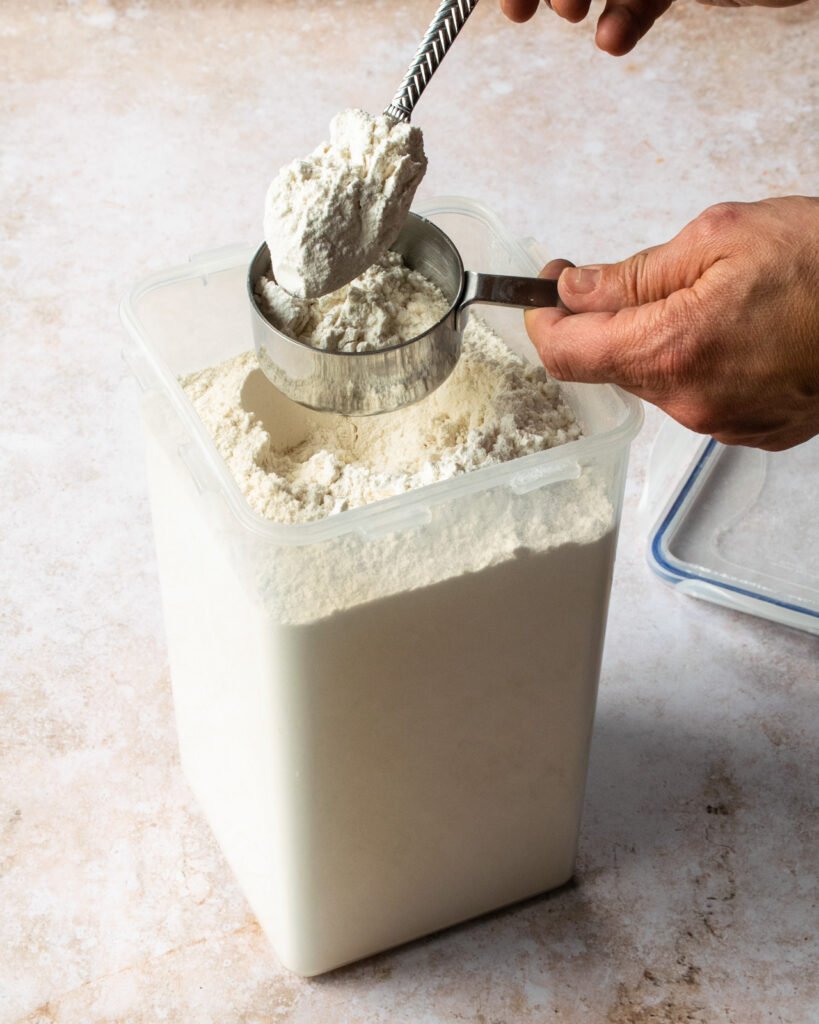
Secondly, spoon, don’t scoop. If you scoop your dry cup measure into your ingredient, you will compress the ingredient and end up using more than is intended. Instead, spoon the ingredient into the dry cup measure until it is overflowing. Then, take a straight flat edge and level off the ingredient to the very top of the measure. Remember, dry cup measures account for the entire space of the cup – all the way to the very top.
Because it is so very tempting to scoop a cup of flour, I’ve created a short cut for you. Go ahead and scoop to your heart’s delight, but then take your flat edge (usually a knife) and give the ingredient a good stir in the cup. This will loosen the ingredient so that it is similar to spooning it into the measure. Then, level it off. Scooping temptation satisfied!

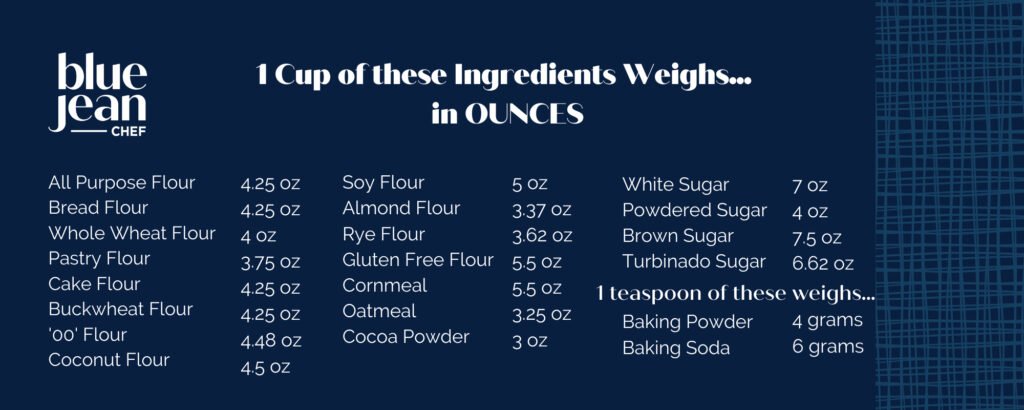
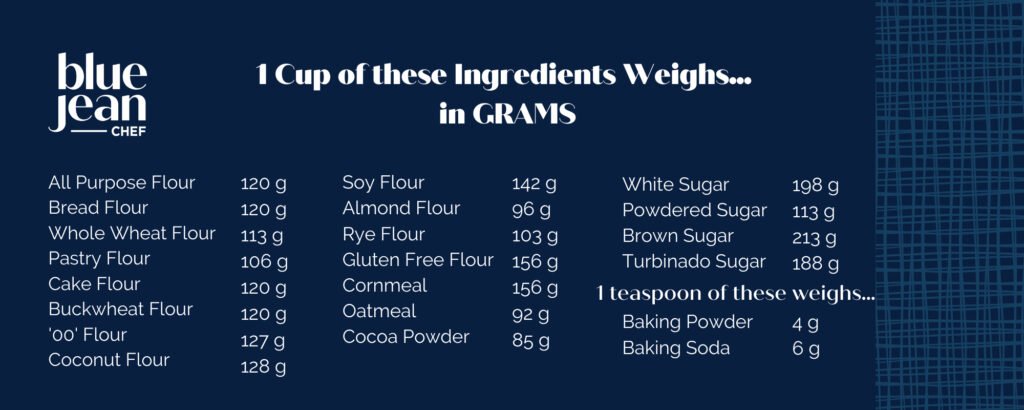
Again, if you want to be the most accurate you can be, use a digital scale. Weights are so much more accurate than volume measures in fact, that most professional baking recipes only list weight measurements for their ingredients. Below is a chart you can use to find out the weights of the most common dry ingredients used in baking recipes.
Exceptions to the Dry Ingredient Rule
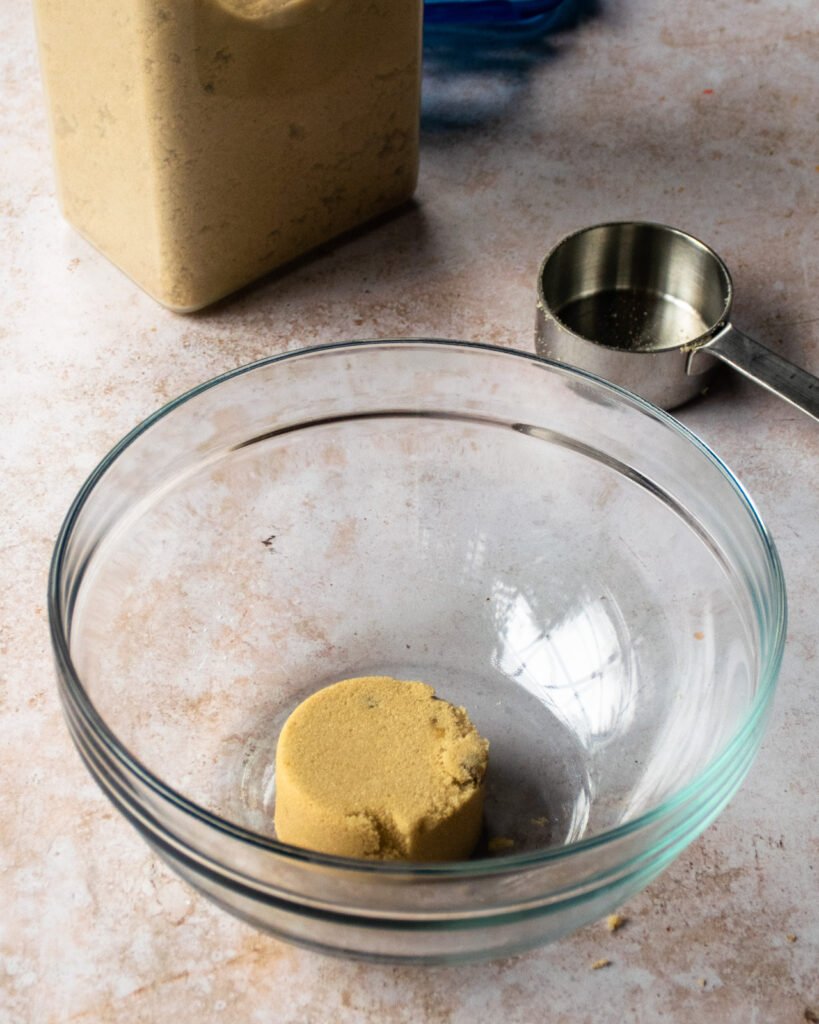
Of course, there are a few exceptions to the rule on how to measure dry ingredients. The first is brown sugar. Brown sugar is clump-able and compressible so how do you level it off and measure it accurately if you don’t have a scale? The answer is to compress it on purpose. All recipes assume that brown sugar will be measured packed, so pack that brown sugar into your dry cup measure, all the way to the top and level it off .
The other exception is powdered sugar. Powdered sugar also clumps up which makes it impossible to measure accurately. So, the answer is to sift the sugar so that there are no more clumps and then measure it as you would any other dry ingredient – spoon, don’t scoop, then level.
Tablespoon and Teaspoon Measures
Tablespoon and teaspoon measures should be used the same way dry cup measures are used – filled to the very top and then leveled off with a flat straight edge.
How to Measure Wet Ingredients
When an ingredient is self-leveling (it levels off on its own creating a flat surface on top), the right tool for the job is a liquid cup measure. As was mentioned above, a liquid cup measure has the markings on the side of the cup and it is not intended to be filled to the rim. Because the measures are on the side, it’s important to make sure you get on the same level as the cup to make sure you’ve measured correctly. Don’t lift the cup to check the measurement because the ingredient is only level if it is left on a level surface, like your countertop.
Tip for Measuring Sticky Ingredients
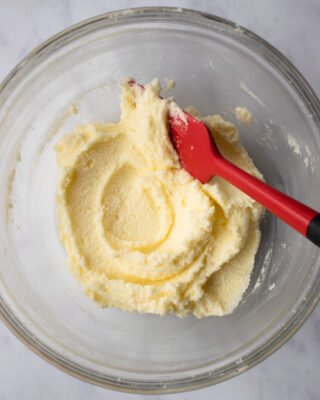
Sticky ingredients can be a challenge to measure, whether you’re using a liquid cup measure or a measuring spoon, but there’s a super useful tip to make it easier. Grease the spoon or cup lightly with a neutrally flavored oil (peanut oil, vegetable oil, canola oil) before you measure. The sticky ingredient should slide right out and you’ll have a more accurate measurement.
All these rules for how to measure ingredients properly may seem obvious, but they are important to know and do have an impact on how your recipes turn out. Get into the habit of using the right tool for the job and then using that tool correctly. It’s the first step in getting better baking and cooking results.
Quick Notes:
- Tools needed for accurate measurements
- dry cup measures
- liquid cup measures
- measuring spoons
- weigh scale
- Measuring Dry Ingredients:
- Use dry cup measures for any ingredient that is NOT self-leveling.
- Spoon, don’t scoop dry ingredients into the dry cup measure.
- Fill dry cup measures all the way to the top and level them with a flat straight surface.
- Exceptions to the rule include brown sugar and powdered sugar.
- Brown sugar should always be packed into a dry cup measure.
- Powdered sugar should be sifted first and then spooned into a dry cup measure before being leveled off with a flat straight edge.
- Using Measuring Spoons
- Fill all the way to the top of the spoon and level it off for an accurate measurement.
- Measuring Wet Ingredients:
- Use a liquid cup measure for any ingredient that IS self-leveling.
- Always look at the side of the cup to register if the liquid is at the right level.
- Don’t lift the cup when trying to register the measurement – a level surface will only exist if the cup is left on the countertop.
- Measuring Sticky Ingredients
- Lightly coat your tools with a neutrally flavored oil to help the sticky ingredient slide out of the measure.


Thank you for these great tips they will become very useful to me when I am baking I have all the tools those great tools for baking and believe in using the right baking tools
I always enjoy your helpful tips. One question about measuring, I’m never sure about a recipe requiring 1 and 1/2 tbs of oil or any liquid. How to measure that half a tablespoon.
3 teaspoons = 1 tablespoon, so if you don’t have a 1/2 tablespoon measuring spoon, you can use 1 and 1/2 teaspoons to equal the 1/2 tablespoon.
Hi! Please tell me where I can find the popover pan you show on the video.
Love your products and am glad you’re back on QVC.
Thank you.
The popover pan was purchased on Amazon. You can find a popover pan in any kitchen store.
How do you measure tablespoon from a block of butter
Divide the butter into 4 parts and then divide one fourth of the butter into 8 pieces. Each piece would measure 1 tablespoon.
I used a measuring cup for bread flower that came with my bread machine. I put it on my scale & for 1 cup it came out 5.8 oz. & 158 grams. I measure flour correctly by spooning. I just changed the batteries I don’t get it. Why would there be such a discrepancy?
Hi Liz. That is exactly the point – volume measurements are not as accurate as weight measurements. You could buy a bunch of the same brand of cup measures and they would have slight differences. Even spooning flour into a cup measure is not as accurate as weighing.