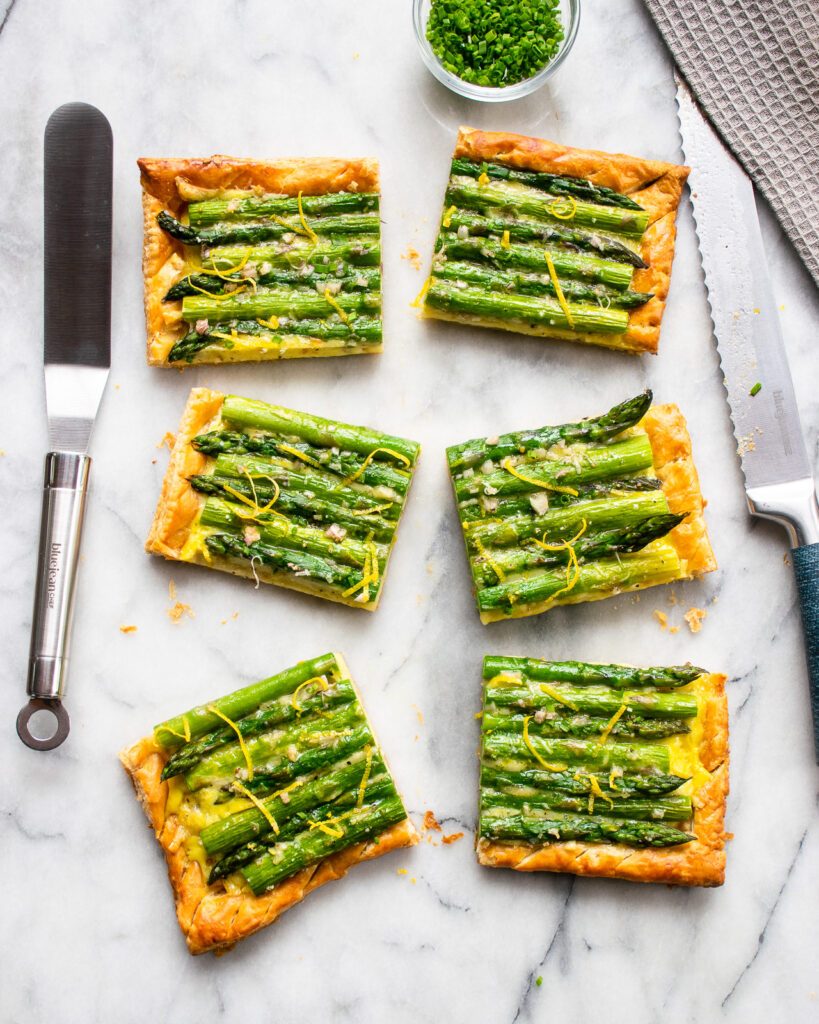
Asparagus Tart with Puff Pastry
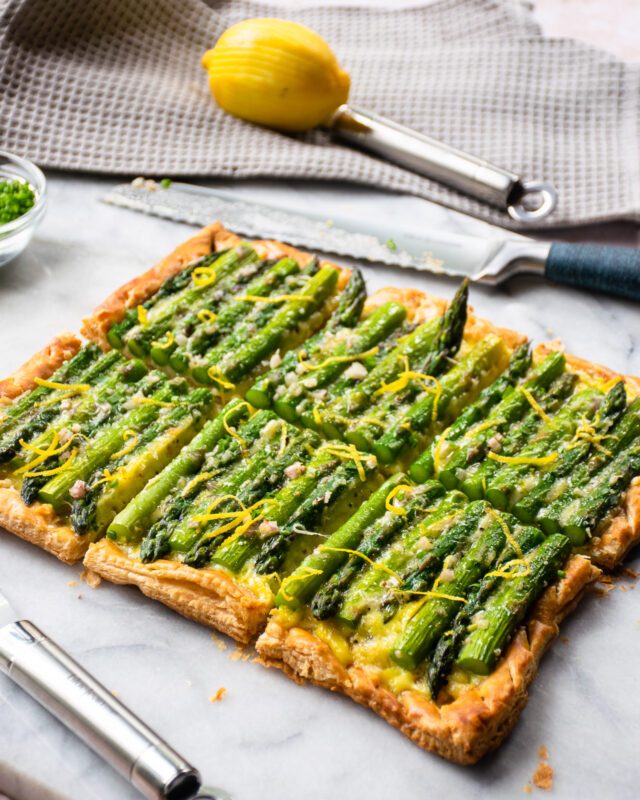
This quick and easy asparagus tart recipe uses an emergency staple to speed up the time it takes to get a great dish on the table – puff pastry. I like to have a sheet or two of puff pastry in my freezer at all times, just so that I’m able to whip up something nice in a hurry. Of course, you do need to defrost the puff pastry, but it doesn’t take too long to thaw at room temperature.
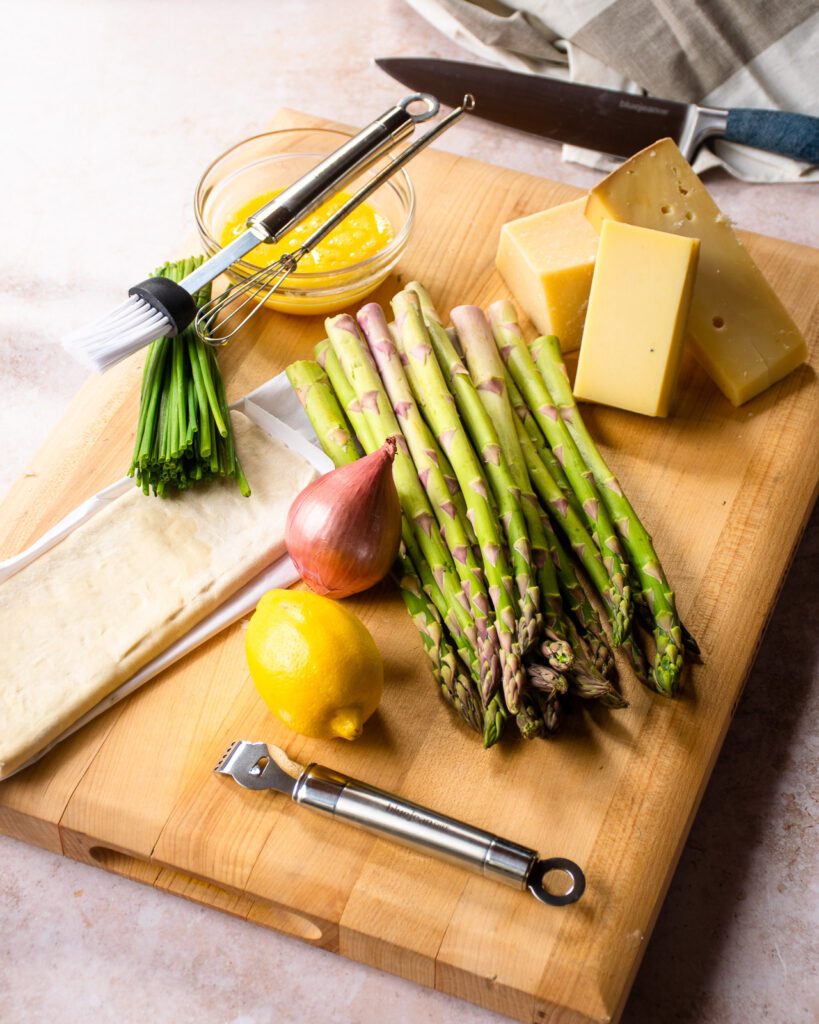
Simple Ingredients for Asparagus Tart
The ingredients for this tart are few and simple, but the result still impresses in appearance and flavor. The mix of three cheeses – Gruyère, Parmesan and Fontina – are a perfect blend for this tart. The Gruyère has a nice nutty flavor, the Fontina is a fantastic melter, and the salty Parmesan seasons nicely. You could, of course, substitute the cheeses depending on what you have at home, but try to cover the bases of flavor, meltability and salt. Goat cheese would be a nice addition too.
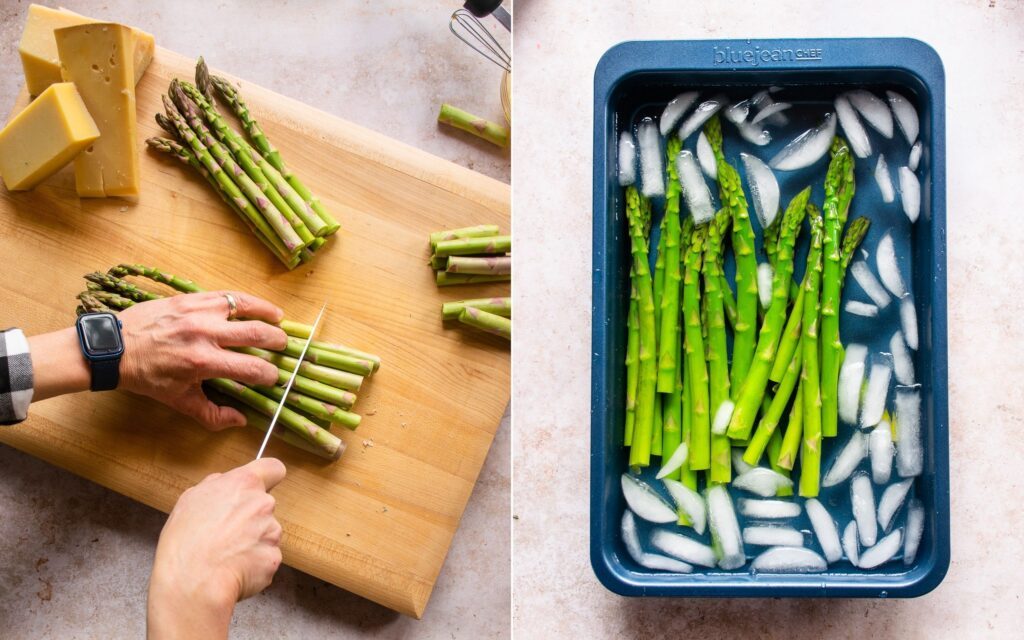
Asparagus Prep
There’s just a little prep required with the asparagus – something you can easily do while the puff pastry defrosts. Trim off the tough woody ends of the asparagus first. For the prettiest tart, make sure the spears of asparagus are all the same length by lining up the tips and then trimming off the bottom. Bring a large pot of salted water to a boil and blanch the asparagus for just a few minutes before shocking it in an ice bath. That will help seal in that nice bright green color and give the asparagus a head start in the cooking department. The spears will finish cooking once they are in the tart and baking in the oven. If your asparagus is very thick, slice the spears in half lengthwise after they have been blanched and shocked.
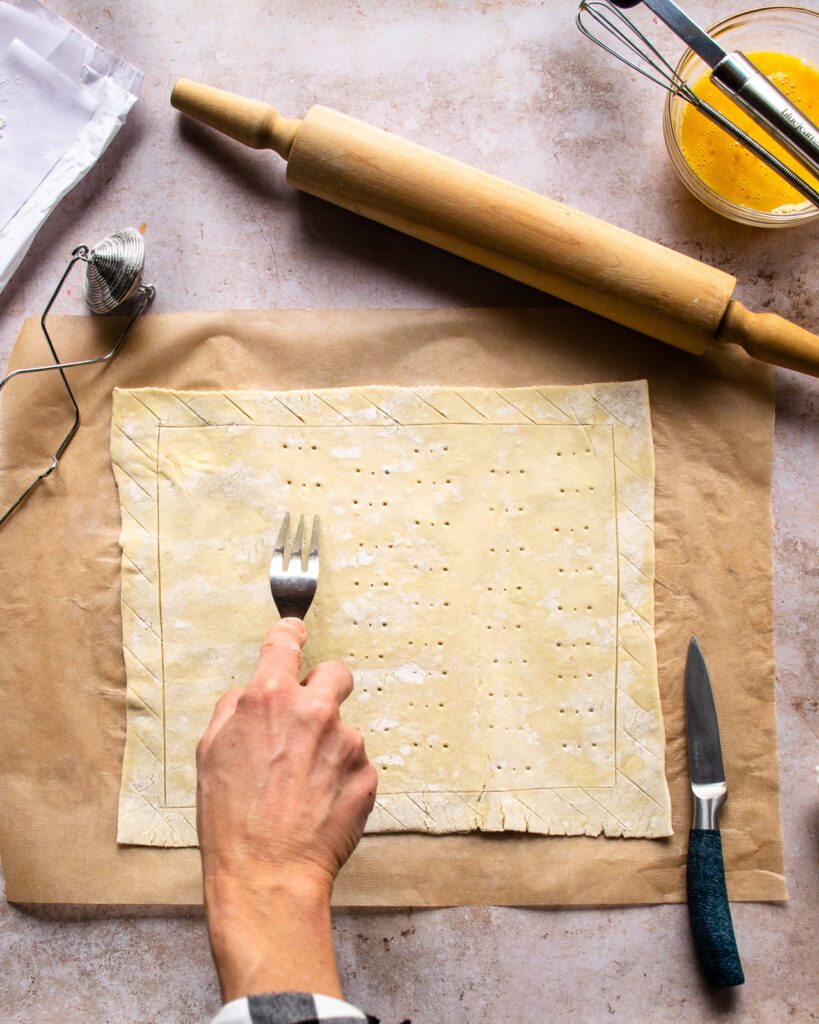
How to Make the Crust
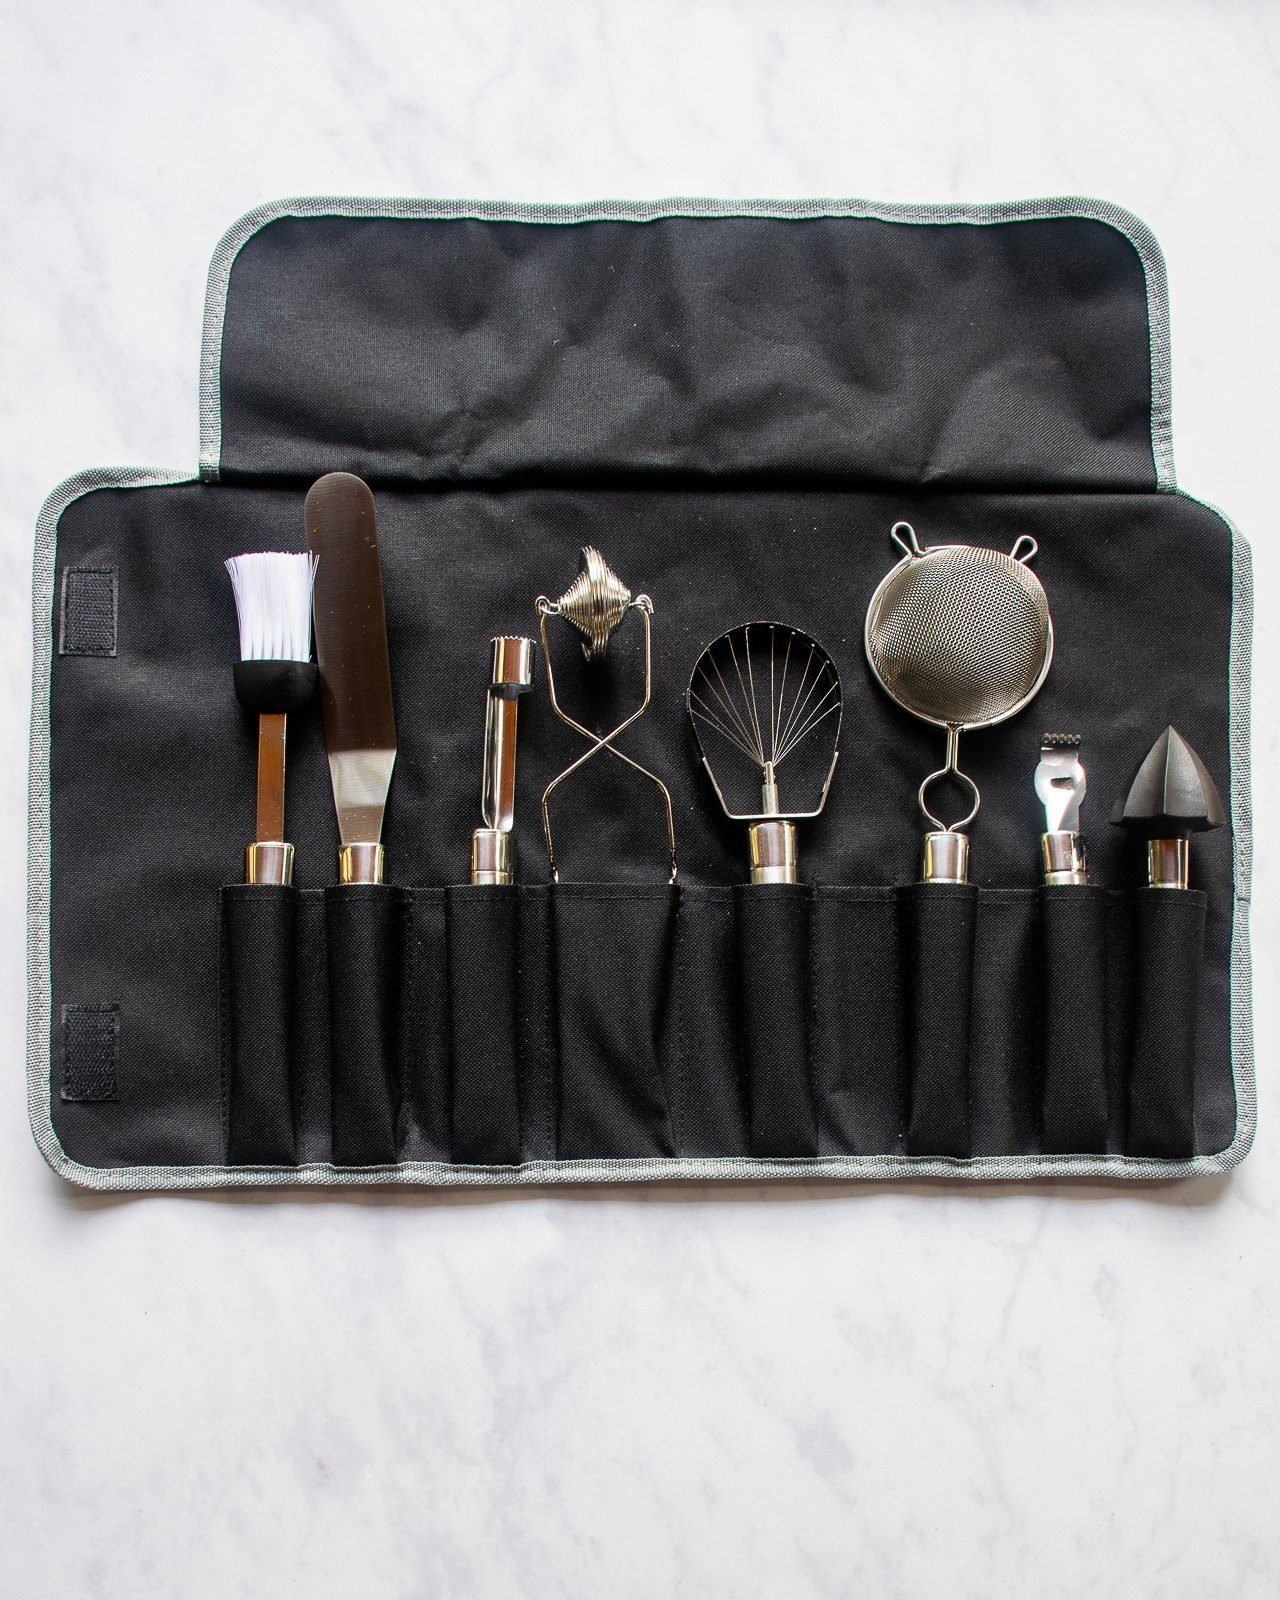
It’s no surprise to learn that puff pastry puffs up in the oven. Because we want to par-bake the pastry, but we want a crust around the perimeter of the tart, score a rectangle inside the perimeter of the pastry (scoring means to gently cut with a paring knife, but don’t cut all the way through). This will allow you to push down the center of the pastry once it has baked and puffed up without crushing the crust around the outside. Docking the pastry (pricking with a fork) will also help to keep the center from puffing up fully. It will still rise higher than you want, but you’ll be able to flatten the center without damaging the crust. Use an offset spatula to flatten the center of the crust after par-baking.
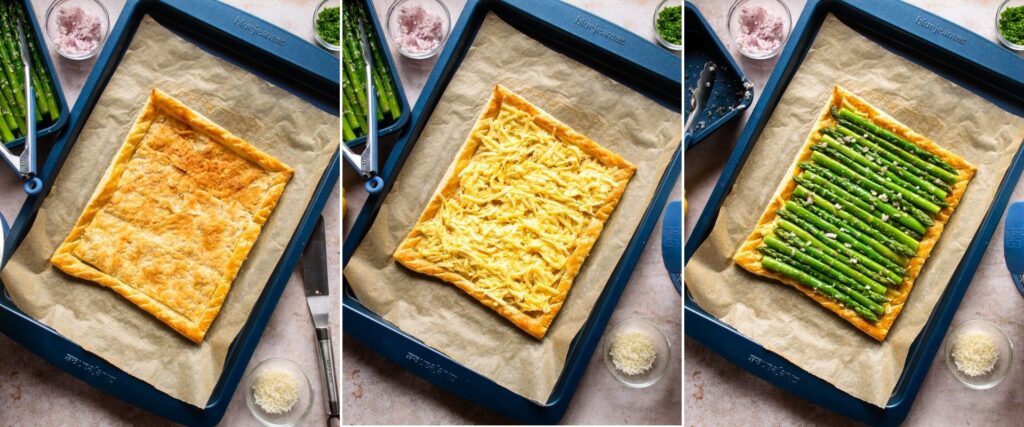
Tips for making a puff pastry tart
- Keep the pastry as cold as possible before popping it into the oven. The water content of the cold butter in the pastry will evaporate in the oven, helping to separate the flaky pastry layers.
- Keep your oven at the pre-heated temperature for at least 10 minutes before baking the crust.
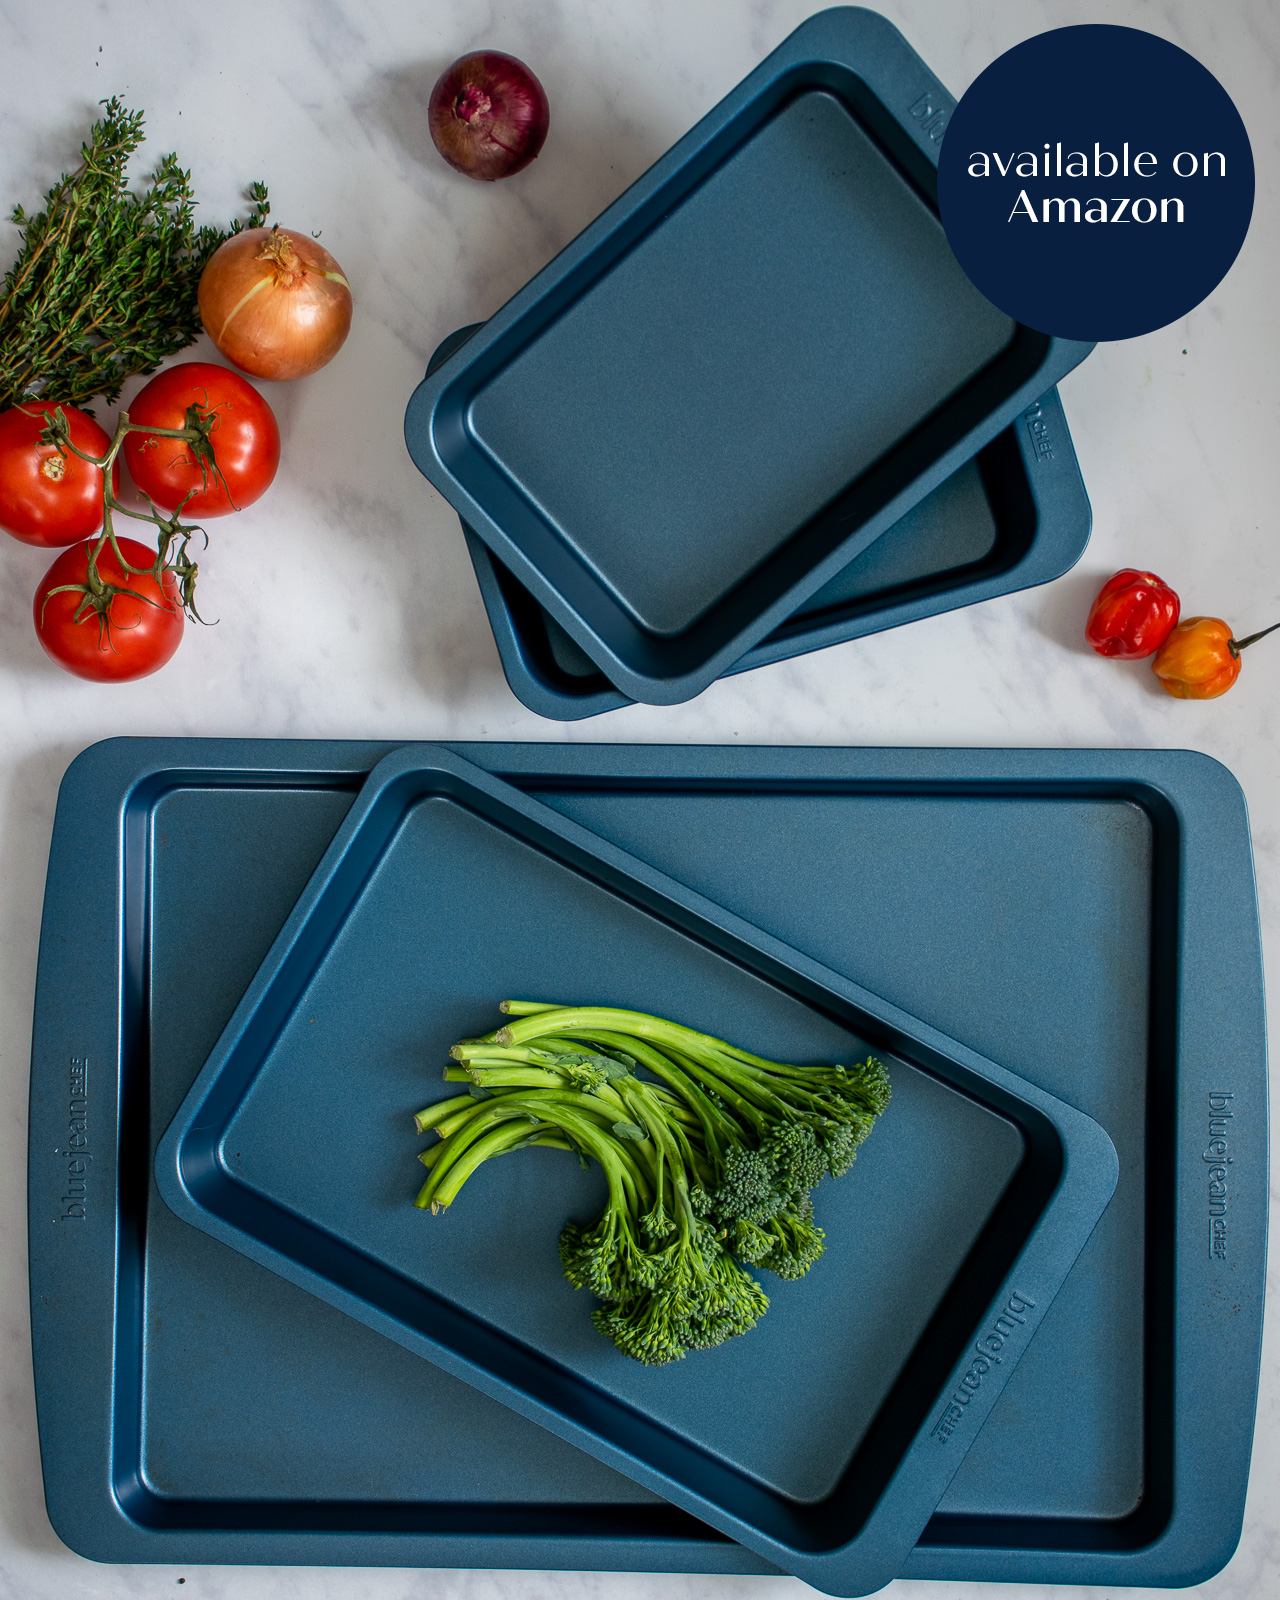
- When you are pre-baking the pastry, place the baking sheet in the upper half of the oven. At the top of the oven, the hot air will help to cook the light pastry on top and bottom. Once you have filled the tart and are baking it for the second time, place the baking sheet in the lower half of your oven. The direct heat from below will help to cook the crust through even though it is weighed down with the egg, cheese and asparagus.
- Cool the tart on a cooling rack to prevent the crust on the bottom from getting soggy.
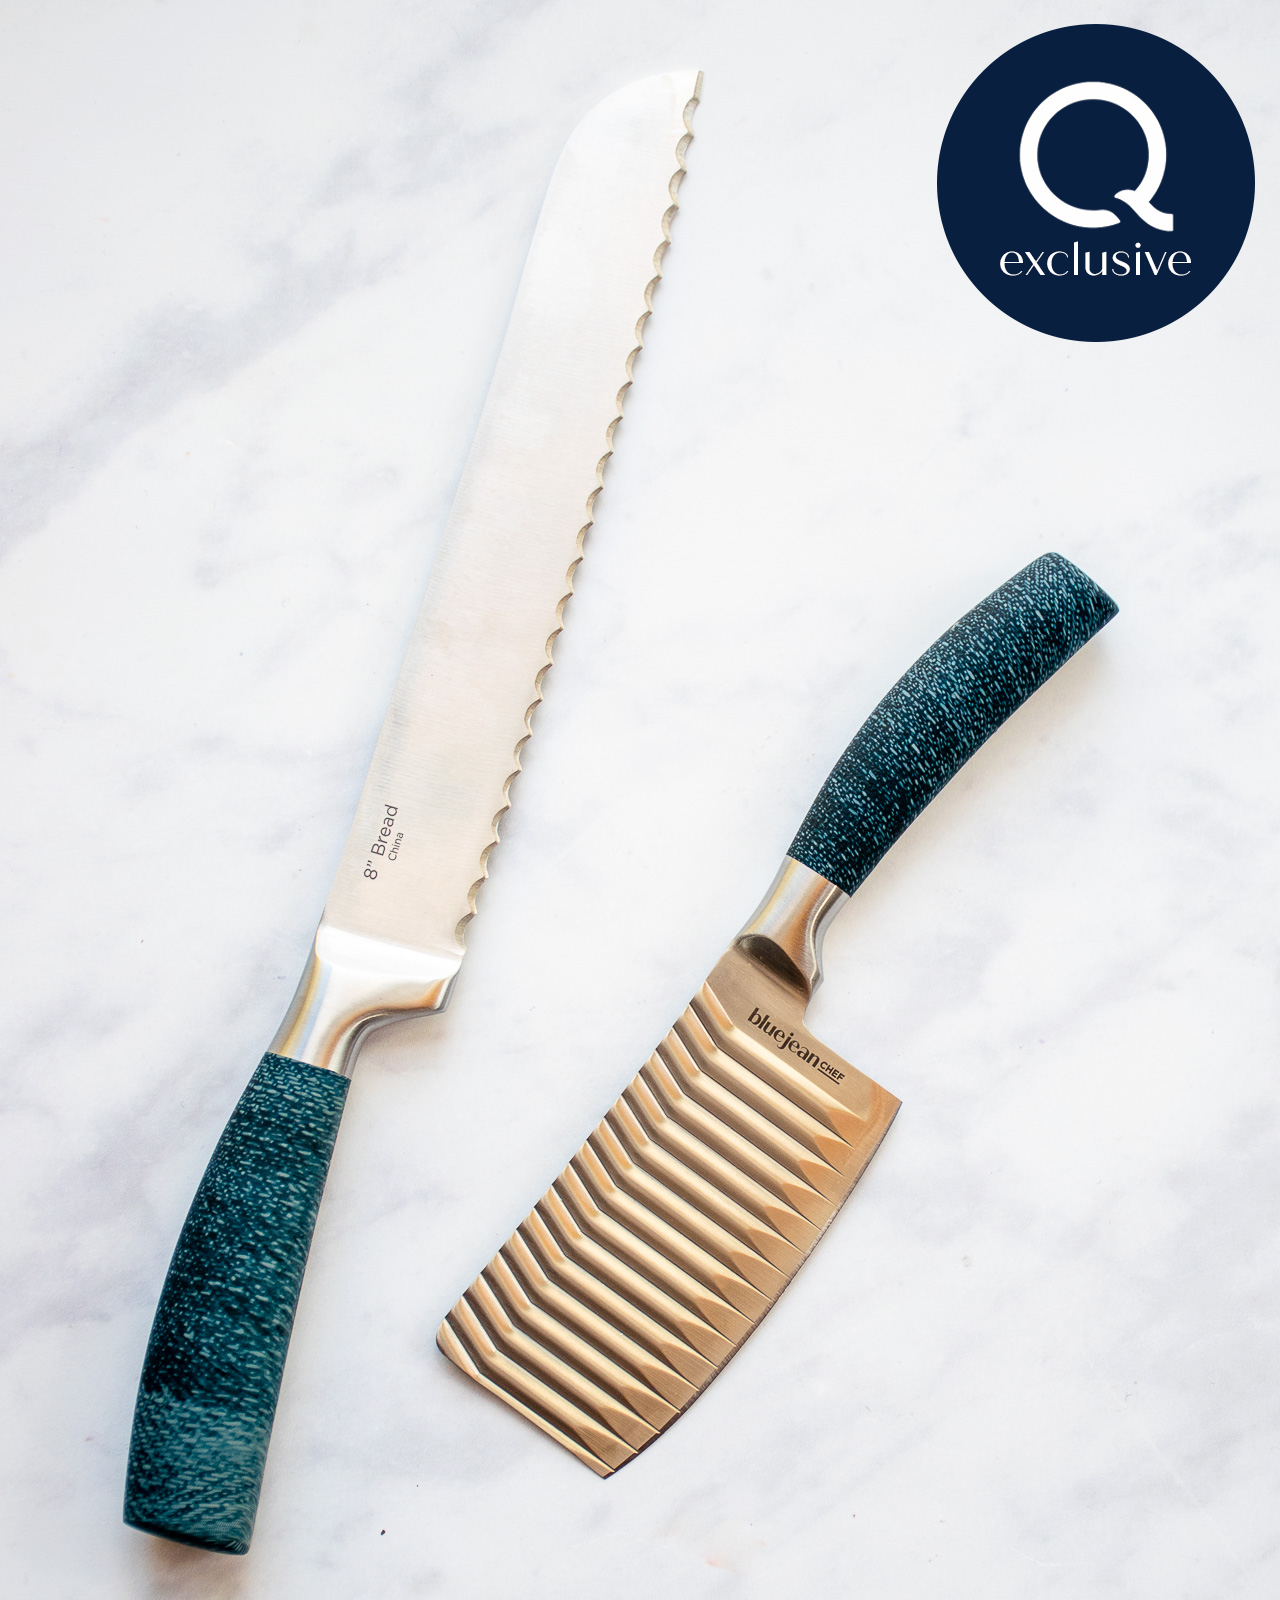
- Use a serrated knife to slice the tart – the slices will be easier and cleaner.
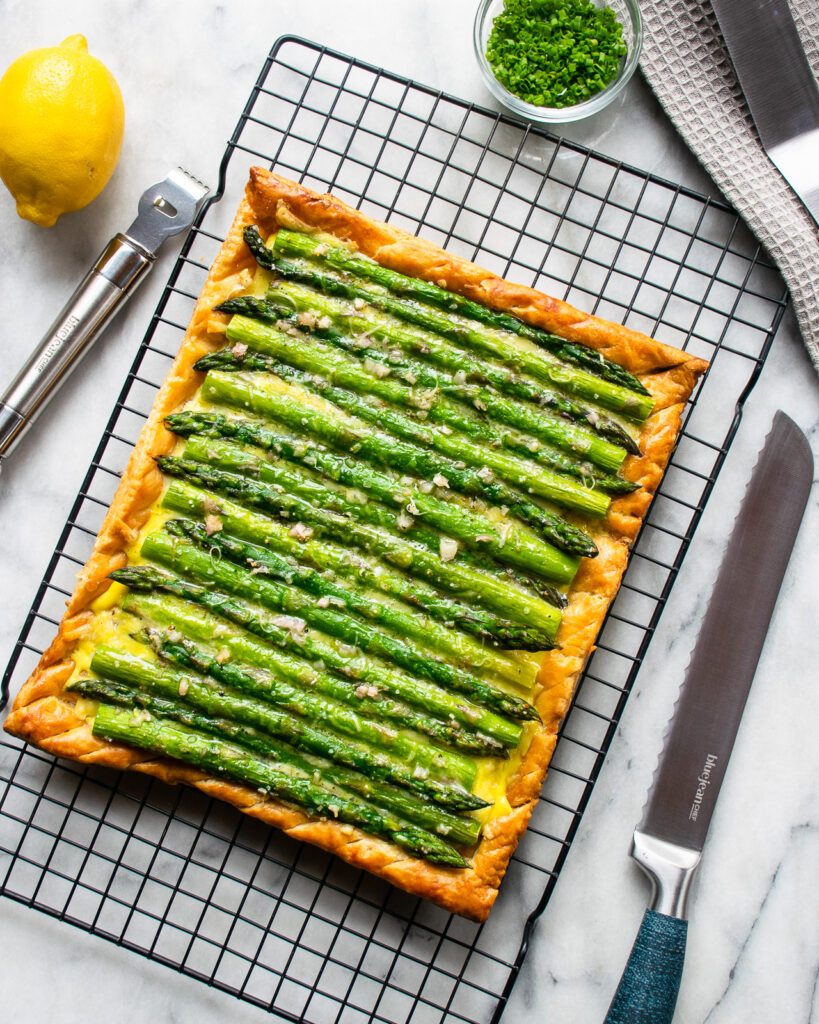
Make Ahead Options
This tart is best served the day you make it to preserve the texture. It is best served warm but can be enjoyed at room temperature. If you do have to bake it ahead of time, warm it up in a 350˚F oven for about 10 minutes to crisp the pastry crust.
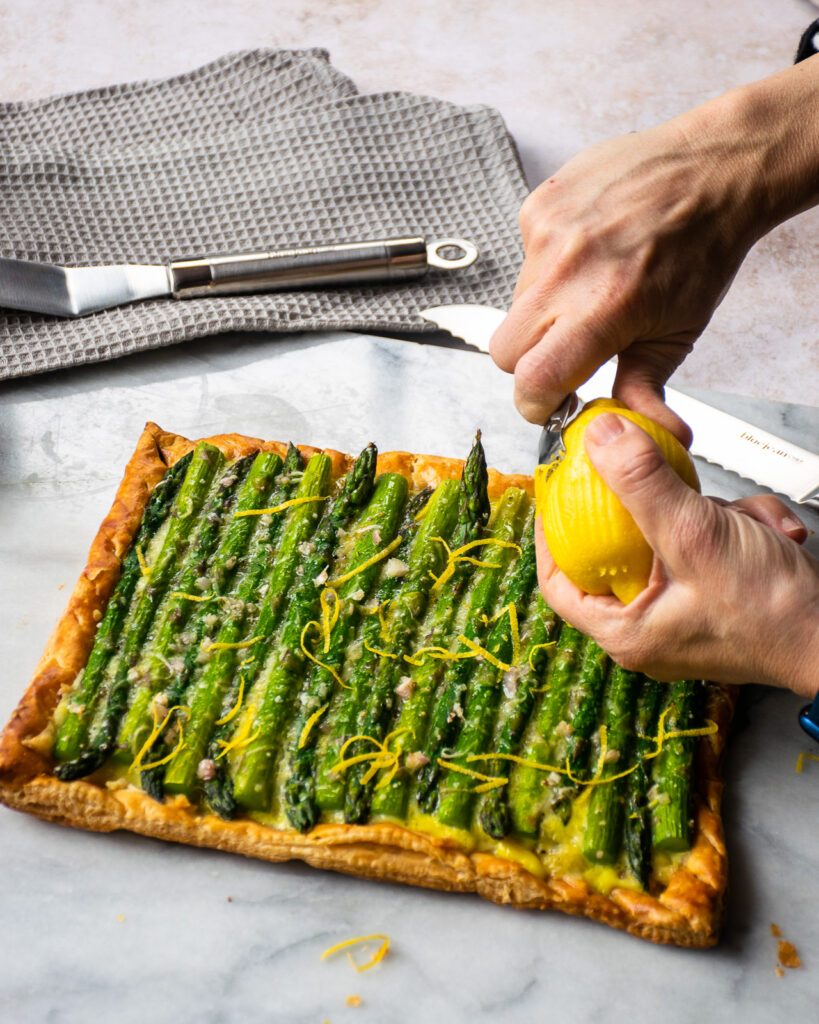
How to Serve the Asparagus Tart
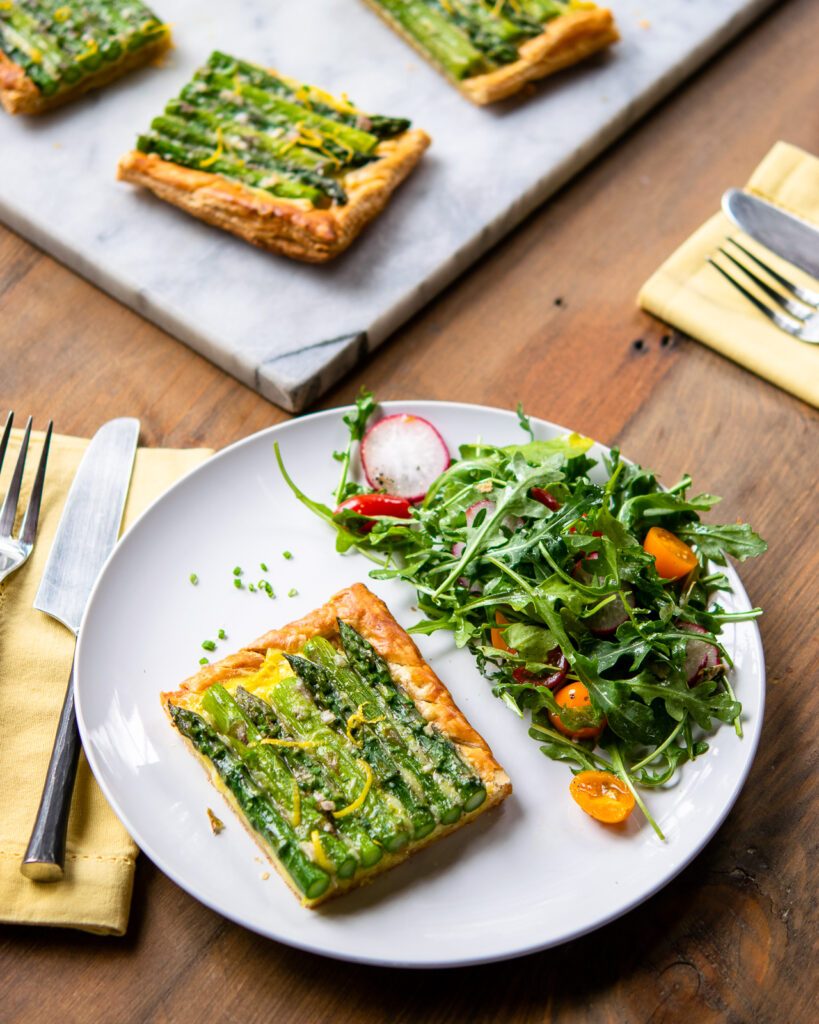
This tart makes a really nice brunch or lunch dish. It’s also a delightful vegetarian dinner with a nice green salad or lentil salad. But you can also cut it into smaller squares, place them on a platter and serve them as an hors d’ouevres.



This was so easy and so delicious!
How many eggs ,it’s not mentioned?
The recipe calls for 2 eggs.
I had left over Gruyere cheese and didn’t know what to make. I came across this recipe and gave it a try. YUM.