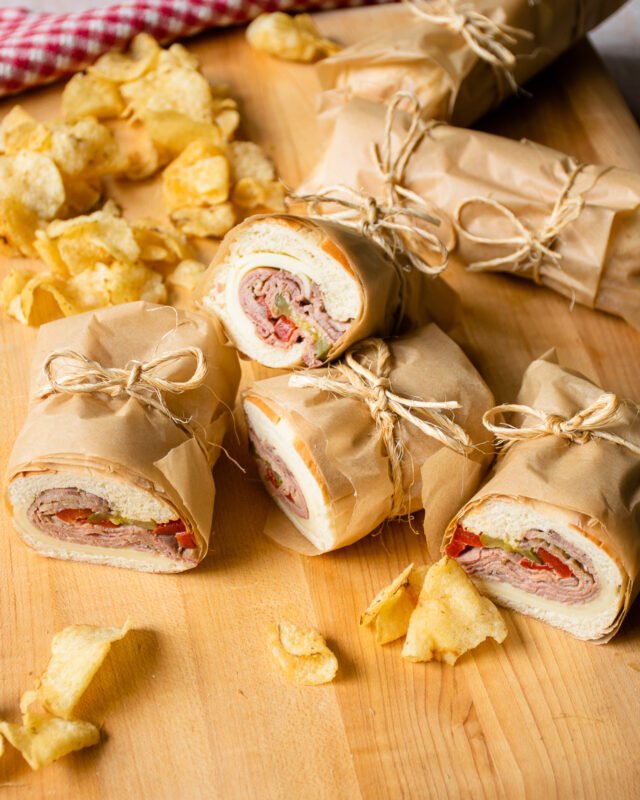
When the no-carb diet became popular, sandwiches got a bad rap. That’s a shame. A good sandwich is honestly a thing of beauty and the perfect portable meal. These sweet and spicy roast beef sandwiches are no exception, especially when you tie them up in parchment paper with a little twine. You can make ’em, wrap ’em, take ’em and enjoy them anywhere – cold or hot..
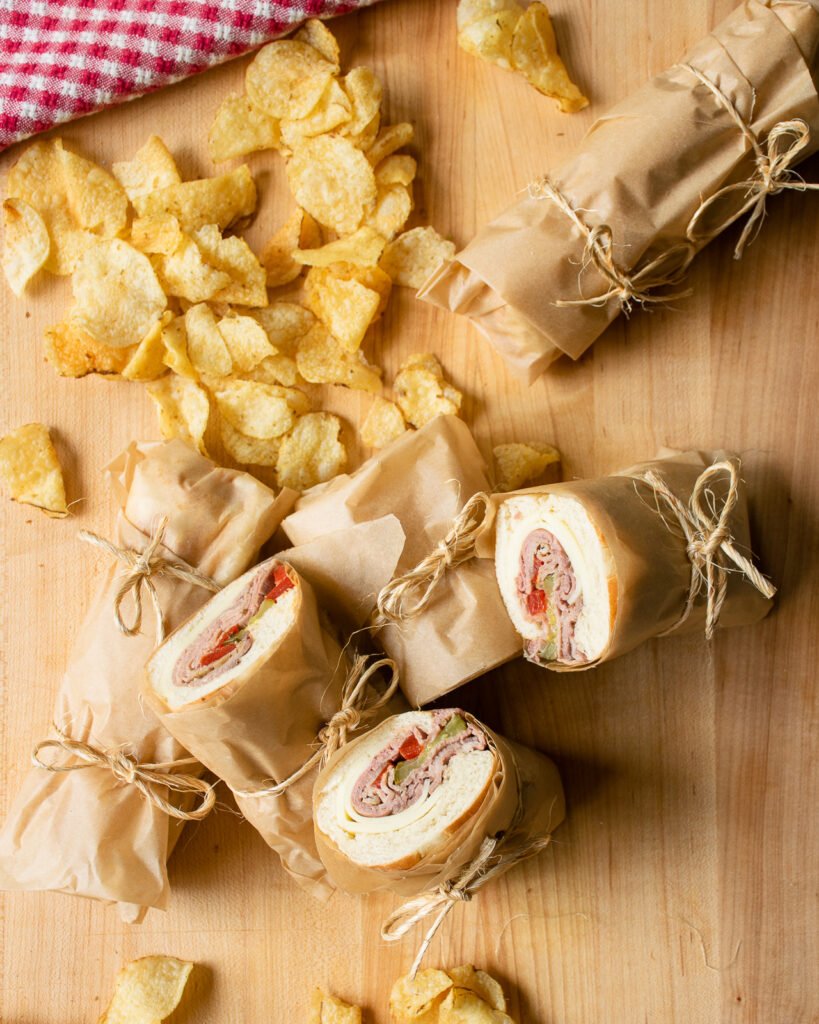
What to Serve with Roast Beef Sandwiches
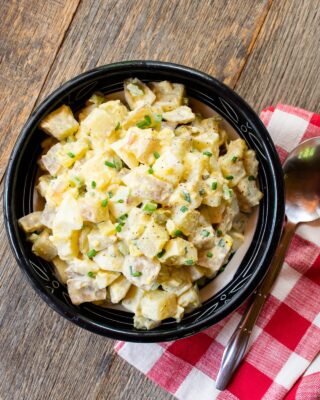
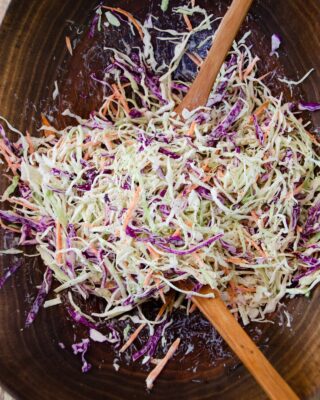
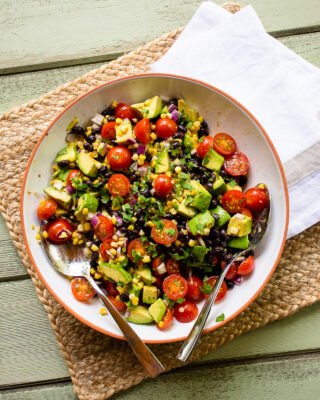
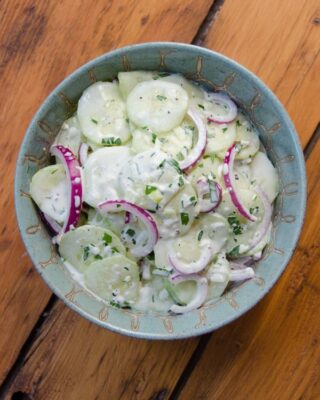
A few potato chips are the obvious choice to accompany any sandwich, whether they are store bought chips or homemade air-fried potato chips, but there are a number of salads that would fit perfectly with these delicious sandwiches. You could make a classic potato salad, a pasta salad, or a cauliflower salad, but I think this cucumber salad with creamy Vidalia onion dressing would be a delicious match. Just remember that if you’re taking these sandwiches on a picnic or an outdoor excursion, both the sandwiches and salad should be kept cold in a cooler.
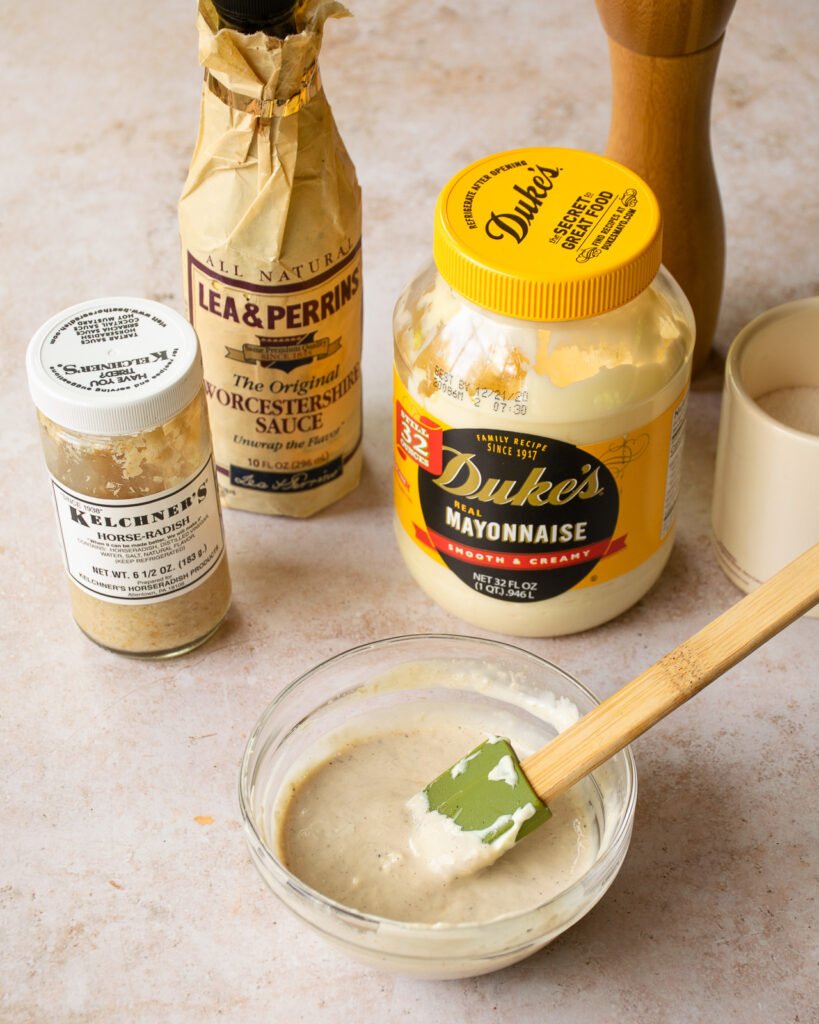
Horseradish Mayo
The spicy part of this roast beef sandwich comes from the horseradish mayo. This spread is super simple because it only has four ingredients – mayonnaise, prepared horseradish, Worcestershire sauce and freshly ground black pepper. It’s really up to you to dictate how much kick this spread has – just add as much horseradish as you like to suit your tastes (1 to 2 tablespoons). When you’re buying the horseradish for this sauce, look for “prepared horseradish”, rather than “horseradish sauce” or “creamed horseradish”. Prepared horseradish is usually horseradish root, grated and then preserved in a mild pickle. Horseradish sauce, on the other hand, is already mixed with sour cream, heavy cream or mayonnaise and is therefore not as pungent and flavorful. Since you’ll be using the horseradish as an ingredient, use the prepared horseradish to get the most bang for your buck.
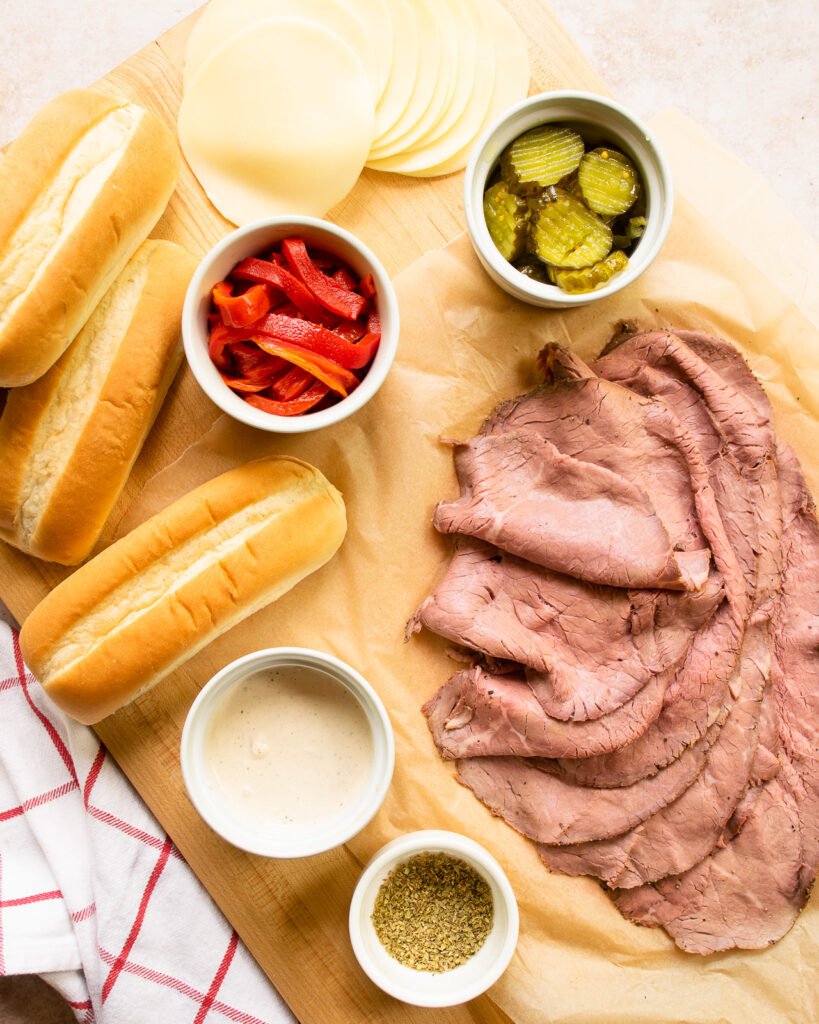
Sandwich Ingredients
I used deli roast beef for these sandwiches, sliced nice and thin. If you happen to have made a roast beef at home, you could use the leftovers for this sandwich, but try to slice the beef as thin as possible. That’s a lot easier if you have an electric slicer, which most people don’t have at home. Beef from your local delicatessen or the deli counter in the grocery store is perfect. I also used jarred roasted red peppers when I made these sandwiches, but you could roast your own red bell pepper and peel it. The roasted peppers do add an element of sweetness to these sandwiches, but it’s really the bread and butter pickles that contrast so nicely with the horseradish mayo and beef, adding a sweet flavor. If you don’t have bread and butter pickles or would prefer the sandwich without a sweet element, you can use any pickles you like.
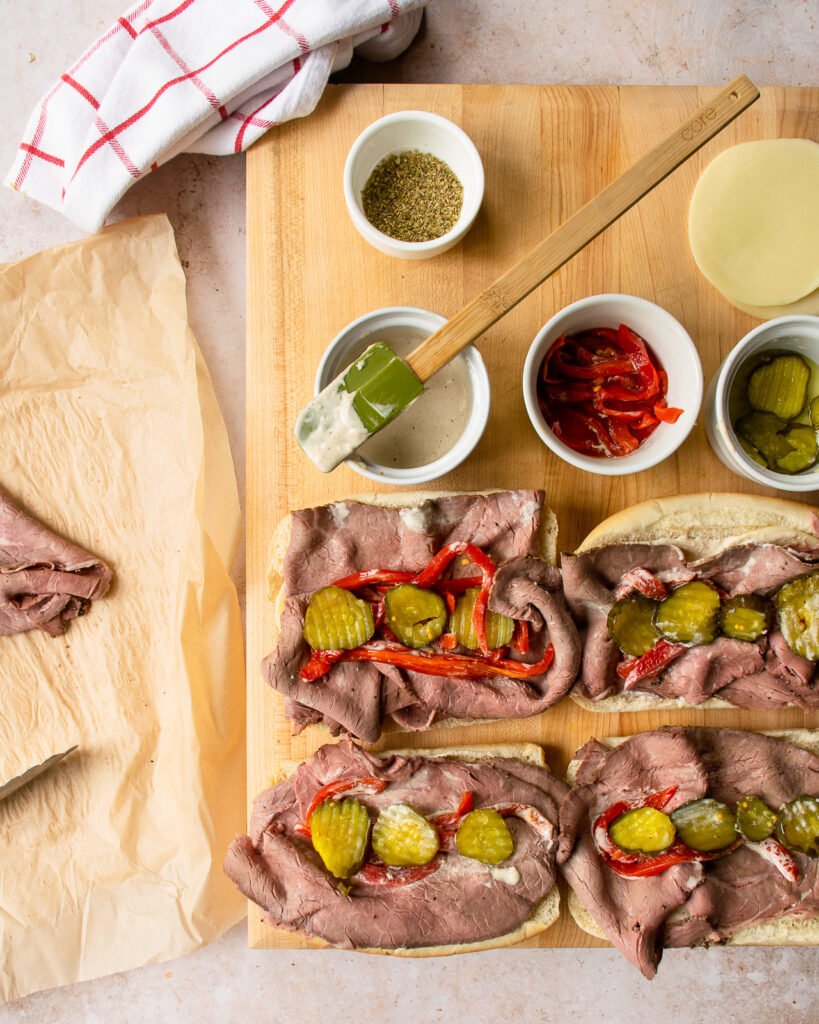
Building Sandwiches
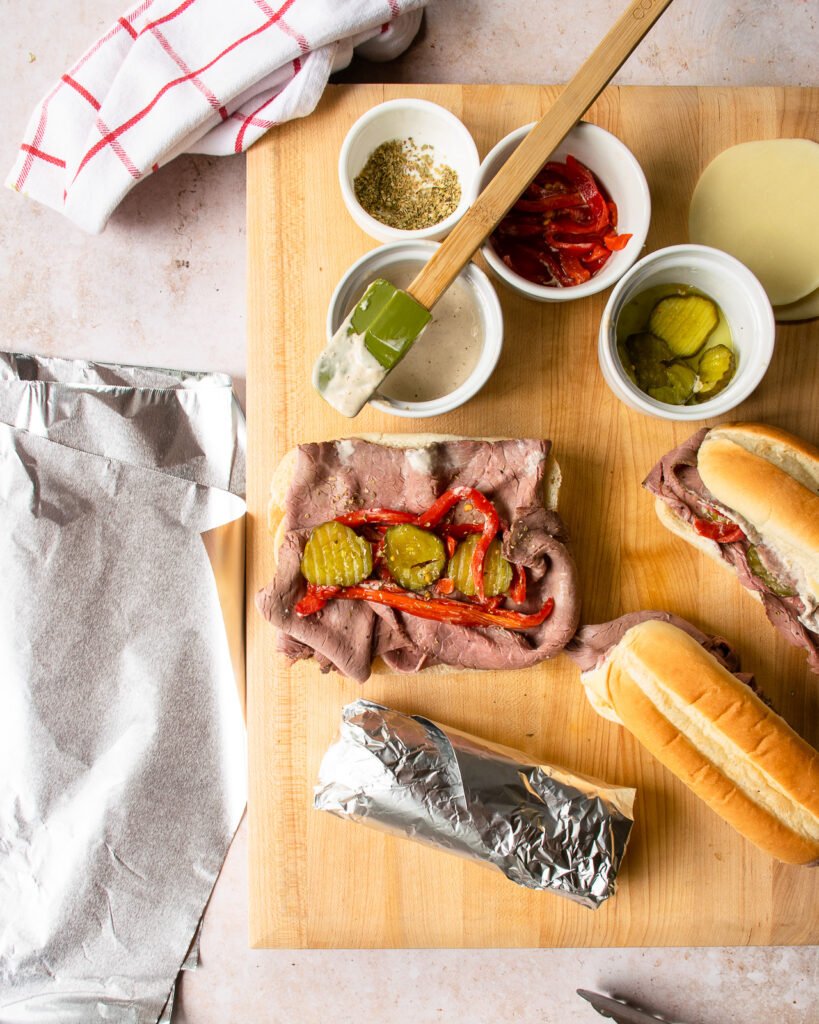
The order in which you build sandwiches is always important and the key to doing it well is to think about the impact the ingredients will have on the bread. If you’re eating these sandwiches right away, spread the mayo on the cut rolls – that will provide moisture to the bread. If you’re making these sandwiches ahead of time and plan to travel with them, put the cheese down first and then spread the mayo on the cheese. That might feel a little unintuitive, but it helps to keep the bread from getting soggy. Then, add your beef and top with the peppers and pickles. You can even add a little leftover horseradish mayo at this stage, but then when you fold the sandwich up, try to make sure the pickles and peppers are surrounded by beef so that 1) they don’t fall out and 2) you protect the bread from added moisture.
Make Ahead Roast Beef Sandwiches
Making the sandwiches ahead of time is quick and easy, but do make sure you try to keep as much moisture as possible away from the bread – put the cheese down first and dry the pickles and peppers with a clean paper towel so that they don’t have any excess moisture. Wrap the sandwiches in either parchment paper or aluminum foil. If you’re planning on heating the sandwich on the BBQ grill, foil is a must. Otherwise, either will do.
Hot Roast Beef Sandwiches
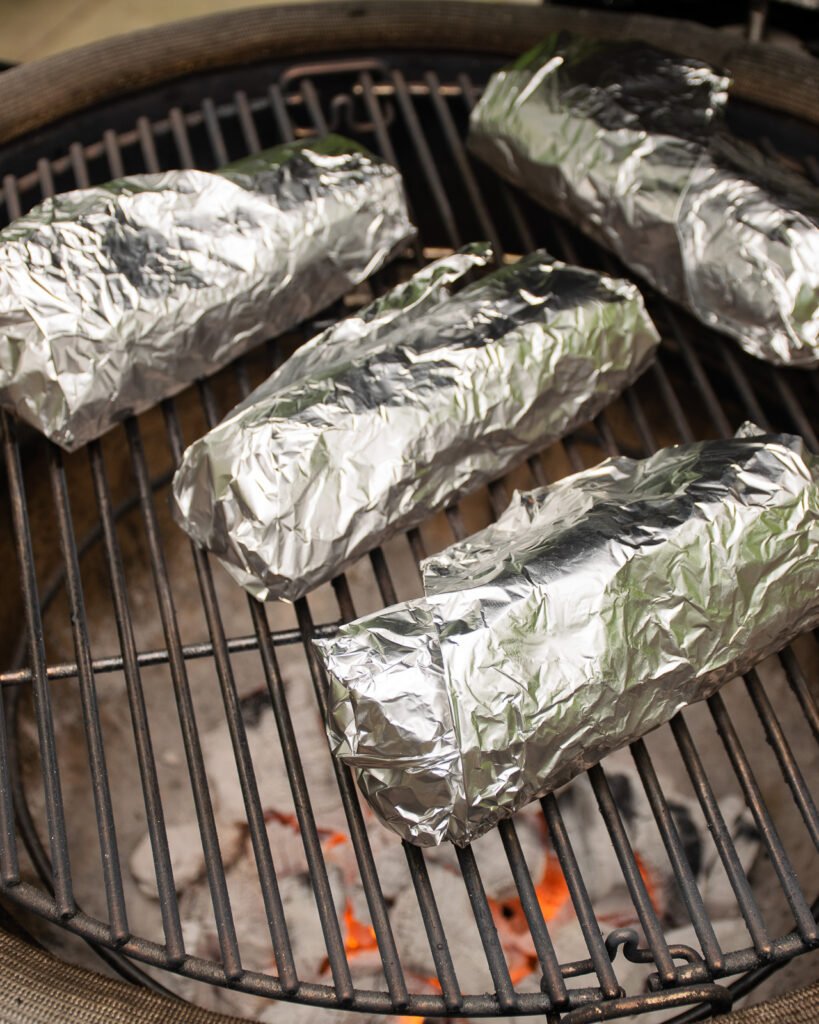
These roast beef sandwiches are delicious when warmed. Just remember to build the sandwich keeping as much moisture out as possible and wrap them in aluminum foil (instead of parchment paper). Then, you can pop them onto a BBQ grill for about 5 to 6 minutes, turning them halfway through. The bread should crisp up and the cheese will melt. As the sandwich warms, the filling ingredients will release more moisture making this sandwich a bit messy to eat, but it’s the kind of delicious mess that keeps you licking your fingers at the end hoping for more. You can also partially unwrap the sandwiches so that they are sitting in an aluminum foil boat and air-fry them for about 4 minutes at 380ºF. This also warms the fillings, melts the cheese and crisps up the bread.
Delicious hot or cold!

Can’t wait to make these sandwiches. Thrilled to see the Duke’s. I’m originally from North Carolina and we lived on that wonderful stuff. Now in CA but happy that over the past few years I can get it through Amazon. Love you recipes.
These sandwiches were delicious! Thank you for the recipe! I can hardly wait to make them again!
So very easy and good. A unique combination of ingredients that I probably wouldn’t have thought of myself, but it works so well. Fresh tasting. We had ours cold.
These are the best sandwiches! I am not a beef sandwich person, but made these and we absolutely love them. I have made them at least four times. We like a little crunch, so I heat them in the air fryer and they come out perfect every time.