Buttermilk Biscuit Variation
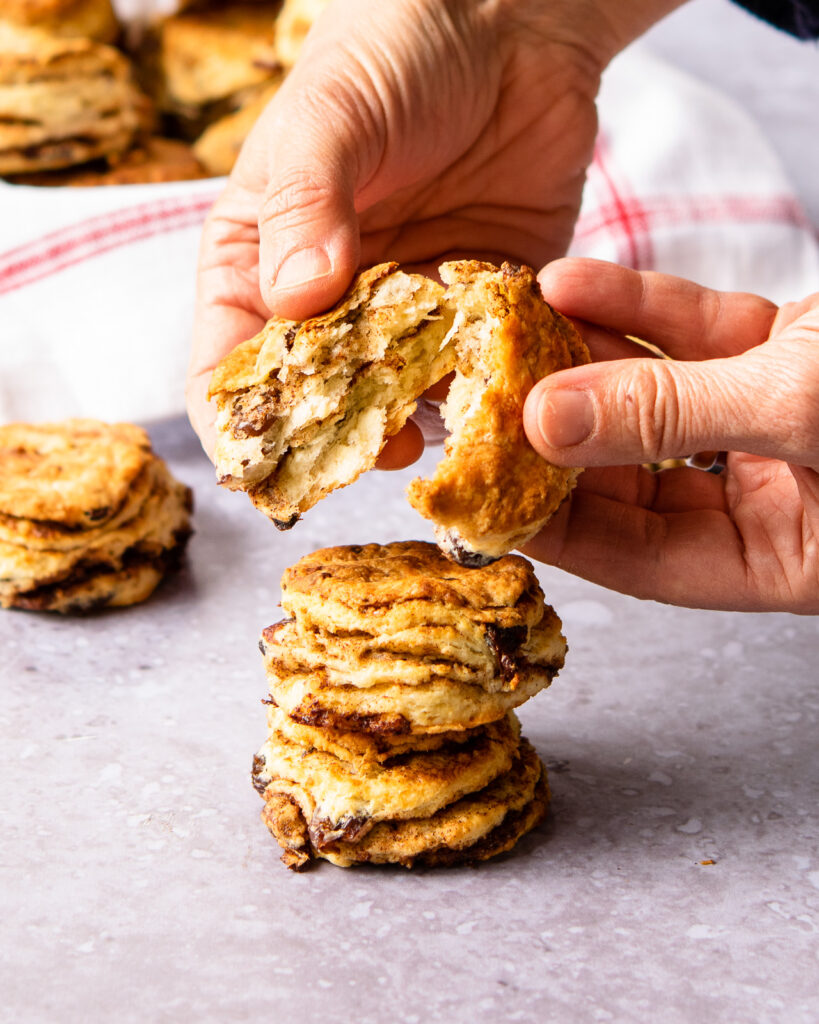
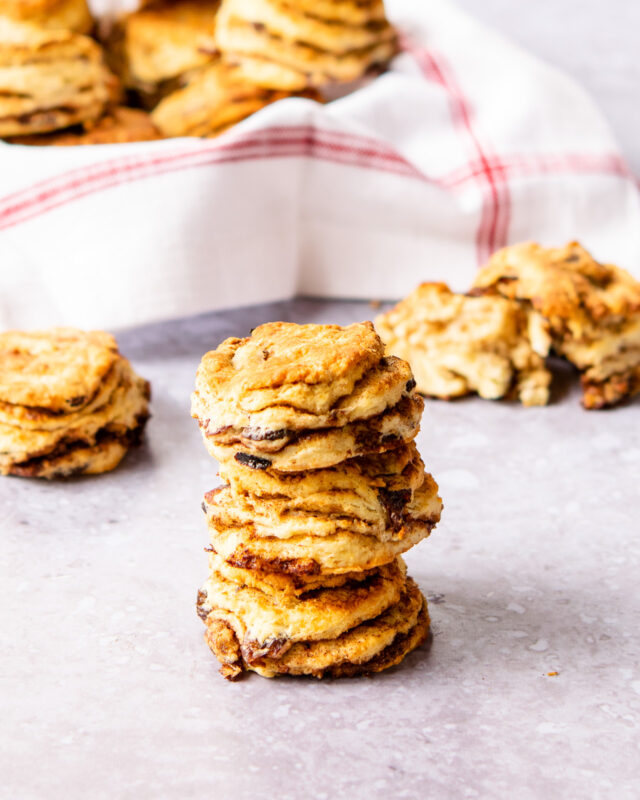
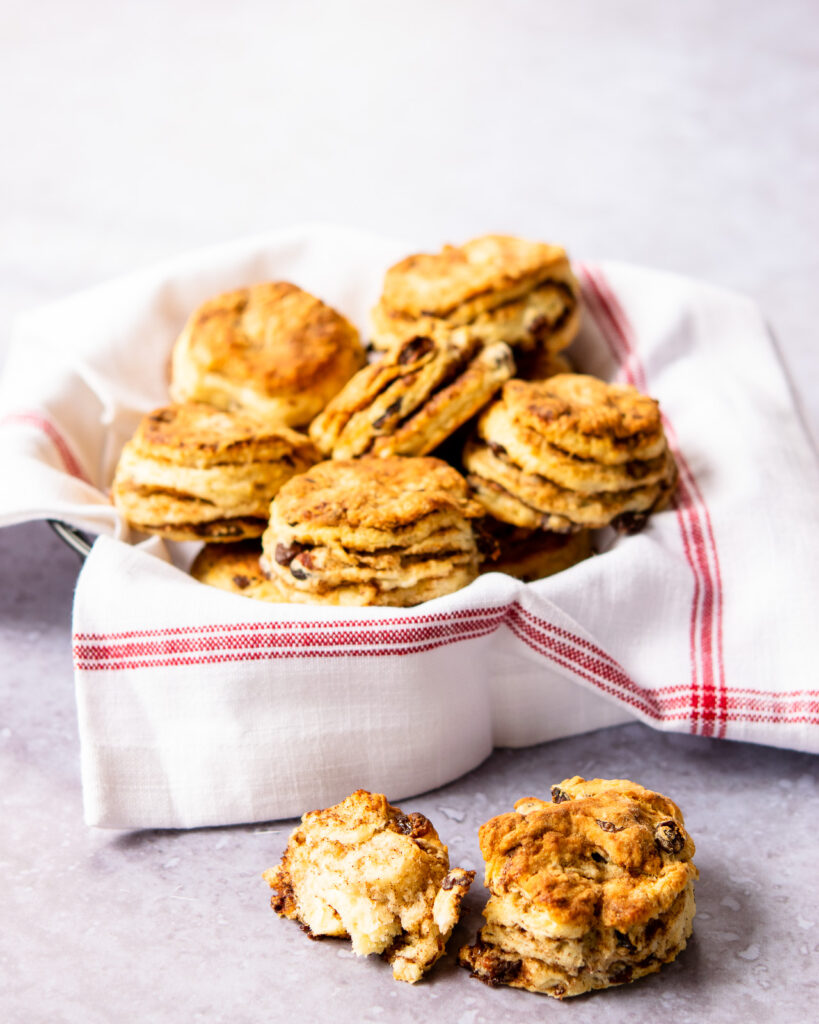
I love a good buttermilk biscuit and I’ve made many variations on my basic Buttermilk Biscuit recipe over the years, including Sourdough Buttermilk Biscuits, Cheddar Biscuits, and Cranberry Orange Buttermilk Biscuits to name a few. I think, however, these Cinnamon Raisin Biscuits might just be my favorite. The biscuit dough uses all-purpose flour instead of self-rising flour because I wanted it to have a little more substance (enough structure to hold the raisins) and I use a quick folding procedure to create layers in the biscuit. In this recipe, the layers are separated by a cinnamon sugar that distributes that great cinnamon flavor beautifully. It’s easy to do and very rewarding.
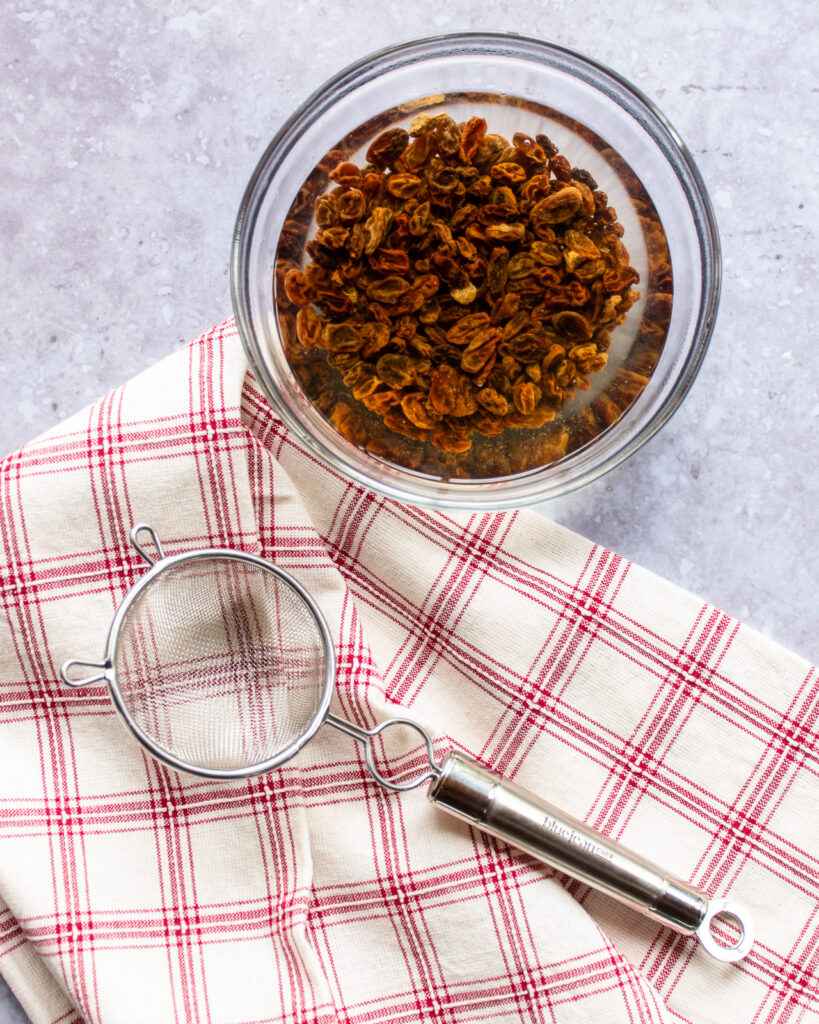
Plump the Raisins
The first step is to plump the raisins in some hot water. Depending on how old your raisins are, they can be quite dried out. Giving them back some moisture helps keep the biscuits moist as well. Pour some hot water over the raisins and let them soak while you gather the rest of the ingredients and cut in the butter. Just be sure to squeeze out as much of the water as you can before adding them to the dough.
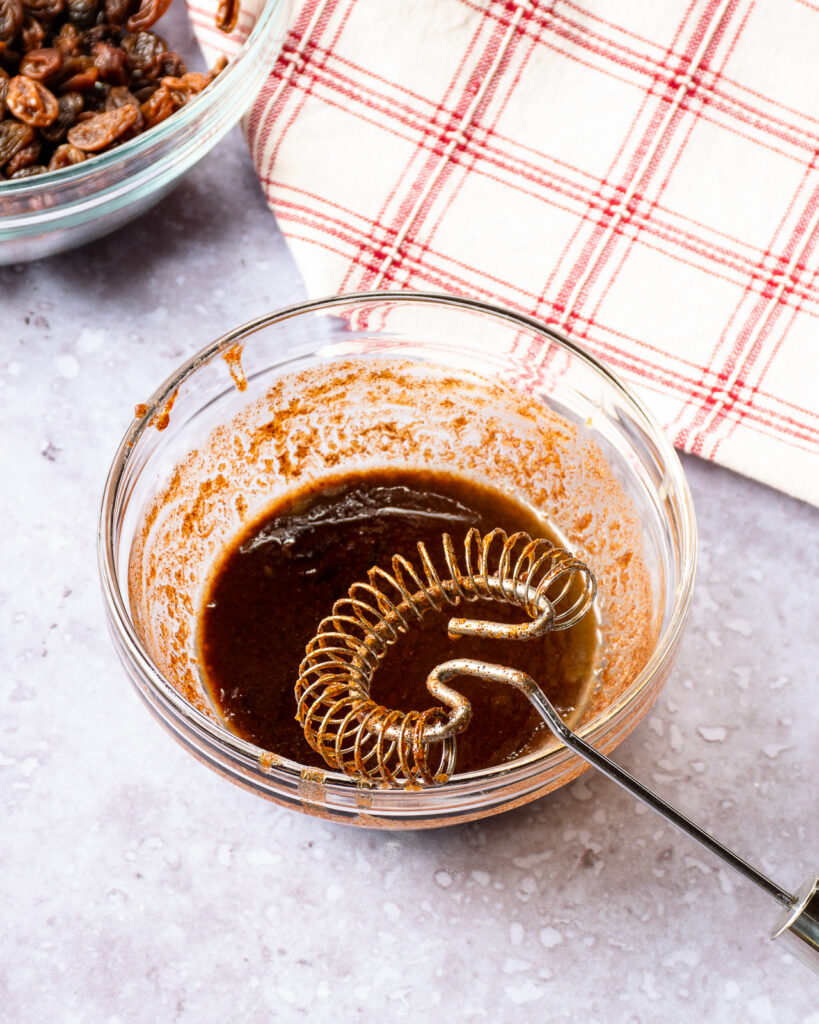
Cinnamon Sugar Swirl
The next step is to make the cinnamon sugar mixture that goes between the layers of the cinnamon raisin biscuit. Simply whisk brown sugar, cinnamon and melted butter together in a bowl and set it aside. You do want this mixture to be spreadable, but not so cold that it solidifies again. If it does, just warm it slightly. Ideally, it should be room temperature, not hot, when you put it on the dough.
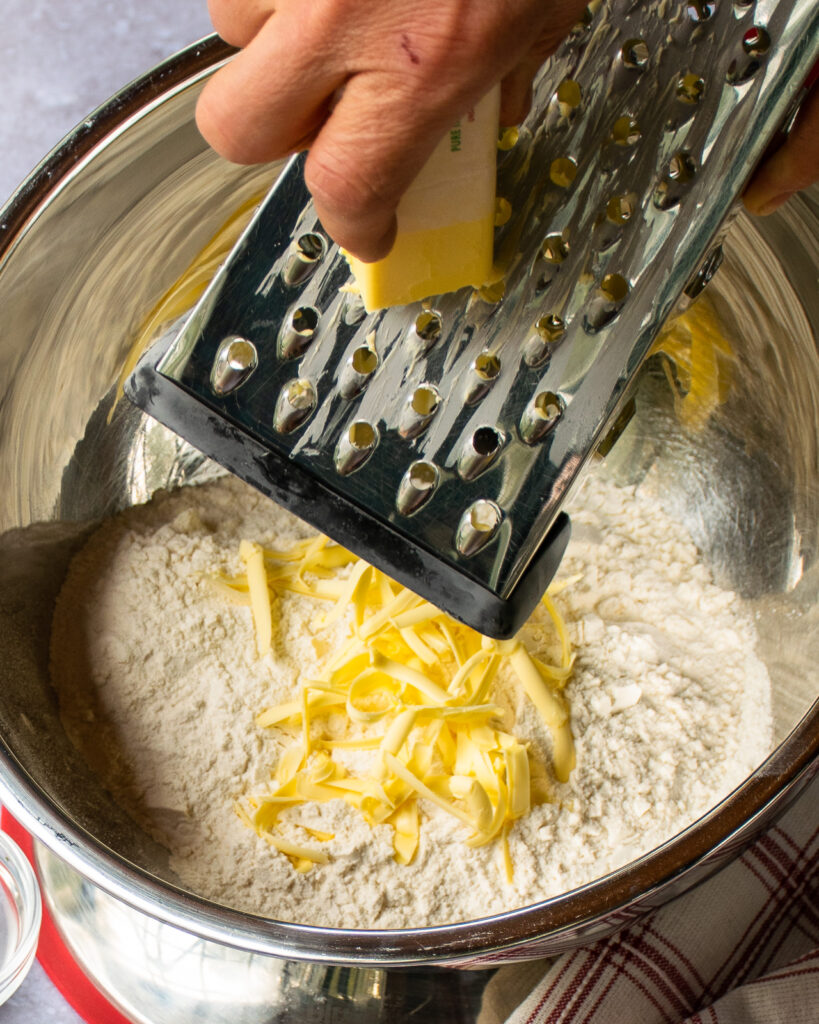
Best Way to Cut in Butter
The goal when making biscuits is to gather the ingredients together into a dough without completely incorporating the butter. To do this, chill your stick of butter in the freezer for 30 minutes and then grate it with the large holes of a box grater right into the dry ingredients. Toss it around, along with your raisins before adding the buttermilk. In a perfect world, you should still see chunks of butter in your biscuit dough when you go to roll it out.
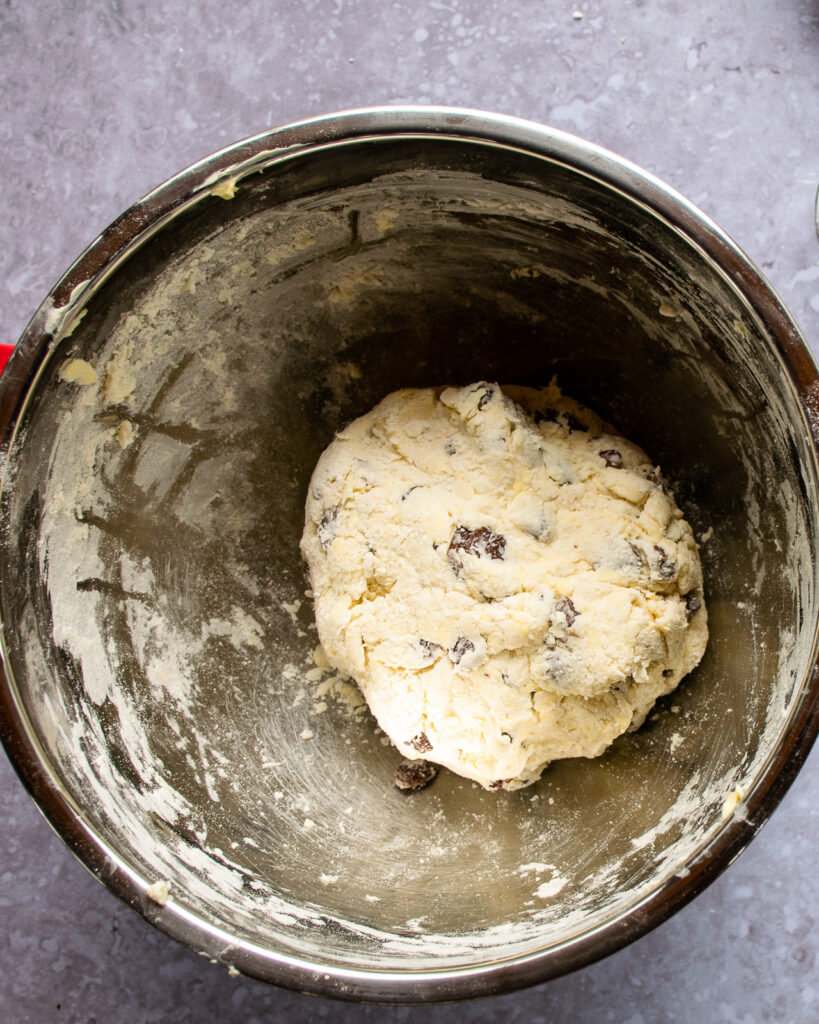
Key to Biscuits
The key to keeping the butter in smaller chunks (rather than completely incorporating it into the other ingredients) is COLD. Keep the butter cold. Keep the buttermilk cold. If at any time, you feel like the dough is getting warm, pop it into the fridge for 15 minutes before proceeding. In fact, I recommend chilling the dough in the fridge between the mixing and the rolling stages. That means this is a great place to stop (the first of several) if you’re making the biscuits ahead of time.
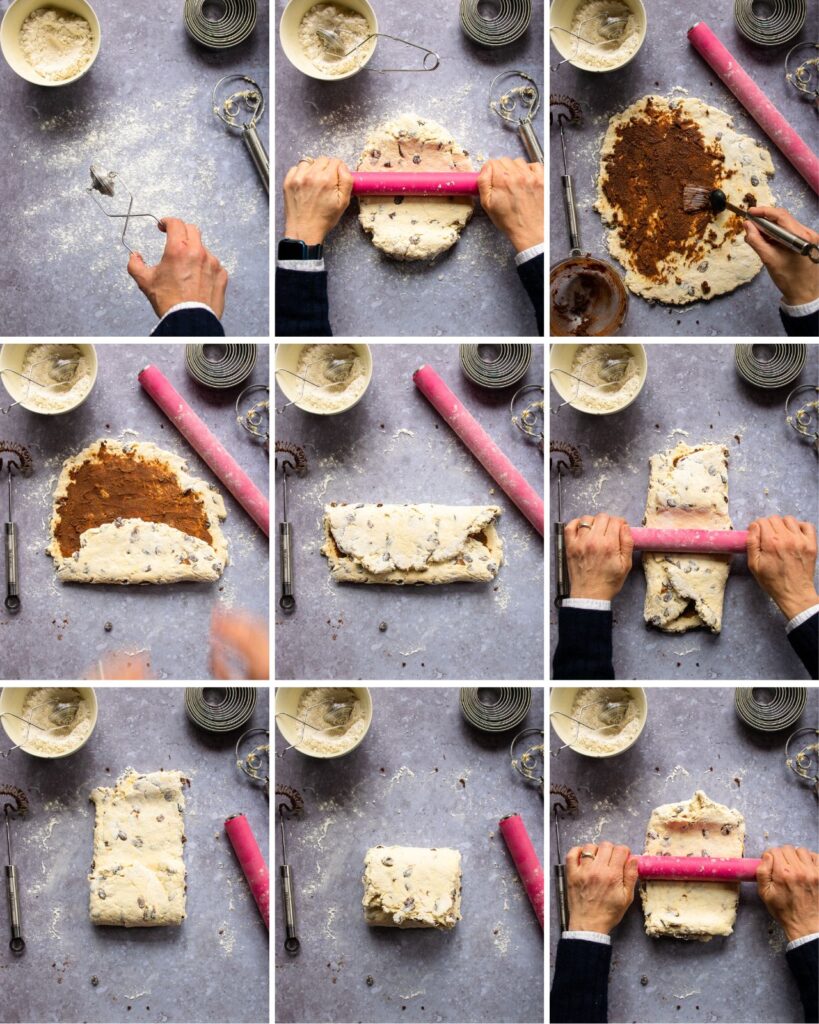
How to Fold Biscuit Dough
Rolling the biscuit dough out and then folding it over itself a few times is a great way of increasing the layers in the dough – a lamination of sorts. Roll the dough out, spread the cinnamon sugar over the dough and fold it in thirds, the way you would fold a letter. Give it a quarter turn and roll it out again. Fold it again like a letter. This is another place in the recipe where you can stop if you’re making this ahead of time. Wrap the little rectangle of folded dough well and pop it into the fridge. If you’re not making ahead, roll the dough out one more time.
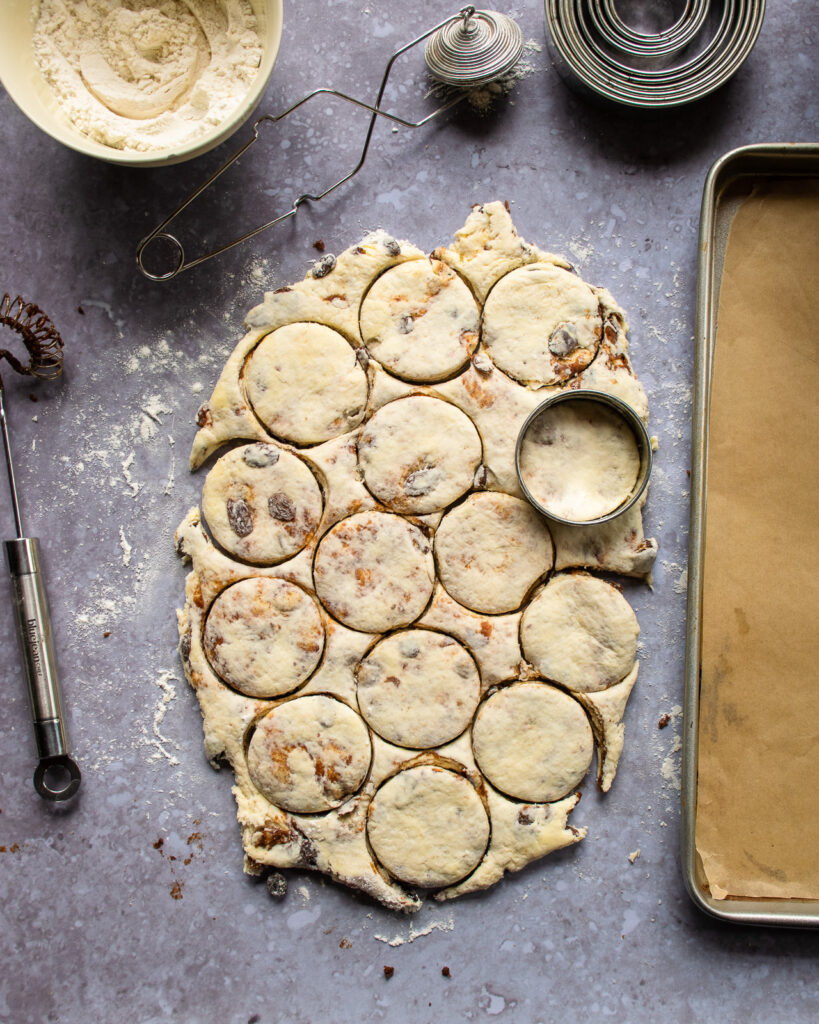
Best Biscuit Cutting Technique
You can cut these biscuits with a circle cutter, but make sure that cutter has a nice sharp edge and don’t twist the cutter as you cut. Press straight down. Twisting seals the edges of the biscuit, making it more challenging for the biscuit to rise up. The sharper the edge, the more easily the biscuit can rise. You can also use a knife if you don’t have a biscuit cutter and cut the biscuits into squares, diamonds, wedges, whatever shape you like. If you cut the biscuits into rounds as above, you’ll end up with some biscuit scraps. Just gather these together and press them into a flat shape before cutting more biscuits. These biscuits will look different from the perfect round ones, but I find them to be just as delicious.
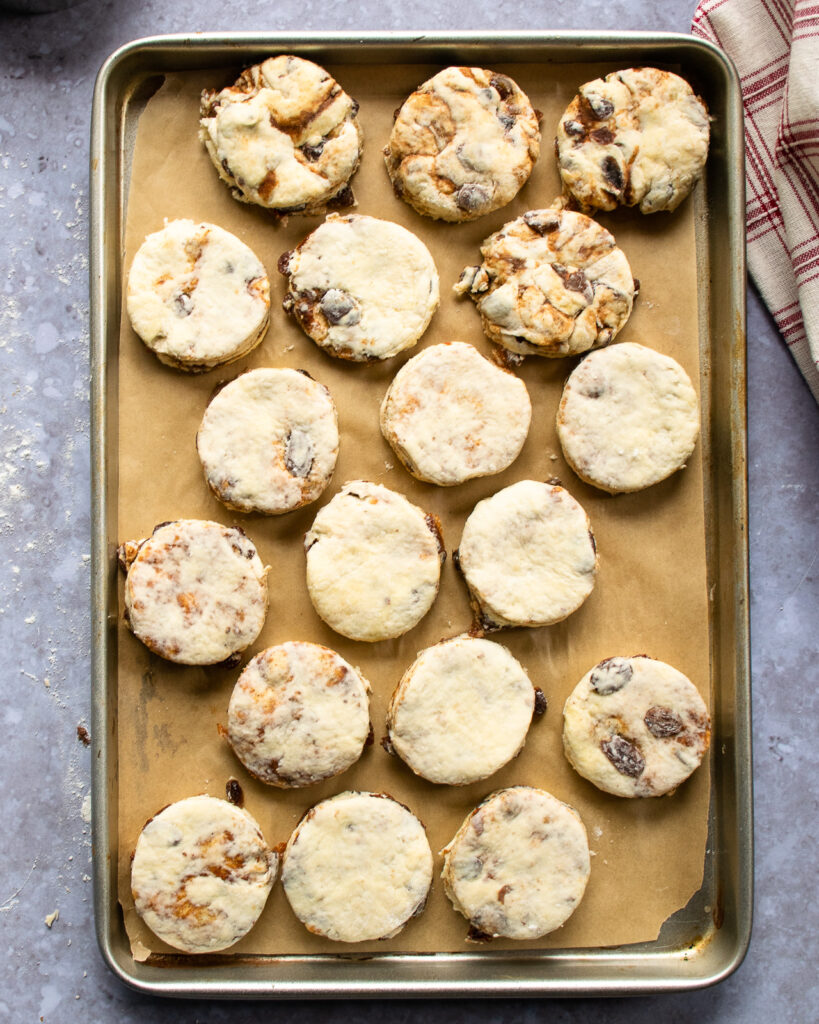
No Space Needed
You can put the biscuits onto a baking sheet quite close together. Having a neighboring biscuit is a good way to encourage the biscuits to rise up rather than spread out. If you put the biscuits right up against each other, you might need to add a few extra minutes to the baking time. I like to leave a little room between the biscuits because I like the crisp dry edges. If you want softer biscuits, push them up next to each other.
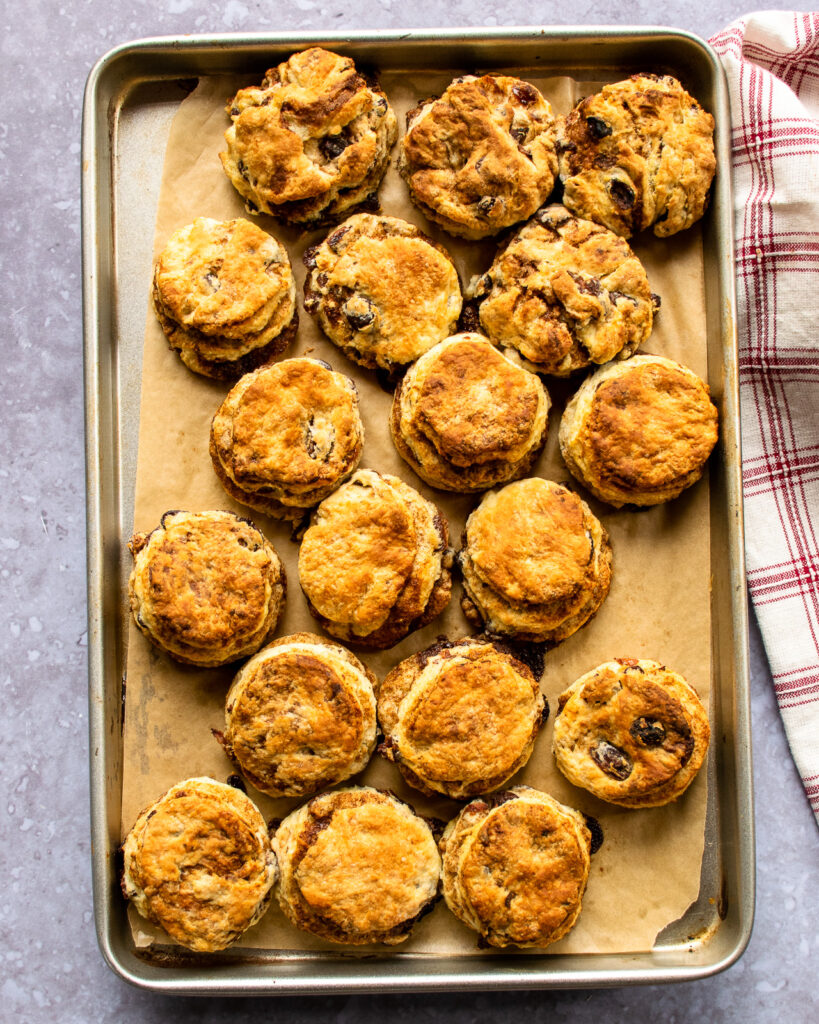
Baking Temperature for Biscuits
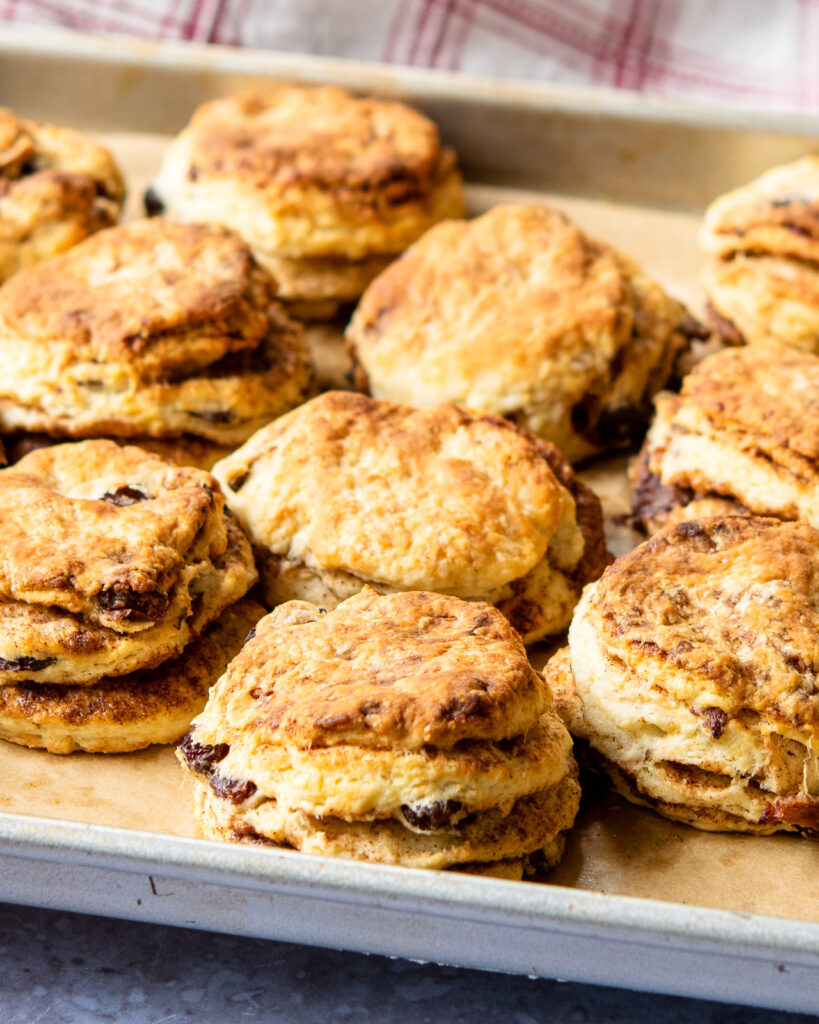
Biscuits should be baked at a hot temperature. Pop them into a 425˚F oven for just 15 minutes, until the tops are brown. Let them cool on the pan for 5 minutes or so. You can brush melted butter on top if you want them really buttery. You could even ice them with a cream cheese glaze if you like. I keep them plain so that they are portable and easy to eat.
How to Serve and Store Biscuits
I like these cinnamon raisin biscuits on their own with a cup of coffee, but you could serve them with more butter, some cream cheese or even a dollop of whipped cream and a sprinkling of cinnamon. Store the biscuits in an airtight container for up to a week, or freeze them with as little air as possible in a freezer bag for up to three months. You can pop them into the oven or air fryer at 350˚F for 5 to 10 minutes to defrost. Then, break one open and enjoy!
