Sweet Blueberry Biscuit
I’m a big fan of buttermilk biscuits. I love their soft, tender crumbly nature and I love how receptive they are to additional ingredients and flavors. My traditional buttermilk biscuits have a lightly sweet flavor which, based on reader response, seems is quite controversial! Well, brace yourself because this big blueberry skillet biscuit adds a little more sugar, along with blueberries and lemon zest. Don’t think of it as a traditional Southern biscuit, but more of a delightful dessert or sweet afternoon snack.

Buttermilk Biscuit Ingredients
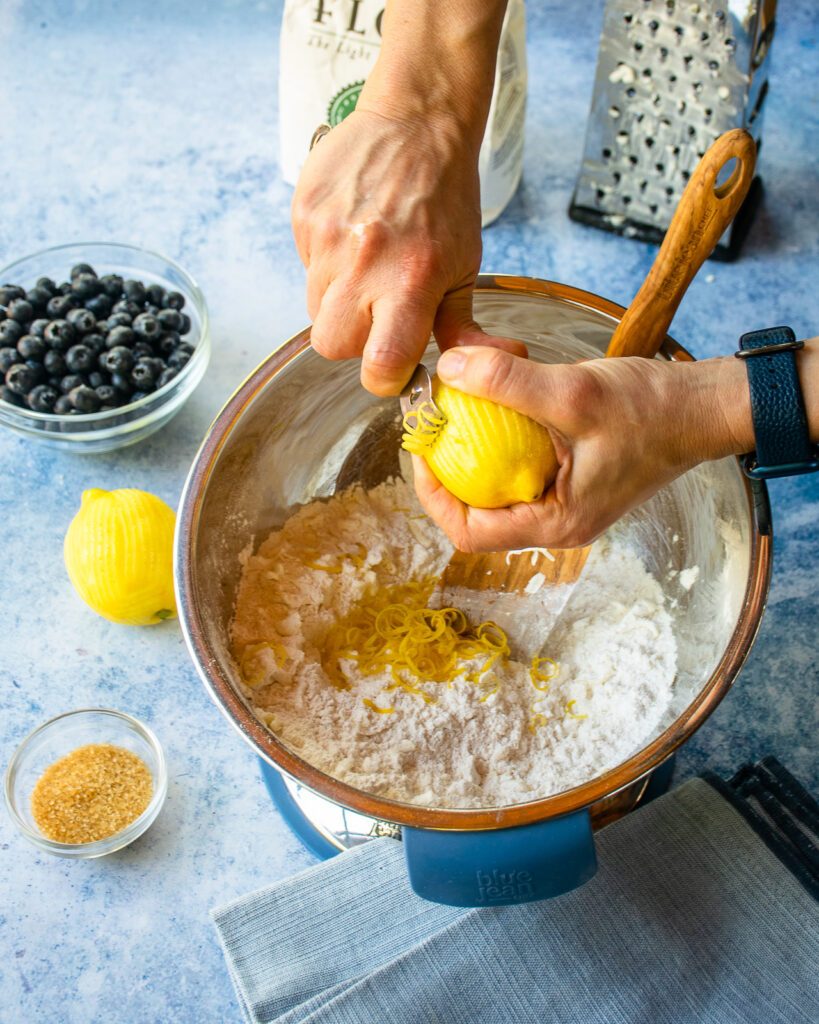
The ingredients for buttermilk biscuits are pretty basic – self-rising flour, unsalted butter, buttermilk, salt and sugar. To make a blueberry buttermilk biscuit, you’ll just need to add blueberries and lemon zest to the regular ingredients. A few words about these simple ingredients…White Lily self-rising flour is my first choice for flour because it is made with soft winter wheat, which helps create a very tender crumb. If you don’t have any self-rising flour, scroll down to read about substitutions. While you can create a substitute for buttermilk (scroll down for that too), I really do think these are best made with true buttermilk.
Trick for Making Buttermilk Biscuits
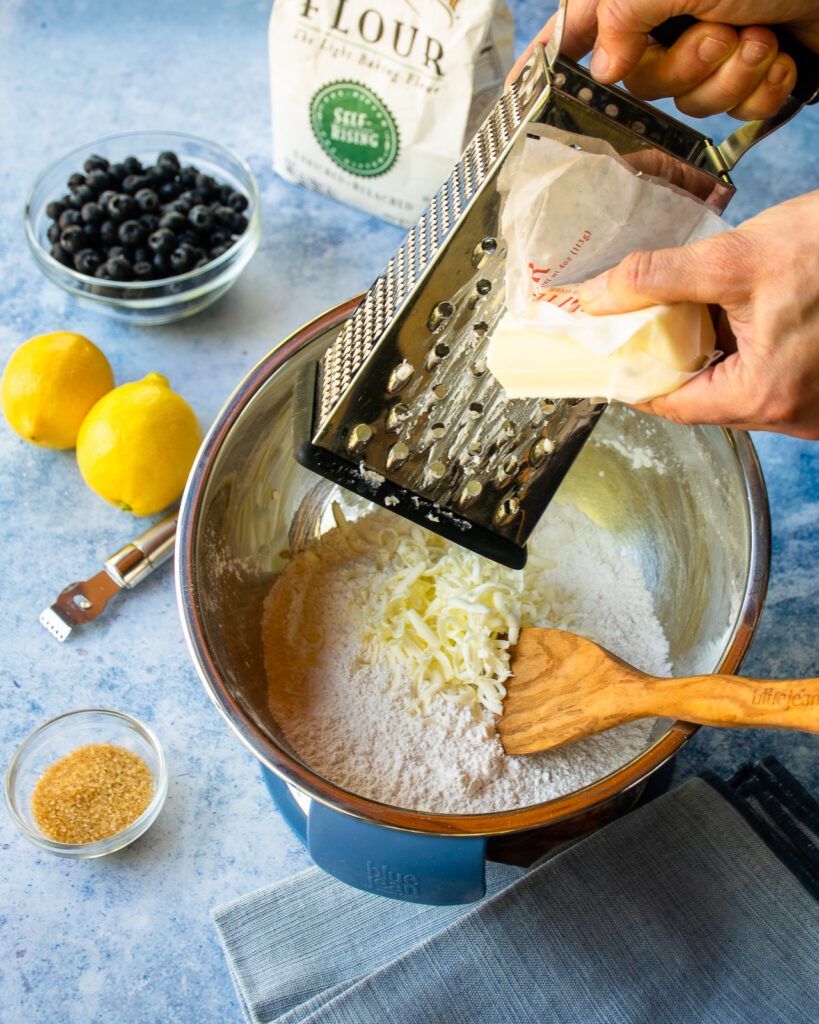
If you want your buttermilk biscuits to be soft, tender and crumbly, you want to make sure you leave the butter somewhat intact in the batter, rather than letting it melt and incorporate completely into the flour. You could cut the butter into the flour with two knives or a pastry cutter, but I find the easiest and quickest way to do this is to freeze the butter briefly and then grate it into the flour using a box grater. That way, the butter is added in small chunks and all you need to do is stir to coat with the flour before adding the buttermilk which brings the batter together.
Ingredient Substitutions
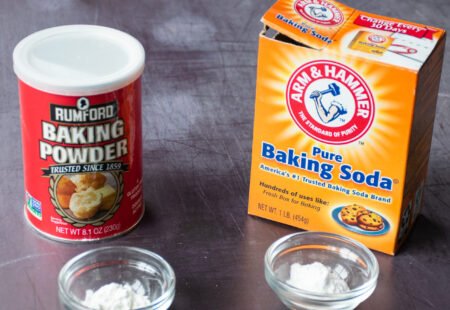
You might not have either self-rising flour or buttermilk on hand and in a pinch, there are some substitutions you can make. If you are fresh out of buttermilk, you have a choice. For every cup of buttermilk needed, add 1 tablespoon of white vinegar or lemon juice to a measuring cup, and then add enough milk to measure 1 cup. Let it stand for 5 minutes. Or, just replace the buttermilk with whole milk plain yogurt (not Greek). For self-rising flour, for every cup use 1 cup of all-purpose flour plus 1 1/2 teaspoons baking powder and 1/4 teaspoon salt. For this recipe you will need:
1⅓ cups of Buttermilk = 1⅓ cup milk + 1 tablespoon and 1 teaspoon of vinegar or lemon juice OR 1⅓ cups plain whole milk yogurt
2⅓ cups Self-Rising Flour = 2⅓ cups All-purpose flour + 3½ teaspoons baking powder + ½ teaspoon salt
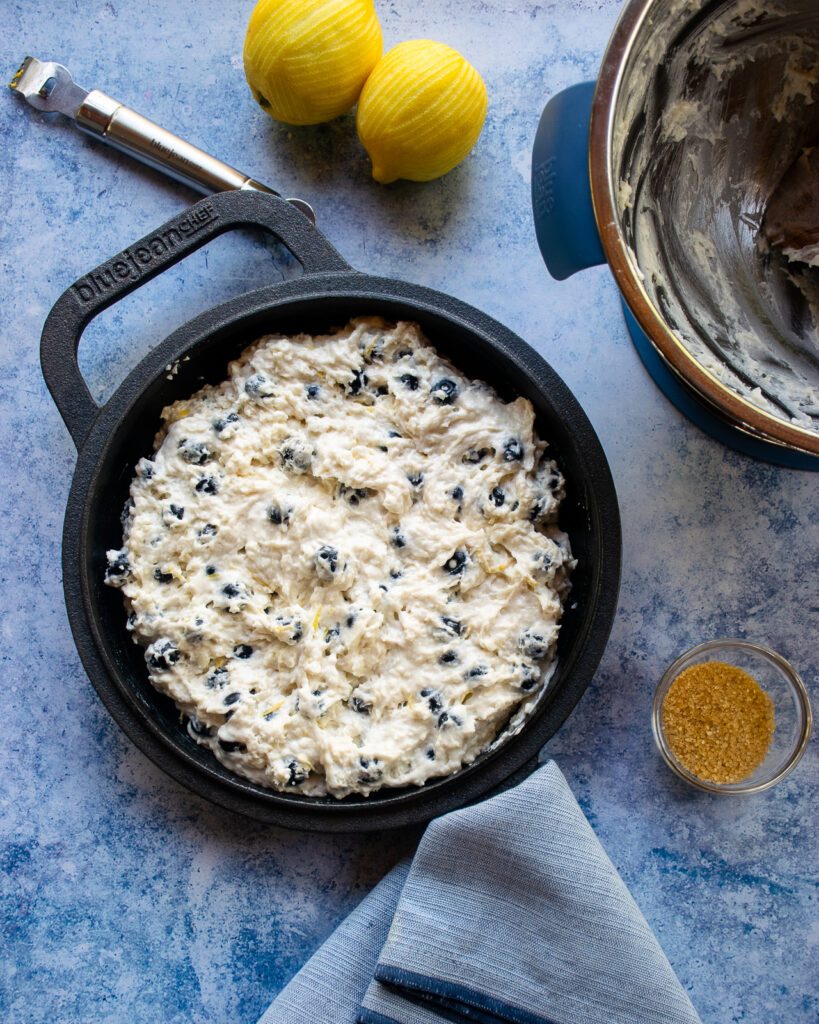
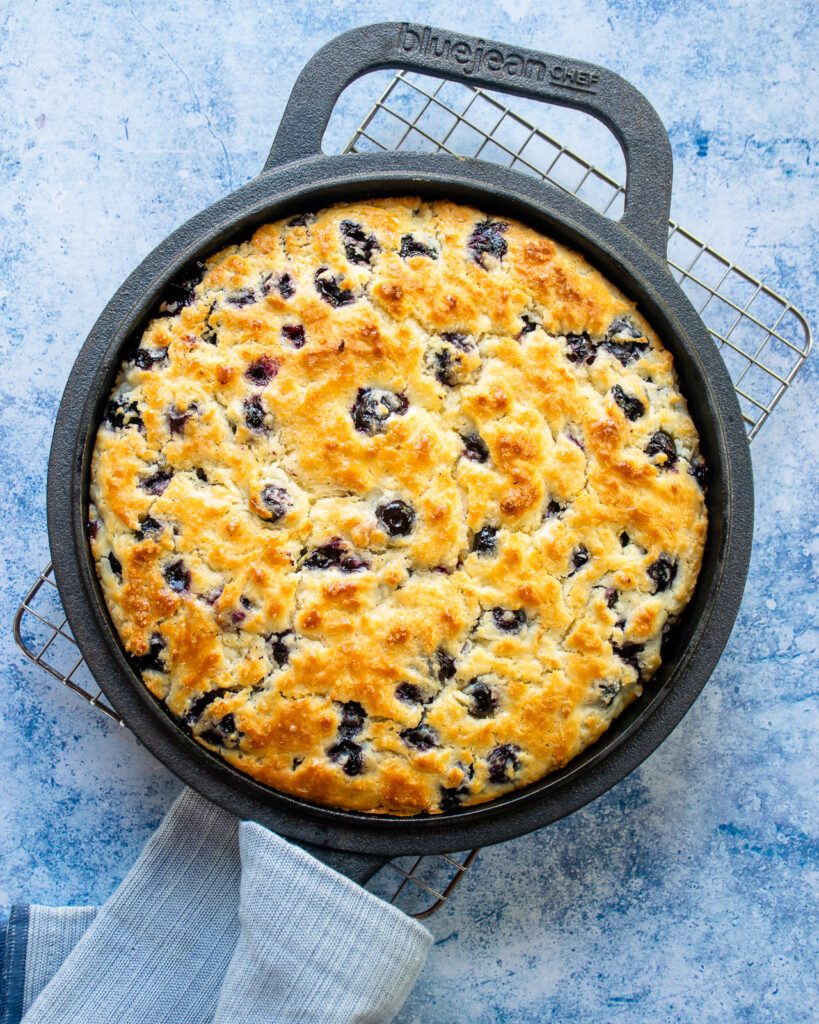
Cast Iron Skillet Biscuit
One of my favorite parts of this recipe is the fact that you bake it as one big biscuit in a skillet. No more shaping individual biscuits. Instead, just spread the batter into a greased skillet that is oven safe. I like to use a cast iron skillet because it gets hot and stays hot, giving the biscuit nice color on the bottom. You could use a stainless steel or aluminum non-stick skillet if you prefer, but check the timing of baking a little earlier than instructed – stainless steel and aluminum heat up faster than cast iron.
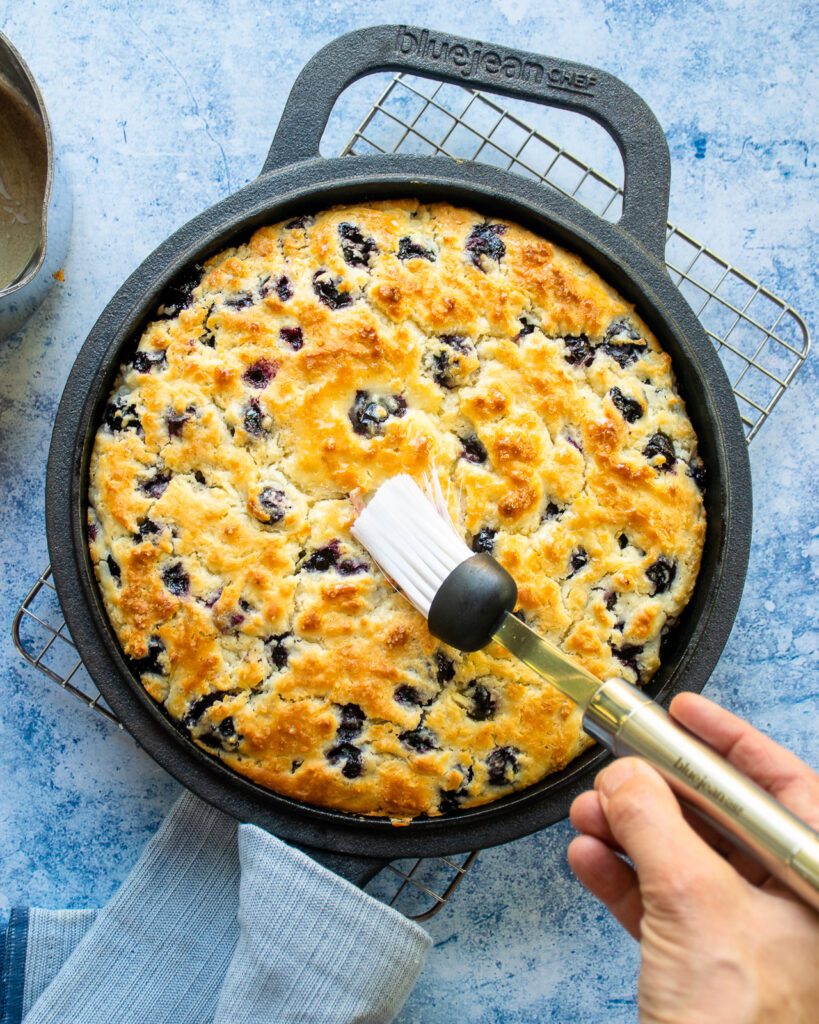
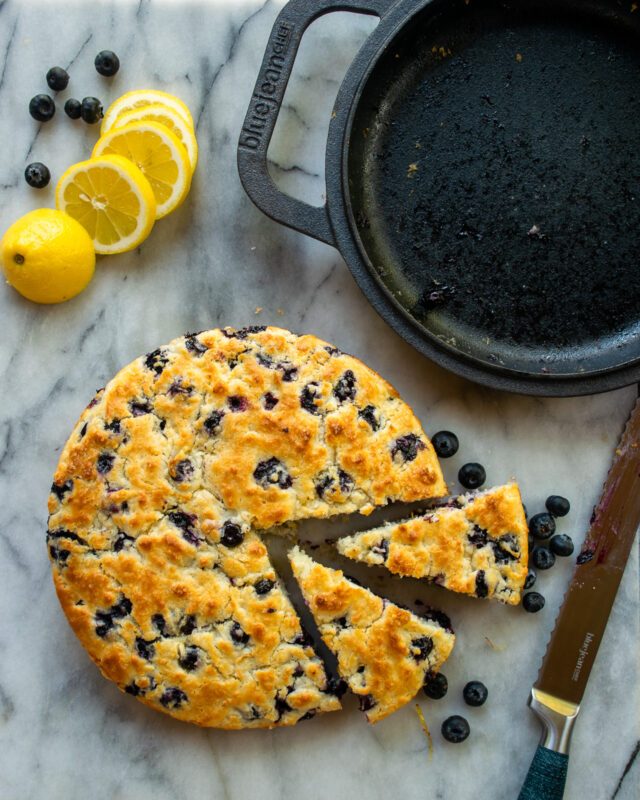
How to Serve Sweet Blueberry Buttermilk Biscuits
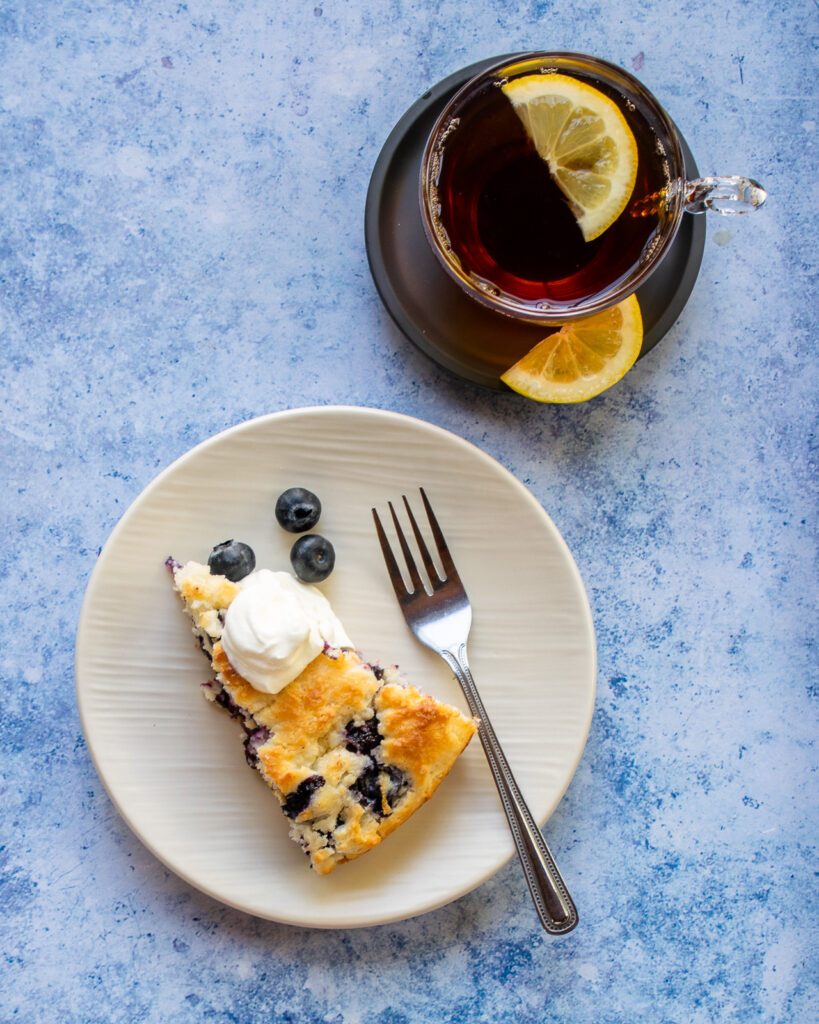
When the big blueberry skillet biscuit comes out of the oven, brush it with a little melted butter for added flavor and shine. Then, let it cool for a little while in the pan before turning it out onto a cooling rack. To serve this, cut it into wedges and dollop a little whipped cream on the side, or just eat it plain with a cup of coffee or tea. It’s a great way to make any afternoon better.


Grilling and baking is my passion, hence the recipe for Blueberry Skillet Biscuit has attracted my attention in the first instance. However, I have tried the recipe with pure ghee replacing unsalted butter. The biscuits are baked awesome with excellent ghee flavor. Ghee is a better baking medium for me for it flavor and high smoke point.
Can I use frozen blueberries? Any changes to recipe required? Thanks!
Frozen blueberries would be fine. No changes necessary.
How can I sub almond flour (or other GF flour) for the regular flour?
This recipe has not been tested with gluten free flour but you can try substituing the same amount of almond flour or cassava flour for the all-purpose flour.
This looks so delicious, but do I need to use a cast iron pan? I don’t have one because there is no room for one more thing in my tiny kitchen.
You can make this with a good quality skilet – it doesn’t have to be cast iron, but cast iron gives you a more brown and baked crust, that’s all.
ML
I made two pans of this biscuit bread tonight to share with my kids.. They are so easy to make and turn out wonderful.
I’ ve made the regular buttermilk biscuits and they are great as well. Thank you for sharing all the delicious recipes!
I tried using frozen blue berries. Centre did not bake within tone frame Had to bake 12 minutes longer but very good recipe
I made this recipe a few weeks ago. My family loved it. Easy to make. Thanks.
OK, I’m giving this recipe 4 stars, but the problem may be me. Lol. I altered the recipe with KAB Measure for measure gluten free flour and added baking powder and salt to make it self rising. I made the recipe twice, both times my batter was quite dry vs quite wet and I needed to add additional buttermilk. Idk if that was due to the gf flour though. But anyway, the first time I made it I baked for the recommended time at 400° and when I took it out after the full 30 mins it was still dough in the middle. Today I made it again and used convection bake at 375° for the 25 mins then brushed with butter and baked the additional 5 mins and it came out perfect!
The recipe has not been tested with gluten-free flour so that could have a difference in the consistency. Sounds like you were able to make a few adjustments to make it work for you. Glad you are enjoying the recipe.
This recipe tastes as good as it look!
so easy to follow – had to add more buttermilk but it is/was yummy. The trcik with the butter really helps. i find it better to freeze it. i always have success with your recipes since your QVC days. i look forward to both the recipe and hints. thank you!