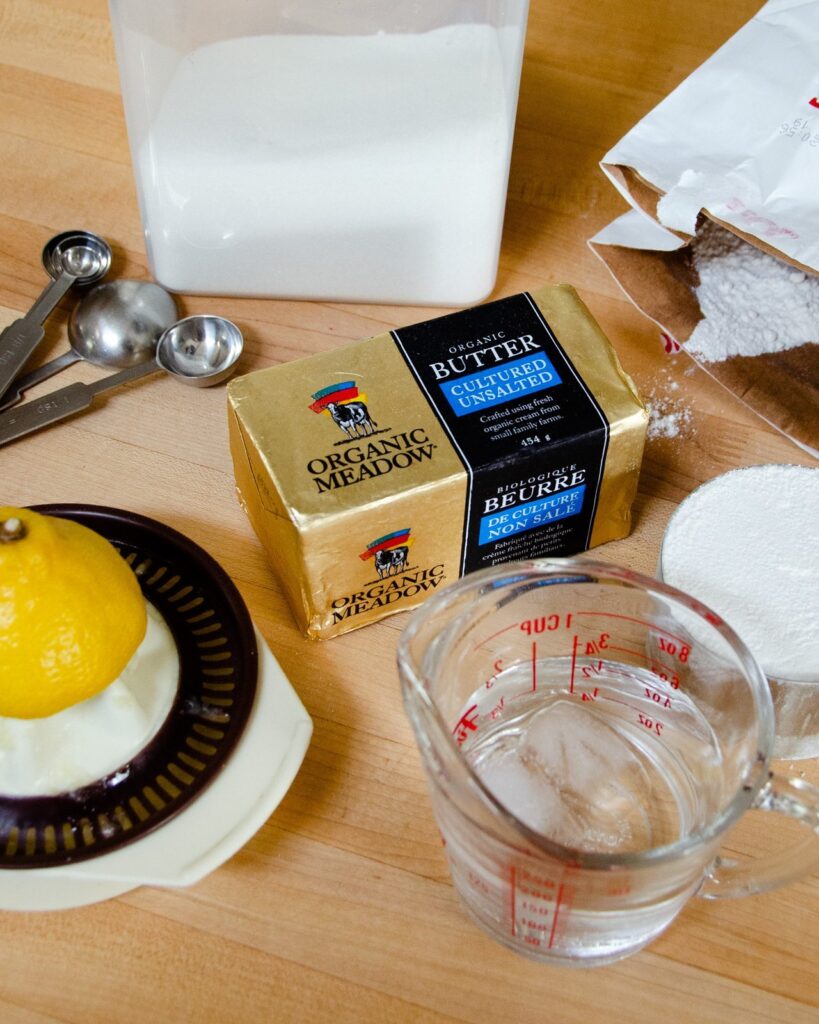
A good pastry is tender (falls apart as you bite into it), flaky (has layers of dough separated with air) and tasty (so much so that you want to eat it on its own). The tasty part, in my opinion, comes from using butter – a good cultured butter – rather than vegetable shortening. Butter is not always the easiest ingredient to work with because it melts at a low temperature, but there’s no question it has more flavor than shortening so the hard work is truly worth it. There are endless recipes for pastry in existence – some with butter, some with shortening, some with lard, some with a mixture of fats. Regardless of what ingredients you are using, there are just a few very simple rules that will help you make perfect pastry every time.
Stay Cool
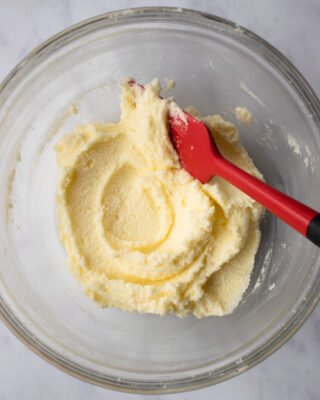
The first rule to making pastry is very simple – keep everything cold. The goal is to work the butter into the flour without completely blending it into the flour. In a finished pastry, you should still be able to see small chunks of butter. These chunks of butter are important because they shorten the strands of gluten in the flour, making it crumbly when you bite into it (rather than chewy like bread). When the chunks of butter get hot in the oven, the water in the butter will evaporate and create steam, separating the layers of flour and making your pastry flaky. So, it’s important that we keep the butter in little pieces. By keeping the butter cold, you run less risk of blending it into the flour. In addition, by using ice-cold water you’ll also help keep the butter in small chunks and run less risk of blending it into the flour. Cold. C-O-L-D.
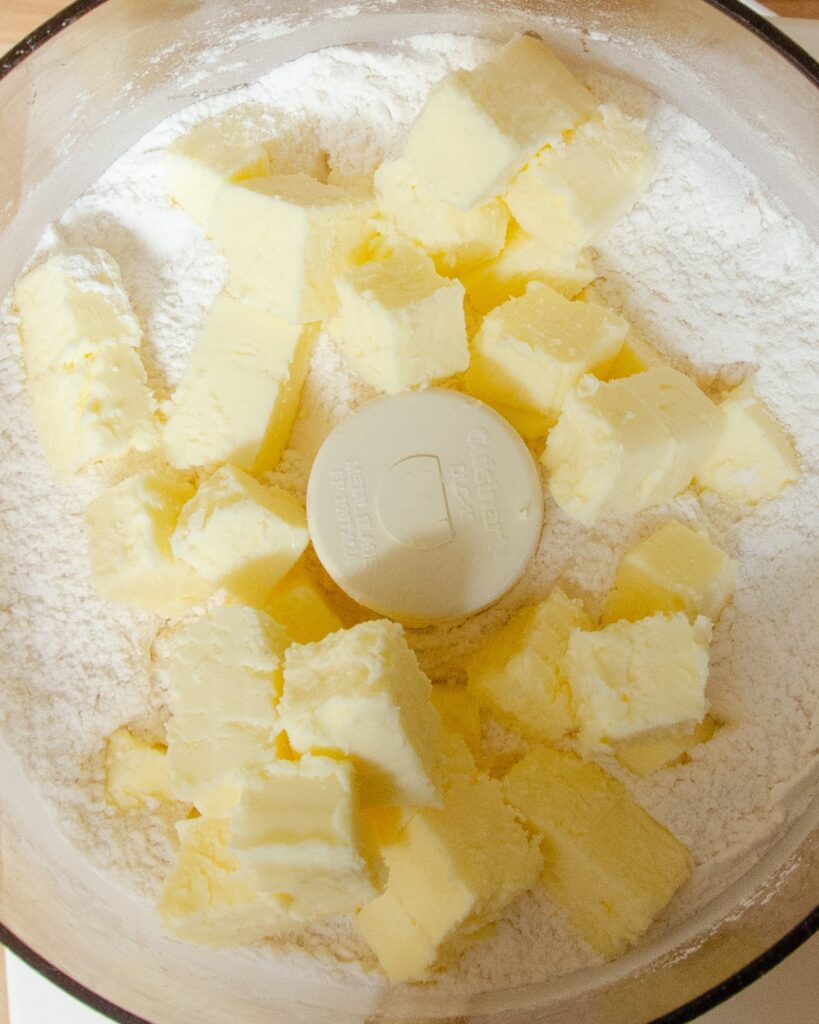
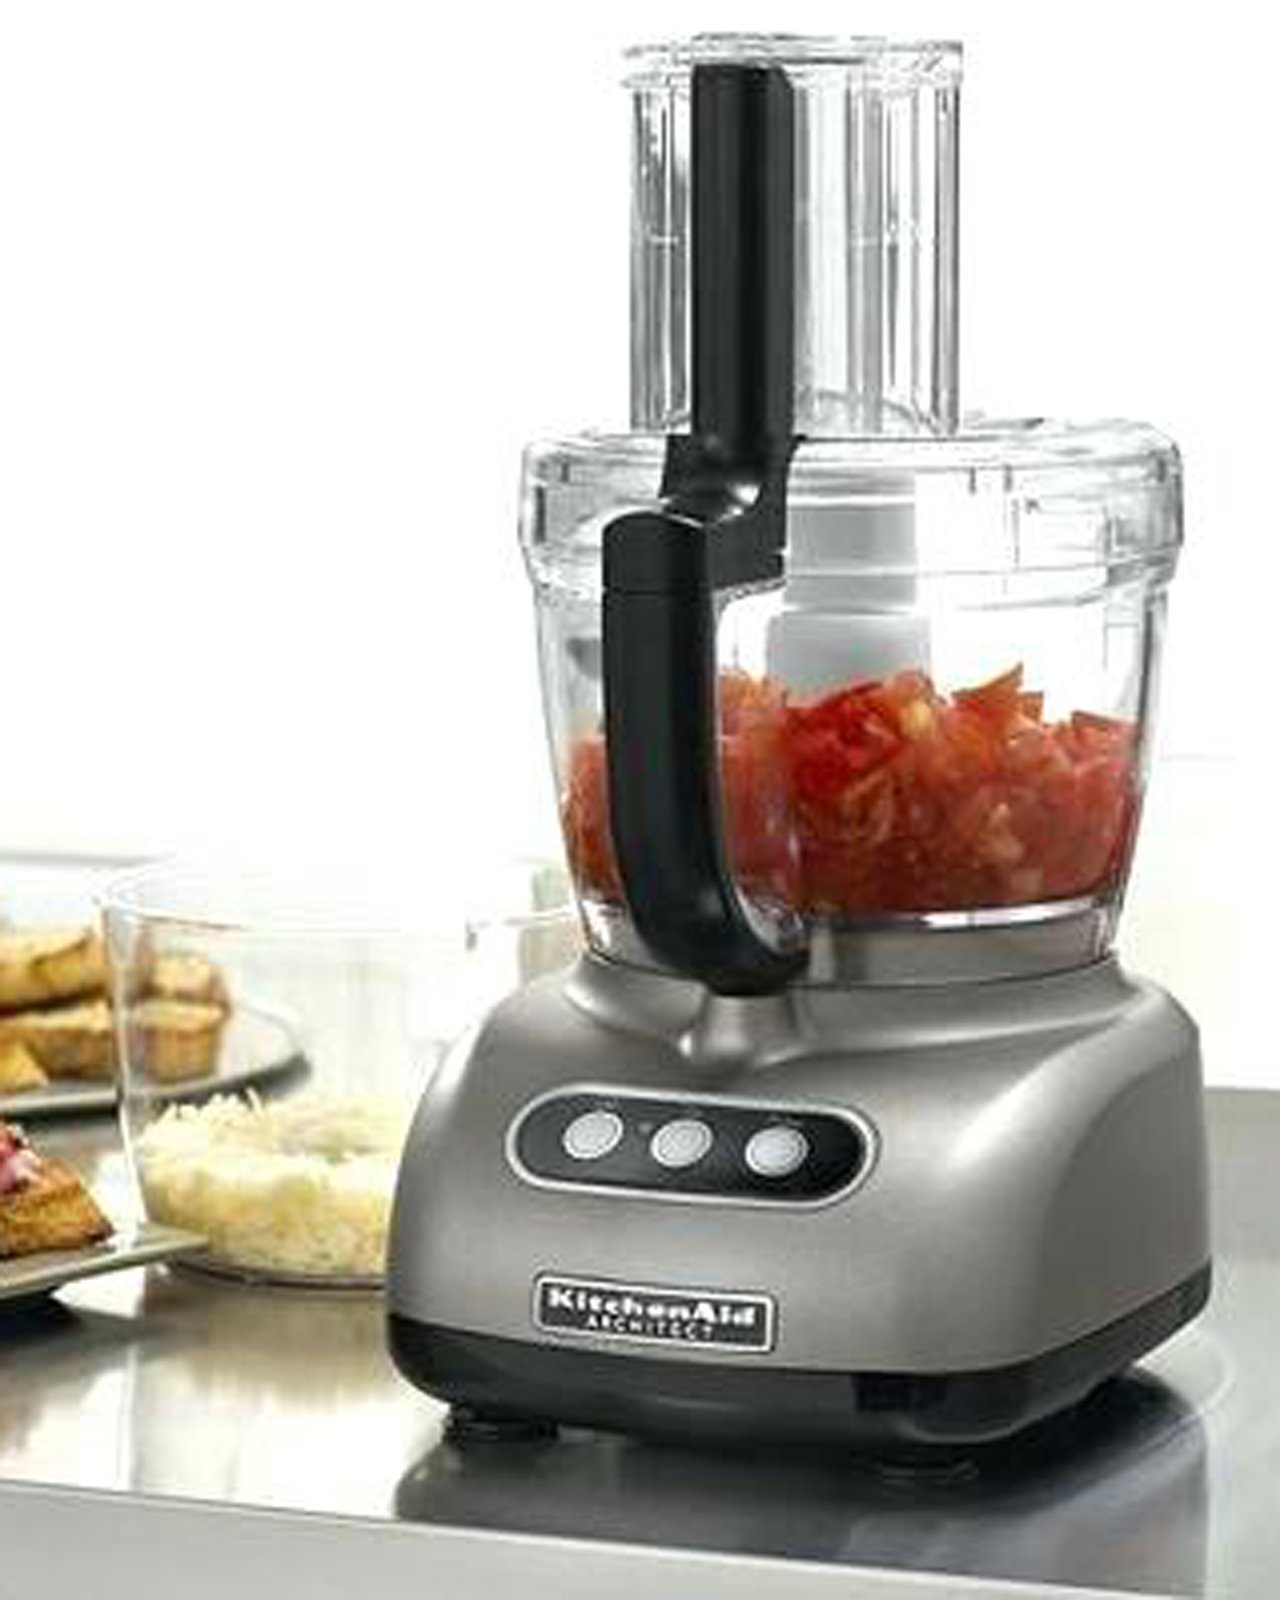
If you’re making pastry with your hands, wash your hands in cold water before you mix the butter into the flour. You can also use a pastry cutter or forks or two knives to do this job if you have very hot hands (as I do). If you’re using a food processor to make pastry, try chilling the butter cubes in the freezer for 15 minutes before putting them into the food processor. The blades of the processor are stronger and faster at blending than your hands, so semi-frozen butter stands a better chance than just cold butter.
Don’t Work Too Hard
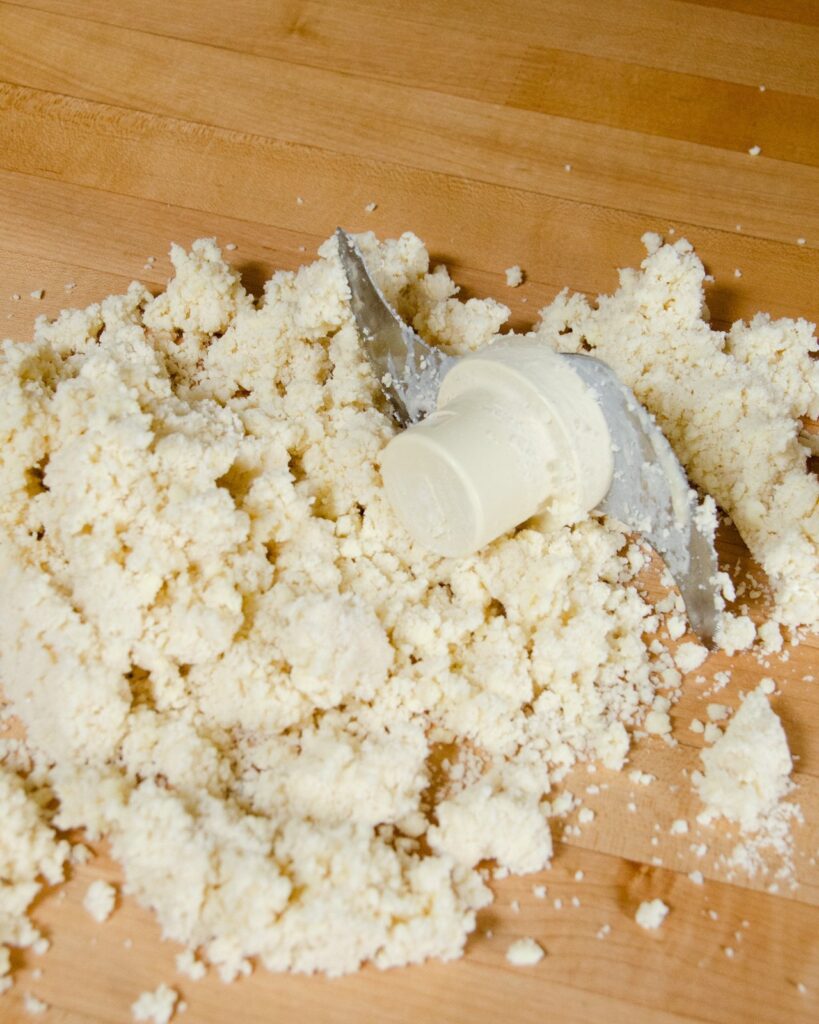
The second rule to making tender, flaky pastry is to not over-work or over-mix the pastry. If you knead the pastry too much, you’ll blend the butter into the flour (if you don’t know why that’s not good, re-read the paragraph above) and you’ll start to develop the gluten protein in the flour, making it more like bread than like pastry. So, try to bring the pastry together without handling it too much. That’s when using a food processor to do the job really comes in handy. Pulse the food processor until you can just start to see the pastry coming together in clumps. Dump it out onto your work surface at this point and do the rest by hand.
Rest and Relaxation
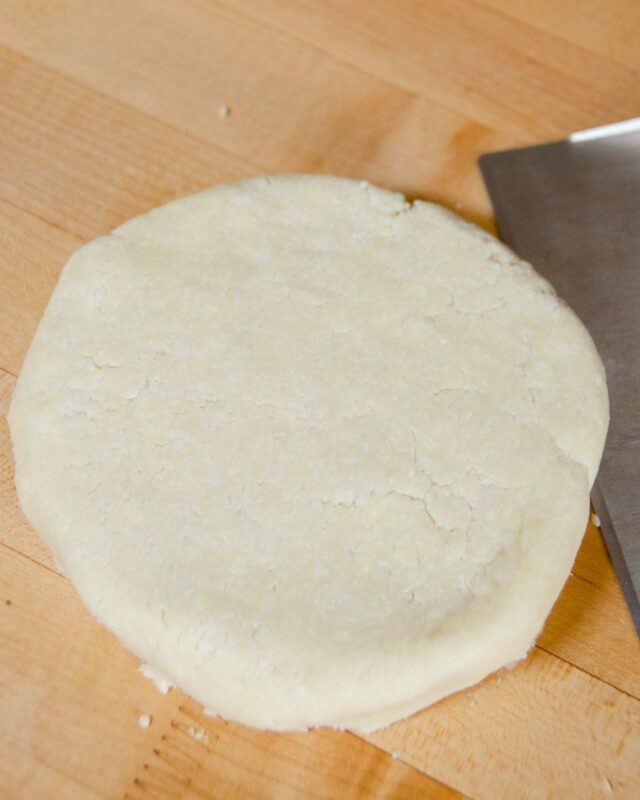
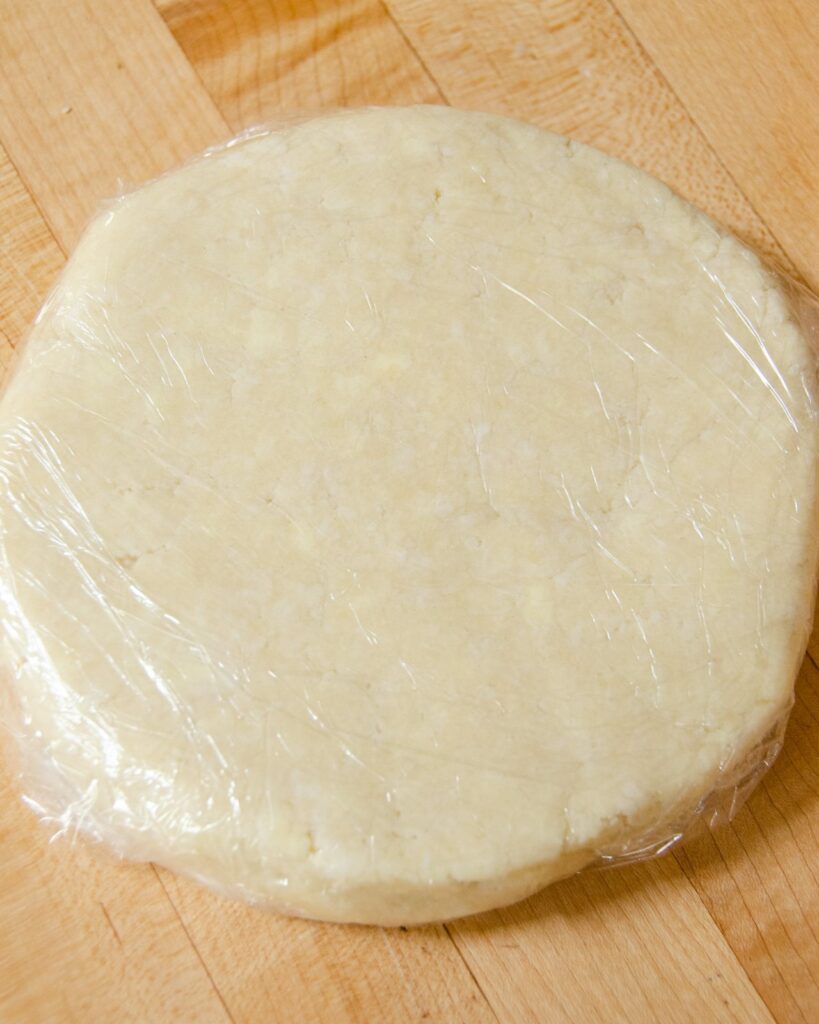
The third rule to good pastry involves rest. Not so much rest for you, but rest for the pastry (although you could take a little nap at the same time if you like). Once you’ve pulled the pastry together and flattened it into a disk, you want to let the pastry relax. This will help develop flavor and it will allow the proteins in the dough to relax so they don’t spring back like elastic. Pastry is like a baby – lots of naps keeps it happy. So, let it rest right after you’ve formed it into a disk – 30 minutes should do, but you can let it go for a couple of days if you like. Then, once you’ve rolled it out, let it rest again. (If you don’t let it rest after you’ve rolled it, you’ll have a pie shell that shrinks away from the side of the dish.) Where should all this resting take place? Remember rule #1? Cold. Always let pastry rest in the refrigerator. You can also freeze pastry so that you always have some on hand – a good idea that you’ll thank yourself for later.
You might think I’m joking when I say making pastry will give you a great feeling of accomplishment, but I’m not. How you feel when you cook is a big part of enjoying the process and with just these few tips you’ll realize how easy it is to make pastry – and a delicious, tender, flaky pastry at that. When someone bites into your delicious, tender, flaky pastry crust, trust me… you will feel a huge sense of accomplishment.
See below for a basic pie dough recipe and then click through to see a few delicious desserts you can make with it.
Quick Notes:
- For the tastiest pastry – use butter.
- Rule #1: keep everything cold. Freeze the butter if using a food processor and use ice water.
- Rule #2: don’t over-mix or over-work the dough.
- Rule #3: let the pastry rest after every step – after pulling it together AND after rolling it out.


Thanks for this pie crust tutorial. I have struggled for such a long while trying to master the task. I gave it one more try using the steps you outlined and I produced the flakiest, best tasting crust ever. Thank You, Thank You, Thank You!
Yay!! 👍🏼
Thank you for having and easy and great pie crust. I made this last night for a chicken pot pie. It turned out great. I think next time I need to par-bake the bottom as it was just bit underdone, but It still turned out great.
Meredith
Made your pie crust for this years Thanksgiving Day pie. Received great reviews at the dinner table. Thanks so much for your help. The crust turned out thin, delicate and great tasting.
Hi, I’m just getting to know you online. I’m enjoying reawakening my baking skills!! I cannot wait to try your all butter pastry!!! Very excited about this! I have a food processor so I’m in! Your site is full of great little jewels in the form of helps and explanations! Will return after successfully making pie crust
I wonder why my pie crust always split along the edges as I’m rolling the crust out. Do you think maybe I needed to add more water to the dough?
Hi Janice. Yes – you could add a touch more liquid when making the dough, or let the pastry warm just a tiny bit before rolling it out.
I have spent years frustrated and, of course, in tears trying to make a decent pie crust. Yesterday I followed your instructions exactly and ended up with a flaky, tasty pie crust that was so easy. It didn’t fall apart, it didn’t crack, rolled out easily and tasted delicious. I can’t thank you enough and my family thanks you, as well!
Yay!! Good for you, Sande! 🙂
If I want a double crust do I double the ingredients or make them separately ?
Hi Donna. You can do it either way really. If you are making the pastry by hand, I would definitely make a double batch and divide the dough into two disks before resting. If you are making it with a food processor and your food processor is large enough to fit the 3 cups of flour, then you can make a double batch. If you have a smaller food processor, however, it might be easier to do it in two separate batches.
Thank you for the step by step procedure to make a perfect pastry crust Can’t wait to try Turning 70 this Mar 19 and and in my younger years made crust but not good God bless you
Happy Birthday, Josie! Hope the pastry works out well for you.
Can you use a vita mix to blend the butter/flour for dough? If so what speed would you use?
You could make pastry in a blender but you’ll just want to pulse it slowly, until the dough forms large crumbles. Then dump them out on the counter and form into a disk. Make sure the butter is well chilled and you use ice water so the blender doesn’t over process the butter. You want those flecks of butter in the dough for a flakier crust.
Where do you buy the pastry mat that you are using?
Thanks
Lina
Hi Lina,
That pastry mat was available on QVC as a roll of customizable silicone. I don’t believe it is still available, but you might look for something similar on Amazon. Search for silicone pastry mat, or customizable silicone roll.
To freeze the dough, you do it right after mixing all ingredients, right?
Yes, you can freeze the dough right after you make it. Transfer the dough to the fridge the day before you plan on using it, then let it sit out on the counter for about 15 to 20 minutes before you roll out the dough.