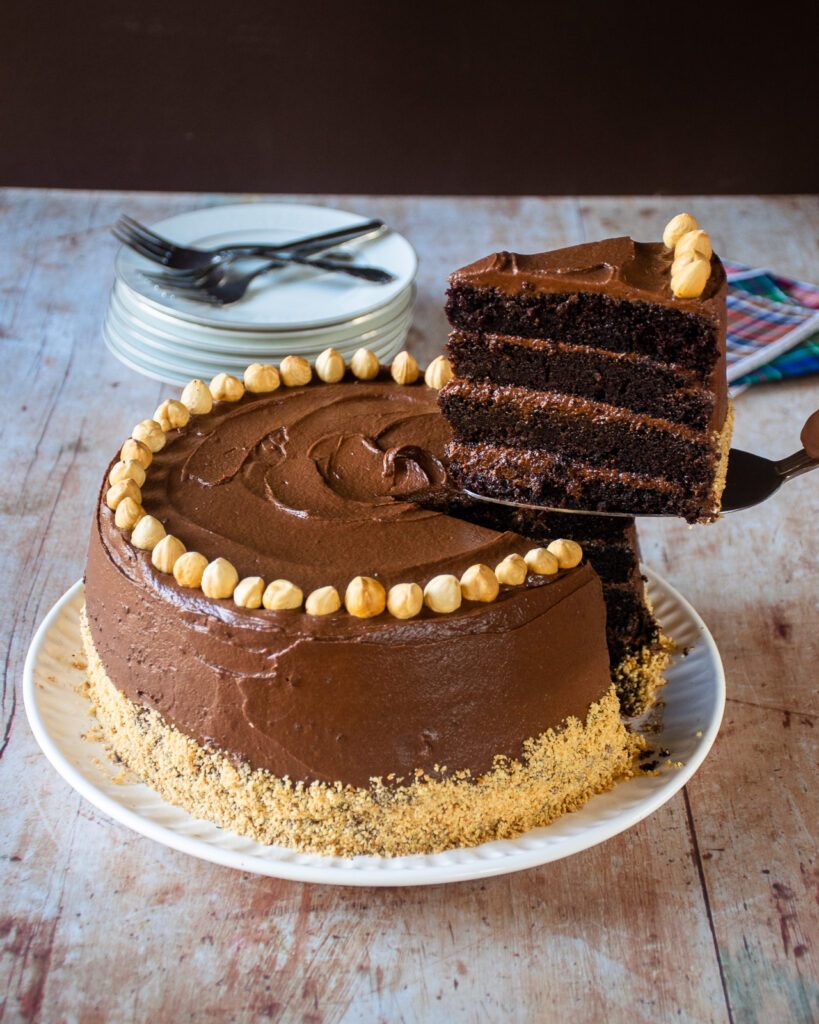
Chocolate Hazelnut Layer Cake
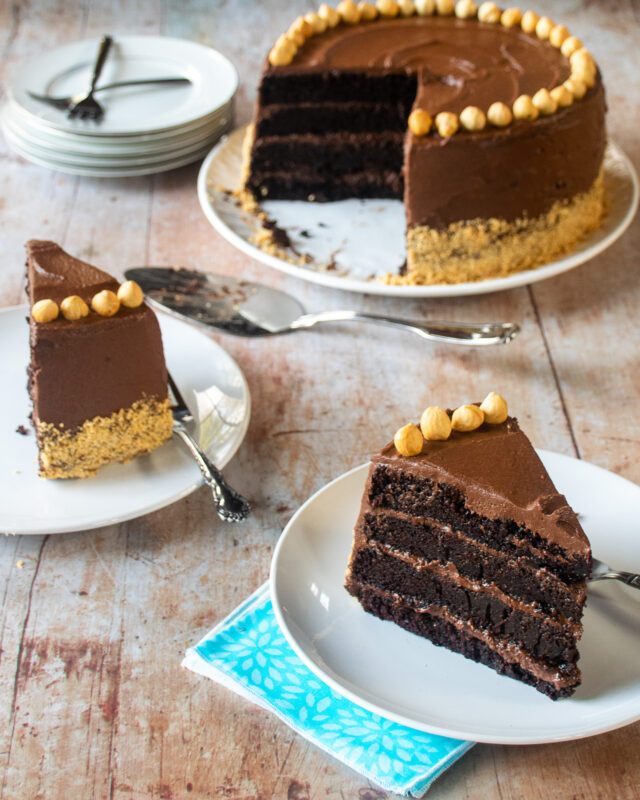
When it comes to desserts, there’s something about a multi layer cake that impresses and this chocolate hazelnut 4-layer cake is no exception. It’s not really any more difficult to make a four layer cake than it is to make a two layer cake, so let’s go for it! Grab two 9-inch cake pans and we’ll get started.
How to Peel Hazelnuts
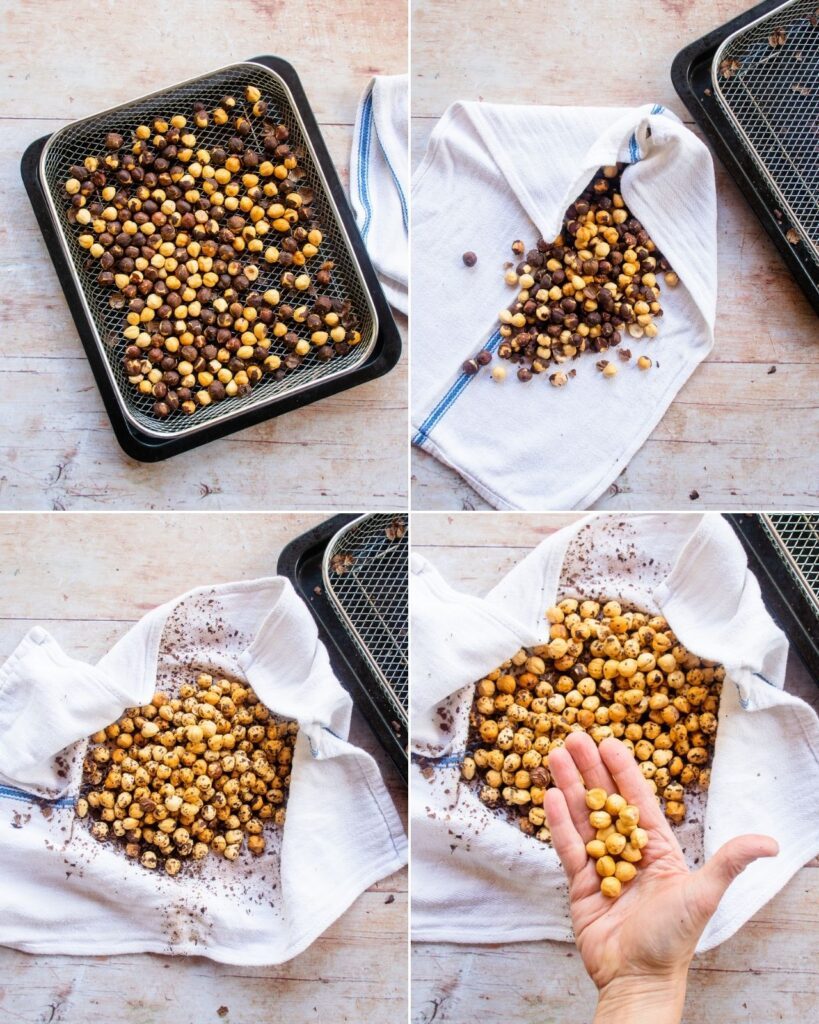
Hazelnuts play a big role in this cake. First of all, they are one of the primary flavors in Nutella® which makes up the frosting for this cake. In addition, this recipe also calls for hazelnut flour AND finally, the cake is decorated with hazelnuts. So, the first step in this recipe is toasting and peeling the hazelnuts. Start by toasting the hazelnuts in the oven on a sheet pan or in your air fryer. This should take about 10 minutes or so at 350˚F. When the hazelnuts are fragrant and starting to turn light brown, remove them from the air fryer and transfer them to the center of a clean kitchen towel. Pull the towel up around the hazelnuts and roll them around in the towel. The little nuts will rub together and rub off the skin. Then, pick out the clean hazelnuts and give the stubborn ones another rub. It’s no big deal if a few skins remain. Set a few of your prettiest hazelnuts aside for the final garnish on top of the cake. Take the rest of them and turn them into hazelnut flour.
How to Make Hazelnut Flour
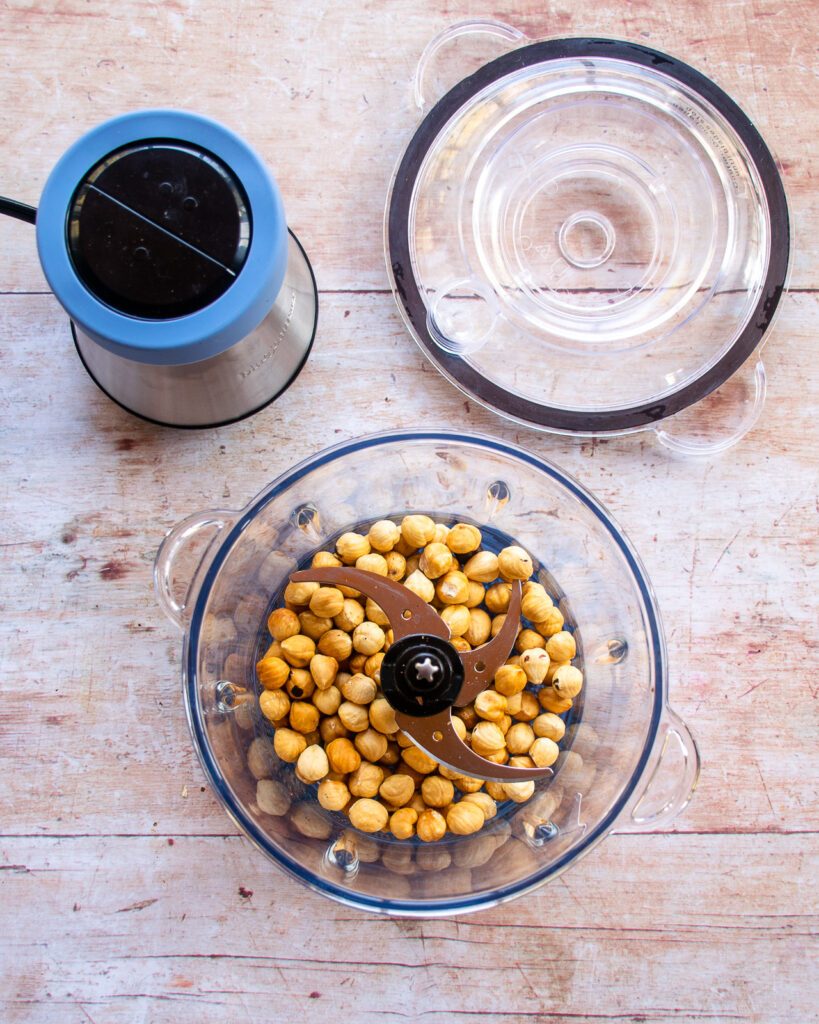
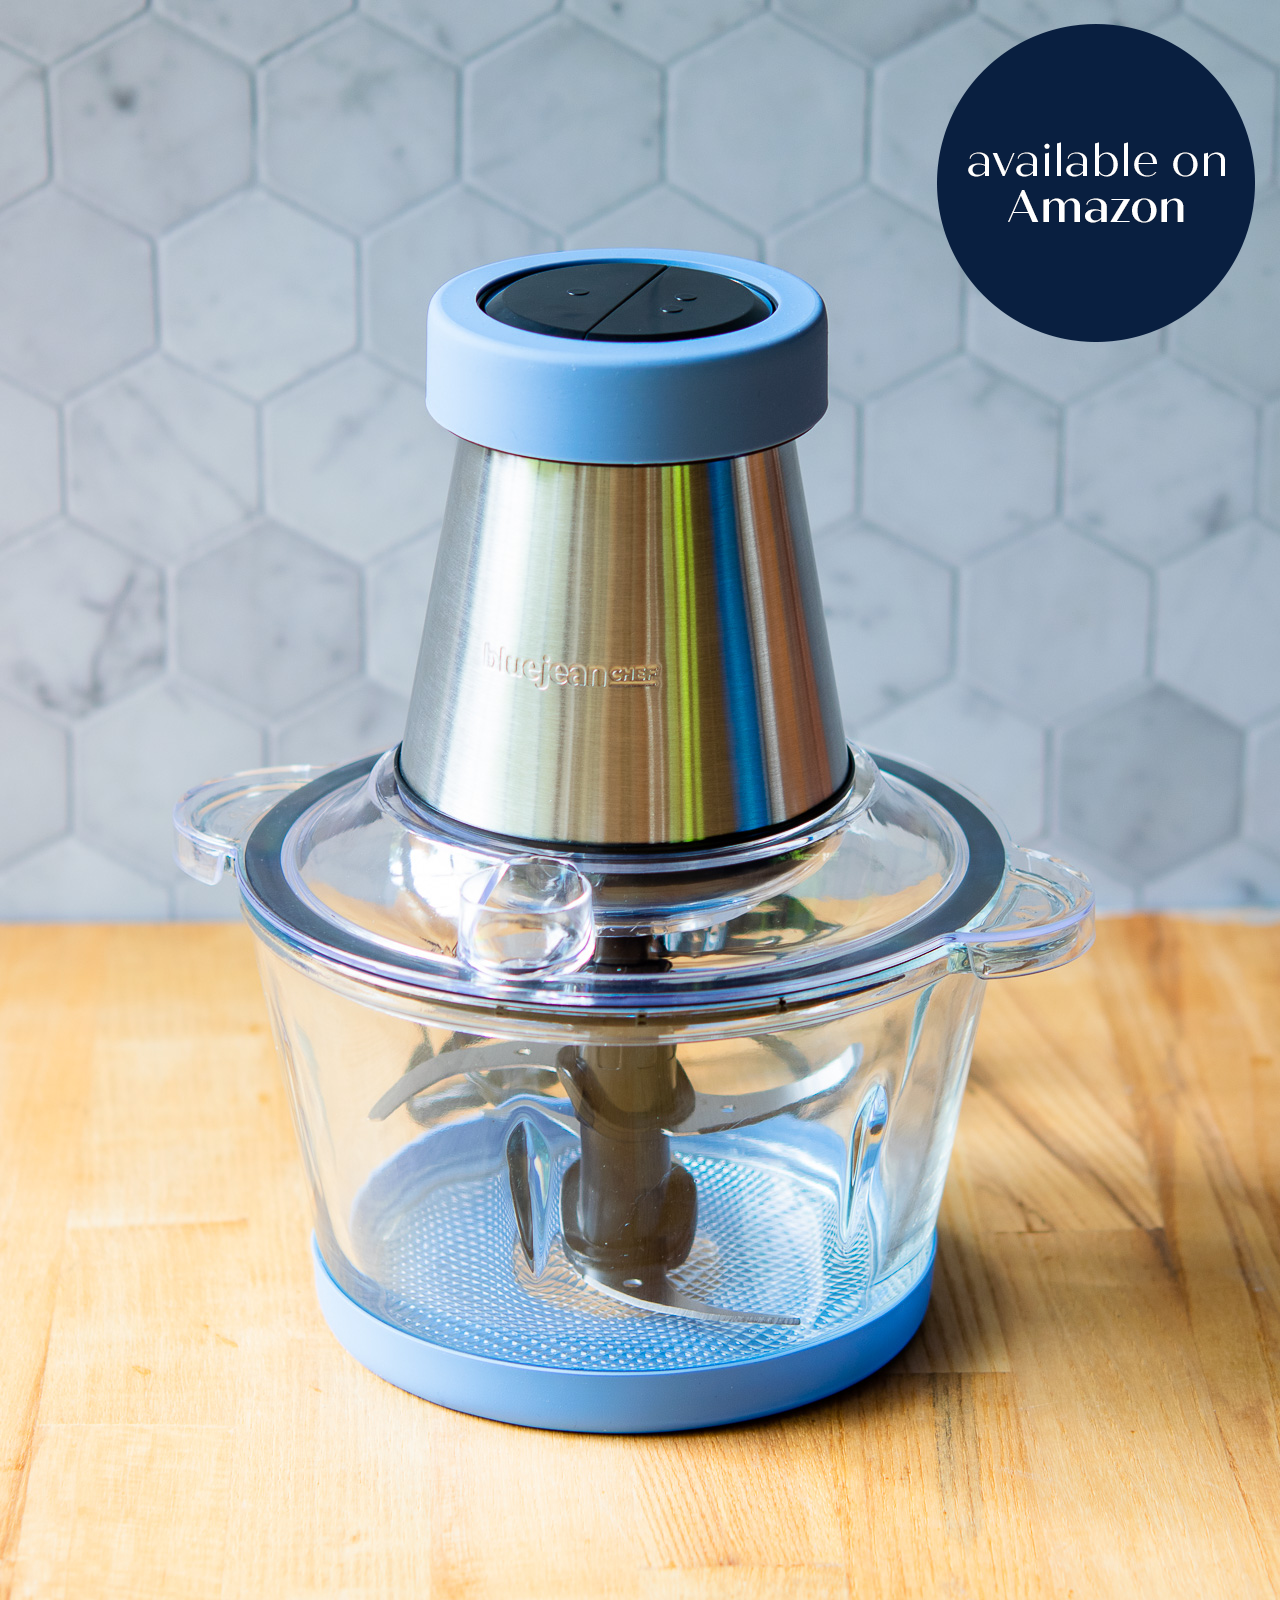
You can certainly buy hazelnut flour in a specialty store or in a gluten-free section of your grocery store, but making your own is simple too and you can be assured that it is 100% hazelnuts. Just take those nicely skinned and toasted nuts and process them in a chopper or food processor until they are really finely ground. That’s it! You might find that your ground hazelnuts are not as fine as flour you might purchase, but that will just give your cake a little texture, which is not a bad thing at all! You’ll use 1 cup of the hazelnut flour in the cake layers and the rest will go to decorate the cake.

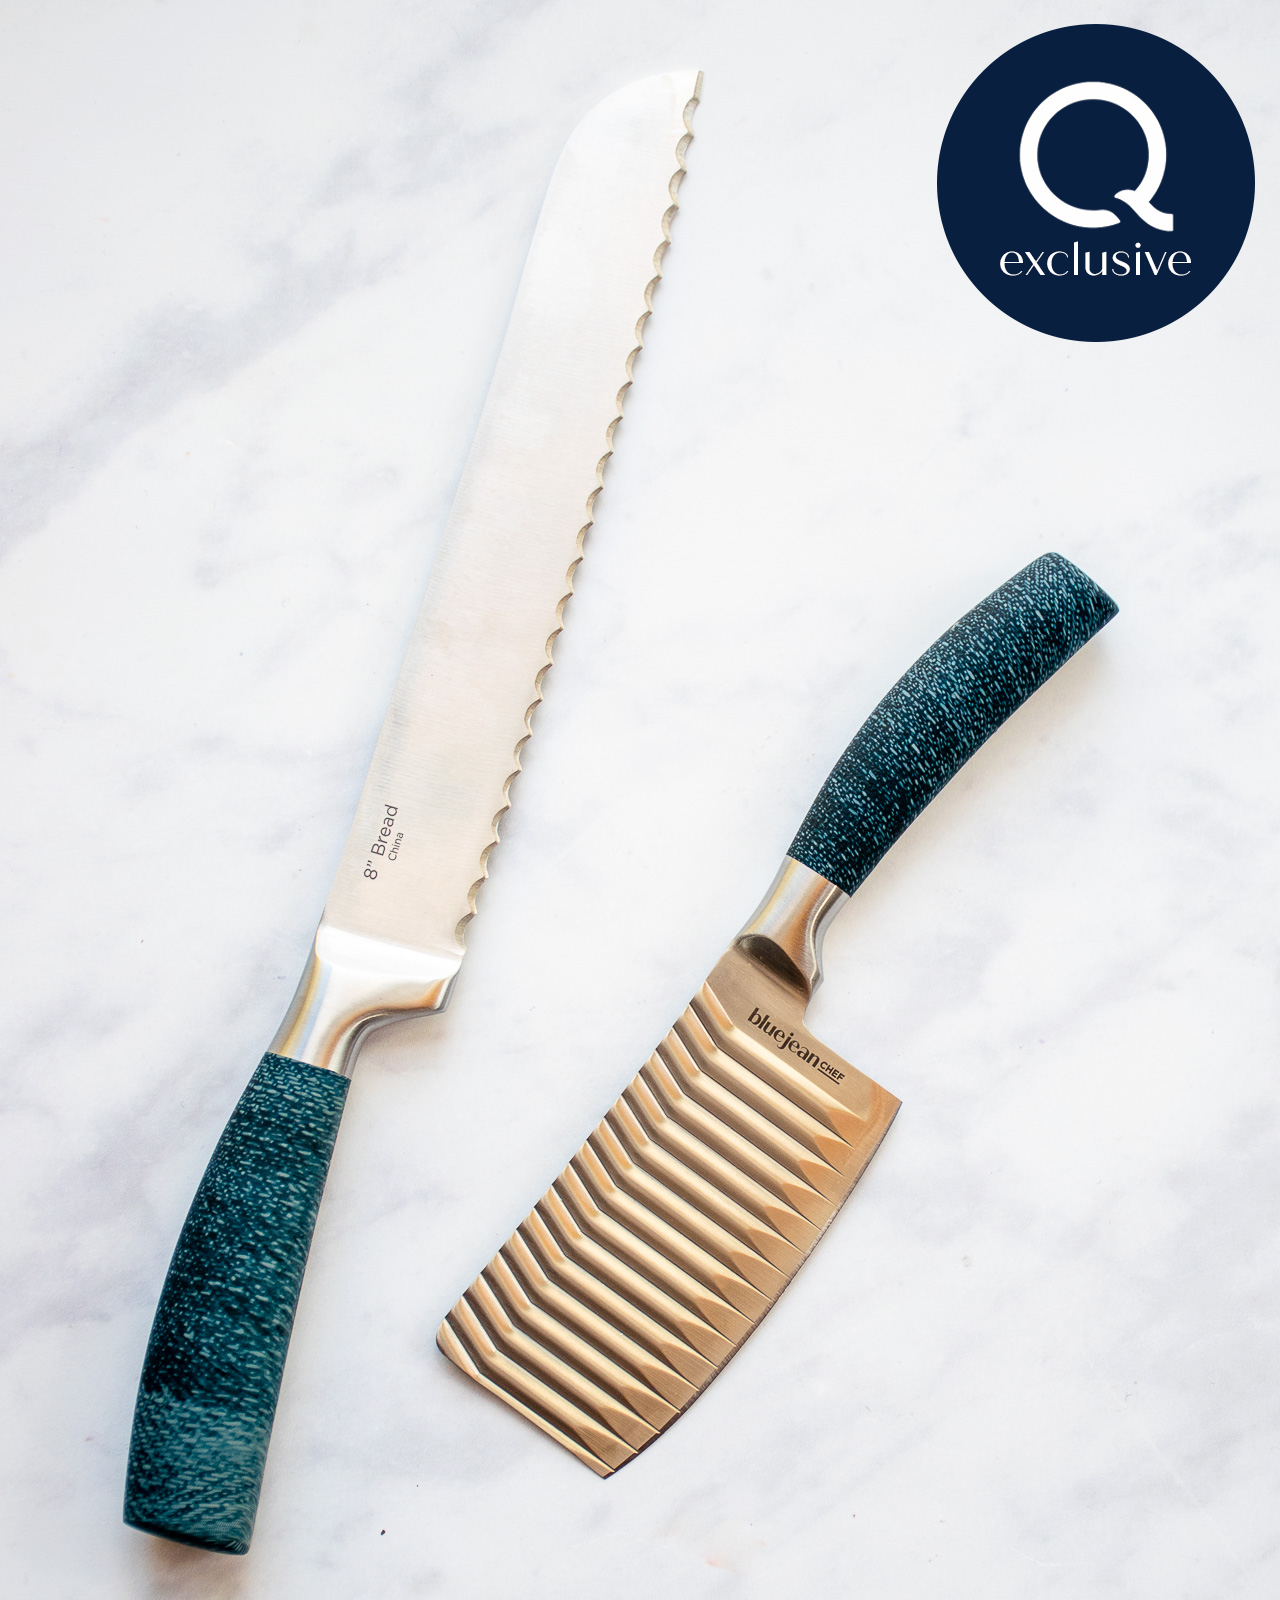
Cutting Cake Layers
Making a four-layer cake is just as easy as making a two-layer cake – you simply slice the two layers in half horizontally to make four layers! The trick is to use a long serrated knife to slice through the cake layer. Keep your knife parallel to the cutting board and cut around the outside of the cake layer until you’ve separated the top from the bottom.
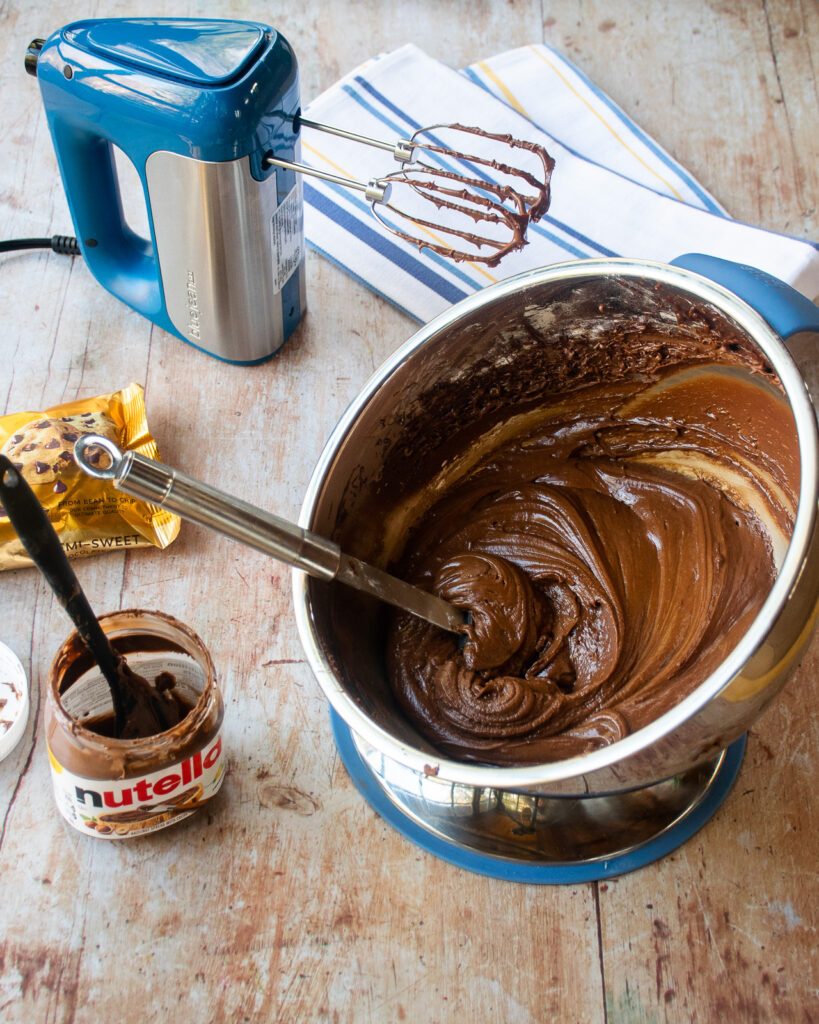
Chocolate Nutella® Frosting
The Nutella® frosting is very simple. It combines delicious Nutella® spread with chocolate chips and heavy cream. Then beat in powdered sugar until it is the right consistency. Chill the frosting in the refrigerator for 10 minutes before trying to ice your cake. Then, adjust the icing to a spreadable consistency by either adding powdered sugar to thicken it, or heavy cream to thin it.
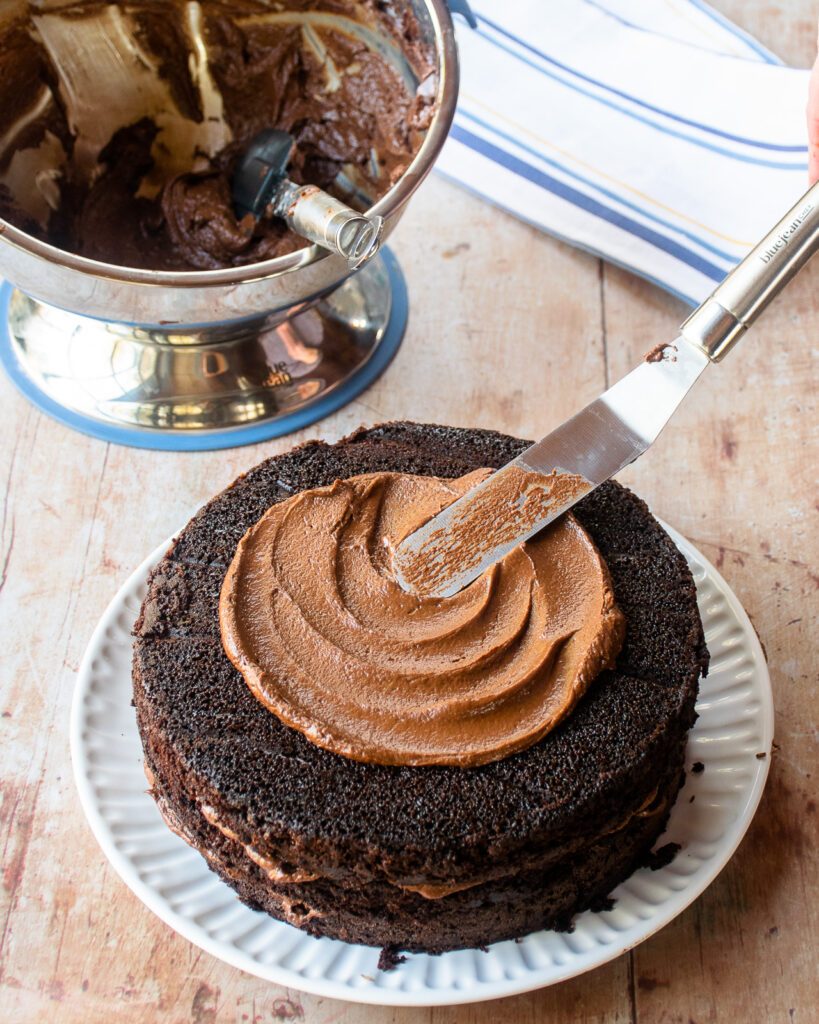
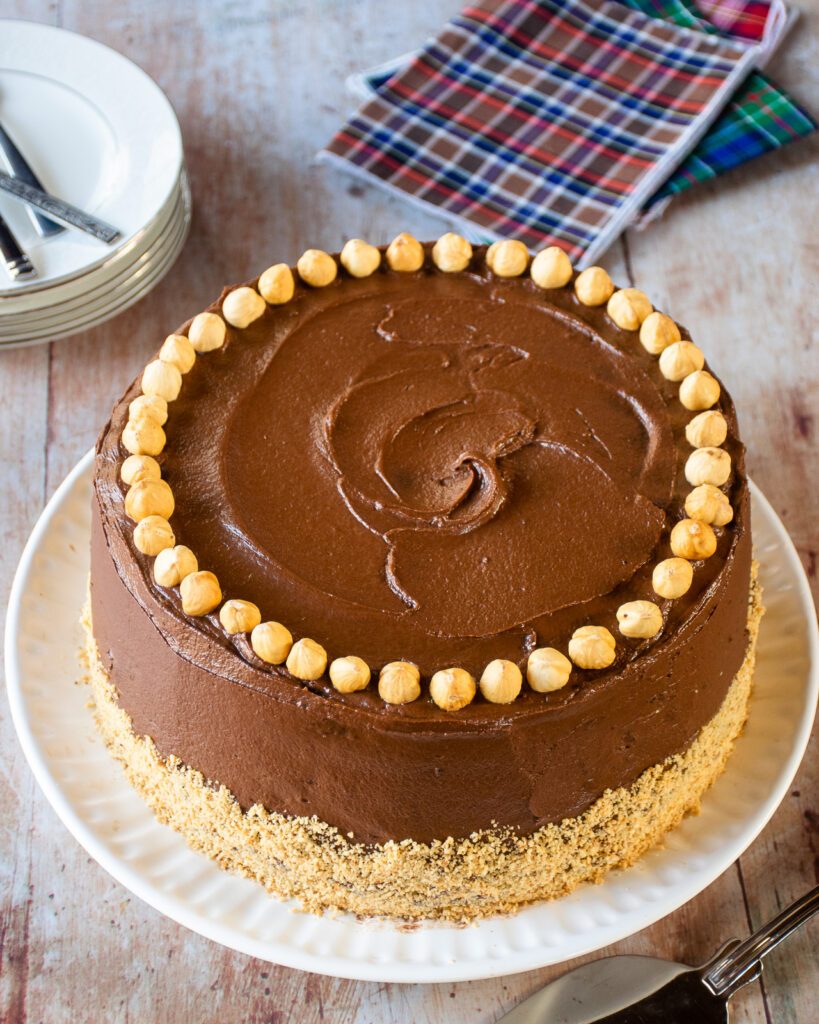
Easy Cake Decorating Tips
Icing a cake doesn’t have to be complicated. The first step is icing between the layers. The most important thing to remember is that it is easier to ice the baked (or uncut) side of a cake layer than it is to ice a cut side. So, always place the cut side down and ice the other side. The goal to keep in mind when icing a cake is to avoid getting crumbs in your icing. When it comes to the top of the cake, Do your best to keep it somewhat level and then instead of trying to get it perfectly flat, just create a purposeful swirl. Ice it like you mean it! The sides of the cake are the hardest to ice, but do your best. You can cover up any slip ups with the remaining hazelnut flour you made. The last touch is just the dots of hazelnuts around the perimeter and you’ve made a cake that looks like it came out of a bakeshop, especially when you slice into it, showing all four layers. The best part is yet to come however, and that’s when you taste a delicious, moist, chocolatey cake.
When to Serve and How to Store
When I was little, there was no other birthday cake than chocolate cake. No question. So, this would be a great cake for a birthday, but it would also fit the bill at Easter time too. You may eat it all in one sitting (no judgement!), but if you have anything left to store this cake is best kept at room temperature. Cover it lightly with some plastic wrap and then invert a large bowl over the top if you have one. That will keep it fresh for 3 to 7 days. You could also freeze the cake for another time. Wrap it well in plastic wrap and then aluminum foil first. Enjoy!


can the nutella frosting be used as a dip for cookies and maybe pound cake or fruit?
You might need to add a little more heavy cream to get it to dip consistency, but you could do that to make it a dip if you like.
Lovely recipes you have thank you for your kindness if sharing with us for free of charge…..