Cheddar Cheese Biscuits

This recipe for Cheddar Cheese Biscuits in your air fryer requires a 7-inch cake pan (one that will fit into your air fryer), but you can make them in the oven instead if you prefer. Just follow the recipe for Buttermilk Biscuits.

Featured In My CookbookAir Fry Everything Jump to Recipe (or scroll for photos and riveting information...)
Advertisement - Continue Below
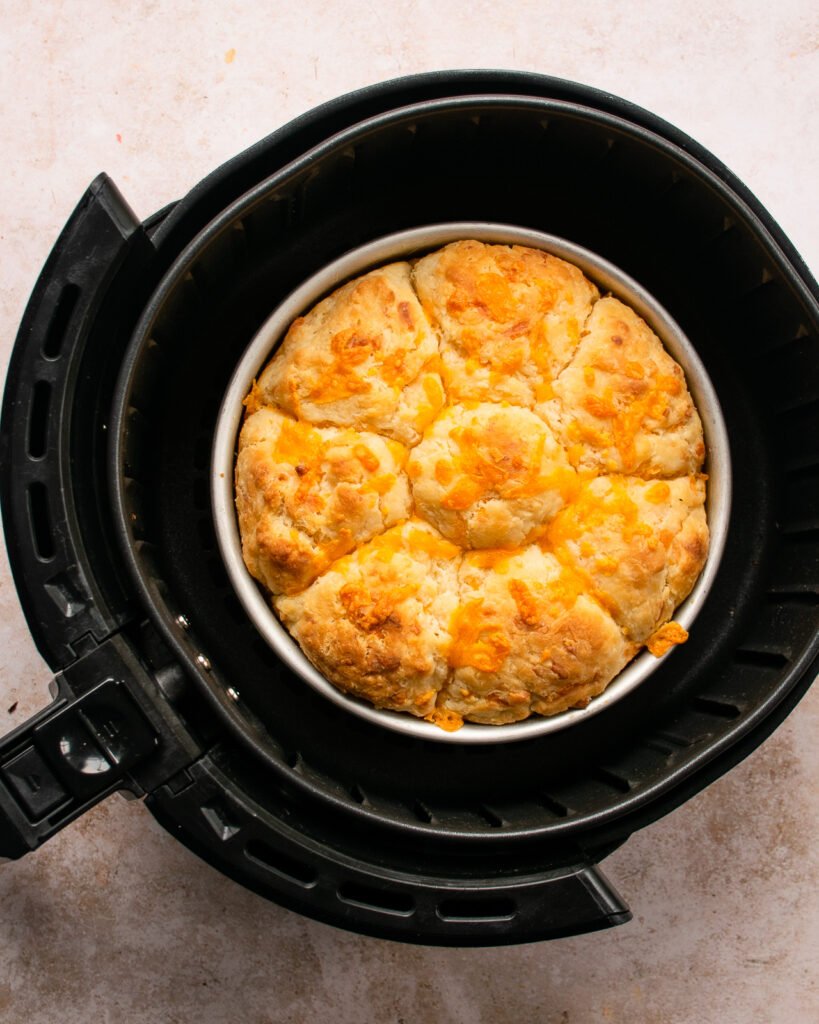
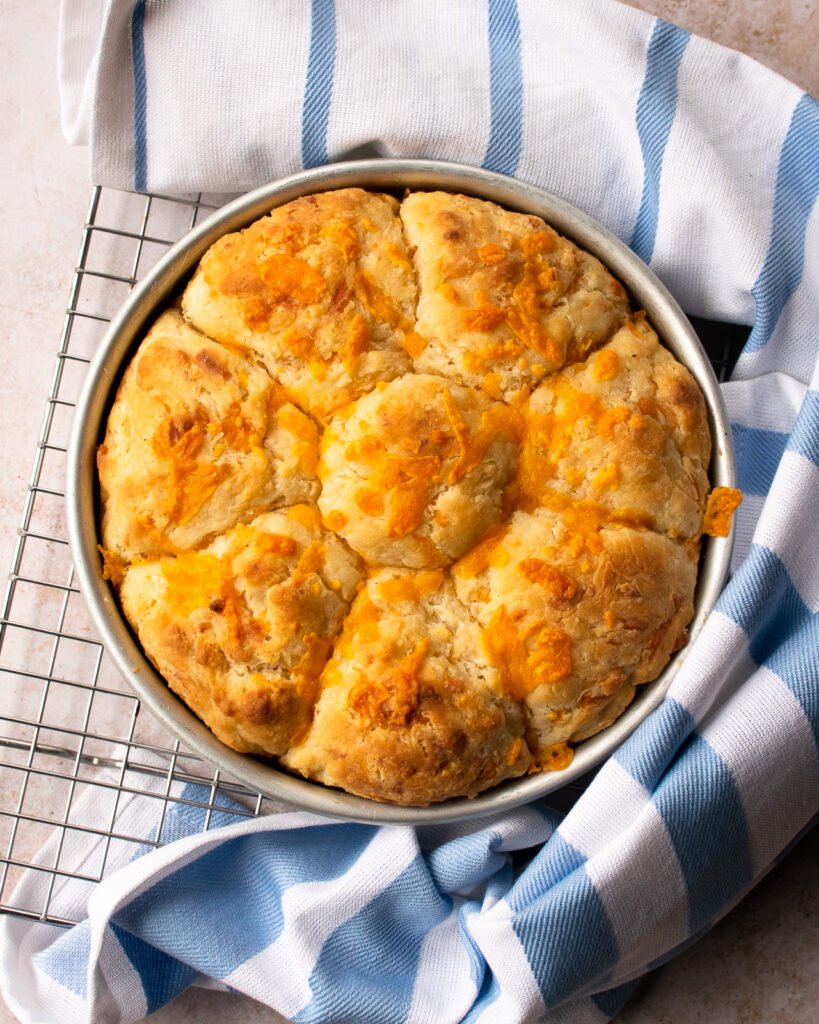
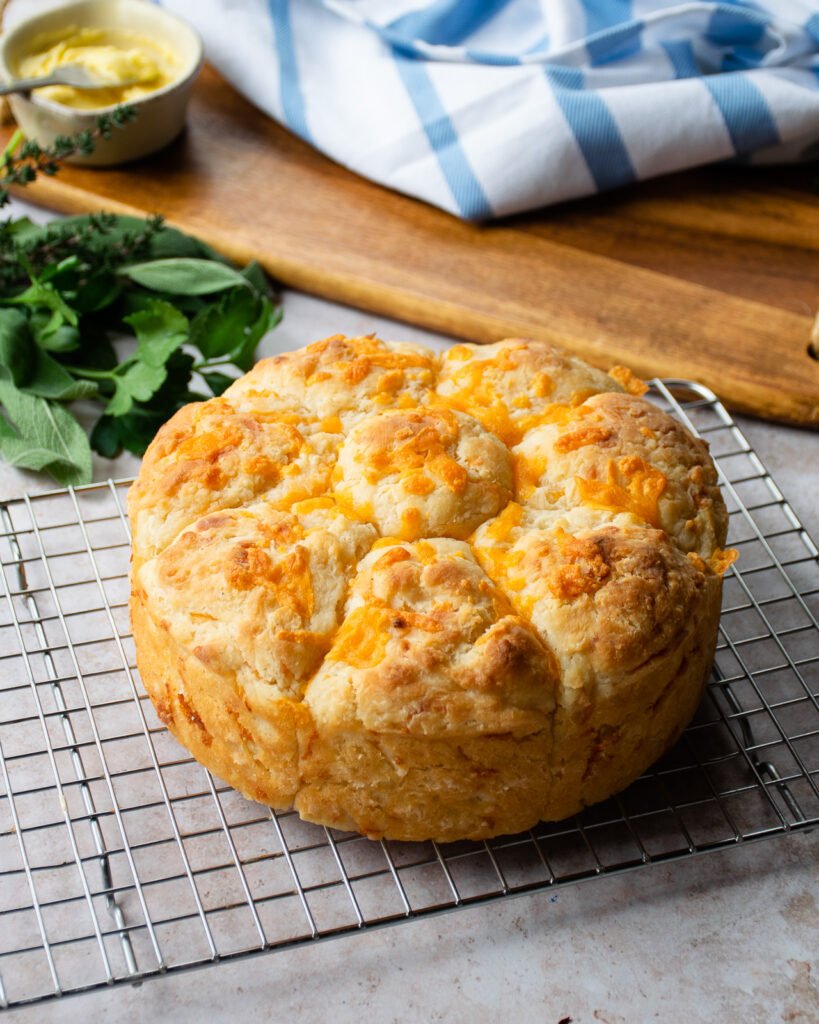
Biscuits in a cake pan in the basket of an air fryer. A pan of biscuits on a cooling rack with a blue and white tea towel wrapped around them. Cheddar cheese biscuits cooling on a cooling rack. Cheddar cheese biscuits on a wooden board with butter and herbs near by. One broken open and buttered.

Featured Recipe Techniques

More about the skills used in this recipe.

Cooking School
Air Fryer Cooking Charts

Complete list of air frying cooking times and temperatures are listed in this chart. All times and temperatures assume that...View Technique

General Tips for Air Frying

It is important to keep your air fyer in tip-top shape. Use the items below as guidance to continue making...View Technique

Converting Recipes to the Air Fryer

Many recipes that use traditional methods can be converted to delicious air frying creations!View Technique

Advertisement - Continue Below

Cheddar Cheese Biscuits

  • Prep Time: 15 m
  • Cook Time: 22 m
  • Total Time: 37 m
  • Servings:
    8

Ingredients

  • 2-1/3 cups self-rising flour
  • 2 tablespoons sugar
  • ½ cup butter, 1 stick, frozen for 15 minutes
  • ½ cup grated Cheddar cheese, plus more to melt on top
  • 1-1/3 cups buttermilk
  • 1 cup all-purpose flour, for shaping
  • 1 tablespoon butter, melted

Instructions

  1. Line a buttered 7-inch metal cake pan with parchment paper or a silicone liner.
  2. Combine the flour and sugar in a large mixing bowl. Grate the butter into the flour. Add the grated cheese and stir everything to coat the cheese and butter with flour. Then add the buttermilk and stir it just until you can no longer see streaks of flour. The dough should be quite wet.
  3. Spread the all-purpose (not self-rising) flour out on a small cookie sheet. With a spoon, scoop 8 evenly sized balls of dough into the flour, making sure they don’t touch each other. With floured hands, coat each dough ball with flour and toss them gently from hand to hand to shake off any excess flour. Place each floured dough ball into the prepared pan, right up next to the other. This will help the biscuits rise up, rather than spreading out.
  4. Pre-heat the air fryer to 380ºF.
  5. Transfer the cake pan to the basket of the air fryer, lowering it into the basket using a sling made of aluminum foil (fold a piece of aluminum foil into a strip about 2-inches wide by 24-inches long). Let the ends of the aluminum foil sling hang across the cake pan before returning the basket to the air fryer.
  6. Air-fry for 20 minutes. Check the biscuits a couple of times to make sure they are not getting too brown on top. If they are, re-arrange the aluminum foil strips to cover any brown parts. After 20 minutes, check the biscuits by inserting a toothpick into the center of the biscuits. It should come out clean. If it needs a little more time, continue to air-fry for a couple extra minutes. Brush the tops of the biscuits with some melted butter and sprinkle a little more grated cheese on top if desired. Pop the basket back into the air fryer for another 2 minutes. Remove the cake pan from the air fryer using the aluminum sling. Let the biscuits cool for just a minute or two and then turn them out onto a plate and pull apart. Serve immediately.
Advertisement - Continue Below

Comments (10)Post a Reply

    1. Hi Hope. To make self rising flour, for 1 cup of all purpose flour you will need to add 1 ½ teaspoons baking powder + ¼ teaspoon salt. For this recipe you can sift together, 2 1/3 cup AP Flour + 3 ½ teaspoons baking powder + ½ teaspoon salt.

  1. 5 stars
    These are truly scrumptious! So moist and flavorful, and the slightly crispy edges are delightful! My hubby was over the moon about these biscuits, and that says a lot because he isn’t a huge biscuit fan to begin with. I have to say I was rather frazzled trying to grate the slightly frozen stick of butter because I have such hot hands on a regular basis! LOL By the time I got to the last 1/4 of the stick, I had to drop it and just cut up the remainder best I could. But it all turned out so great in the end. Definitely worth the little bit of frustration and mess. I give it two “hot” thumbs up. 😀

Leave a Reply

Your email address will not be published. Required fields are marked *