Making your own homemade vanilla layer cake is not difficult to do and yet so many people rely on boxed cake mixes instead of making a cake from scratch. Boxed cake mixes haven’t contributed much to the culinary world other than to diminish the confidence of home cooks. They are, after all, just the dry ingredients mixed together for convenience along with a lot of other ingredients that you can’t pronounce. I don’t know about you, but when I bake a cake it’s almost always for a special occasion. And, if it’s a special occasion I want the very best cake I can make. While cake boxes are convenient and easy, they don’t give you spectacular or remarkable results. Homemade cakes, on the other hand, not only taste great, but also have a whole lot of love stirred into them which is always appreciated by those who get to indulge. So let’s learn how easy it is.
How to make a homemade layer cake
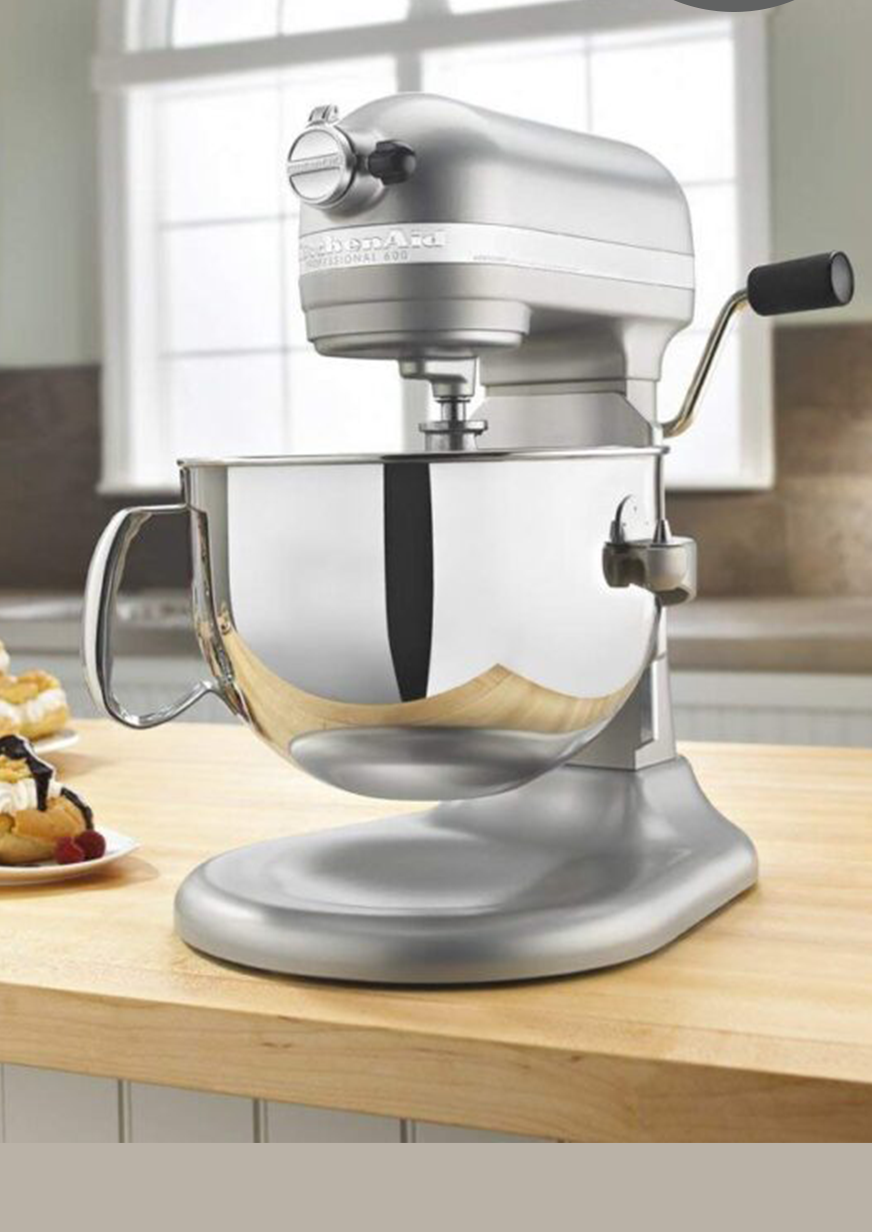
The most important step in making your homemade vanilla layer cake is creaming the butter. Make sure you don’t skimp on this step and let the beaters cream the butter until it truly is light in color and fluffy. This could take up to 5 minutes. The key to making this step easy is to make sure your butter is room temperature before you start. Once the butter and sugar are properly creamed, add the eggs and the vanilla extract. This is your butter mixture.
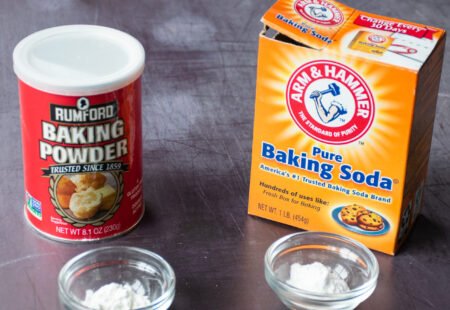
Then, combine the flour, salt, baking powder and baking soda and whisk or sift these ingredients to ensure there are no lumps left. These are your dry ingredients.
Next, combine the milk and lemon juice in a glass measure. These are your wet ingredients.
Finally, and this is important, you are going to mix all these three – butter mixture, dry ingredients and wet ingredients – together in a gradual fashion. Start by adding a third of the dry ingredients to the butter and stir together. Add a third of the wet ingredients and stir together. Repeat two more times, alternating dry and wet ingredients until everything is just stirred together – no need to over-mix. The reason you alternate the wet and dry ingredients is because it makes it easier to incorporate them into the butter mixture rather than trying to stir everything together all at once. It also helps prevent over mixing by allowing you to stir until the ingredients are just combined.
Cake Flour
For the most tender cake possible, use cake flour instead of all-purpose flour. Cake flour is a very low protein flour. That means it doesn’t contain a lot of gluten. Gluten is useful when making bread, when you want a structure that holds together, one that you can bite and chew through. No-one wants a cake that they have to chew, so we want to limit the amount of gluten. Hence, cake flour.
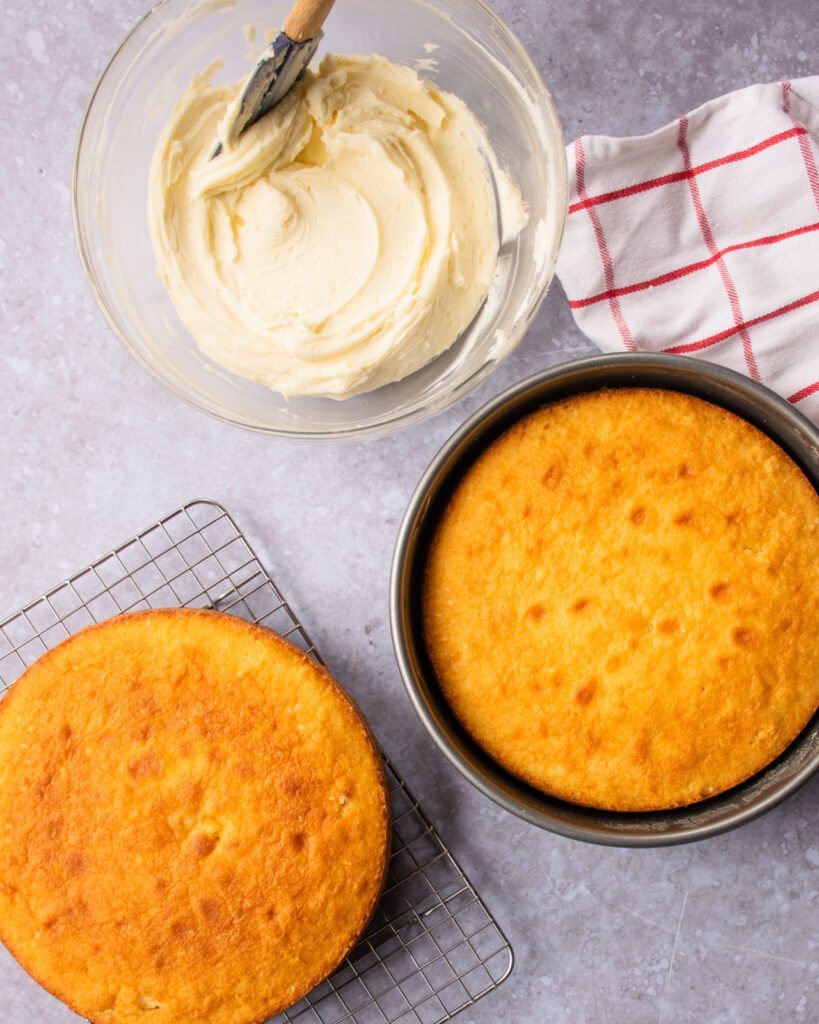
Butter and Flour your Cake Pan
Buttering and flouring your cake pan does more than just ensure that your cake will easy to un-mold, although that is the most important role. Flouring the pan after you butter shows you any area you might have missed with the butter, giving you a second chance to go back and make sure the whole pan is coated. The flour also gives the cake batter something to grip as it cooks, helping it to rise more evenly on the sides. Flouring the pan is optional. Buttering the pan is not! Doing both is the best course of action.
Room Temperature Ingredients
When you decide to bake a cake, take all your ingredients out of the fridge and the cabinets and put them on the counter. Then, have a cup of coffee. Seriously. Try to wait for the ingredients to warm a little. As I mentioned above, being room temperature is critical for the butter, but it’s also a good idea for the eggs and milk too. If all the ingredients are room temperature, they are more easily blended together.
Frosting a Layer Cake
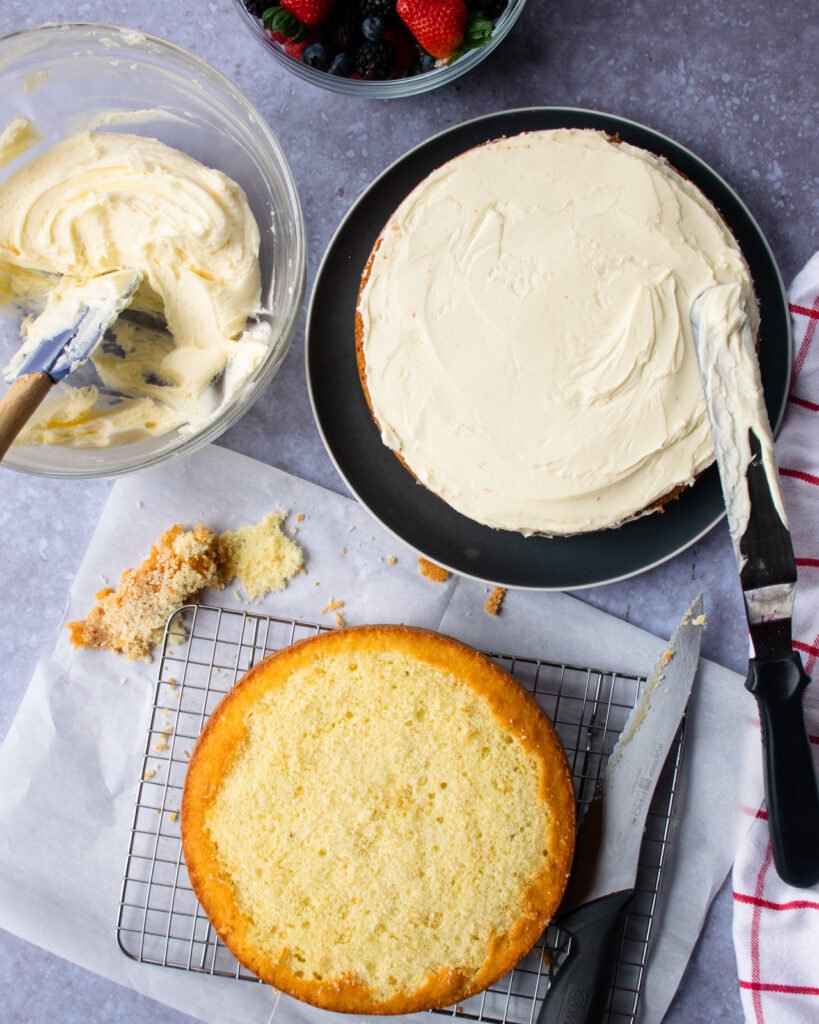
This is the step that takes your cake from looking homemade to looking professional while still tasting homemade! First things first – no cake bakes into a layer with a perfectly flat top surface. It’s impossible. So, you need to create that flat surface and you do that by slicing off the domed top. Use a serrated knife and hold it completely parallel to the counter top. Start at the lowest point of the top surface and slice across to the other side. Good news – you can snack on the scraps!
Now, the cut surface of both cake layers is crumbly and crummy. If you’ve ever tried to frost the cut surface of a cake, you know to never try to do that again. If this is your first time frosting a cake, let me give you some good advice – always put the cut side facing down to the counter so that you never have to try to frost it and struggle with all the crumbs getting into your frosting. This means, turn the first layer cut side down on your cake plate or stand. Ice the smooth bottom surface of that layer, which is now facing up. Then, place the cut side of the next layer on top of the frosting and you should be left with a nice smooth surface on top just waiting for the final frosting layer.
Buttercream Frosting
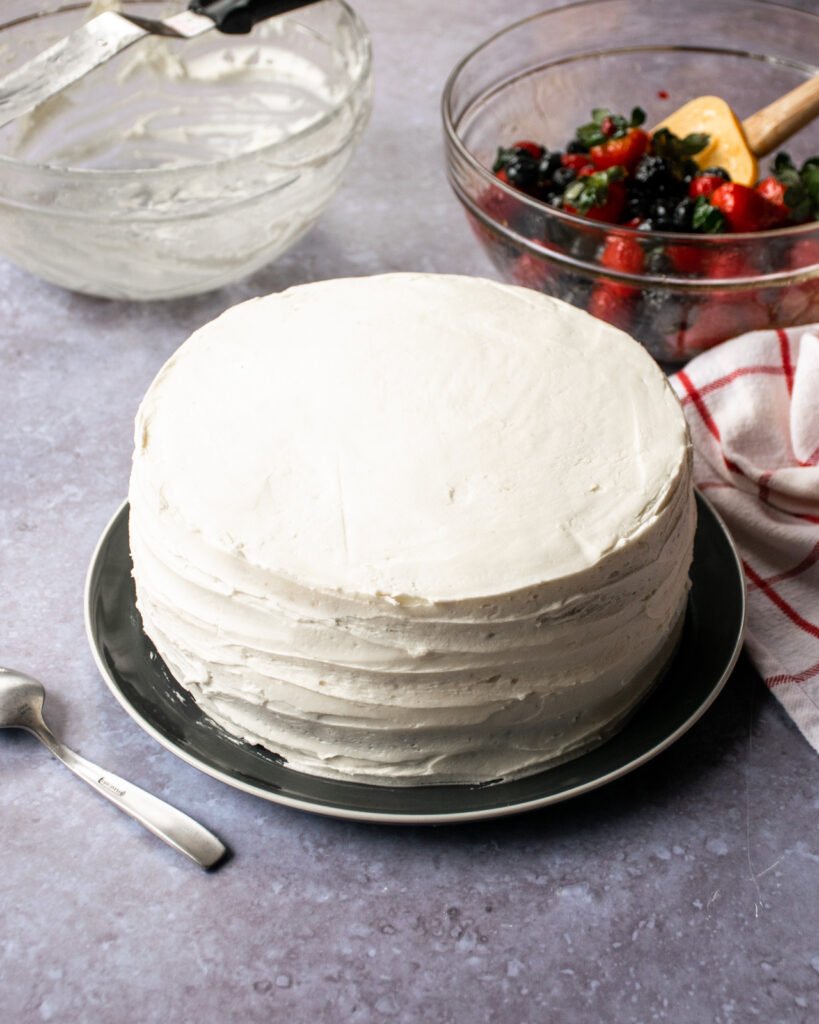
Buttercream frosting is not only delicious, but smooth as well and spreads easily on a cake. Make your own buttercream frosting with this recipe. Start by frosting the top of the cake and always dollop on more frosting than you think you need. Use a long offset spatula to spread the buttercream all across the top. Don’t worry if it spills over the side – we want it to go there anyway. Once the top is relatively smooth, tackle the sides of the cake. The sides don’t have to be perfectly flat and smooth, they just need to look intentional – like you meant to make it look that way. Own your frosting and say “that’s how I like it”!
Cover any Imperfections
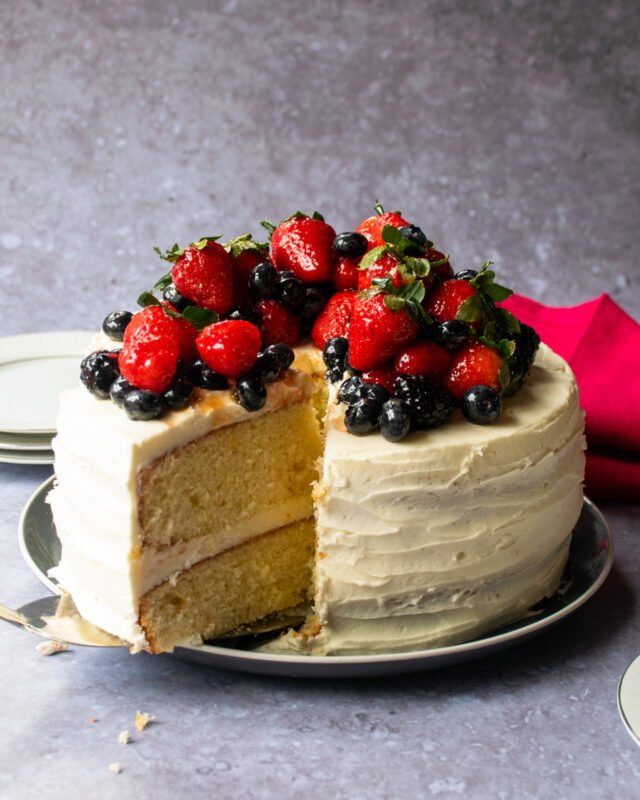
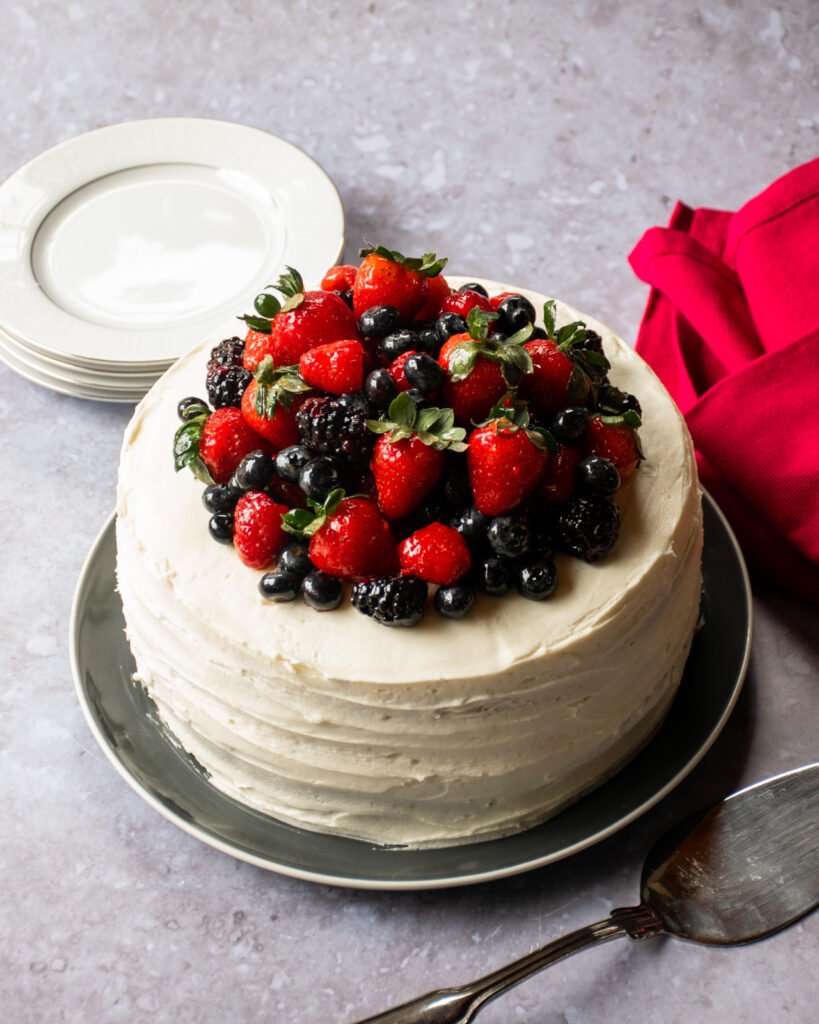
Cakes use cover up too! There are many ways you can cover any imperfect frosting jobs. You could top your homemade vanilla layer cake with glazed berries as in the photo above, you could also grate chocolate all over the top, and remember those cake scraps from cutting the cake domes off? You could crumble them up, toast them in butter and sprinkle those on top too.

How to Make Ahead
If you are planning on making this cake ahead of time, you do have a few options. You could make the cake layers, let them cool completely, wrap them well and freeze them up to a week in advance or keep them in the refrigerator overnight (in their cake pans). You could go farther if you are making the cake just one day ahead of time and make the cake completely. Ice it, but do not top with berries until a few hours before serving.
How to Store Leftovers
I know… it sounds crazy… “leftover cake”. Well, I’ve heard that some people have this problem. How do you store leftover cake? The best thing to do is to wrap and store leftovers in the refrigerator for about 5 days (as if!). If you’re just keeping it until tomorrow, just wrap and keep it on your countertop. It might be gone by morning!


Thank you for publishing recipes for us to use. I look forward to your emails, and I can normally find ideas to use. Your grocery lists have been very helpful also.
Thank you, Meredith, for this recipe and the tips to go along with it. It was/is perfection! We haven’t quite finished it off yet. I do have a question, though. I would like to be able to make a “gelee” to put in the middle between the layers. I have tried a think layer of buttercream on the top of the bottom layer and the bottom of the top layer to keep the filling from making the cake itself soggy, and then using jam or preserves right out of the jar for the filling. That sort of works, but not really. I’ve had cake from the local grocery store bakery with a yummy raspberry filling, but I can’t figure out how they get it to set up so that it doesn’t make the cake soggy, but still tastes great. Any suggestions?
Hi Phyllis. So glad you liked it.
To make a fruit/jam filling, try adding some cornstarch if you want it that thick. Melt down the jam and then mix 1 tablespoon water with 1 tablespoon cornstarch and stir it into the jam. Bring the mixture to a boil and simmer for 1 minute. Strain the seeds if you like. Let cool and it will thicken. You can also do this with fresh fruit. Cook 2 cups of fruit with 2 tablespoons cornstarch and juice of ½ lemon. When fruit breaks down bring to a boil and simmer 1 minute. Strain the seeds while it is still hot.
Also use make sure you are using the baked (bottom) sides of the cake layers for the middle rather than the cut sides – much easier to spread on the baked side. The thin layer of butter cream should also help to make spreading easy. You can also pipe a layer of frosting around the edge of the layer and then spread the filling inside – this helps it from squeezing out the sides while frosting and cutting the cake.
Bake on!
ML
I only have all purpose flour, can I use it successfully for cake flour or bread flour?
Hi James. You can make a substitute for cake flour by using all purpose flour and cornstarch. Check out this link here: https://sallysbakingaddiction.com/cake-flour-substitute/ Sally knows her stuff! For bread flour, you can substitute all-purpose as long as you set your expectations properly. Bread flour absorbs more liquid than all purpose flour, so hold back on a little liquid from your recipe (assuming you are making bread and not following this cake recipe). If you use all purpose flour, the bread will be a little less chewy, but still good.
This is simply the best vanilla cake I’ve ever tasted. It will be my go-to from now on.
Unfortunately a big disappointment. The cake is pretty good, moist and buttery but the icing was too sweet!! Dark Chocolate would have definitely been better!
Well, you can’t please all the people all the time!
ML