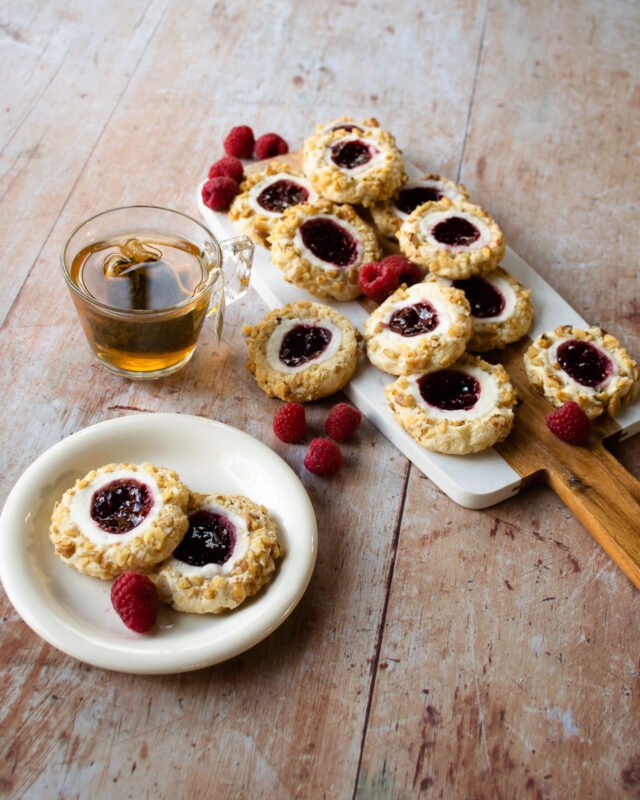
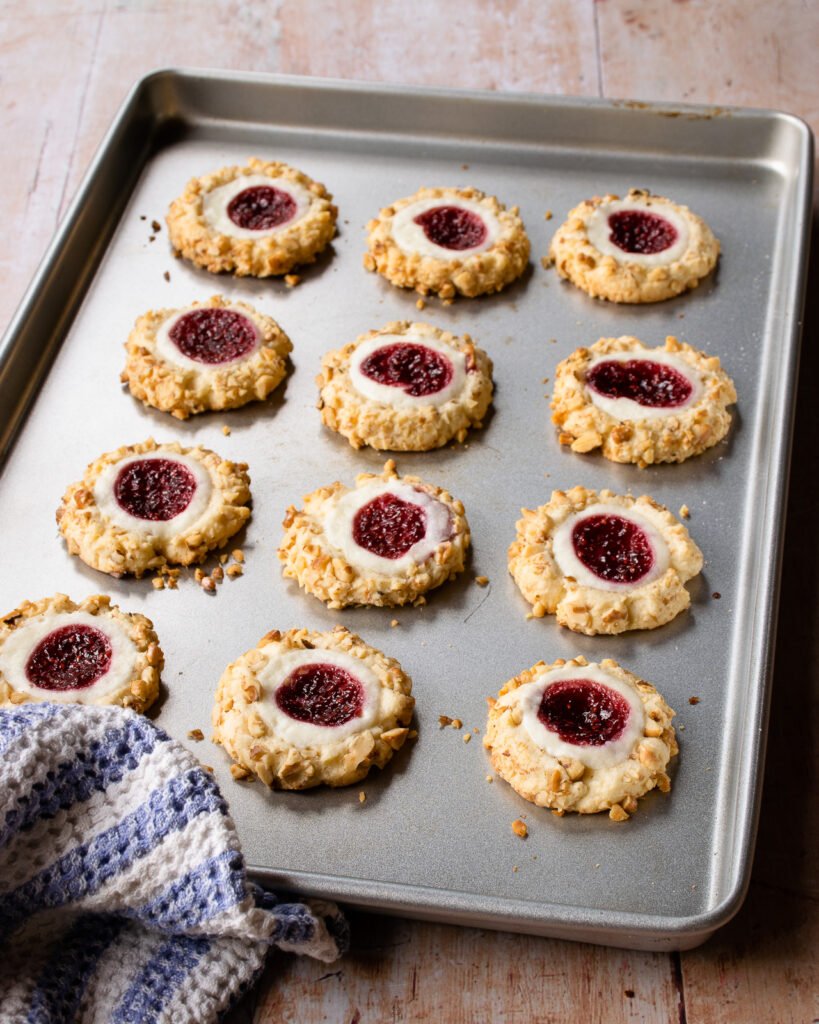
Raspberry thumbprint cookies are delicious on a regular day, but why not make your next batch of thumbprint cookies special by adding cream cheese to the divot in the center and rolling them delicately in toasted pecans? There’s honestly no reason not to and gosh darn it, you should!
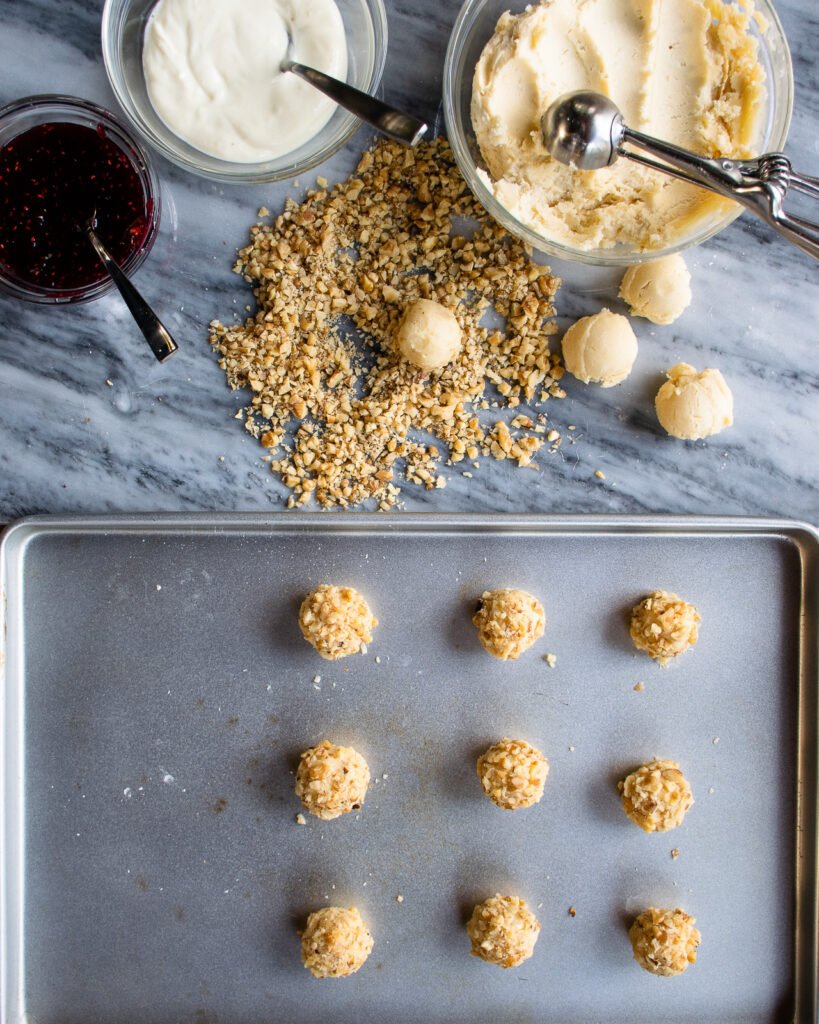
The easiest and most efficient way to make these cookies is to set yourself up with a scooping-rolling-pressing-filling station. Get all your ingredients ready in bowls and get to work. Start by scooping tablespoons of dough and rolling them into balls before delicately rolling those balls in toasted nuts. You don’t need to completely cover the dough with nuts – a partial covering will do. That way, when the cookies bake and flatten, the nuts will randomly coat the exterior of the cookie and add just enough visual interest, flavor and crunch. Any nut will do. I’ve used pecans here, but hazelnuts, walnuts or almonds would be delicious too.
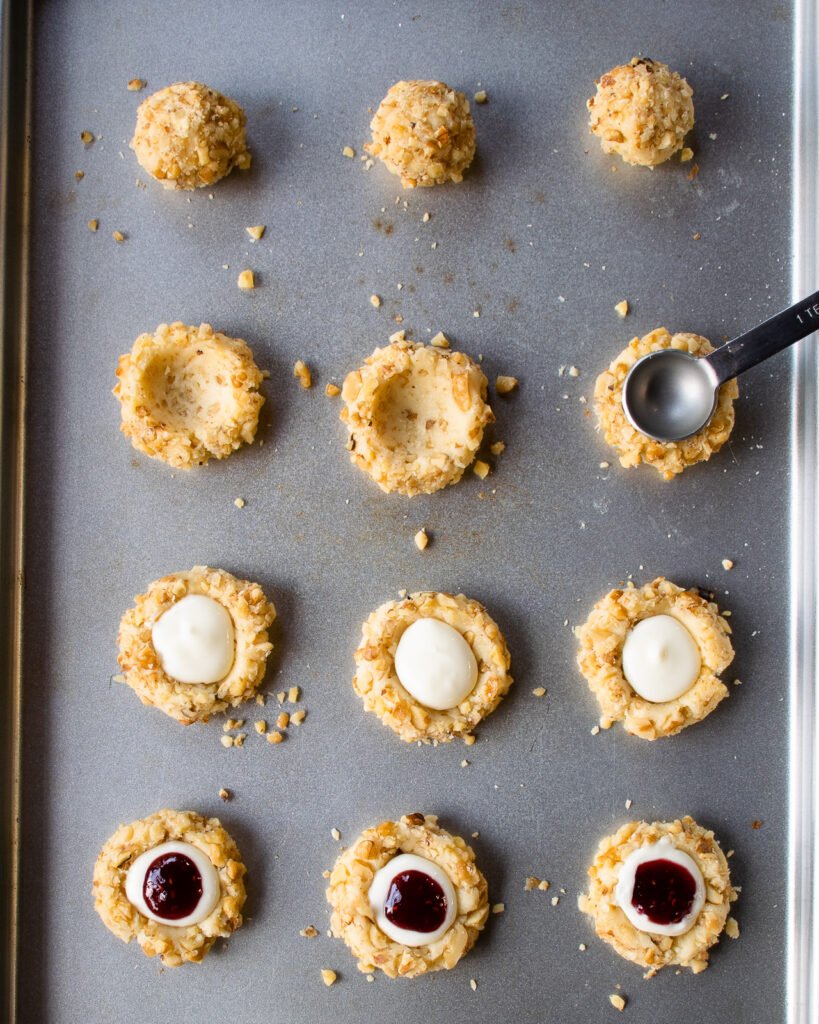
Then, use your thumb or a rounded measuring spoon to create a divot big enough to hold a good dollop of filling. Add the cream cheese mixture first, then top with some of your favorite raspberry jam. Do your best to keep the filling in the divot and not overflowing around the edge for the prettiest result.
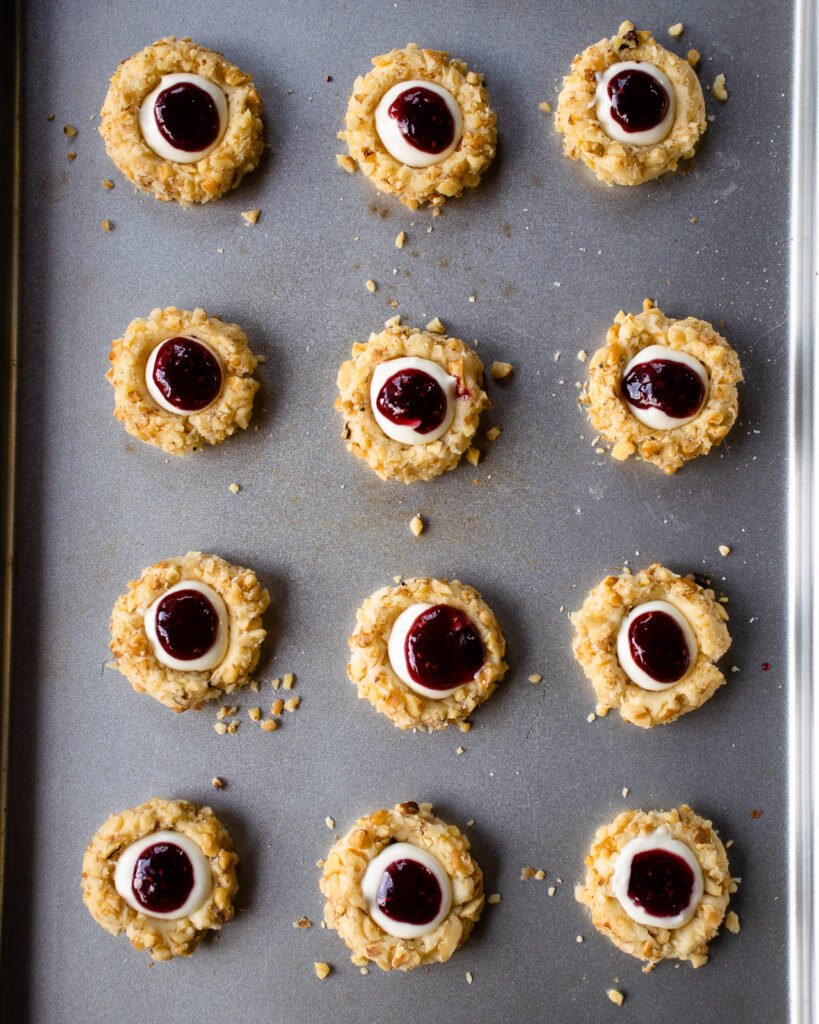
Pop these into the oven and bake for 15 to 20 minutes. The cream cheese filling and raspberry jam will bake into each other and the nuts will toast around the outside.
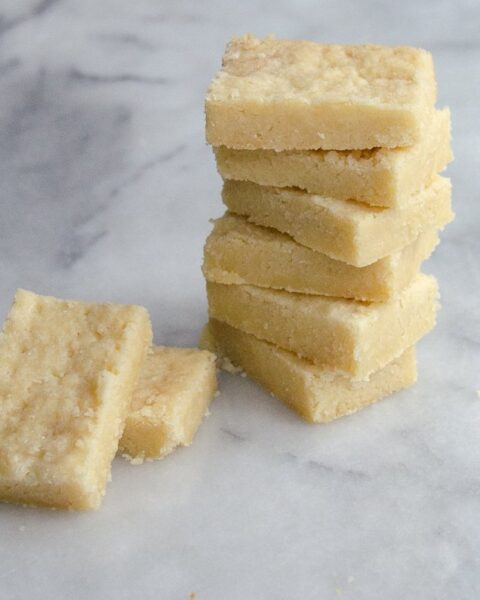
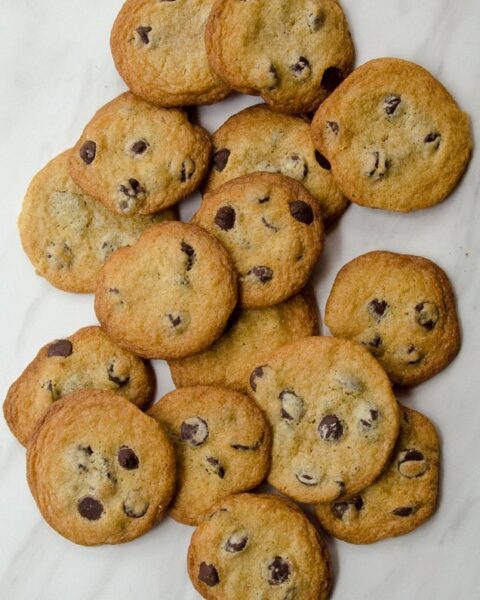
The cookies just need a few minutes to set up on the baking sheet once they are out of the oven. Then you can transfer them to a cooling rack to cool completely. I’m a sucker for chocolate and shortbread on any Christmas cookie tray, but I have to admit that these raspberry cream cheese thumbprint cookies give both of my favorite cookies a run for their money because they are so pretty and have a couple extra special touches. Give them a try – I think you’ll agree.


I’ve been making my Mom’s thumbprint cookies w walnuts 50+ years. We’ve always filled them with red current jelly. Last year I filled a few with blackberry jam. Both are so good. BUT, we are very fond of raspberry jam and who can go wrong with cream cheese? Adding your recipe to the cookie plate this year. Thank you!
These look yummy. One question. If the nuts are toasted before baking might they get too toasted???? Thanks. Marianne
No, they don’t get too toasted in the baking and having them lightly toasted beforehand really does enhance their flavor.
Buying ingredients tomorrow. Had to comment how adorable Miss Hazel is and wish her a happy birthday❤️
Does this cookie travel well as a Christmas present and refrigeration is not required, even though it has cream cheese?
Hi Cathy. I find they keep and travel pretty well (if packed properly). I store mine in an airtight container on the countertop for up to a week.
I make thumbprint cookies also but your filling with creamcheese and also nuts semi coating cookie sounds wonderful. Going to make these today if i have regular rasberry jelly. Thank you!
If you hit print and the recipe comes up, there is no place on the recipe to print. Trying to copy and paste does not work. Getting frustrated with this site.
Hi Gloria. Have you click on the box that says “Print Recipe” just under and to the right of the title on the recipe card, next to the box that says “Nutrition Info”? If you click that button, a new window will open and the recipe will print without all the photos and other text on the web page. It will include the nutrition info and one small photo. If you need more help, please feel free to email me at hello@bluejeanchef.com.
This my fourth new Blue Jean Chef cookie I’m adding to the Christmas cookie plate tradition. Again so easy to make and so delicious. Thanks again!
Meredith I’m allergic to nuts is there anything else that I could use in place of nuts.
Hi Mindy, you can just omit the nuts. They are just as delicious without the nuts!!
These cookies are delicious! Just made them and will definitely make again. The cream cheese filling with raspberry is so good! Very easy to make.
I noticed that the ingredients list 2 Tbsp of sugar for the filling, but the filling directions ask for 1/4 cup. Any thoughts on which one might be the best measurement to us?
Sorry about that Nick! The filling calls for 2 tablespoons of sugar. I have adjusted the recipe. Thank you!
Im doing mine with Marionberry habanero jelly! Super stoked about the results! Thanks for this recipe!!!
Can this cookie be made with other fillings besides raspberry?
Sure, you can use any jam you like in this recipe.
I just made these cookies today and they were scrumptious. Adding the cream cheese filling to these thumbprints elevated the flavor greatly. Also, adding cream cheese to the cookie dough made them soft and yummy. Will definitely keep making them. Thank you!
Dear Meredith, I’ve been baking for 53 years, and have made lots of cookies. I saw your recipe and tried it out yesterday! I also used my own mix of gluten free flour as a flour substitute as I am allergic to wheat flour. The cookies are absolutely delicious! The recipe is so easy and rewarding!! Thank you!
Hi. I made these today they tasted great but they spread out a lot and didnt look as neat as yours. The dough was very soft, should I add more flour to make it firmer or is my cream cheese too soft?
The dough does need to be chilled for at least one hour before rolling it into balls. If the dough still feels soft after an hour, try chilling it longer. Bake the cookies right after assembling them so the dough doesn’t soften up too much. You shouldn’t need to add more flour.
Sadly, I had a recipe fail:( I did follow recipe exactly, even kept dough in fridge longer than an hour, but somehow, when the timer went off, and I checked oven, all the cookie mounds had melted into one large sheet.
I think my kitchen was too hot. I had been making a fresh tomato sauce, using up last of our garage ripened late planted tomatoes. I think the steam and heat from boiling water to take off skins, and then cooking them down, put too much heat into the kitchen. I even opened up the kitchen door, even though temps were in 40’s. Anyway, I let the trays cool, then using the parchment paper, rolled it up like a jelly roll, and put in fridge. It wasn’t exactly a bark, too sticky, but sliced and put over icecream, it was very good:) I will try again:)
The dough balls do spread while baking but should not spread out that much. You can always add more flour to the dough if the first batch of cookies doesn’t turn out right. The hot kitchen probably didn’t help, but the dough still shouldn’t have baked into a sheet of dough. Nice you still found a good use for it and enjoyed it on your ice cream!
OMG! These are so good! I have been making thumbprint cookies for 60 years, but these take thumbprints to a whole ‘ other level. They are so light, and the cream cheese add another tasty dimension.
I did use 6 ounces of cream cheese for the filling, as a large egg yolk was too much.
These will be my new holiday favorite, and maybe not just for holidays!
Anne