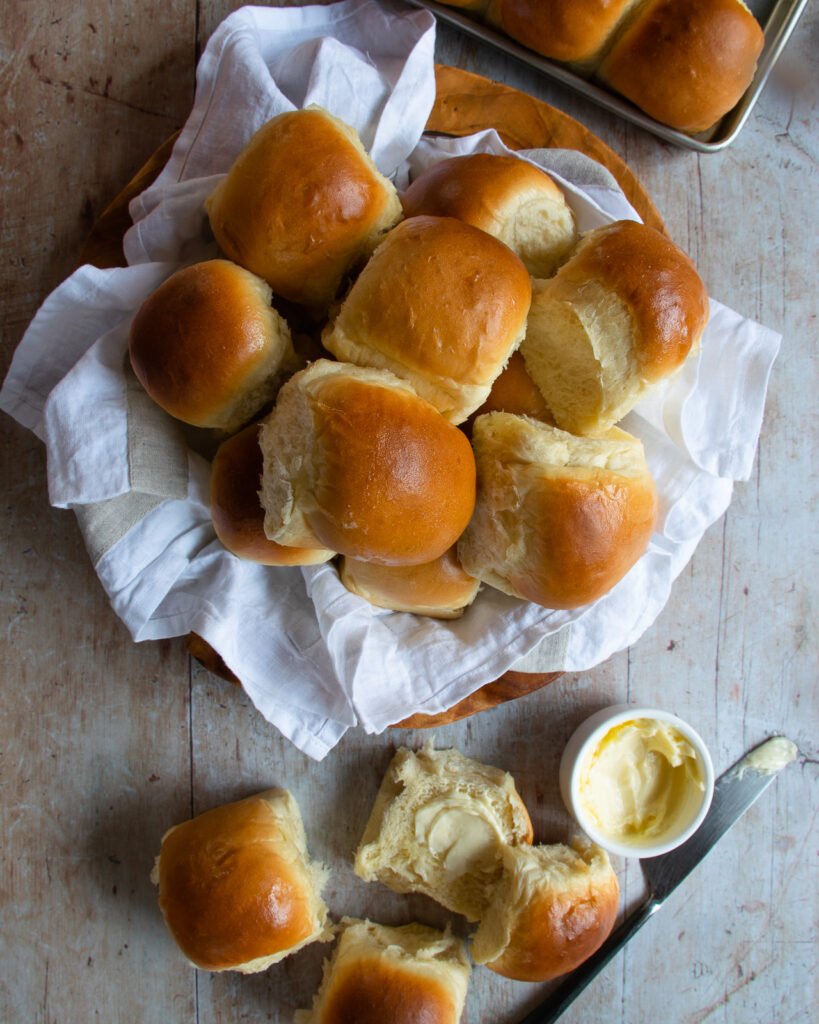
Homemade bread is not difficult to make and these sheet pan dinner rolls are no exception. All you really need to make bread successfully at home is time, but don’t be dissuaded for that reason. The time that it takes to make bread successfully is not attended time. You will need about half an hour to make the bread dough, but the rest of the time required for this recipe is just for the dough to rise on its own.
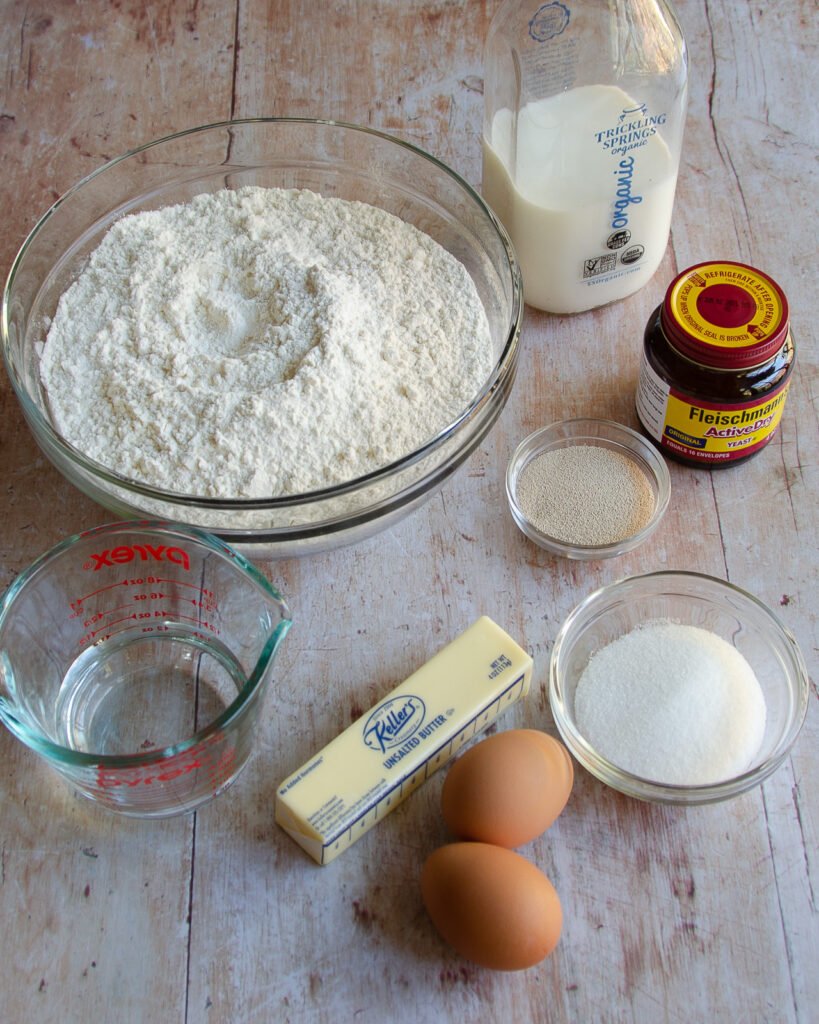
The ingredients in this recipe are very common and easy to find, as is the case with most bread recipes, but it is important to pay attention to the temperature of some of these ingredients. 110ºF is the magic temperature and it is critical that the water be as close to 110ºF as possible to proof the yeast and that the melted butter and milk is not over 110ºF when it is added to the yeast.
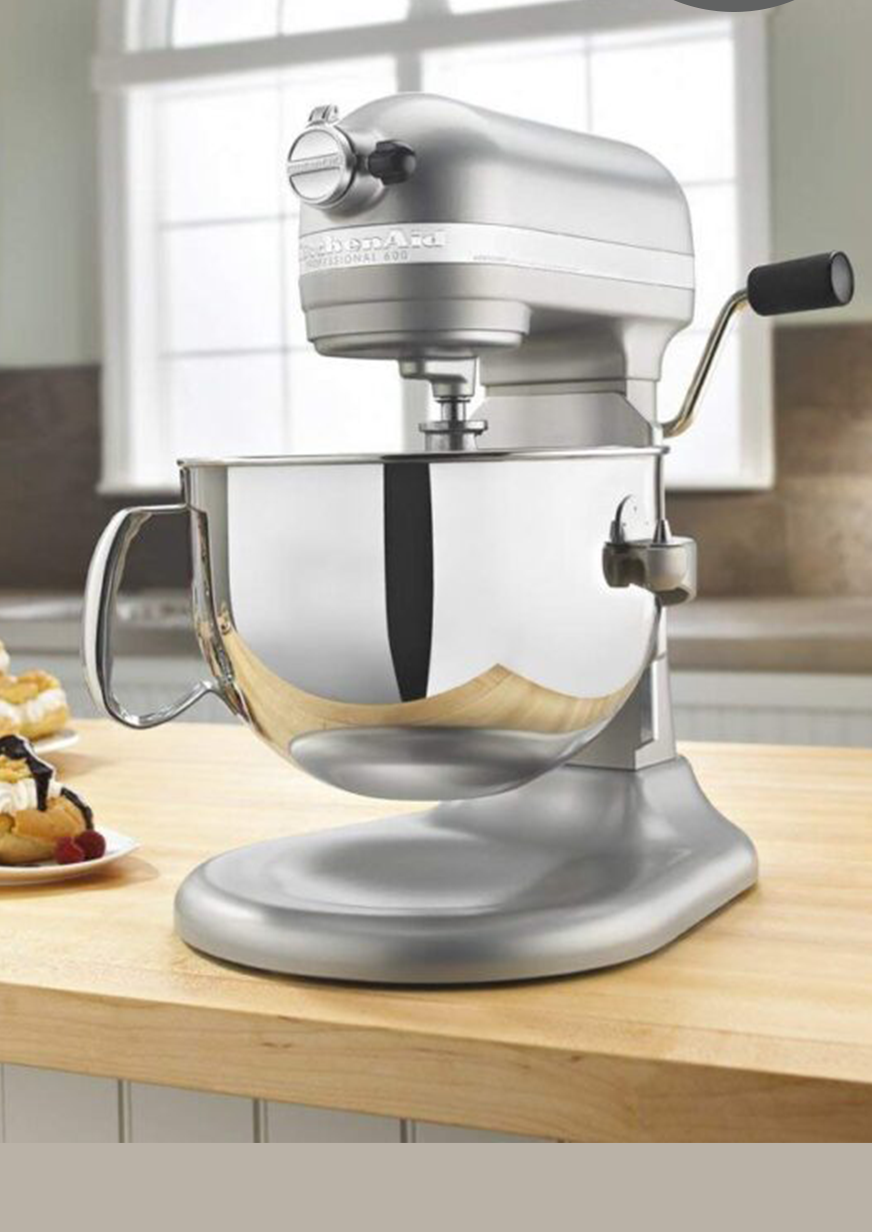
Once you’ve paid attention to that little detail, everything else comes together easily, especially if you are lucky enough to have an electric stand mixer. Fret not, however, you can absolutely make this dough by hand with a little elbow grease.
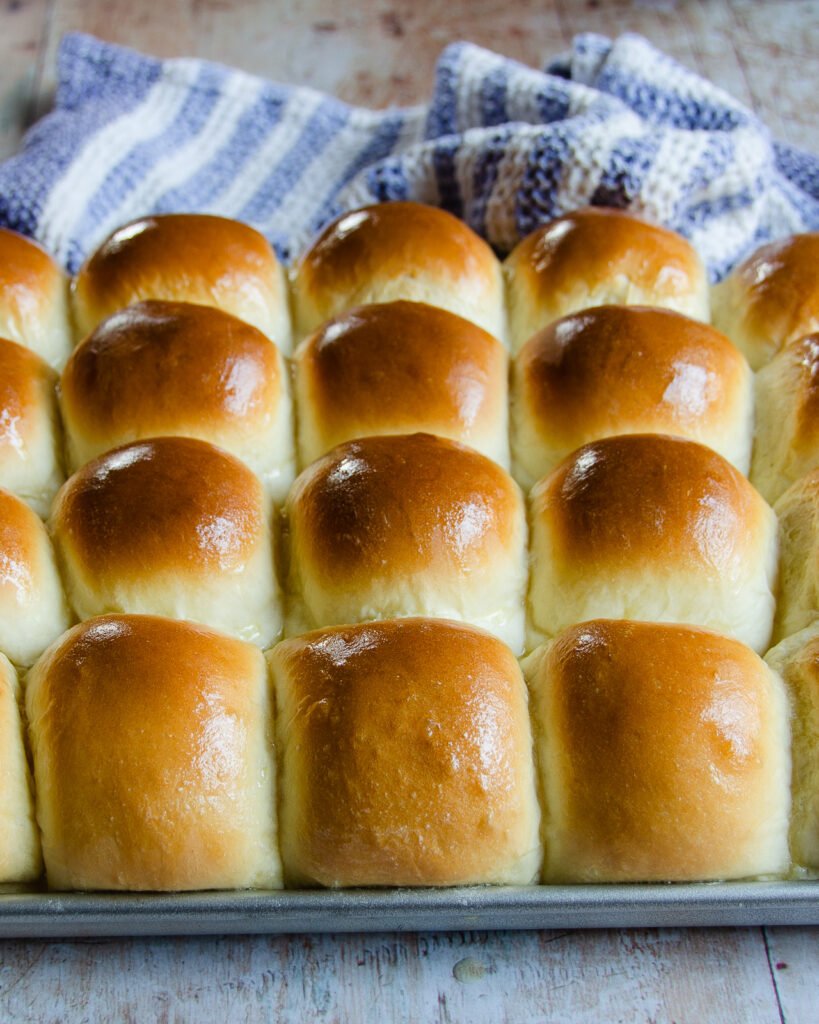
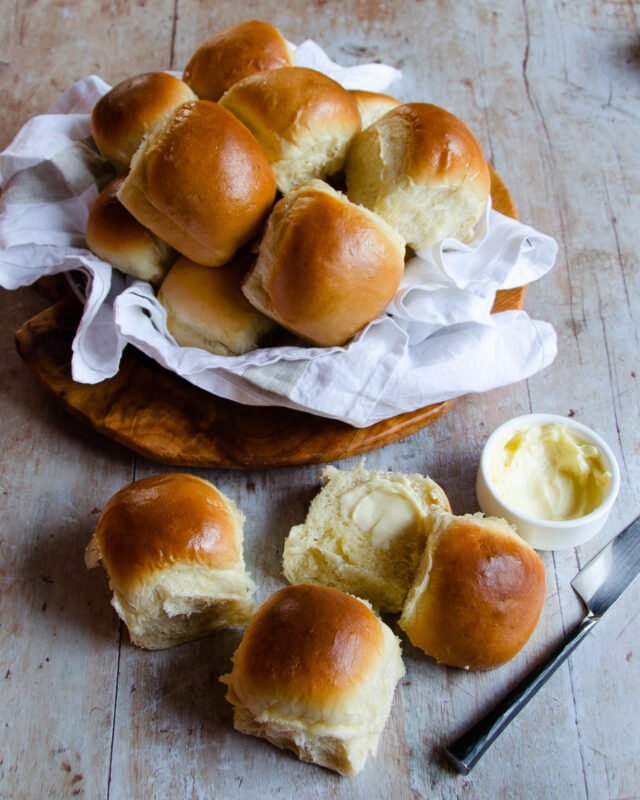
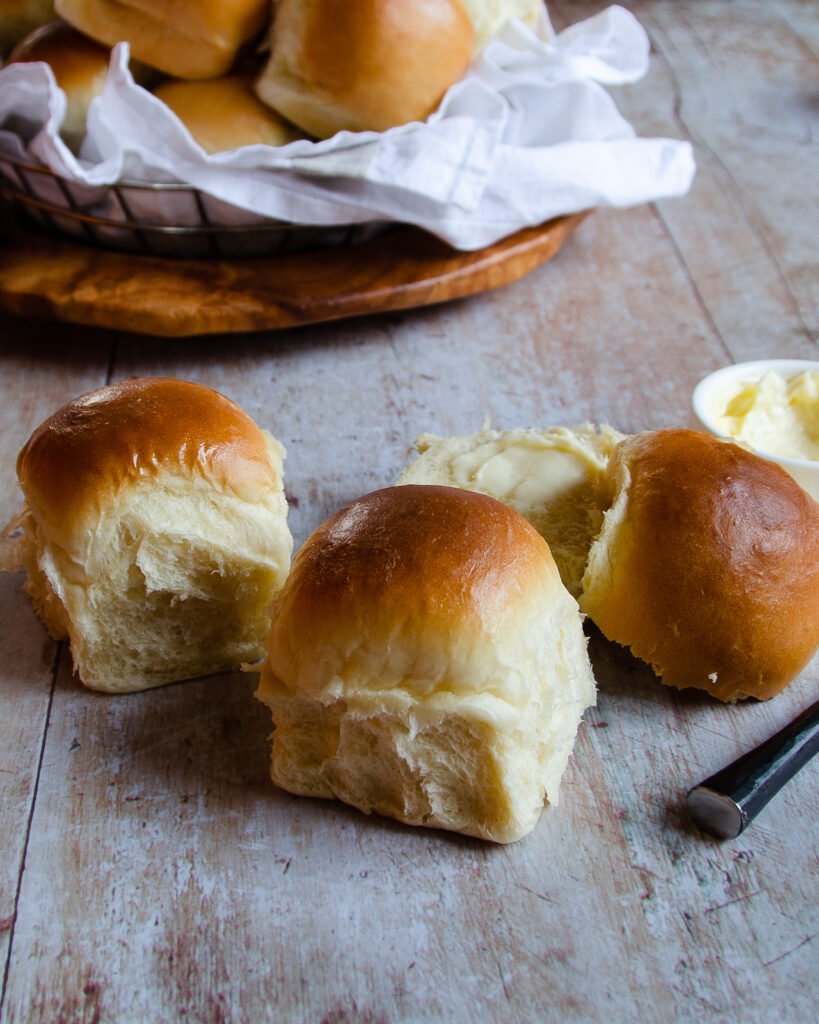
When the rolls come out of the oven, they will have a dull finish, but by brushing melted butter on top you’ll give the rolls a beautiful sheen and even more delicious flavor.
You can also make these rolls ahead of time very easily. You can bake the rolls a day ahead of time and then re-heat them on the special day (see notes below) or you can follow the recipe through step 6 and freeze the raw dough balls. When you are ready to bake the rolls, let them defrost for several hours and then proceed with step 7.
A homemade dinner roll is a luxury in today’s world of rushed cooks, but there’s no better way to spoil your guests.
Make ahead:
These rolls will stay soft for up to a week. Refrigerate them after two days.
To make 1 day ahead: Bake the rolls as instructed and then allow them to cool completely on a cooling rack. When they are cool, don’t separate the rolls, but instead wrap them well on the sheet pan with plastic wrap. Before serving, cover the sheet pan with foil and warm all the rolls together in a 350°F oven for 10 minutes. Re-heat them uncovered if you want crusty rolls.
To make up to 2 weeks ahead: Follow the recipe through step 6. Place the dough balls on the baking sheet. Grease one side of a piece of plastic wrap and wrap the rolls on the sheet thoroughly to make sure no air gets in. Freeze. Take the rolls out of the freezer 4 hours before you are ready to bake and let the dough balls come to room temperature. Then, let them rise according to step 7 until they have doubled in size and proceed with the recipe.
Scalable Recipe
The recipe below is scalable, but really only makes sense to either make 24 or 12 rolls at a time. Adjust the serving size to 12 for halved quantities. (0.17 cups of sugar = 8 teaspoons)


sO HAPPY THIS RECIPE WAS POSTED. tHERE NEVER SEEMS TO BE ENOUGH ROLLS AT DINNER AND THOSE STORE BOUGHT ONES JUST DOES NOT GO WELL WITH A MEAL. thank you !! HAVE A GLORIOUS THANKSGIVING AND GOD BLESS
YOU AND YOUR FAMILY AND THE PRECIOUS PETS TOO !! I HAVE CATS, WHO DOES NOT HAVE A CLUE WHAT A CAT IS. BEST WISHES..
I love the ingredients could I make bread with this. Recipes we love bread in the winter. Love all things you offer for make. Love your dogs
I love that recipes my family enjoy it
Thank you for posting that recipes lovely .
I made these rolls this morning and they are very good, BUT I came out with 36 rolls big enough to put a burger on. Not what I was expecting. I measured the ingredients precisely and came up with an enormous amount of dough. I might make it again and just half the recipe. I bake all the time and am an experienced bread maker so I have no idea what happened.
Hmm.. That’s interesting and I’m afraid I’m not sure how that could have happened either. The rolls I made could be used for sliders, but mine would not be big enough for a burger. All I can think of is that your dough rose more than mine or your half sheet pan was much bigger allowing them to expand more. Still, I’m glad they were good and you enjoyed them.
I have not made homemade dinner rolls ever, I’m 53 by the way. These turned out perfect and I will definitely make them again.
These are so yummy. By far one if the best folks I have ever made. Love doing rough ahead and freezing. Hubby LOVES them too. Definitely reminds me of the good things coming out of the best kitchens from days gone by. These rolls deserve a permanent address in my freezer to bring the goodness to the table whenever I want.
I made the rolls, and they were delicious! But, where did I go wrong? The recipe calls for 2 1/2 TABLESPOONS yeast. Is this correct?? I made a pan full, and the dough just kept growing. I couldn’t work fast enough. It even grew too fast in the refrigerator! Help, I want to make them again! But I need to resolve this problem first! (Don’t misunderstand, got a good laugh out of the situation.)
Hi Mary. It could have been the yeast you were using – it wasn’t rapid rise, by any chance or bread machine yeast, was it? Either way, if you’re using the same yeast next time, just reduce it to 1½ Tablespoons. That should slow it down enough for you to keep up. Sorry it raced you the first time, but I’m glad you have a good sense of humor about it. 🙂
Yum. Made these twice now. They are yummy and easy. Want to cut recipe in half for just us but that would be 1.5 packages of yeast. Wondering if it would hurt to just use all of both packages.
Hi Linda. This recipe is actually a very quick-rising dough and uses a large amount of yeast in proportion to the other ingredients. I would stick to using 3.5 teaspoons of yeast.
So I made these during the craziness of COVID-19 and being stuck in the house. My rolls came out bigger than yours, but oh so delicious!! I had a toddler (no daycare) and 3 dogs running about, so the bread most likely rose longer/larger than necessary, but it was still great! Smothered with butter and grape jelly or straight out of the oven, oh so good! I’m going to try the no knead bread next! Can I use a break maker for these recipes? I was considering buying a stand mixer or bread maker. The smell of rising or baking bread is the best! The best cure for the insanity of this crazy time! P.S. miss seeing you with Cook’s Essentials on the Q. I still have my air fryer from one of your presentations and love that too!
Hi Maria. I think the dough is too big in volume for a bread maker. You could make a smaller quantity and use the bread maker to knead the dough for you if you like, but of course you’ll shape the dough into rolls and bake them on a baking sheet.
Would you please provide ways to prepare smaller batches for those who are 1 or 2 persons who may not want so many rolls?
Hi Gerri. I enabled the serving size adjustment on this recipe for you. I would only recommend making a half recipe (12 rolls) instead of fiddling with the numbers to make a smaller batch. Use a 9×13 and cut the serving size down to 12 using the “-” button next to the serving size. These rolls freeze really well too, so pop any uneaten rolls into your freezer for a rainy day.
Does high altitude effect anything. I’m at 5,000 ft. You haven’t said anything about high altitude or perhaps I missed it.
Hi Dana. High altitude does affect your baking. You will probably need in increase your oven temperature by 25ºF and decrease the cooking time. You can learn more about high altitude baking from King Arthur FLour here: https://www.kingarthurflour.com/learn/resources/high-altitude-baking
ML
All I have is spelt flour will it be ok to use? I decided this morning to make them today for our Easter ham dinner! Not going out to look for All purpose ! I have it rising now!
I have not made these with spelt flour, Lynn. Let me know how it turns out.
ML
Absolutely the best dinner rolls! Our new favorite. Thank you Meredith. Happy Easter
So at 9 o`clock at night I decided I wanted to make this recipe for Easter tomorrow. It took about 3 hours plus but let me tell you those rolls are delish! As soon as I took them out of the oven my husband tore off one of them and ate it…hot! LOL I slathered with melted butter but the butter sunk in quickly. BTW, like others my rolls turned out huge even though I made the 24 recommended. I don`t mind, I like big rolls and I plan on taking a dozen to my daughter and family tomorrow. Social distancing of course. Happy Easter everyone!
Thank you BJC…love this recipe! Finally feeling like fall here in CA, so I’m making them tomorrow. I cook a lot of meals for our church’s meal ministry, so I love to freeze these in gallon freezer bags to keep on hand in our chest freezer. They thaw & reheat beautifully!! That’s how I prep ahead for Thanksgiving too.
Just a comment on preparing ahead. You say to wrap the rolls with saran wrap on a baking sheet. The next instructions are to cover the rolls with foil and bake. I would assume you remove the saran wrap but a new baker might not assume that. You might want to put that in your instructions.
I wanted to make these and freeze half of the dough but couldn’t find the notes on what to do.
Hi Margie, the freezing directions for the rolls are on the website page right above the video and recipe. You can freeze the dough balls and then take them out 4 hours to thaw. Then let them rise until they double in size and proceed with the recipe.
Would using bread flour be ok with this recipe?
Yes, you can use bread flour in this recipe. It will produce a slightly chewier roll.
I do have a question/s – I have a jar of Everything But the Bagel seasoning – a friend picked up a jar at Trader Joes & I’ve now seen where King Arthur Flour is carrying it. How is the best way of adding this seasoning to the tops of these buns? Do I sprinkle it on once I placed the dough balls on my sheet pan? Do I need an egg wash to make it stick?
Hi Cheryl. Yes, I would egg wash the buns and sprinkle the seasoning on top before baking.
ML
First time baking yeast rolls and these were delicious! Did a practice run for Thanksgiving. Thank you Meredith for easy to follow directions. Like some others mine were on the larger size but maybe bc I’m an inexperienced bread maker? Do you think it would help those of us that are new to weigh the dough to make each the same size?
One other question. I did 1/2 recipe, can you confirm .25 tablespoons equals 3/4 tsp for the yeast.
I plan on making your slow cooker turkey breast for Thanksgiving along with these rolls! Can’t wait.
Thank you!
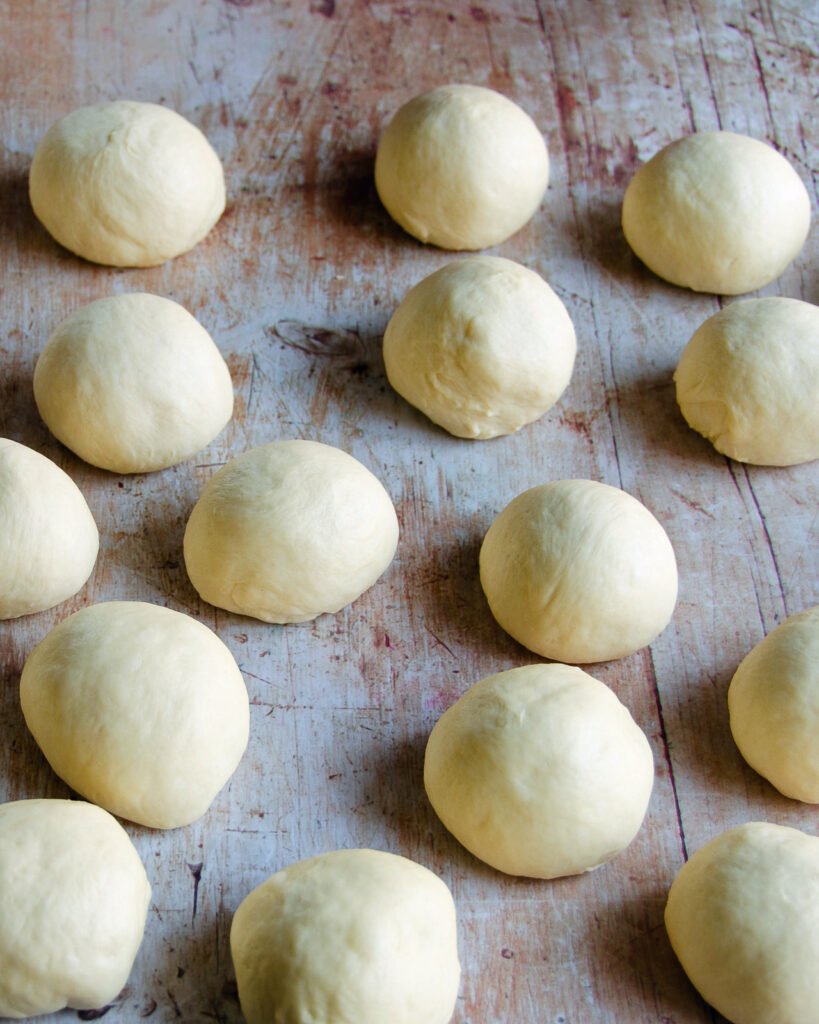
These are a nice sized roll, and perfect not only for dinner but for leftover turkey sandwiches. You can always make them smaller if you prefer a more petite dinner roll. A scale will definitely help you keep each the same size. It takes a little more time but you will get rolls that are all the same size. There are 3 teaspoons in a tablespoon, so yes ¼ tablespoon does equal ¾ teaspoon.
I’ve been tasked with rolls this Thanksgiving and was looking for a good 1/2 sheet pan recipe. I just made a test batch tonight and they turned out great! We’re all exercising our will power to eat an actual complete dinner instead of just each buttering up 3-4 of these instead.
I used instant yeast (Saf Instant) so I could skip the proofing step. Instead of proofing the yeast in warm water, just add the water and sugar to the butter and milk mixture, then whisk the salt and yeast directly into the 6 cups of flour. Keep that last cup(ish) of flour separate in case you don’t need all of it.
Thanks for the recipe! I’ve added this to my regular dinner arsenal.
I just made this recipe and it was spot on. I’ve never had very good luck with yeast but these rolls were very straightforward. My go to rolls from now on!
This is a 10-star recipe! The rolls are delicious and so easy to make, and we’re a HUGE hit on Thanksgiving. The rolls are now officially on the list of Thanksgiving sides. Thanks, Meredith!
This is the best recipe!! Thank you
My family love ❤️ the buns, so soft and fluffy and delicious.
I tried to make these. The dough never came together. Had to add so much flour they came out like rocks. I followed the temps and measurements exactly.
Sorry you had a problem with the recipe, Bonnie. I have made and tested this recipes several times with no issue, but working with yeast can be tricky at times. Adding too much flour, not kneading enough or not letting the dough rise long enough can effect the results. Another thing that could be an issue is the yeast. Either proofing with the liquid temperature too high, or using bad or expired yeast would make the rolls dense and less fluffy.
I made a full batch dividing half into 12 dinner rolls and half into 2 loaf pans- not sure how long to cook the loaves- I’ll give it my best guess as they are in the oven now and smelling great!
Hi Susan, I hope your loaves came out well! I would have said to bake them for about 30 to 40 minutes. I have never tried this roll recipe as a loaf. Let us know how it turned out!
We decided to try this recipe for some dinner rolls to go with our game day chili. These do not disappoint! Such a wonderful dough to work with and they turned out better than store bought buns by a long shot!!
I always love this recipe! Always turns out light, golden and delicious. Thank you. From a fan.😀
I’ve made these rolls several times and love them! Hubby loves them too much! I was wondering if I could substitute whole wheat flour for the white flour. We mostly eat whole wheat breads and just curious if I would need to adjust any of the ingredients. Thanks and keep the recipes coming!
Hi Daphne. you could substitute up to ½ of the flour with whole wheat flour. You may need to add a little more liquid or flour as needed. The texture will be different (more dense), but still delicious.
This recipe sounds very good. I am planning on making it in a couple of weeks for a big family gathering.
I am just wondering if I could double the recipe?
Or would it be best to make two separate batches?
Thank you!
This recipe makes a good portion of dough so it would be best to make two separate batches so it is more manageable, especially if you are using a stand mixer. A double batch of dough won’t fit in the bowl of a stand mixer. If you do mix together one big batch, I would split the dough in half and let it rise in two separate bowls.
Thanks, Lisa!
Haven’t tried this recipe yet, but I was wondering if one could substitute the dairy-milk for alternative (nut or soy or oat) milk, since my 2yo boy is Hella allergic to anything with casein in it. And if I can use cleared butter instead of regular butter (or does it really need the whey?).
You can bake with bread or rolls with clarified butter and a milk substitute. You will want to use a one that has the least amount of flavor as it will change the flavor of the rolls.
Delicious rolls. We keep our house cooler in the winter than i need to properly proof my dough. So, this year i set my dehydrator to 95 degrees F and the dough rose beautifully. I cooked 12 huge rolls and froze 12 to bake later. My new go to roll recipe. Beats store bought any day. Thank you for sharing this recipe.
How many grams of dough in each roll?
The dough balls were not weighed during the testing of this recipe.
These rolls are delish! Big and fluffy.
I’ve made these a few times now and they’ve been delicious every time. I always look forward to making your recipes. They’re well written – clear, and easy to follow – as well as delicious.
I made these for Christmas dinner tomorrow and let me tell you they’re wonderful! My mother ate three as they came out of the oven. The work to make them is a little laborious but so worth it. Once again you hit it out of the park, thank you Meredith!
I tried this recipe for my first attempt at making yeast rolls. Mine ended up looking BEAUTIFUL, but not sure if the texture was what was to be expected. I was expecting a light and airy roll, but it was more “dense” I guess would be the closest term to describe them. I did have to add a bit more flour for the dough to come together into a ball and to not be sticky as the recipe instructions described. They still tased good, but could I have done something wrong to affect the texture?
These rolls should not come out dense. They are usually light and fluffy rolls. The dough is soft and should come together but does not have to be a tight ball. It sounds like you may have added too much flour. Glad you still enjoyed them!
I’m at high altitude (~5000ft) any suggestions for alteration?
Hi Heidi,
Baking at higher altitudes can be tricky. I always refer to King Arthur’s Flour who has a good chart to look at. https://www.kingarthurbaking.com/learn/resources/high-altitude-baking
ML
Can you use rapid yeast? Also, I wish that the video would show the amount of each item in the recipe. I know that you have the recipe shown separately, but it makes it easier if you just want to follow along with the video.
This recipe has not been tested with rapid yeast. Since it does require a second rise after the rolls are shaped, it is best to use active dry yeast.
The recipe seem to come out very well. The dough was not sticky at all just right. They were in the oven cooking now and smell delicious. Thanks for the recipe.
I made this recipe and these rolls are fabulous! I would like to try this recipe using gluten free flour. Has anyone tried this with success?
This recipe has not been tested with gluten-free flour, but maybe someone else has tried it and can let us know!
These rolls turned out amazing! Nice and fluffy! Love that it’s stand mixer friendly! My family loved these!