Easy to Make Fudge
Peanut butter fudge sounds delicious to any peanut butter lover. Fudge, on the other hand, sounds hard. It sounds like it would be a challenge for any cook in the kitchen, possibly requiring a lot of special equipment. In reality… easy. Making fudge is really no harder than dumping some ingredients in a pot, boiling for a few minutes, stirring in some flavors and letting it set. Why is it so easy? Well, because if you use marshmallow creme (a smoother, semi-liquid form of marshmallows) most of the work is done for you.
Fudge Ingredients
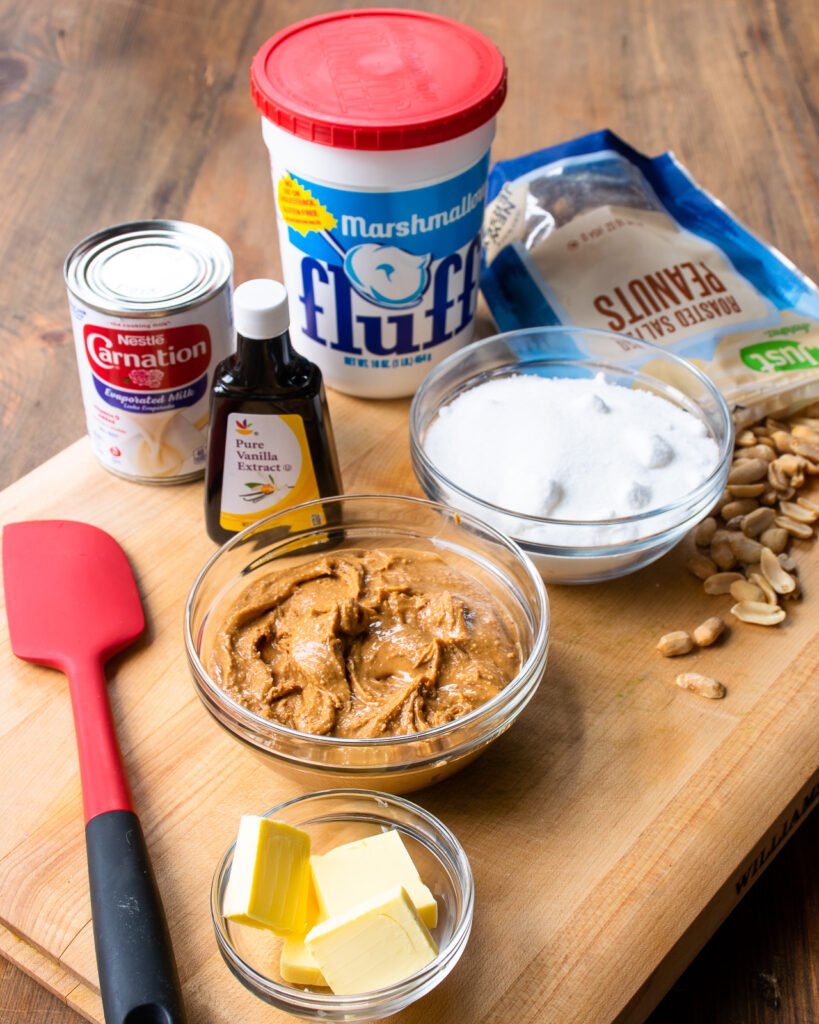
Along with marshmallow creme, you will need sugar, evaporated milk, butter, some vanilla and of course peanut butter for this peanut butter fudge. I recommend using smooth peanut butter and choosing a brand that has only two ingredients: peanuts and salt. Most peanut butters on the market include sugar, which I think is completely unnecessary for every day use and a bad idea for this recipe that already adds 2 cups of sugar to the mix. So, grab a jar of natural peanut butter or buy the kind that you can grind yourself at the grocery store.
Tips for Making Fudge
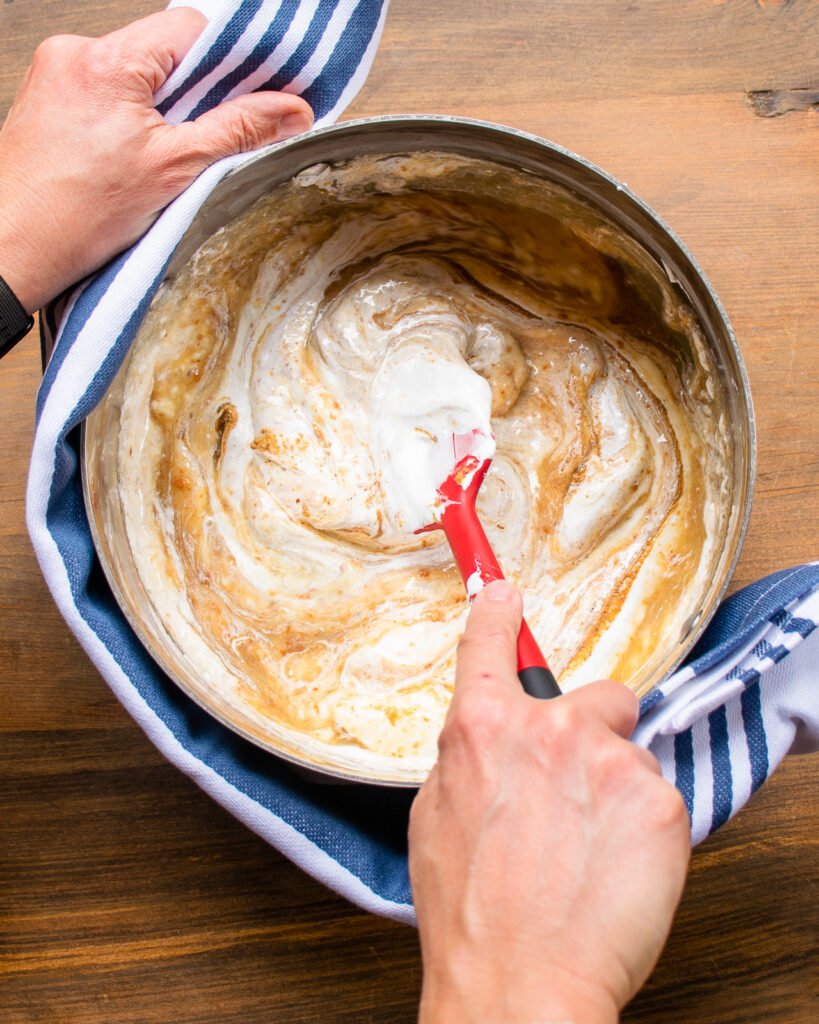
The key to making good fudge is to make sure the sugar at the beginning cooks to the right stage. That stage is called “soft ball” stage, or 235ºF to 245ºF. If you have a candy thermometer, you’re in luck and it is very easy to measure when the sugar reaches the right temperature. If you don’t have a candy thermometer, all is not lost. Once the sugar, evaporated milk and butter have started to boil, monitor the heat underneath the pot to maintain a boil without boiling over and time for 5 minutes. That should take your sugar roughly to soft ball stage, but to test it drop a small amount (about ¼ teaspoon) into a bowl of ice water. The sugar will clump together and you should be able to pick it out of the water with your fingers and roll it into a soft ball. If it doesn’t, continue to boil for a few more minutes and test again. Once the sugar has reached soft ball stage, all you have to do is stir in the peanut butter, the marshmallow creme and some vanilla extract. The marshmallow creme saves you from having to beat the fudge until your arm falls off.
How to Store and Freeze Fudge
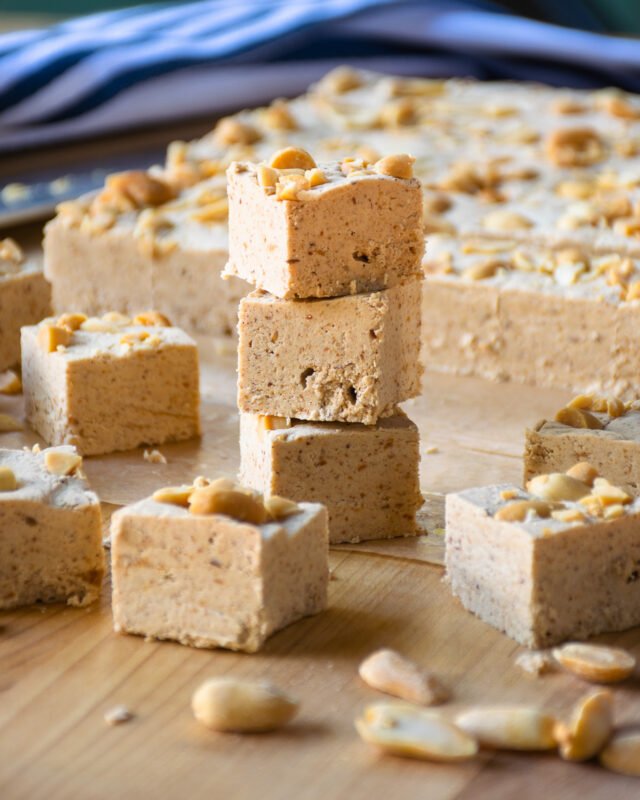
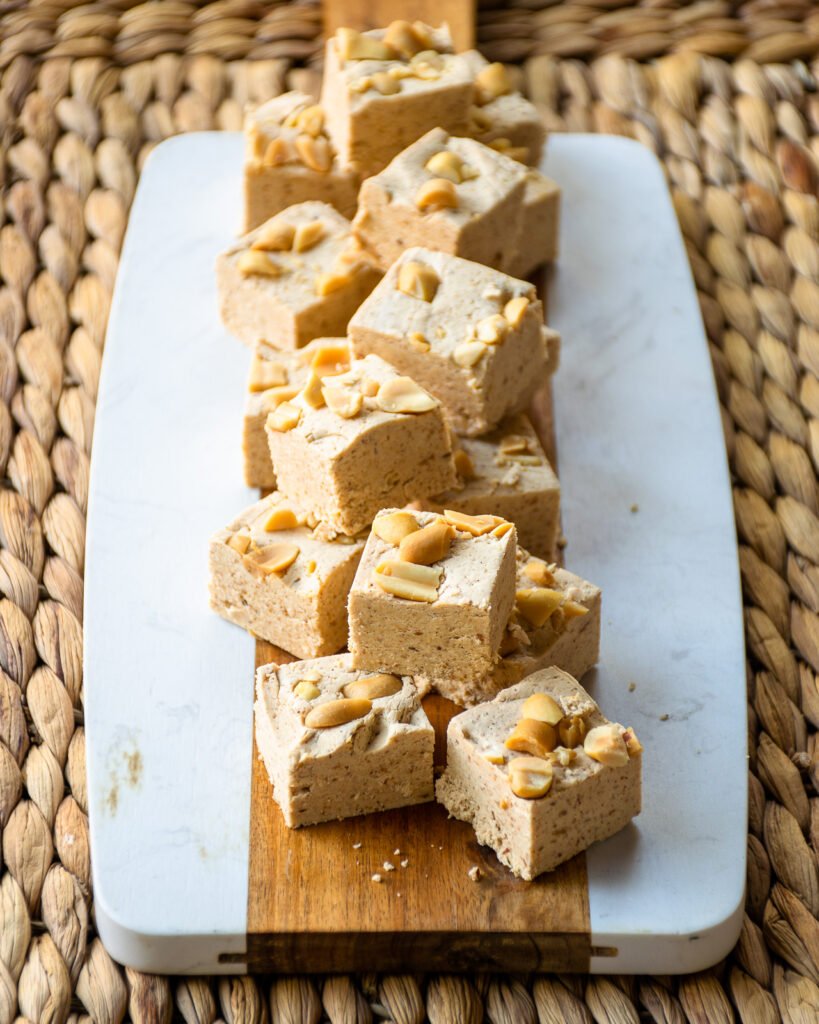
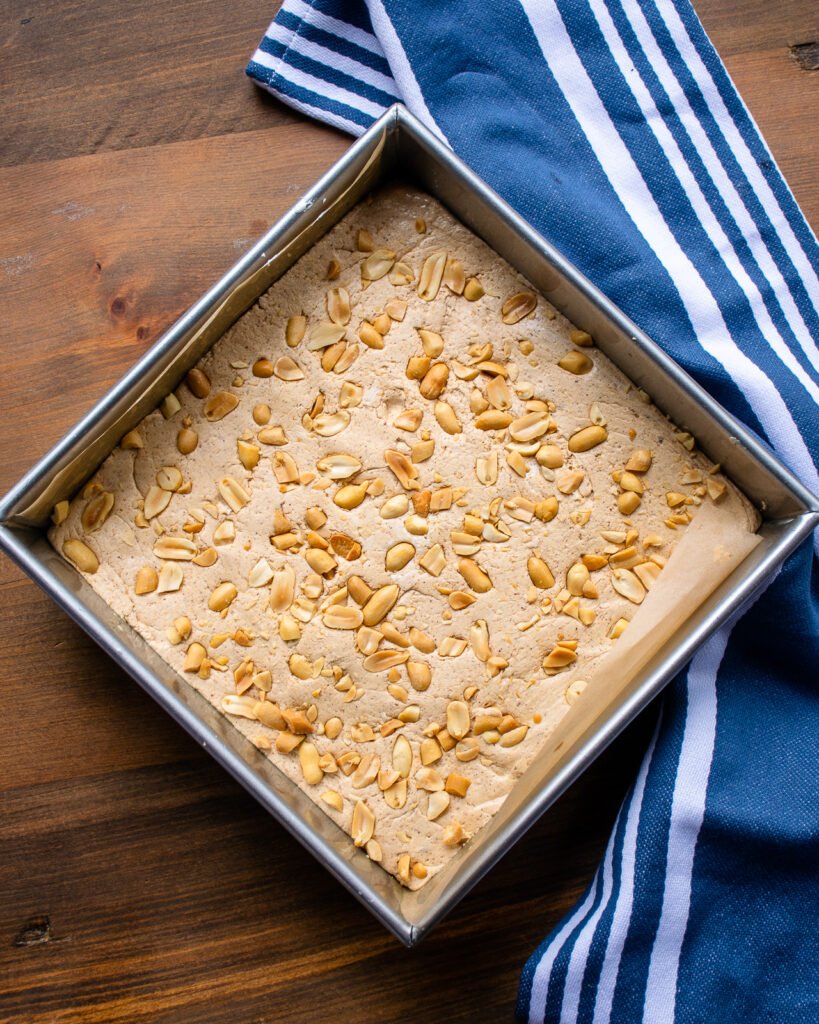
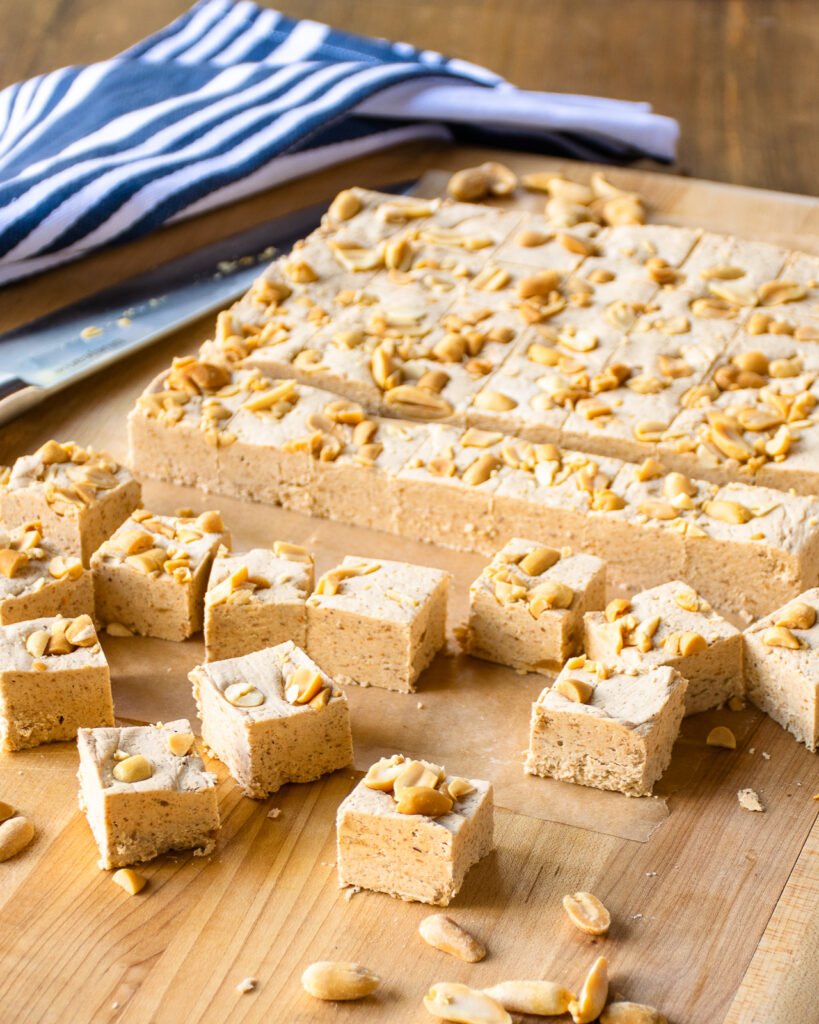
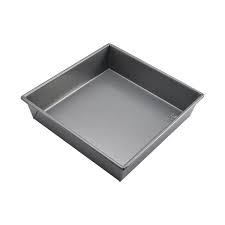
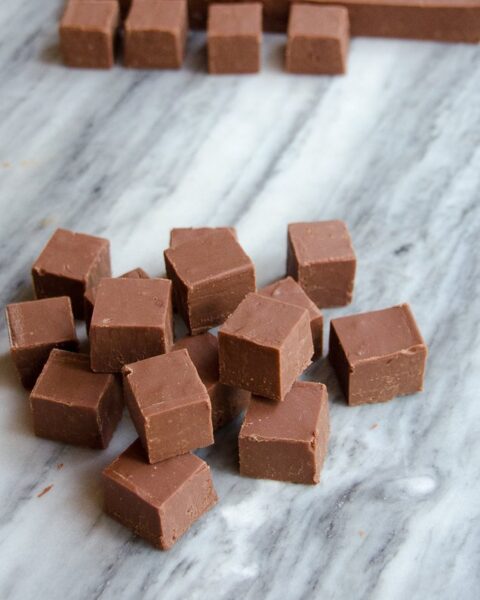
This peanut butter fudge sets up quite quickly, so make sure you have a 9-inch cake pan ready to go, greased or lined with parchment paper. Pour the fudge into the pan and then scatter the roasted salted peanuts on top, pressing them into the fudge so they stick well. Let the fudge set up in the refrigerator for a couple of hours. Then, you can cut the fudge into squares. I like to make small pieces of fudge because a little goes a long way. If you cut the fudge into 7 rows of 7 (49 pieces), you can actually keep each serving of fudge down around 100 calories which takes off a load of guilt… as long as you can keep your portion to just one square!
You can store the fudge at room temperature or in the refrigerator. It depends on how you like your fudge – if you like it super soft, leave it out; if you prefer it a bit harder and cold, store it in the refrigerator. Wherever you choose to store it, make sure it is in an airtight container to keep it from drying out. It will keep well for 3 weeks.
If you want to freeze fudge, remove it from the pan and wrap it as well as possible – plastic wrap and then aluminum foil – to keep it from drying out. You can freeze it for up to 3 months if it is well wrapped. If it is not well wrapped and dries out in the freezer, the texture will change and become crumbly when you defrost it.
Other Fudge Recipes
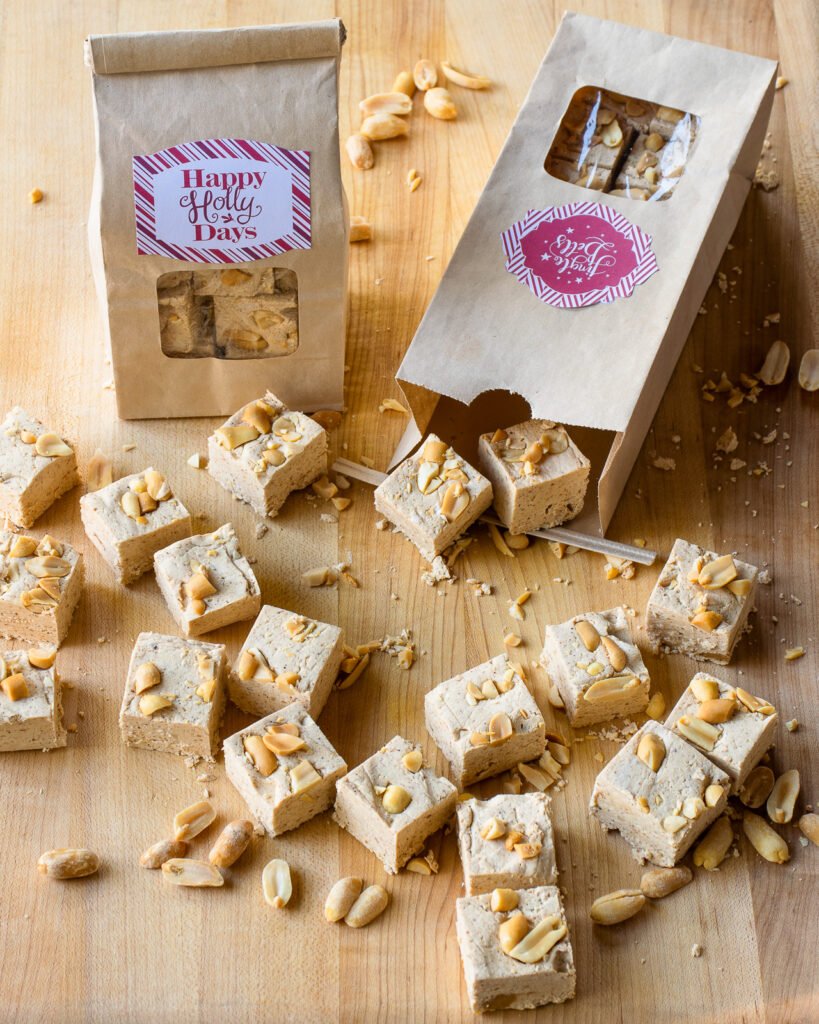
I think it’s nice to put the fudge into little bags or boxes as a gift for friends and neighbors. You could even make different flavors of fudge to create an assortment of fudge to give or offer around. Basic Chocolate Fudge is a winner with all, or you could try the decadent Dark Chocolate Orange Fudge for something a little more unique. White Chocolate Raspberry Swirl Fudge with chopped green pistachios on top has a very Christmastime look to it, and Sucre à la Creme is the traditional French Canadian fudge seen in Quebec and all across Canada around the holidays. Any (or dare I say “all”) of these fudge flavors would make a spectacular fudge tray!


At what stage of the recipe can I add chocolate chips ? Would you even recommend ?! Thanks !
I’d be hard pressed to find a time when I DON’T recommend chocolate chips!!😄 I would either stir them in at the very end before transferring to the cake pan, or sprinkle on top with the chopped peanuts.
My mother made this recipe for many years growing up. I have one question, did you use natural peanut butter or it is the standard store-bought?
Hi Maureen. I use natural peanut butter – just peanuts and salt in the ingredients.
Delicious and easy.
Why do you have to use a candy thermometer with peanut butter fudge but not chocolate fudge?
You don’t HAVE to use a candy thermometer with this fudge, but it’s more accurate that just timing for 5 minutes. 5 minutes is the rough estimate of time it takes the mixture to get to the right temperature and that was part of the instructions to keep the recipe simple. You can use either method, but the thermometer is more accurate.
First picture shows marshmallo fluff,But receipe s calls for marshmallow creme… Witch is correct ?
Hi David. Fluff® is just a brand name of marshmallow creme. There are other brands out there, but Fluff® is the most well-known.
I buy a brand of peanut butter that you have to stir in the peanut oil that floats to the top of the jar, before using. Is it OK to use this brand for you fudge recipe? Also, can I use either “crunchy” or “creamy” peanut butter?
Definitely! Natural peanut butter is the only kind I use. Quick tip: the best way to blend the peanut butter when you first get it home is to use a hand mixer with just one beater in. It was a game changer for me! Hold onto the jar of peanut butter firmly and use the one beater on slow speed. There’s nothing better for blending that peanut butter the first time. You can use crunchy or smooth peanut butter for the fudge – just depends on whether you want chunks or not. Have fun!