No Bake Layered Cheesecake

No oven needed for this no bake layered cheesecake! Layer blueberry, plain and raspberry cheesecake batters on top of each other and chill well for a delightfully refreshing summer dessert.

Jump to Recipe (or scroll for photos and riveting information...)
Advertisement - Continue Below
Looking straight down on a no bake cheesecake with whipped cream and berries, plates, napkins, forks and a pie server.

How is a No Bake Cheesecake Different?

It’s nice when a name explains it all, isn’t it? A no-bake cheesecake is exactly that… a cheesecake that doesn’t require baking. Instead of including eggs in the cream cheese batter that get cooked and solidify to provide the structure of the cheesecake, a no bake cheesecake relies on chilling the cream cheese and whipped cream enough so that it doesn’t require baking. What it does require is a cool fridge and plenty of time to set up firm in the fridge. A no bake cheesecake is also a cheesecake that you serve cold, right out of the fridge, and return to the fridge right away if you have any leftovers.

Looking down into a bowl with whipped cream cheese next to a chopper with berry puree, a bowl with blueberry puree and a hand mixer.

Making the Cheesecake Base

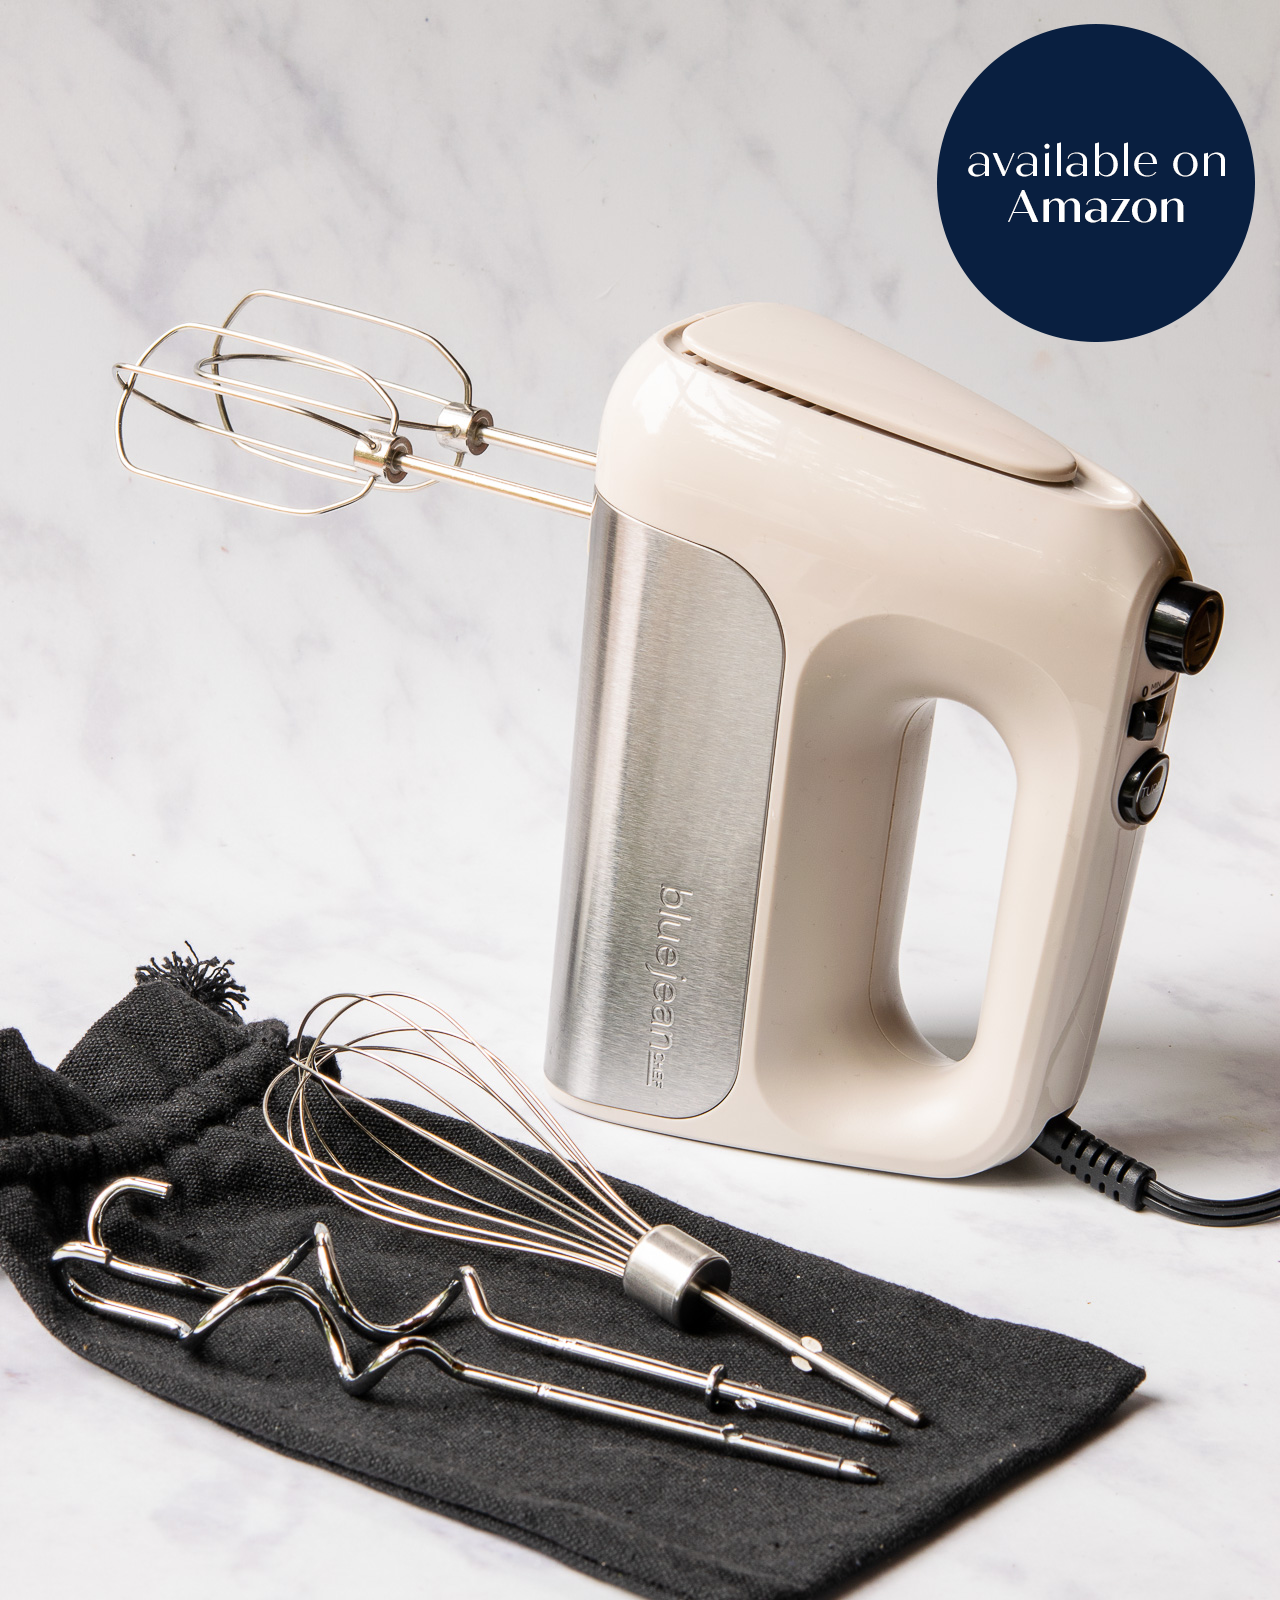
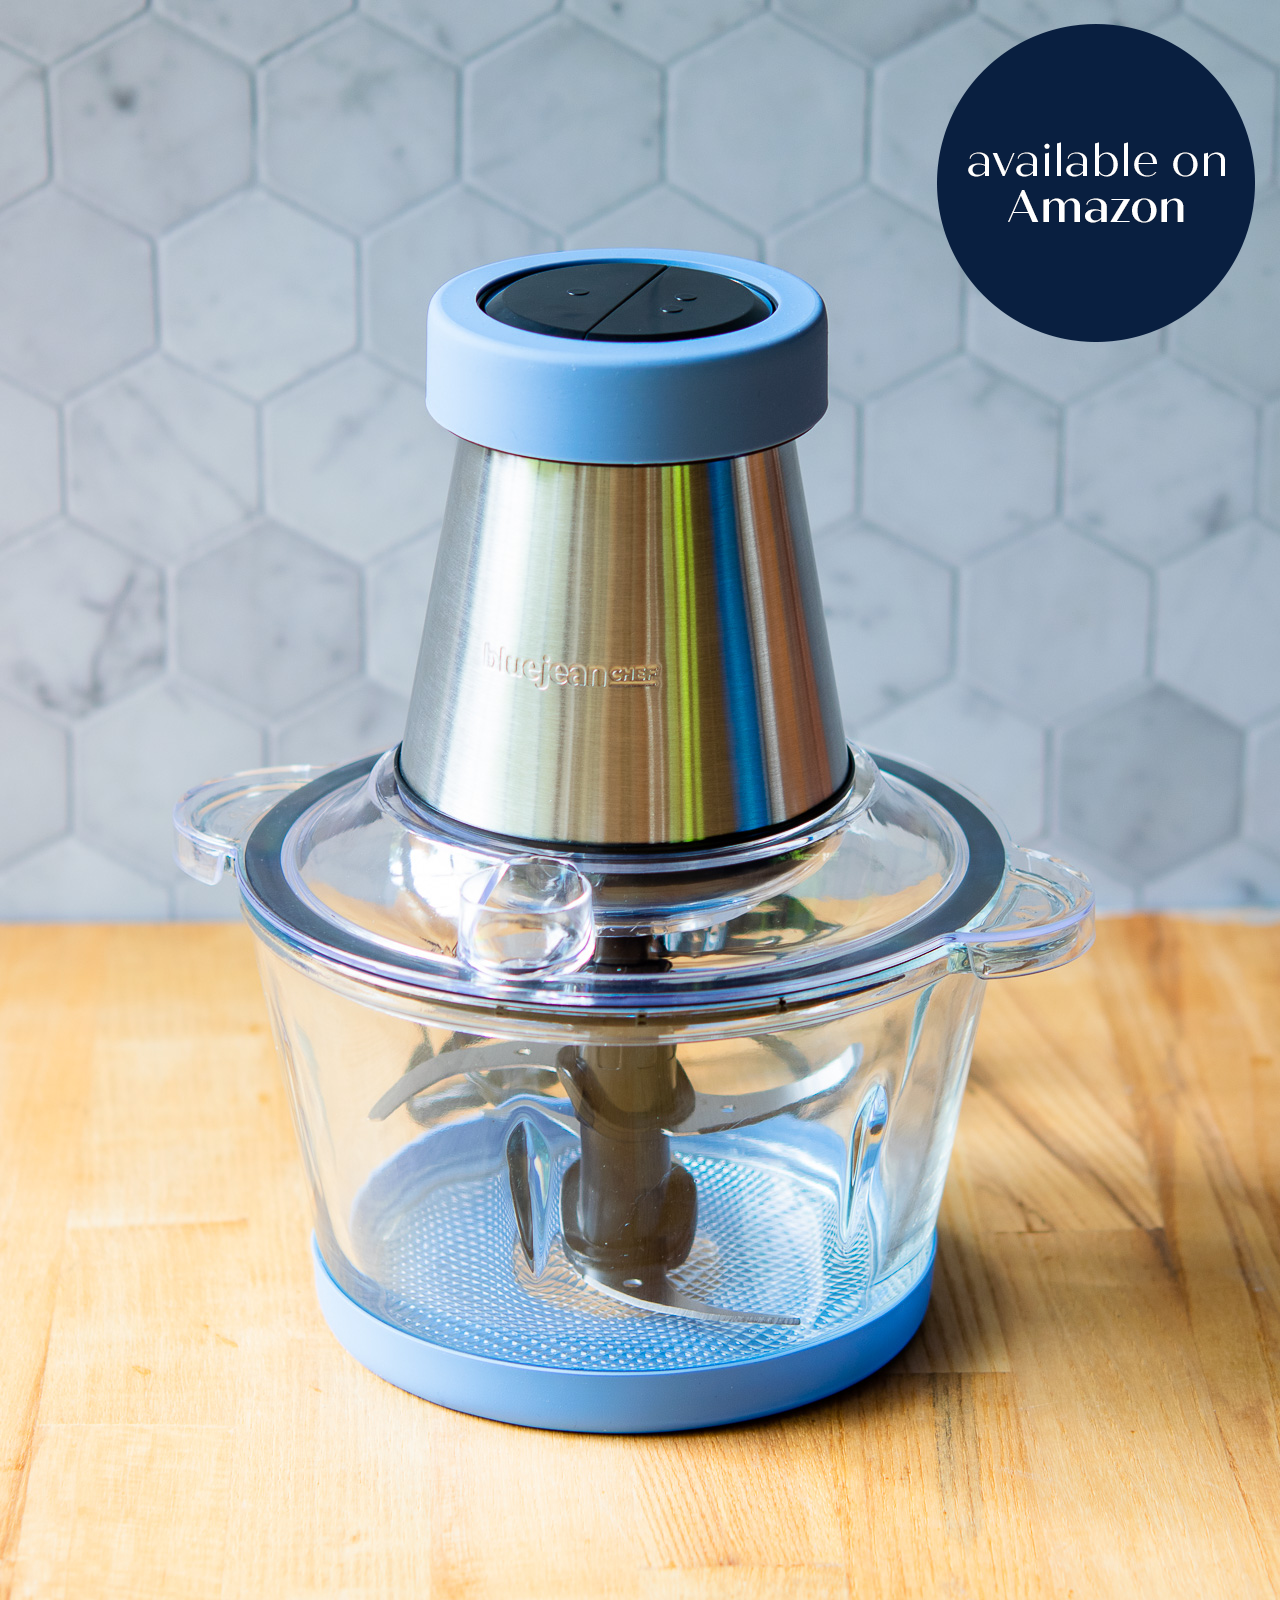
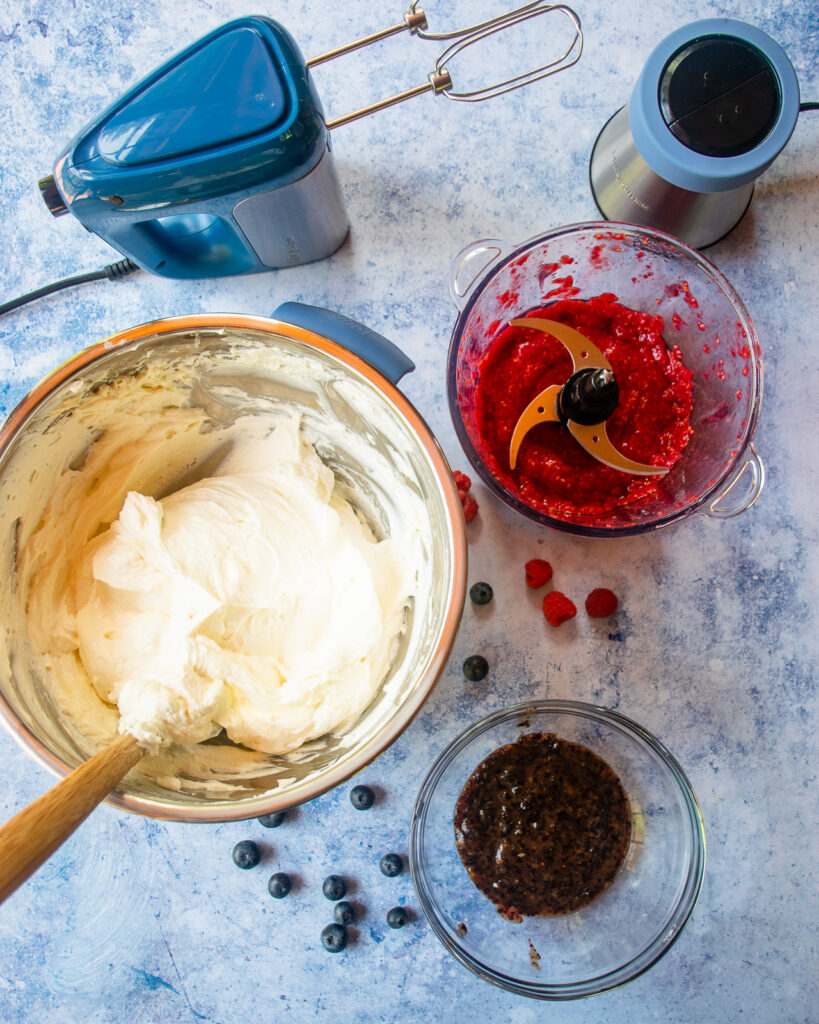
Because this is a layered no bake cheesecake, you’ll make a base batter and then divide that batter into thirds, flavoring two of the three batters with berries. This recipe has a blueberry layer, a raspberry layer and a plain vanilla layer so that we have three distinct colors to layer on top of each other, creating a cool look when you slice into this no bake cheesecake. You can use a hand mixer, stand mixer or food processor to make your base. 

Four images showing how to add different layers to a no bake cheesecake pan.

Making a Layered No Bake Cheesecake

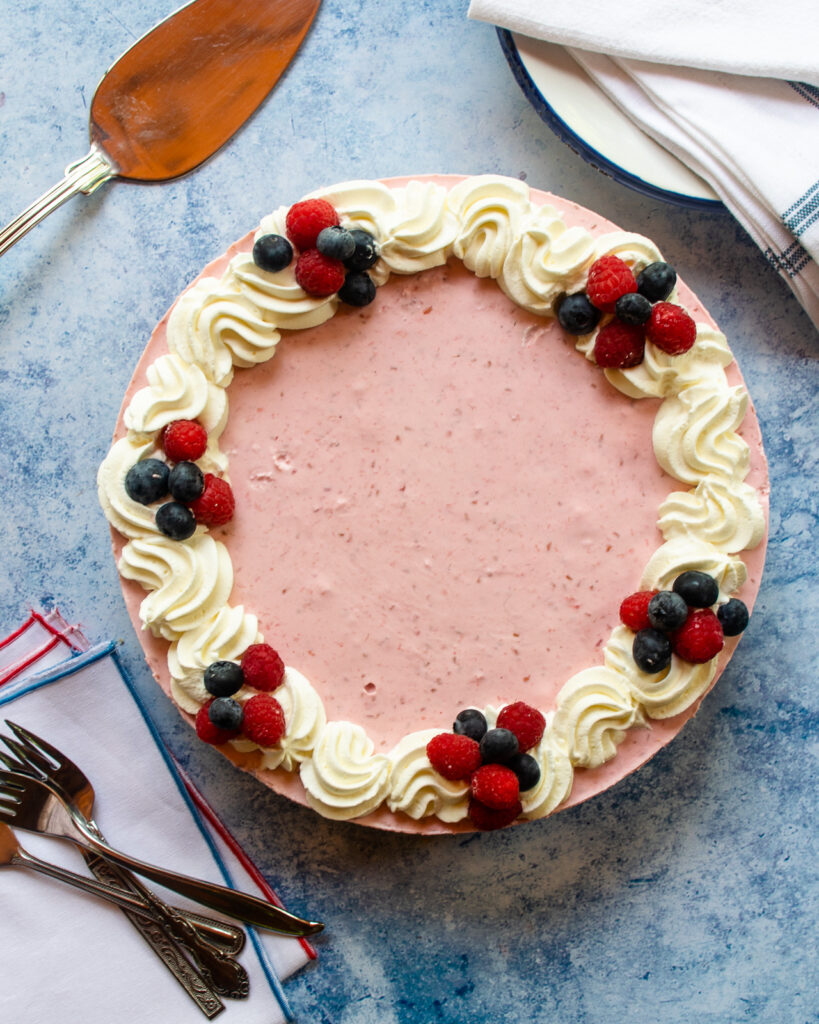
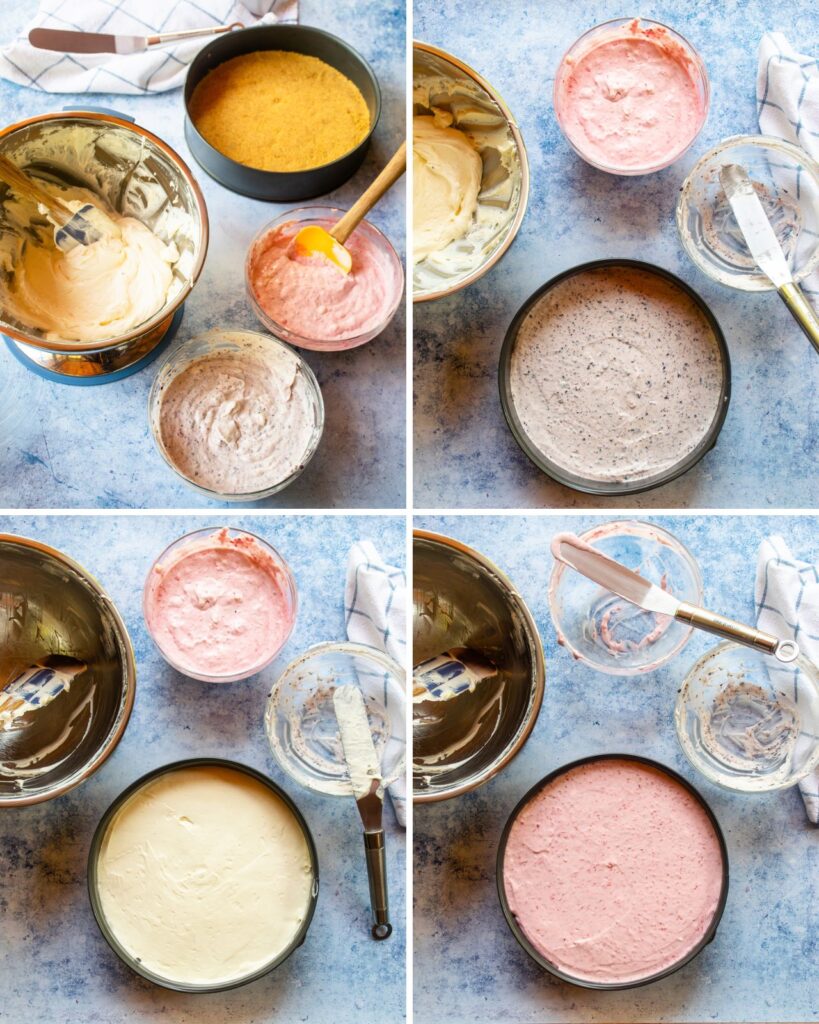
Once you have your three separate batters, simply layer them on top of the crust, smoothing each one out as you go. There’s no need to chill the layers in between layering, but you can if it makes you feel more comfortable. You can also layer the colors any way you like. I like the white layer in the middle to separate the two colors, but you can decide what layer you want on top based on how you are going to decorate the cake.

A piece of no bake cheesecake in front of the rest of the cheesecake.

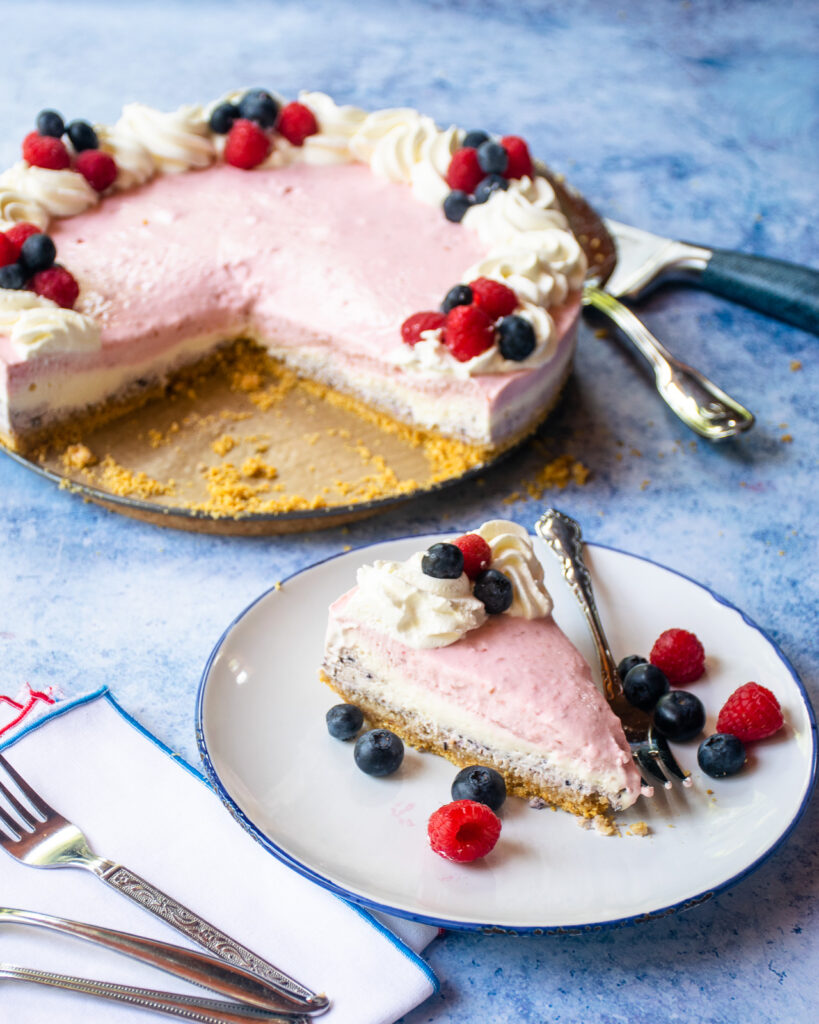
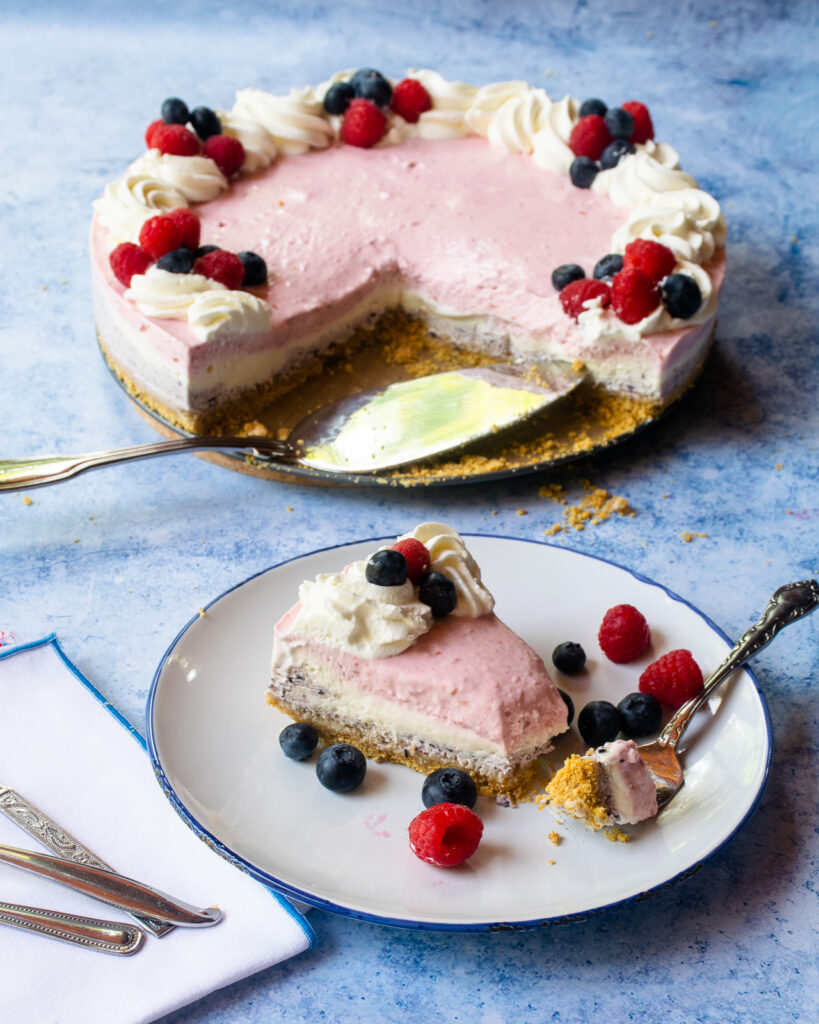
How to Slice a No Bake Cheesecake

When it comes to slicing the cake, first rule is to make sure the cake is really, really cold. You can even chill it in the freezer for 30 minutes before serving which will make the slicing even easier. Otherwise, have a hot, wet, clean kitchen towel that you can use to wipe the knife in between slices so that you get the cleanest slice and best look at the three layers. Then, just pass the forks around and enjoy!

A piece of no bake layered cheesecake with a forkful removed on a blue rimmed white plate with the rest of the cheesecake in the background.

Featured Recipe Techniques

More about the skills used in this recipe.

Cooking School
How To Measure Ingredients Properly

Measuring properly can make or break a recipe and there is a right way and a wrong way to measure....View Technique

Advertisement - Continue Below

No Bake Layered Cheesecake

  • Prep Time: 30 m
  • Chilling Time: 8 h
  • Total Time: 8 h 30 m
  • Servings:
    12
    people

Ingredients

Crust:
  • cups Graham cracker crumbs
  • ½ cup melted unsalted butter
  • 2 tablespoons granulated sugar
Filling:
  • 24 ounces cream cheese
  • cups powdered sugar divided
  • cup sour cream
  • 2 teaspoons pure vanilla extract
  • Juice of 1 lemon
  • cups heavy whipping cream
  • 1 cup fresh raspberries puréed
  • 1 cup fresh blueberries puréed
  • Whipped cream and fresh berries for garnish

Instructions

  1. To make the crust, combine the Graham cracker crumbs, melted butter and sugar in a bowl. Line the bottom of a 9-inch springform pan with parchment paper. Press the Graham cracker crumb mixture firmly on the bottom of the pan and place it in the refrigerator.
  2. Using an electric mixer, beat the cream cheese and ¾ cup of the powdered sugar together until smooth. Add the sour cream, vanilla extract and lemon juice, and mix until smooth.
  3. In a separate bowl, whip the heavy cream using an electric mixer on high speed until it starts to thicken. Then add the remaining ¾ cup powdered sugar and continue to whip the cream into stiff peaks. Fold the whipped cream into the cream cheese mixture until well combined. This is your plain cheesecake base.
  4. In another bowl, combine 2 cups of the cheesecake base with the puréed blueberries. In yet another separate bowl, combine 2 cups of the cream cheese mixture with the puréed raspberries. Now you have three bowls of flavored cheesecake batter.
  5. Spread the blueberry batter into the bottom of the springform pan on top of the crust. Use an off-set spatula to spread it out evenly in the pan. Gently spoon the plain batter over the blueberry layer and spread it out evenly. Then spoon the raspberry batter on top of the plain layer and spread it out evenly.
  6. Cover or wrap the pan with plastic wrap and chill for at least 8 hours to overnight.
  7. When ready to serve, run a knife around the edge of the pan and unmold the cheesecake. Transfer to a serving platter, removing the parchment paper on the bottom. Garnish with whipped cream and fresh berries. Cut into wedges to serve, dipping your knife in warm water and wiping clean in between cutting each slice. Serve chilled.
Advertisement - Continue Below

Leave a Reply

Your email address will not be published. Required fields are marked *