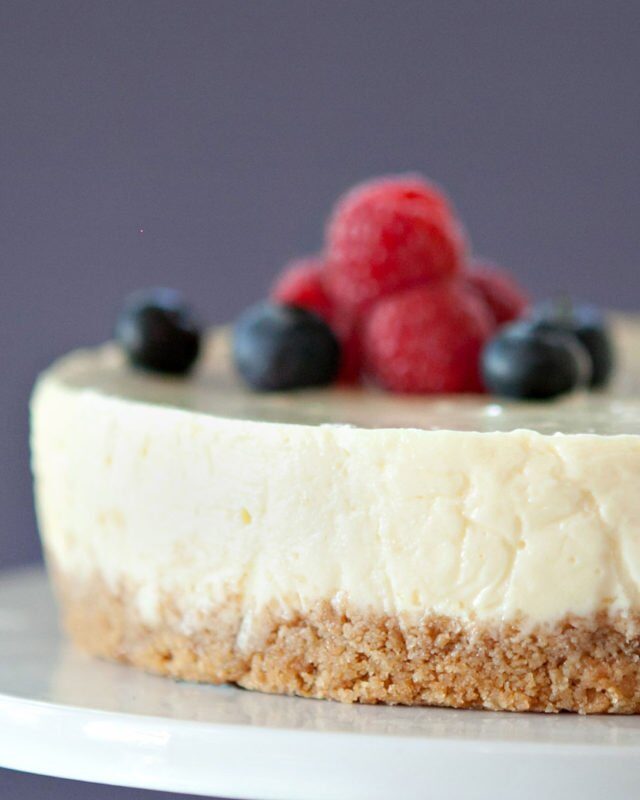
Vanilla Cheesecake
Cheesecake is one of the easiest desserts to make and yet your guests will be so impressed. You can make it in the oven OR in the pressure cooker. Either way, remember to make it a day ahead of time so that it has time to set up.
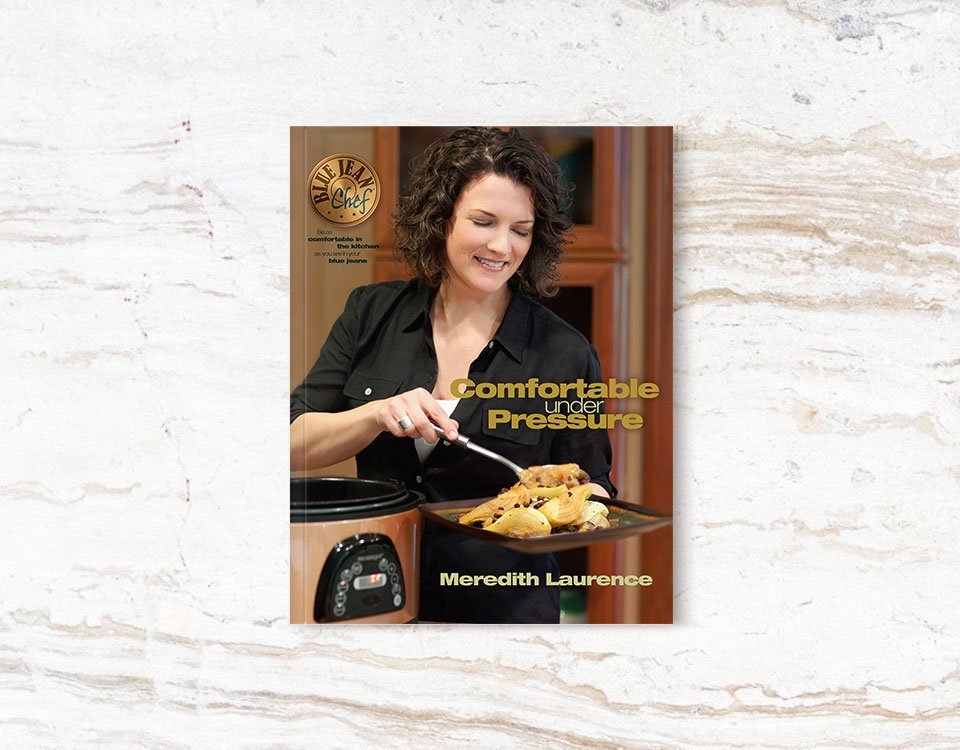
Featured In My CookbookComfortable Under Pressure Jump to Recipe (or scroll for photos and riveting information...)Featured Recipe Techniques
More about the skills used in this recipe.
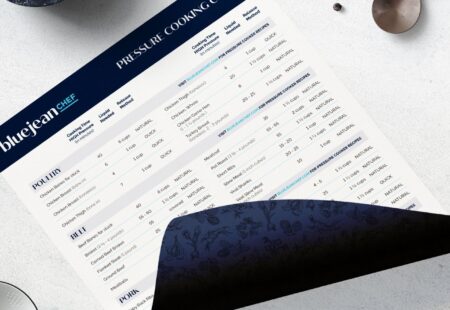
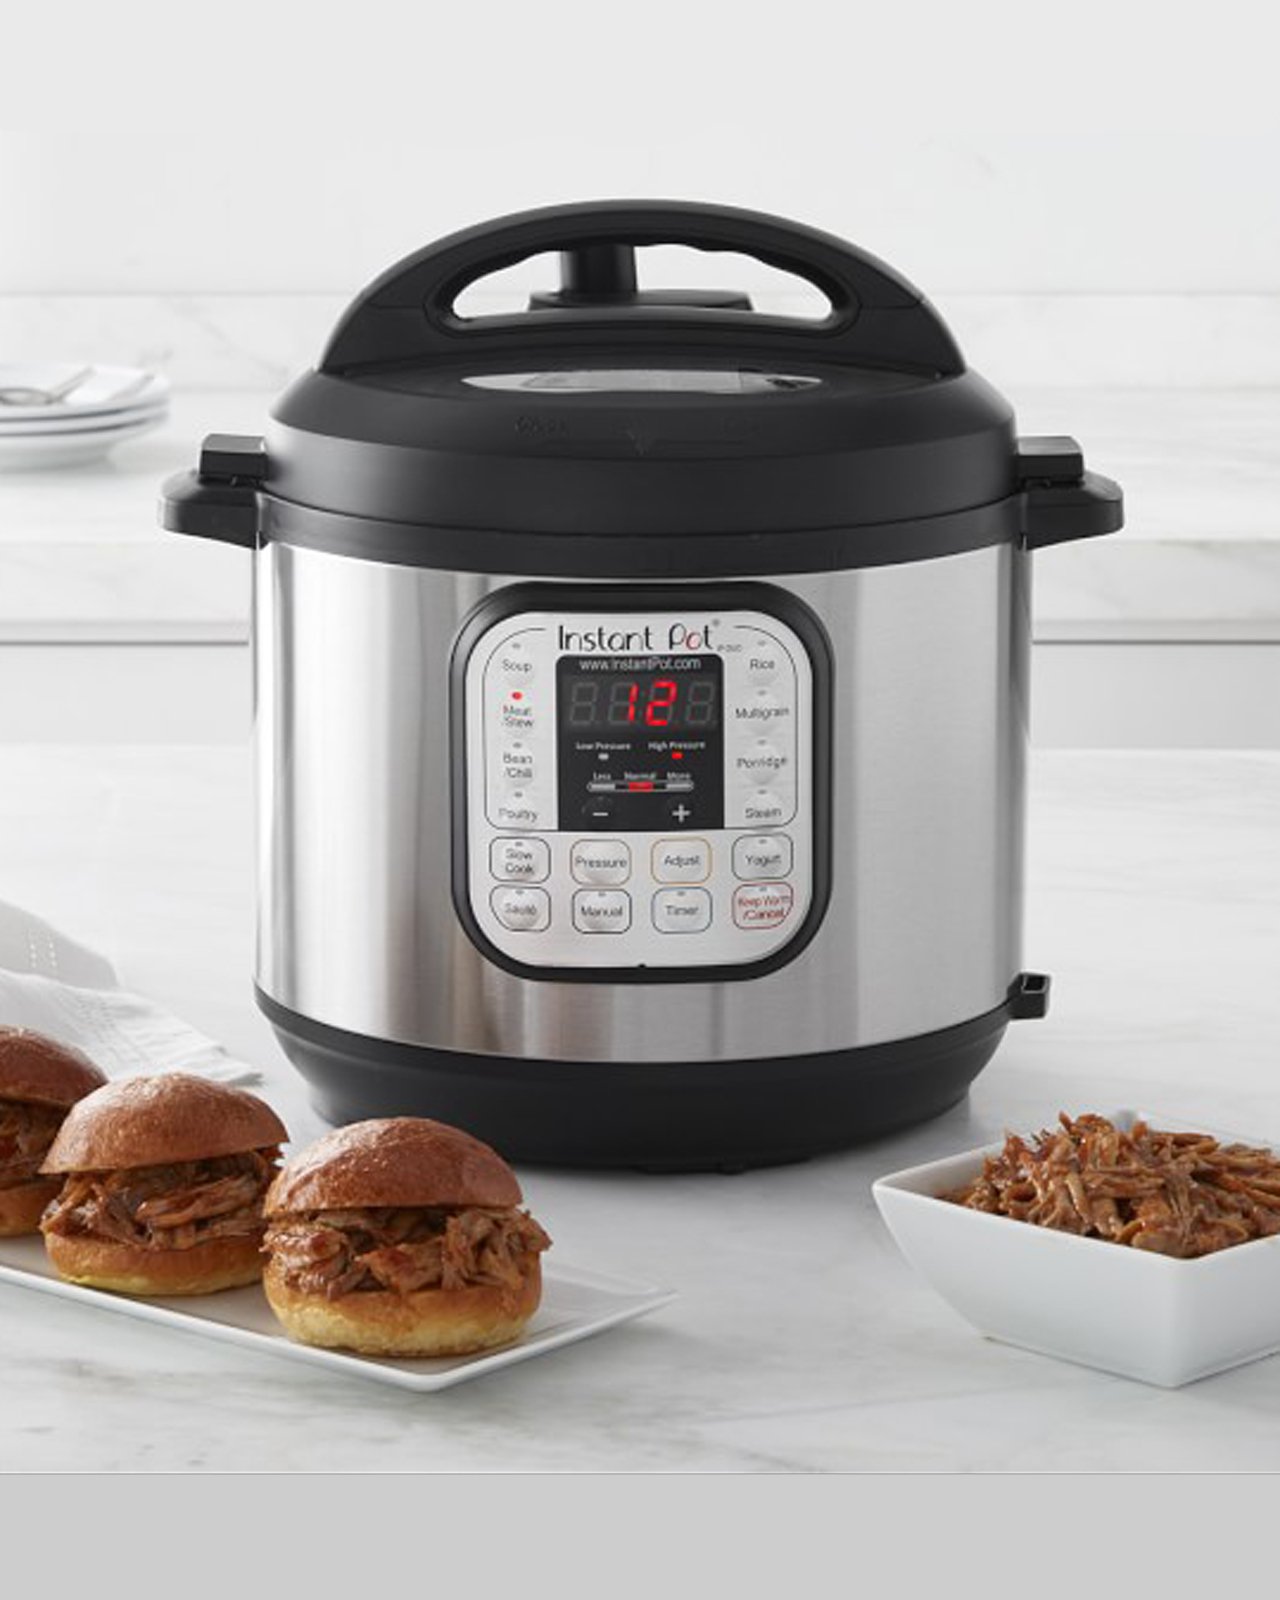
Pressure Cooking Charts
Complete Pressure Cooker (Instant Pot®) Cooking Chart with cooking times, amount of liquid needed, and pressure release method to use...View Technique
Pressure Cooking 101
An introduction into pressure cooking so that you can feel comfortable and confident making the recipes you find on my...View Technique
Converting Recipes to the Pressure Cooker
Just follow a few simple rules and you'll be able to convert your traditional recipes to the pressure cooker -...View Technique
Watch The Recipe Video
Vanilla Cheesecake - Pressure Cooker Version
- Prep Time: 15 m
- Cook Time: 20 m
- Release Time: 15 m
- Total Time: 35 m
- Servings: 6
Ingredients
- 6 graham crackers crushed
- 2 tablespoons butter melted
- 1 pound cream cheese room temperature
- 2/3 cup sugar
- ¾ teaspoon pure vanilla extract
- 2 eggs
Instructions
- Line the inside of a 7-inch cake pan with a large piece of greased aluminum foil (greased side facing up), pushing it into all the edges of the pan. Crush the graham crackers into crumbs either by hand or with a food processor, and combine with the melted butter. Press the crumb mixture into the base of the cake pan. Refrigerate while you prepare the cheesecake batter.
- Using the paddle on your stand mixer with low speed, the regular beaters on a hand mixer on low speed, or a food processor blend the cream cheese until it is completely smooth with no lumps. When all the lumps in the cream cheese have disappeared, add the sugar and vanilla extract. Blend just to incorporate the ingredients and then add the eggs one at a time. Continue to mix until the eggs have been mixed in, but do not over-beat.
- Pour the batter into the cake pan with the graham cracker crust. Cover the pan tightly with more greased aluminum foil. Place a rack in the bottom of the pressure cooker. Make a sling with which to lower the cheesecake into the cooker by taking a long piece of aluminum foil, folding it in half lengthwise twice until it looks like it is about 26-inches by 3-inches. Lower the cheesecake into the cooker and onto the rack, and add enough water to cover the bottom by 1 inch. Lock the lid in place, tucking the ends of the sling into the cooker.
- Pressure cook on HIGH for 20 minutes.
- Let the pressure drop NATURALLY and let the cheesecake sit in the turned off pressure cooker for one hour. Carefully remove the lid and transfer the cheesecake from the cooker to the counter using the aluminum sling or rack. Let the cheesecake come to room temperature and then remove the foil from the top of the cake pan. Blot any liquid that might have condensed on the surface of the cake, wrap it in plastic wrap and refrigerate for at least 8 hours.
- Bring the cake to room temperature before serving, and serve with any of the compotes in this book.
Nutrition Facts
Vanilla Cheesecake - Pressure Cooker Version
Amount Per Serving
Calories 459
Calories from Fat 288
% Daily Value*
Fat 32g49%
Saturated Fat 17g85%
Cholesterol 147mg49%
Sodium 389mg16%
Potassium 149mg4%
Carbohydrates 36g12%
Sugar 27g30%
Protein 7g14%
Vitamin A 1210IU24%
Calcium 93mg9%
Iron 1.1mg6%
* Percent Daily Values are based on a 2000 calorie diet.
Vanilla Cheesecake - Stovetop Version
- Prep Time: 15 m
- Cook Time: 1 h
- Cooling Time: 1 h
- Total Time: 1 h 15 m
- Servings: 10
Ingredients
- 12 graham crackers about 2 cups crushed
- ¼ cup butter melted
- 2 pounds cream cheese room temperature
- 1 1/3 cups sugar
- 1½ teaspoons pure vanilla extract
- 4 eggs
Instructions
- Make this a day ahead of when you want to eat it!
- Pre-heat the oven to 325˚ F.
- Crush the graham crackers into crumbs either by hand or with a food processor, and combine with the melted butter. Press the crumb mixture into the base of a 9-inch springform pan. Refrigerate while you prepare the cheesecake batter.
- Using the paddle on your stand mixer with low speed, or the regular beaters on a hand mixer on low speed, blend the cream cheese until it is completely smooth with no lumps.
- When all the lumps in the cream cheese have disappeared, add the sugar and vanilla extract. Blend just to incorporate the ingredients and then add the eggs one at a time. Continue to mix until the eggs have been mixed in, but do not over-beat.
- Pour the batter into the springform pan with the graham cracker crust. Wrap the bottom of the springform pan in aluminum foil to create a completely waterproof seal. Place the springform pan in a larger baking pan. Fill the larger baking pan with water until it halfway up the sides of the springform pan, creating a water bath.
- Bake at 325˚ F for one hour. After one hour, the center of the cheesecake should still jiggle when you tap the pan gently. Turn off the oven, and leave the cheesecake in the closed oven for another hour. Then remove the cake from the oven and let it cool to room temperature on your kitchen counter before refrigerating. Refrigerate for at least 8 hours before serving.
Nutrition Facts
Vanilla Cheesecake - Stovetop Version
Amount Per Serving
Calories 552
Calories from Fat 351
% Daily Value*
Fat 39g60%
Saturated Fat 21g105%
Cholesterol 177mg59%
Sodium 467mg19%
Potassium 179mg5%
Carbohydrates 43g14%
Sugar 33g37%
Protein 8g16%
Vitamin A 1455IU29%
Calcium 113mg11%
Iron 1.4mg8%
* Percent Daily Values are based on a 2000 calorie diet.


Have you tried any of these cheesecakes in a spring-form pan? Just got my IP today and have not yet experimented. I suppose I will need to make one with the foil and then one with the spring-form?
I’ve made this twice in a Spring Form Pan and it came out great. Haven’t tried it in a cake pan.
I found that two tablespoons of butter was not enough to moisten the graham crackers. I upped it to three tablespoons and the graham crackers had a better consistency. Also, I noted, not all name brand cream cheese does not cook the same. My first cheesecake I used the tried and true Philadelphia brand. For my second cheesecake I tried the Land O’Lakes brand and it did not firm up the same. Tasted fine, but wasn’t the same.
I did however, have a problem getting all the lumps out of the cream cheese. I used my stand mixer with the regular beater and it never seemed to get that thin layer between the beater and the bowl to mix. Had to use my spatula to scrape it off the bottom. Any ideas as to why? For my next try I’m going to try my hand mixer.
Hi Dianne. You can’t be the only person who’s ever had that trouble because Kitchen Aid came out with a paddle beater than has a silicone spatula on one side of it which scrapes the bowl as it mixes. You should check it out: https://amzn.to/31v7i2L . Without it, you do need to scrape the bowl down every once in a while. Same thing with a food processor, but a hand mixer should solve the problem.
ML
Hi Meredith ~ Thank you for this wonderful web site and I am so glad I found you. I have been a giant fan of yours for over 15 years and now you are in my home to teach an old girl new tricks 24/7.
I am so excited about the cranberry orange cheesecake. I do not own a pressure cooker so I will be doing the conversion to my springform pany and the oven.
Can’t wait.
I will be learning so much from you.
All the Best and Blessings of Season.
Ginger
Great cheesecake recipe my son loved it and now making it for his birthday! Thanks Merideth.
Hello Meredith,
I have a party coming up soon and I’d love increasing this recipe to do 24oz cream cheese, 1 cup sugar and 3 eggs. I’d cook it Ina 9×3. I have a 10 quart pressure cooker. What suggestions would you have for cooking time? 30-35 minutes?
Thank you so very much for all you do for us home bakers.
Rob
Hi Robert. I’m not sure how you’d fit a 9×13 pan into your pressure cooker. It might be better to make two cheesecakes instead, one at a time – or both together in the oven.
Your cheesecake recipe is the only one I ever use now… it’s easy, & it’s so good!! ❤️