The one thing you must do if you want to make homemade French baguettes is plan ahead. While there are only a few ingredients and they are not hard to make, there is a lot of down time waiting for the dough to rise in different stages. Just start a full day ahead of when you’d like to eat the baguettes and enjoy the process. Start by making a poolish. A poolish is what we call a pre-ferment – a starter dough that is made ahead of time and it is key to giving your bread great flavor. Other examples of a pre-fermented doughs are sourdough, levain or biga. The nice thing about using a poolish as a starter for baguettes is that it is made once, takes just 12 hours and is used in its entirety when you make the baguette dough – you don’t have to keep and feed it like you do with a sourdough starter. It’s as simple as stirring three ingredients together – flour, water and yeast.
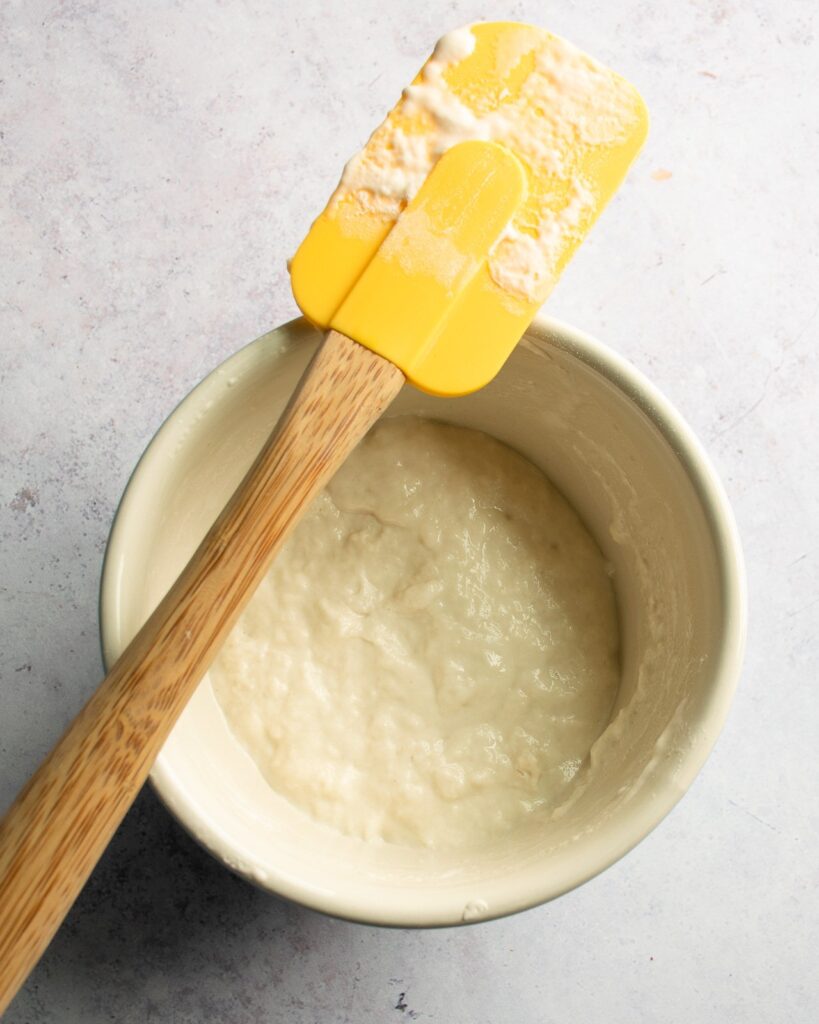
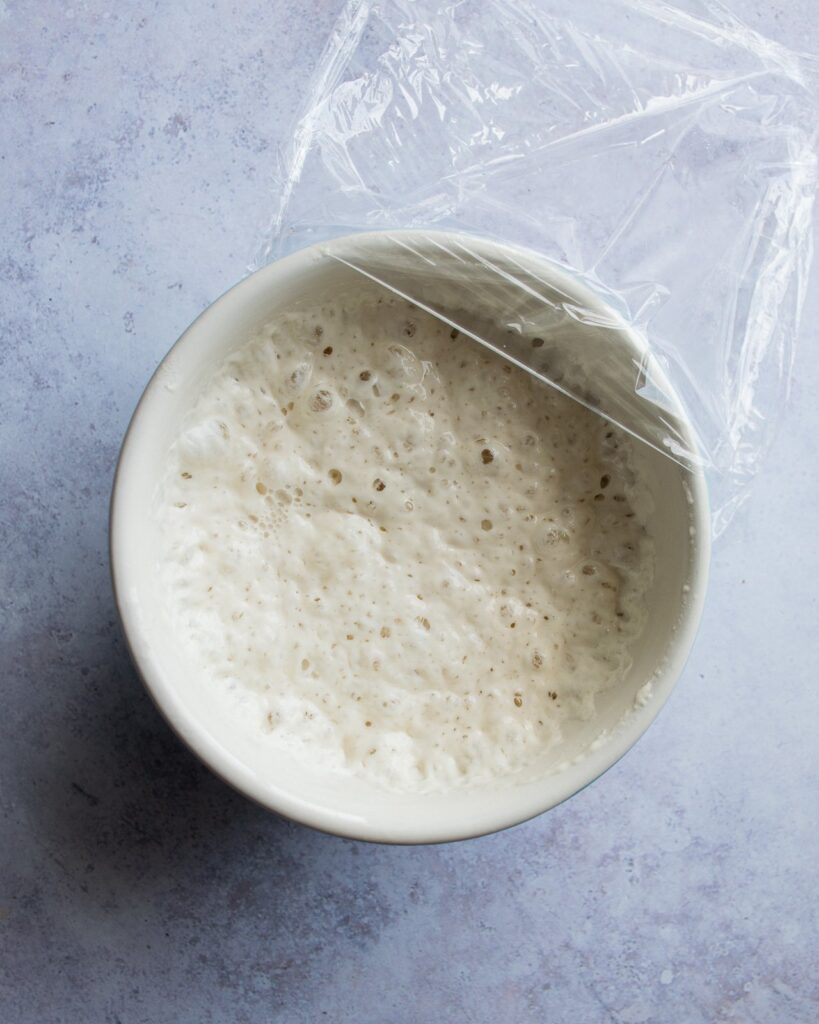
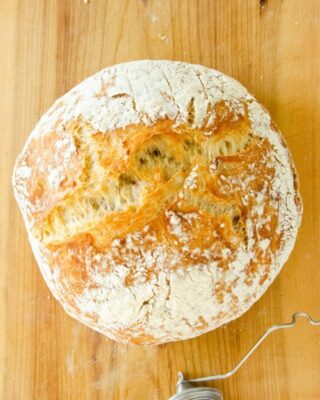
After 12 to 18 hours at room temperature, your poolish will look like the image below – slightly increased in volume and bubbly.
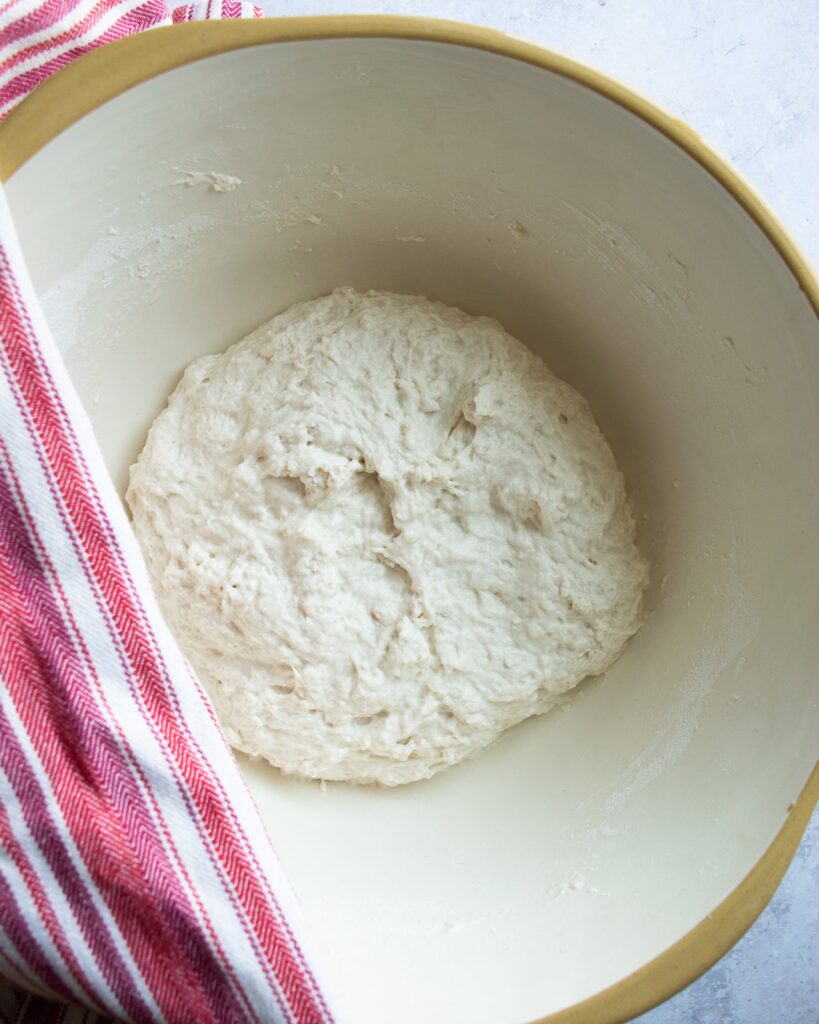
Add water to the poolish to loosen it and then add the flour, more yeast and some salt. The dough will be relatively wet, but the good news is that you don’t really have to knead baguette dough. We want there to be nice airy bubbles in our baguettes and by simply stretching and folding the dough over on itself is enough to engage the elastic quality of the gluten and then you just have to let the yeast do its job of reproducing and flavoring the dough.
Once your dough has gone through a couple of rises, start to shape the dough into roughly the right shape – a rectangle. Portion the dough into 3 or 4 pieces and flatten them into rectangles. Then, with the long side of the rectangle facing you, fold the dough into a third of its width as you would fold a letter – fold the top third of the rectangle down and fold the bottom third of the rectangle up. It should now look roughly like a log. Let it rest and rise again.
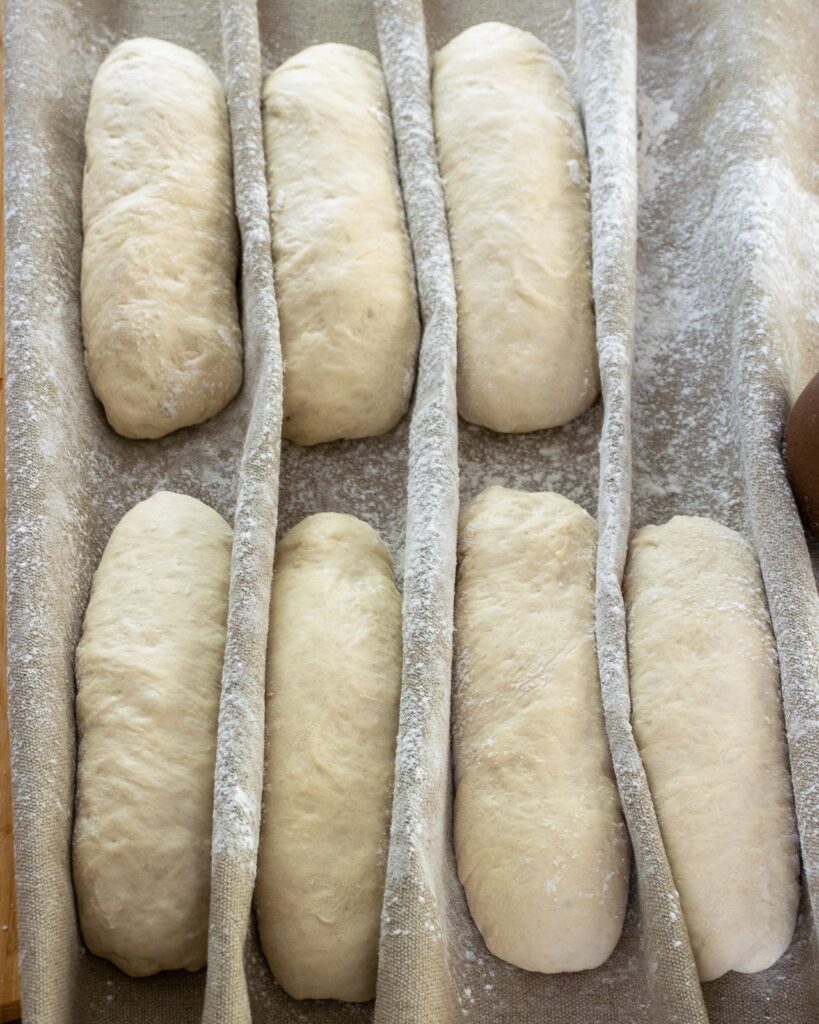
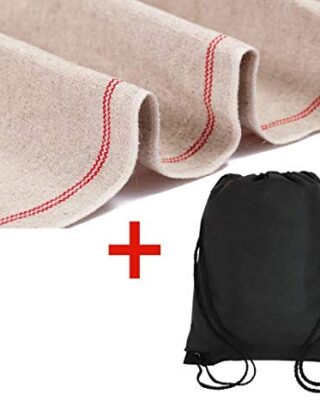
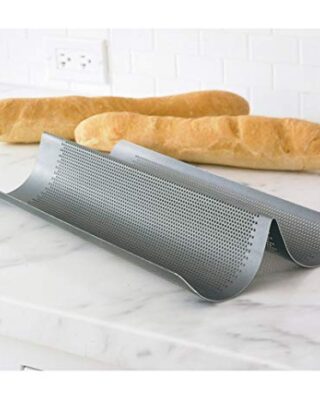
You’ll do this one more time before gently rolling the logs out into a baguette length. It should now rise one last time in a baguette pan or on a baker’s couche – a durable French linen cloth used to keep the doughs rising upwards instead of sideways.
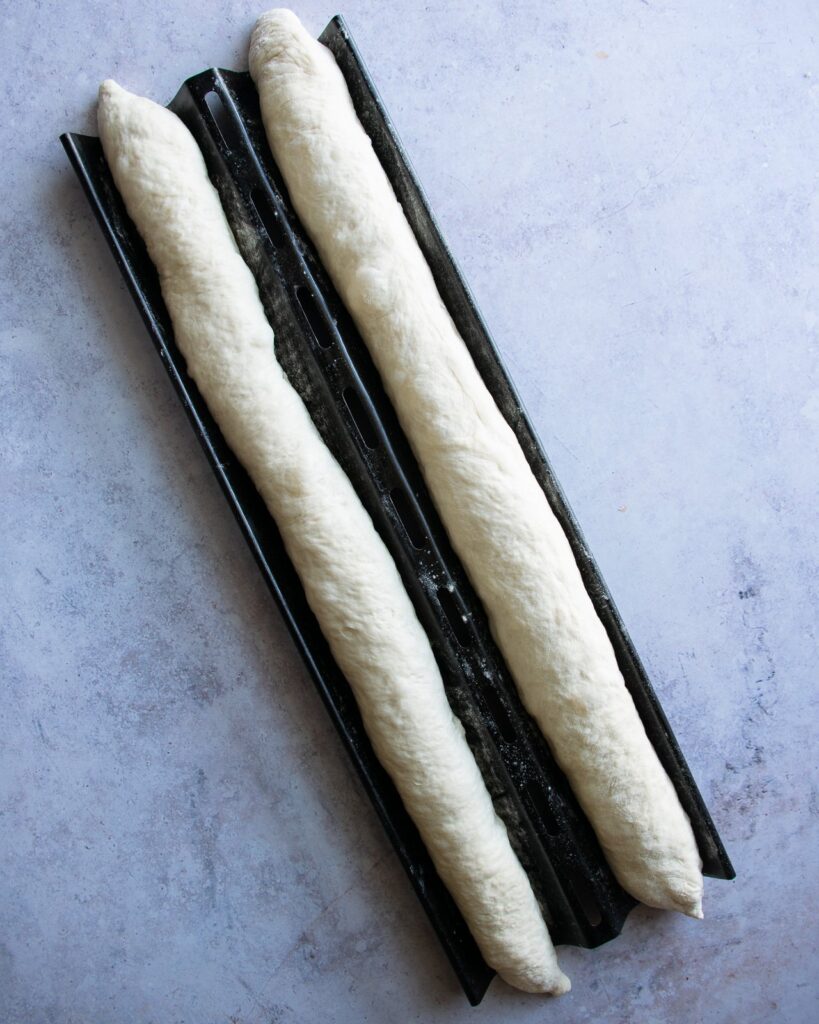
Now it’s time to bake the homemade French baguettes. The key to the crust of a baguette is steam. Professional bakers use stem ovens to get the best crust, but you can create a similar environment at home. Pre-heat your oven with a cast iron pan in the bottom of the oven for at least 30 minutes. Boil the kettle and when you’re ready, put the baguettes into the oven and pour boiling water into the cast iron pan. Use long oven mitts to do this and be aware that there will be a lot of steam. Close the oven door as soon as you can and let the baguettes cook in the steamy environment for just 15 to 20 minutes. It’s the steam that will create that nice crispy crust on the outside of the baguette.
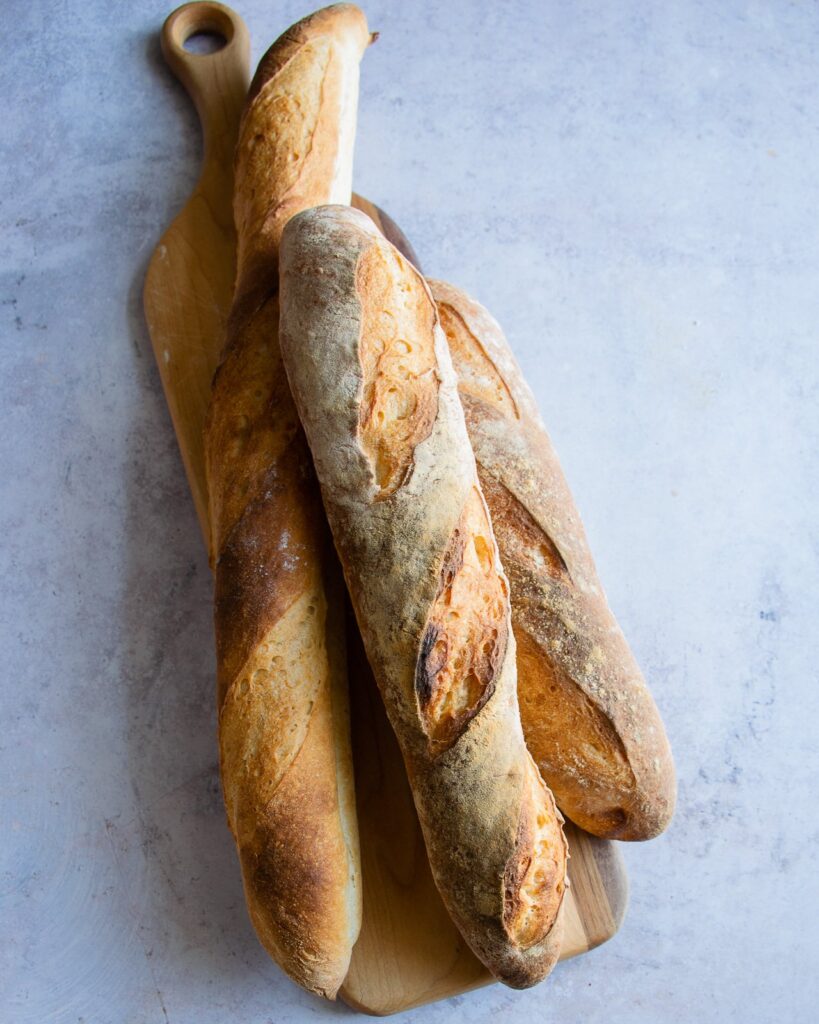
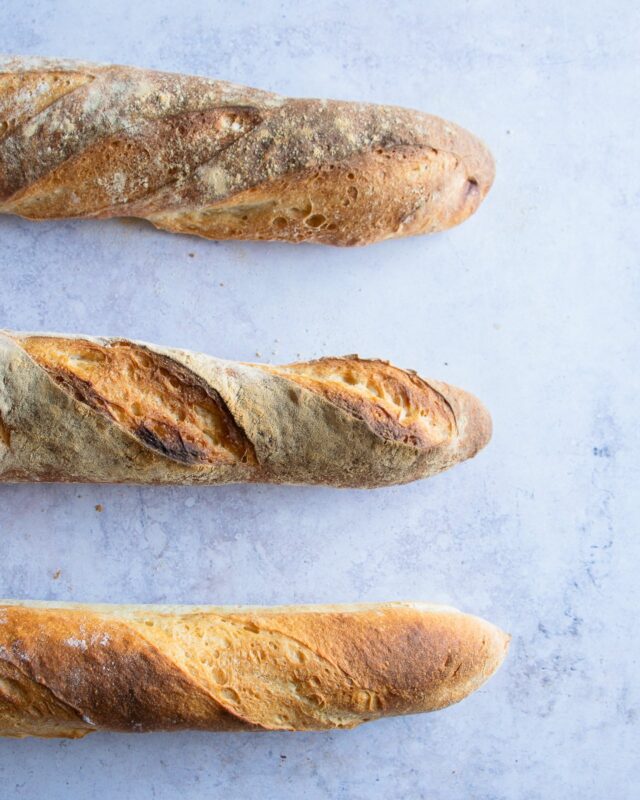
The three baguettes above have a different appearance because two of them were dusted with flour before being transferred to the oven. If you like that rustic look, a simple quick dust with flour is all you need.
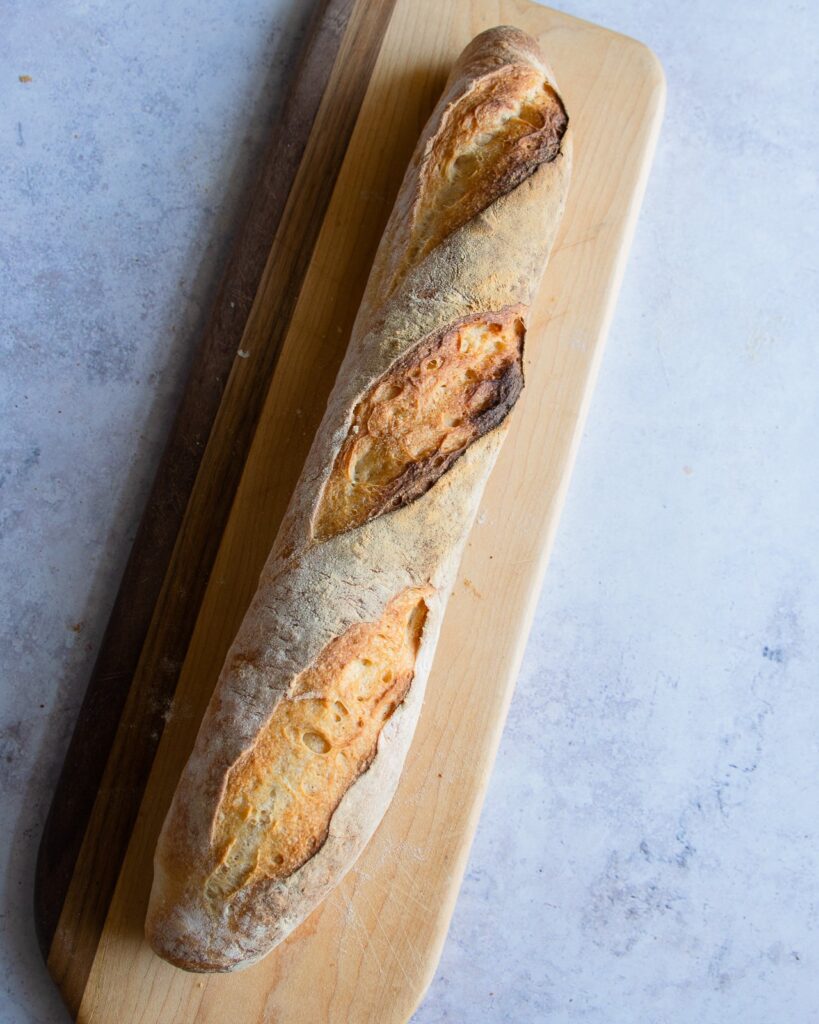
So you can see it is a long-is process (lots of unattended time), but there are a couple of ways you can shorten the path to freshly baked bread. You could make the dough, let it rise twice, portion it into 3 or 4 and then freeze the dough for another time. Freeze each portion in an air-tight bag and then defrost the dough on the counter and pick up the recipe where you left off once it has fully thawed. I find it even more convenient to freeze freshly baked baguette as soon as they’ve cooled down. Then, it’s a quick re-heat in the oven at 400ºF for 8 minutes or so and you’re set to go with a fresh loaf. Just grab a bread knife!
Recipe Step-by-Step Quick Notes:
- Make poolish and let sit, covered, room temperature for 12 to 18 hours
- Add water to poolish, then flour, yeast and salt. Mix together, turning the dough over on itself several times.
- Rest 10 minutes.
- Stretch and fold the dough and put in an oiled bowl, covered with a lid or plastic wrap.
- Rest 45 minutes
- Stretch and fold the dough. Return to the oiled bowl, covered with a lid or plastic wrap.
- Rest 45 minutes.
- Divide the dough into 3 or 4 portions. Flatten each portion, fold and shape each into a log. Cover.
- Rest 30 minutes.
- Fold and shape each log into a baguette. Rest either on a baguette pan or baker’s couche, covered.
- Pre-heat the oven to 475ºF with an empty cast iron pan inside for at least 30 minutes while baguettes are resting.
- Bring water to a boil on stovetop.
- Score the baguettes. Send to the oven. Pour boiling water into cast iron pan.
- Bake at 475ºF, 20 – 25 minutes.

King Arthur flour has a baguette pan similar to what is used in the no knead recipes . It has a cover that is used during baking. Please advise
Hi Diane. The key to making great baguettes is the steam to make the crust crispy and brown. The pans you are referring to use a lid to trap steam, rather than putting steam in the oven. I haven’t used the King Arthur baguette pan, so can’t say whether it is as effective as creating a steam oven.
OMG!!! This dough is so sticky!!! Got so frustrated that instead of shaping put them in loaf pans and praying for the best. Please put out a video tutorial. The FB live was not enough, especially with the question interruptions. Dough does having an amazing texture and wonderful yeasty smell.
Hi Hilda. These days, as most of us tend to measure with volume measurements instead of weight measurements, recipes like dough can be a little tricky and need you to be flexible. So, if your dough was too sticky, just add a little more flour. If, on the other hand, the dough is too tough, add a little water. I’m glad you were resourceful enough to bake the baguettes in loaf pans instead and I will definitely think about creating a video to support this recipe. Hope you enjoyed the bread nevertheless.
Love this recipe. I was hesitant to make it at first because it seemed a little bit complicated but it is actually pretty easy and not complicated at all. They turned out so good. There is something so rewarding about eating bread you’ve made yourself.
I have a question. You said add water to the Poolish. What temperature water?
Hi Dan. Because the poolish is going to sit at room temperature for 12 – 18 hours, the temperature of the water doesn’t really matter too much, still it’s a good habit to get into to add water that is around 78ºF to any bread dough stage. Adding cold water never stops yeast activity, it just slows it down which is sometimes desirable. Adding water that is too hot, however, can kill the yeast. For the poolish, room temperature or slightly warm water is best.
My first attempt at “poolish” method of dough making. I should have baked the loaves for 5 more minutes. Not crispy enough, but I was worried about over baking. The taste is great. I will definitely make these again. I did halve the recipe & it worked fine.
A family favorite🙌 Love this go to recipe. Using the recipe and following the teachings in the recipe my bread comes out right every single time. Making the baguettes has become a family fun event too.
I have made this recipe many times. It always turns out well for me. I use the 15×11 baguette pans and they are super good. I’ve passed the link along many times.
Both my husband and I love these baguettes. Love that you can freeze them already baked and just pop them in a 400 degree toaster oven or regular oven for 8 minutes and they crisp right up and are still soft in the middle.
I made the baguettes but they stuck to the baguette pan. Did I need to oil the pan?
If you’re having a problem with the baguettes sticking to the pan, then I do recommend oiling the pan a little before putting the dough inside.
ML