Easy Banana Chocolate Ice Cream
This is not a miracle recipe. I’m not going to tell you that you don’t have to churn this Banana Chocolate Chunk Ice Cream, because you do. I’m also not going to tell you that you don’t have to use the stovetop, although you can get away with just whisking the ingredients together and not heating the ingredients. This is a traditional ice cream that has a delicious flavor and texture because it is churned properly and the sugar is solved by heat, not just by whisking. I will tell you, however, that it is easy to make, is full of real food ingredients and tastes amazing.
Ice Cream Maker Recipes
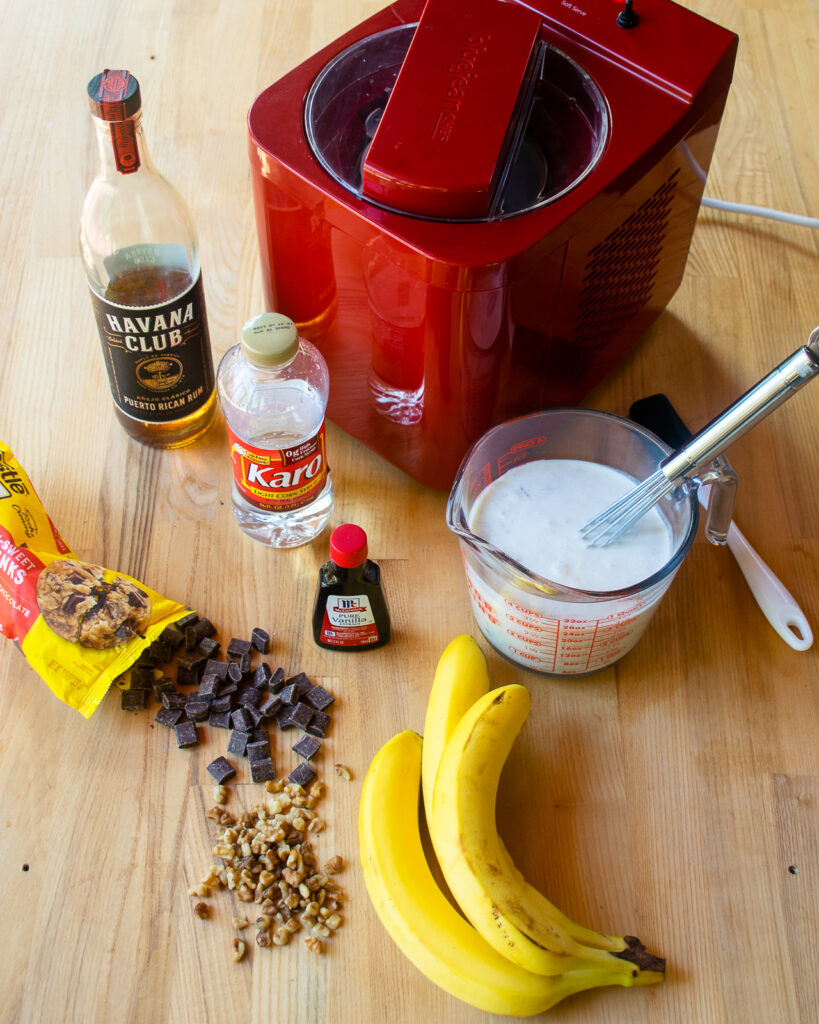
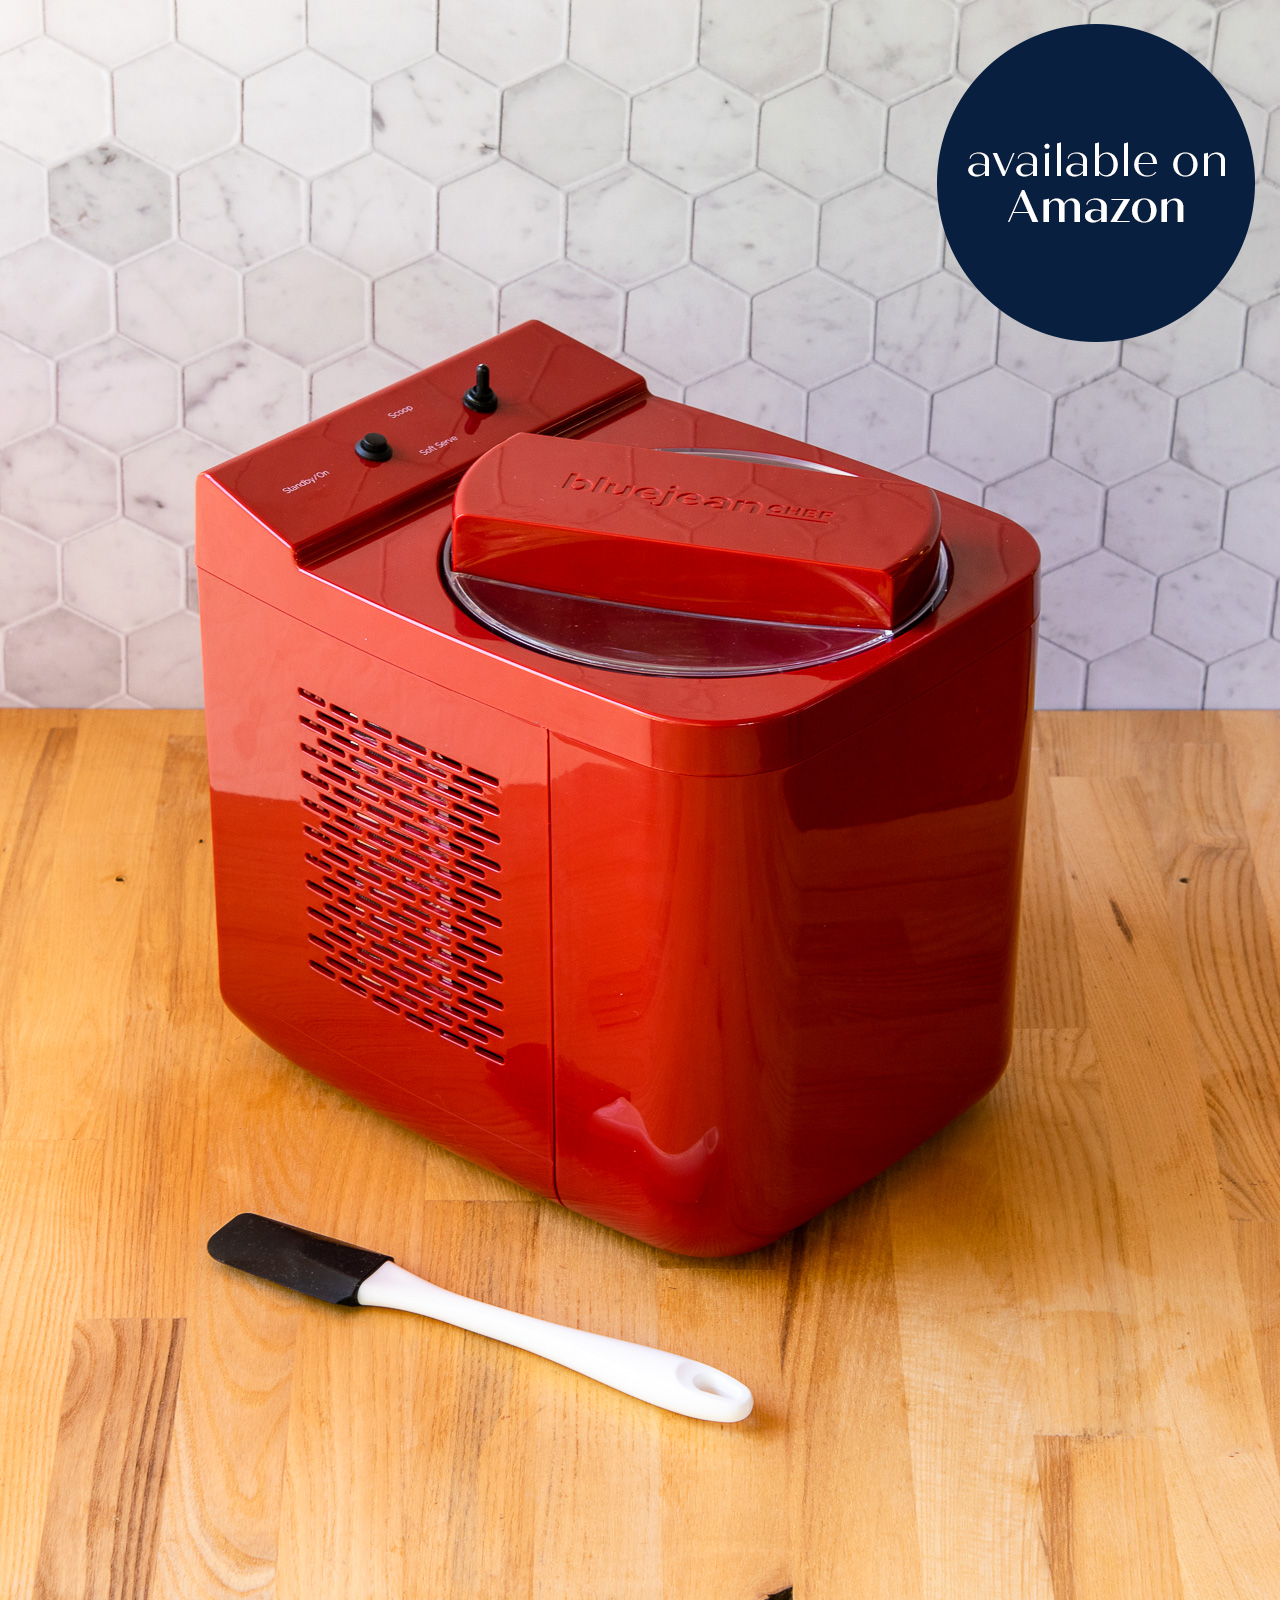
Once you’ve made your ice cream base with the simple ingredients of milk, cream, sugar, vanilla extract, corn syrup and bananas, you will need to churn this into ice cream. You can use any ice cream maker that you have – one with a handle that you crank yourself, one with a base that you’ve chilled in your freezer for 24 hours, or one like the one in the photo which is a thermoelectric ice cream maker and is ready to go at any time. You’ll always have better results if you start with a cold ice cream base, so be patient and chill the base in the fridge for several hours (or better yet, overnight), or chill the mixture in an ice bath until it is cold.
Churning Time for Ice Cream
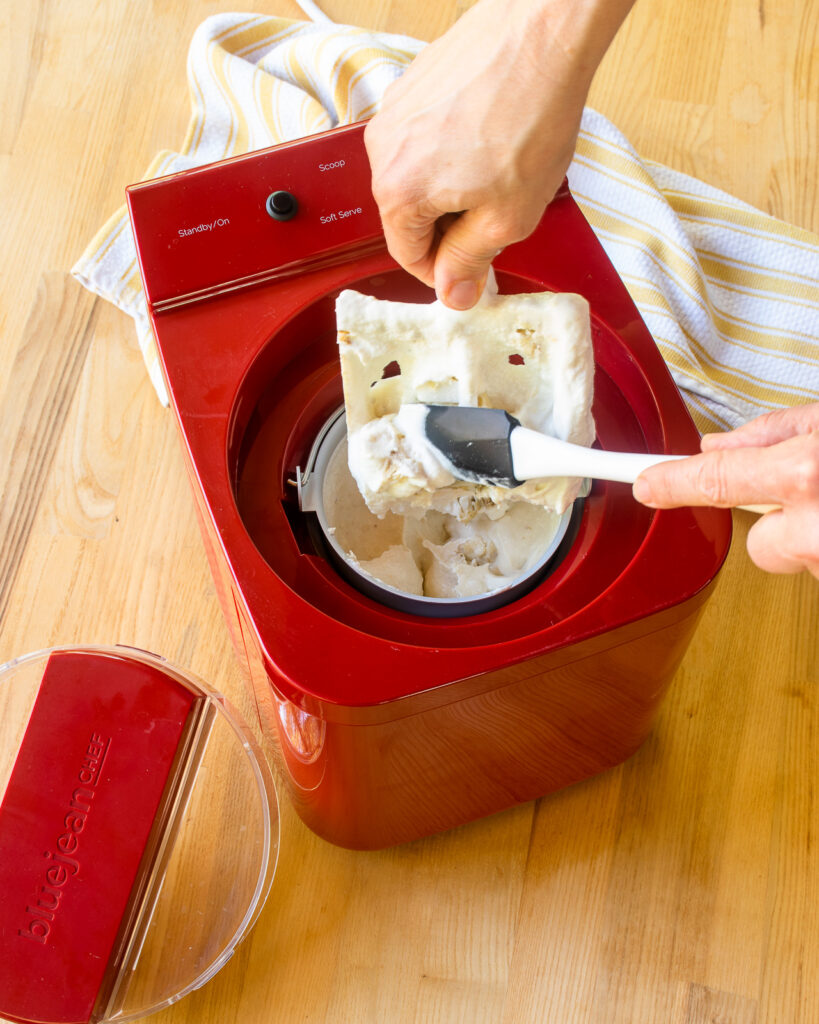
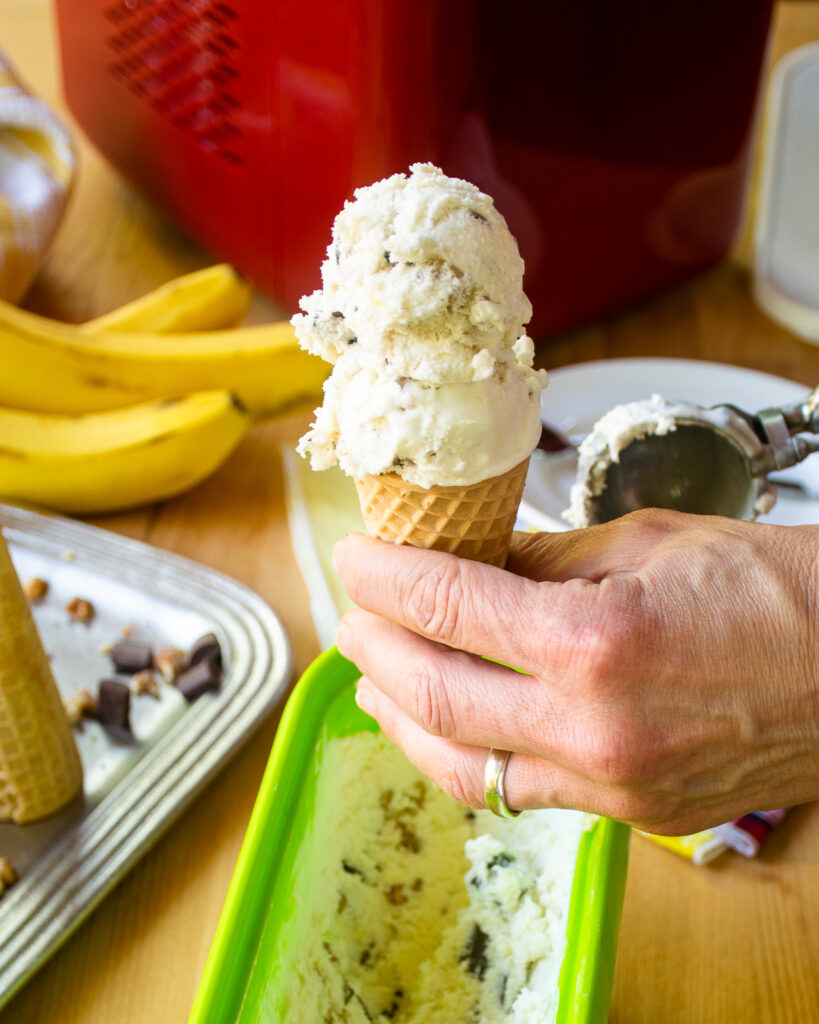
The churning time for ice cream depends not only on how cold your base is to start, but also on what ice cream maker you are using and how cold it is. I always like to turn my ice cream maker on for 10 minutes before adding the chilled base. It’s just like pre-heating a skillet before adding food to it – it gives both you and the tools a head start. Typically, it will take 60 to 90 minutes for your ice cream to be churned into a smooth semi-frozen base. You’ll never end up with hard scoop ice cream out of any ice cream maker – how would the paddle be able to turn if it was that hard, after all. The hard scoop texture comes from freezing the ice cream after it has churned.
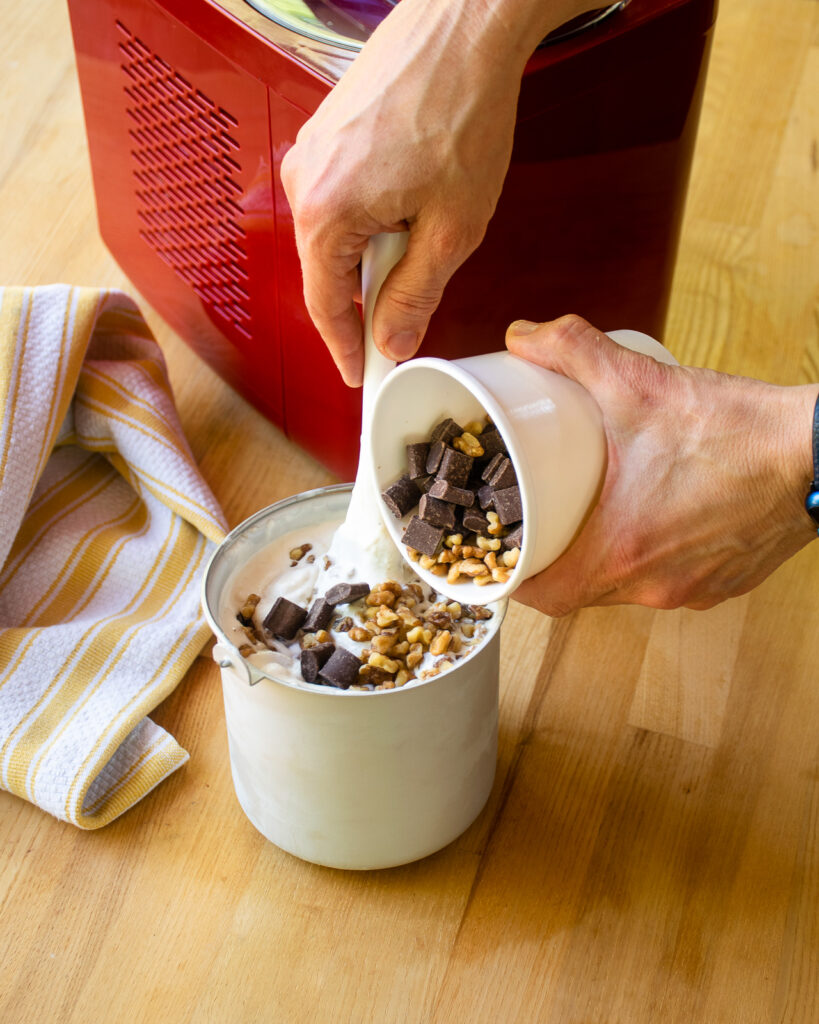
Stirring in Extra Ingredients
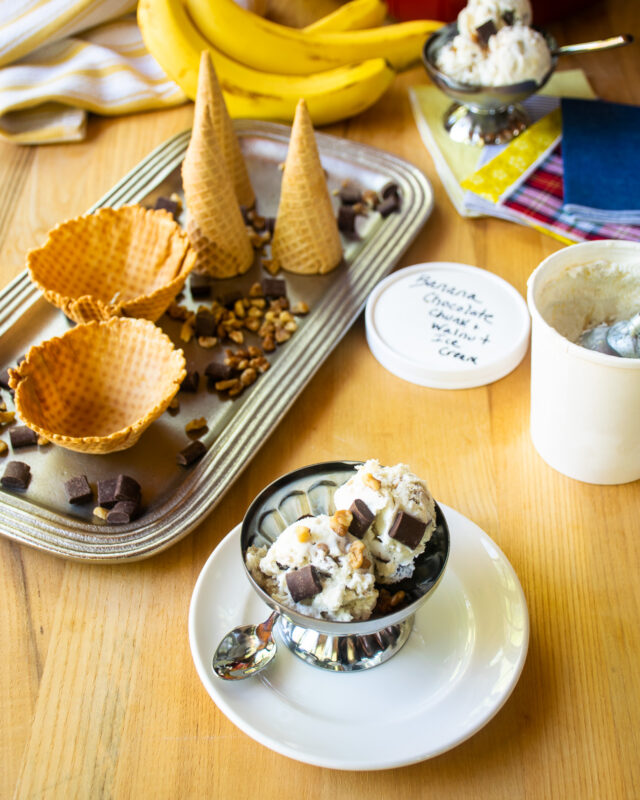
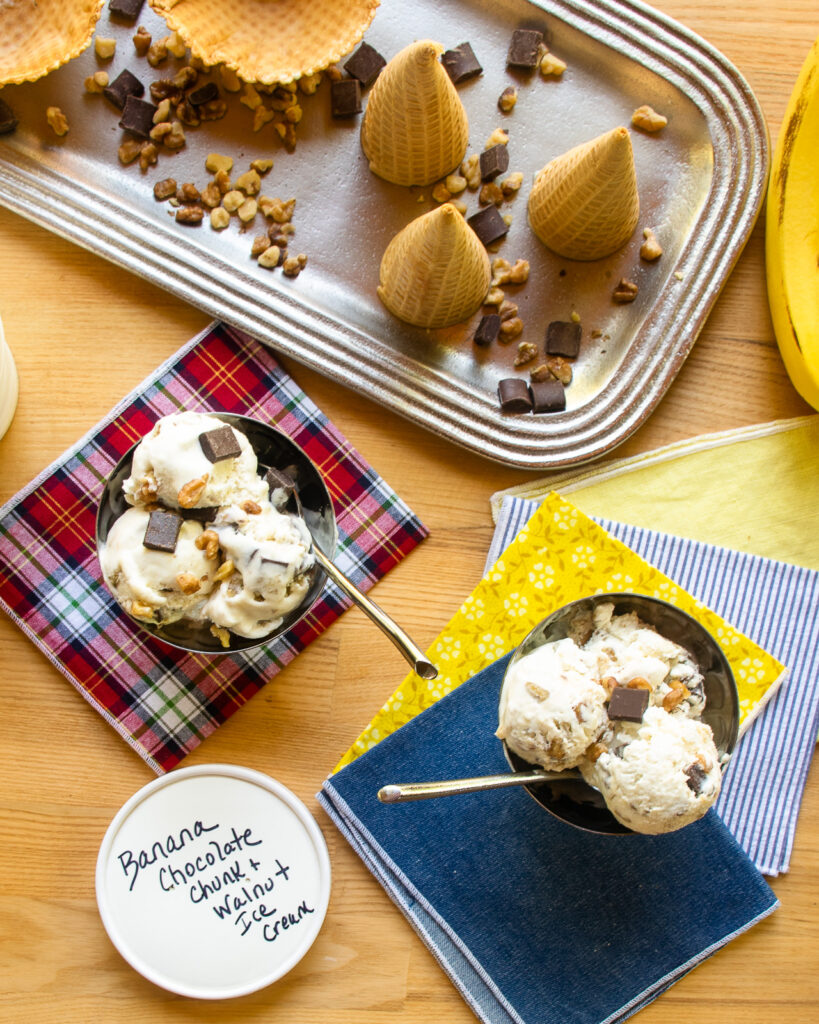
The benefit of having the ice cream in a semi-frozen state after churning is that you can add the delicious chunks of ingredients that makes this ice cream extra special – the chocolate chunks and the walnuts! Stir these into the ice cream and then send the ice cream to the freezer to firm up. Of course, if you’re happy with the semi-frozen state of the ice cream, who am I to stop you from grabbing a spoon! I’ll never stand between a spoon and a tub of ice cream. That would be as crazy as standing between a banana and a chunky monkey! 😉


Wonderful! I made this in Ninja Delux. After cooking and chilling in an ice bath, I froze it for 24 hours per the Ninja directions. It takes only 2 minutes to churn in the Ninja. Then you mix in the walnuts & chips. This is better than store bought Chunky Monkey. I cannot wait to try other BJ Chef ice cream recipes! PS…I used rum for my first batch and Amaretto for the second. Recipe is a WINNER!