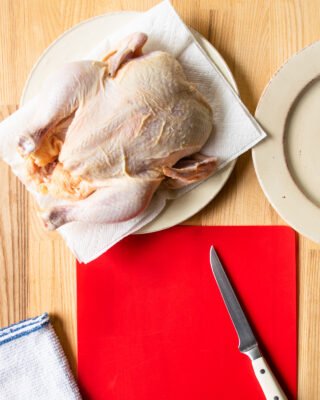
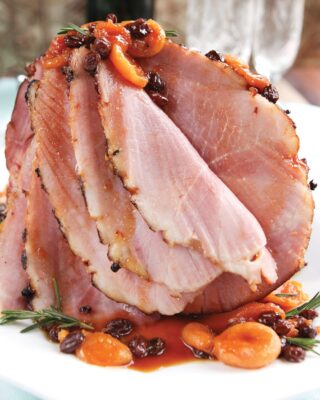
Why Tie Up a Roast?
There are two main reasons why you would ever want to tie up a roast or a roulade. The first reason is obvious – to keep it closed. When you wrap a piece of meat (or poultry or fish) around a stuffing, you need to keep it closed while it cooks, so you must tie it up. The other reason you might tie up a roast is if it is a naturally awkward shape. By tying an awkwardly shaped roast, you make it a more uniform shape which will then cook more evenly.
What you will Need
All you need to tie up a roast is some good kitchen twine. That could be cotton twine or linen (more expensive) twine, but whichever it is, it should not be dyed, treated or synthetic. In a pinch, you could use unwaxed dental floss, but I find that tends to cut into the meat too easily. You’ll need some scissors to cut the twine and that’s it.
The Steps
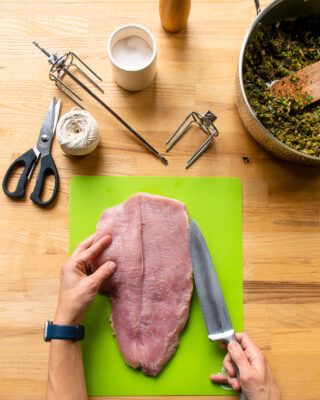
The steps below show you how to tie up a turkey roulade, keeping it tightly closed around a leek and mushroom filling. You can use the same steps to tie up a roast of beef, unstuffed turkey breast, pork loin, stuffed flank steak, leg of lamb or anything you need to tie up.
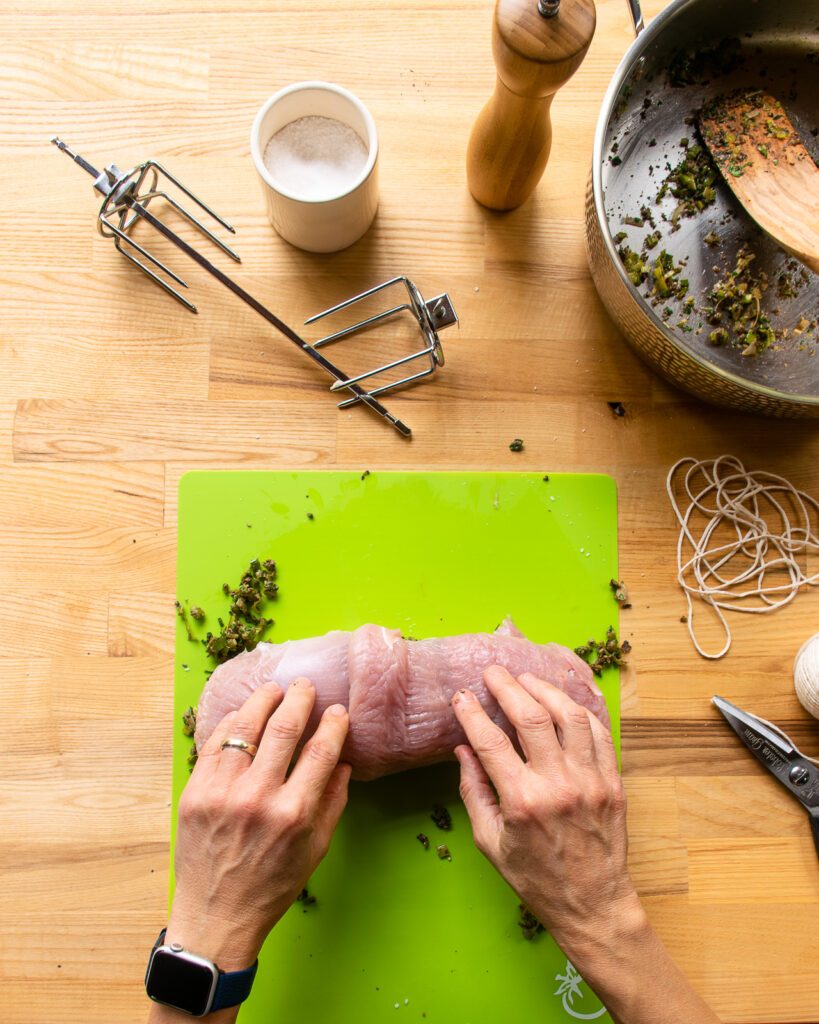
Step One: Measure out your Twine
Generally, you’ll need at least five lengths of twine to tie your roast. That means 5 times the length of the roast (or more because running out of twine is a real drag). Measure out and cut your twine.
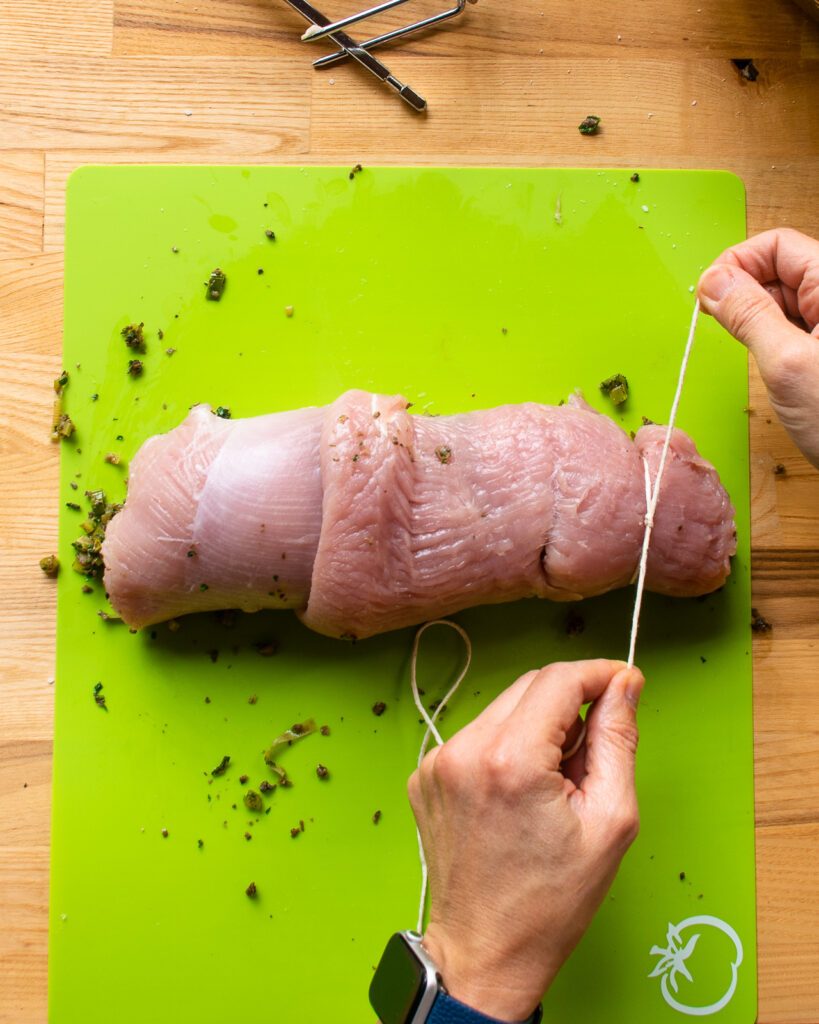
Step Two: Tie First Loop
Start by tying one loop around one end of the piece of turkey breast, leaving about three inches on the short end. Secure it with a knot.
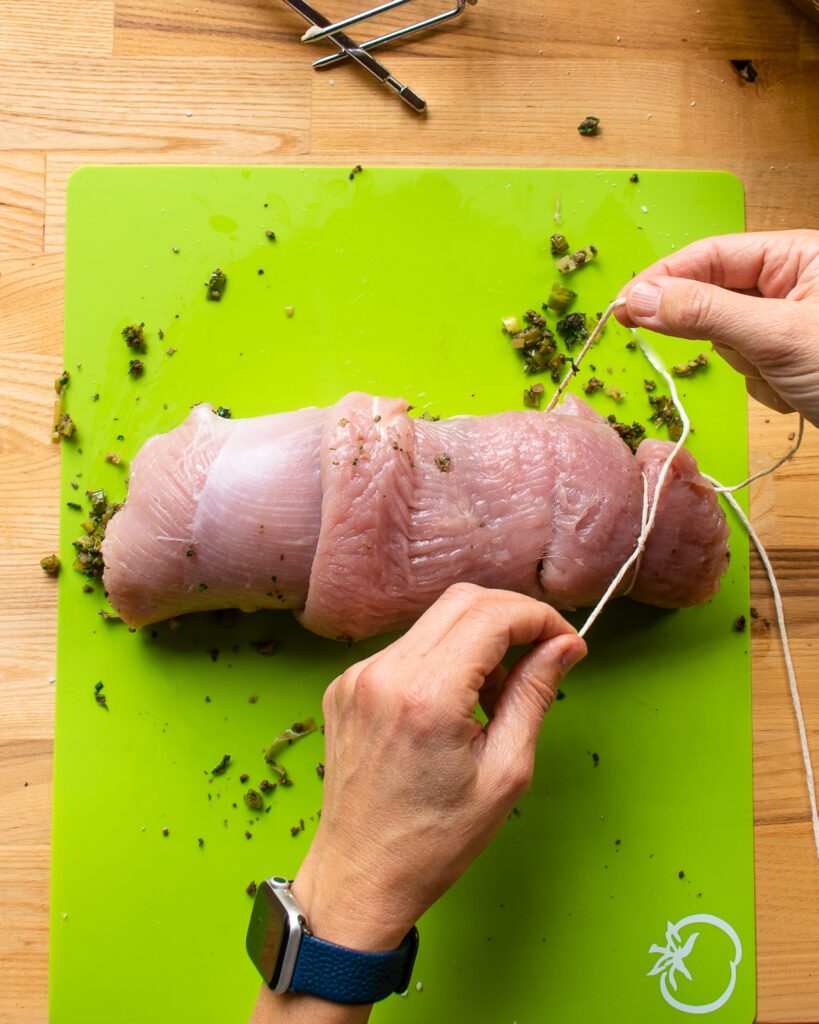
Step Three: Start Consecutive Loops
Hold the long piece of twine about an inch or two away from the knot with one hand (my left hand above). Pass the rest of the long end of twine underneath the turkey breast and away from you with your other hand (my right hand above), sliding it down past the first loop by an inch or two.
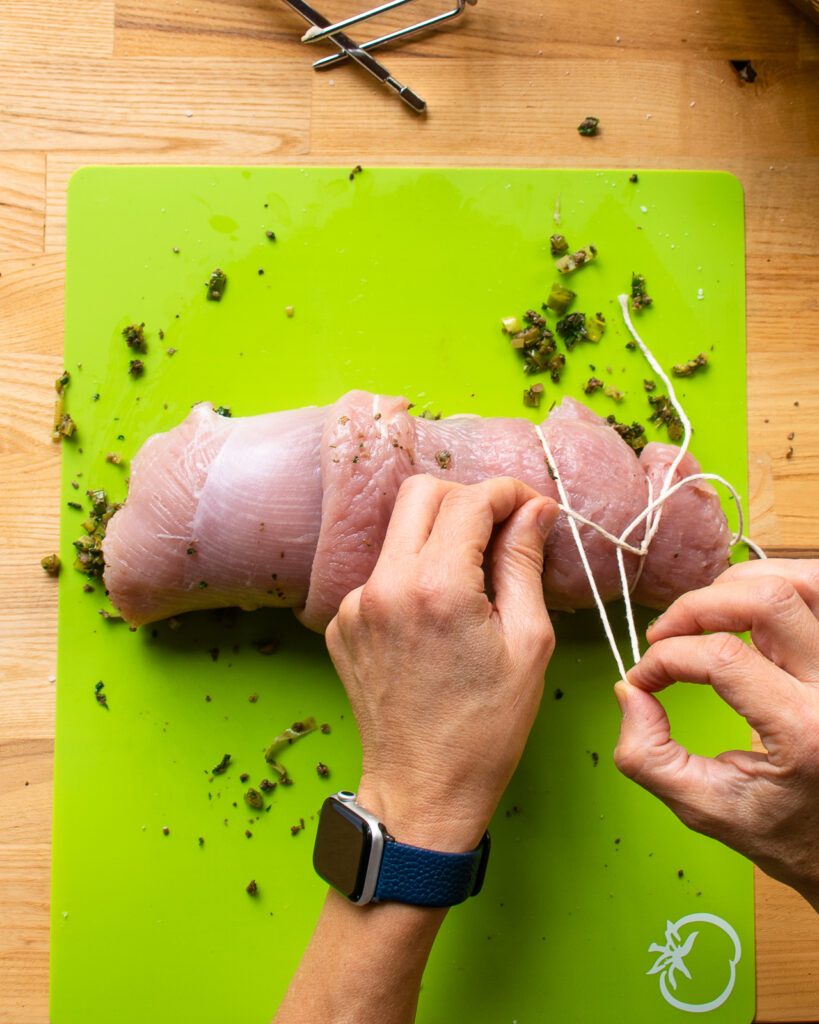
Step Four: Loop Underneath
Bring your hands together and run the long end of the twine underneath the twine held on top, pulling through all the remaining twine.
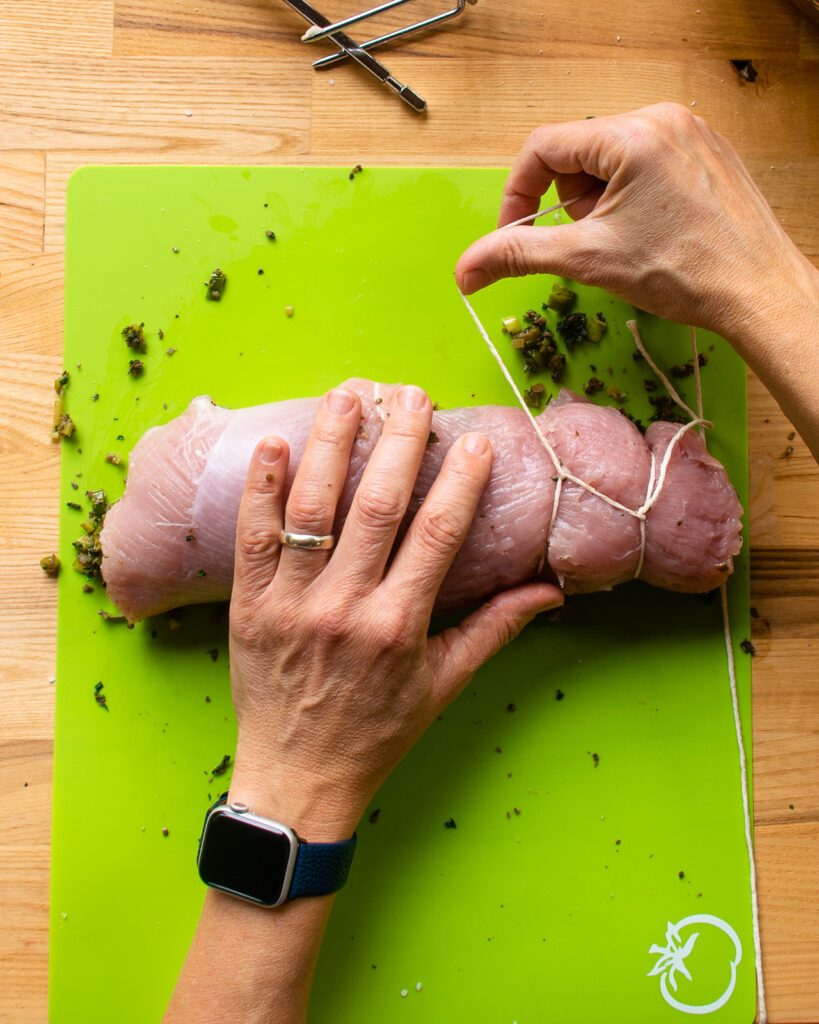
Step Five: Pull Taught
Now pull the long end of the twine so that it creates a taut loop around the turkey about an inch or two away from the first loop.
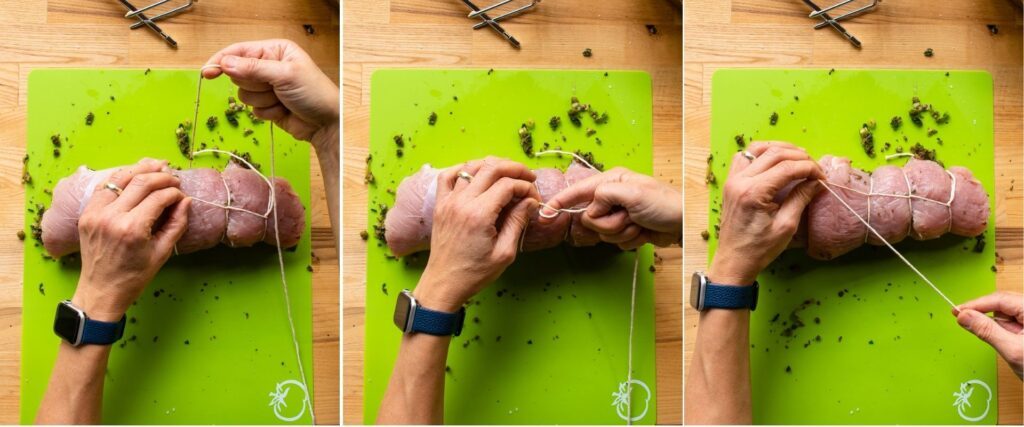
Step Six: Repeat
Continue making loops as you did in steps 3, 4 and 5 until you have moved all the way down the turkey breast.
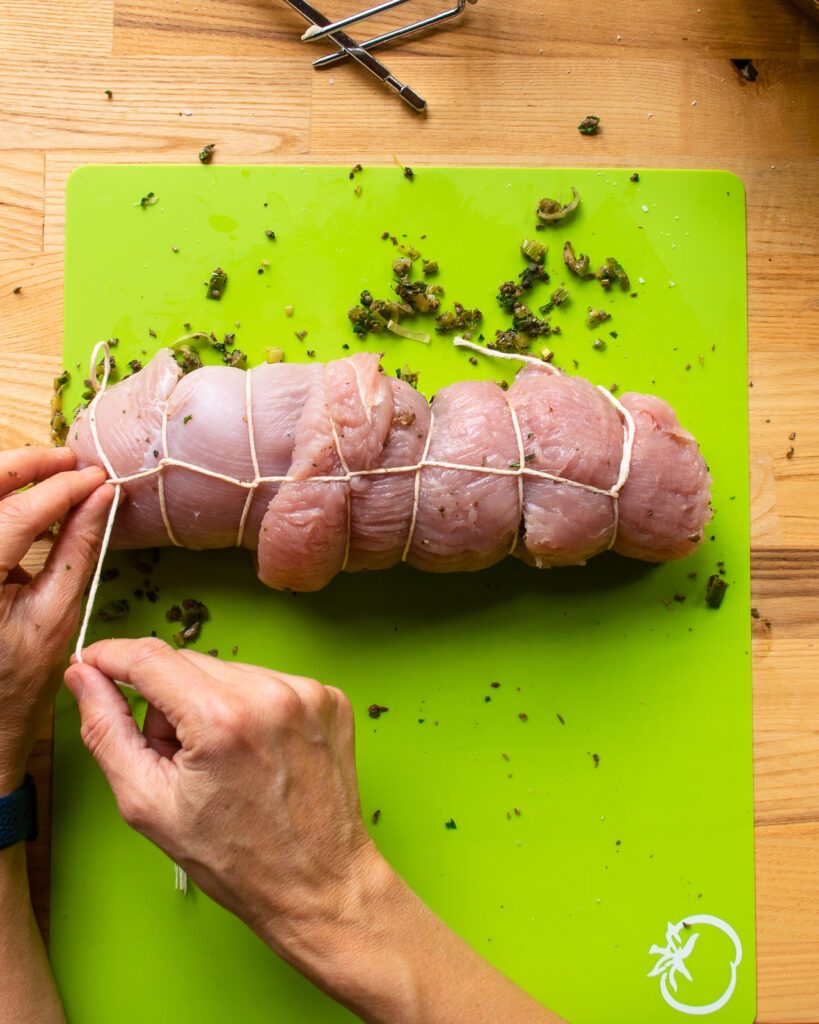
Step Seven: Turn it Over
When you come to the end of the breast (as pictured above), flip the turkey over 180 degrees (as pictured below).
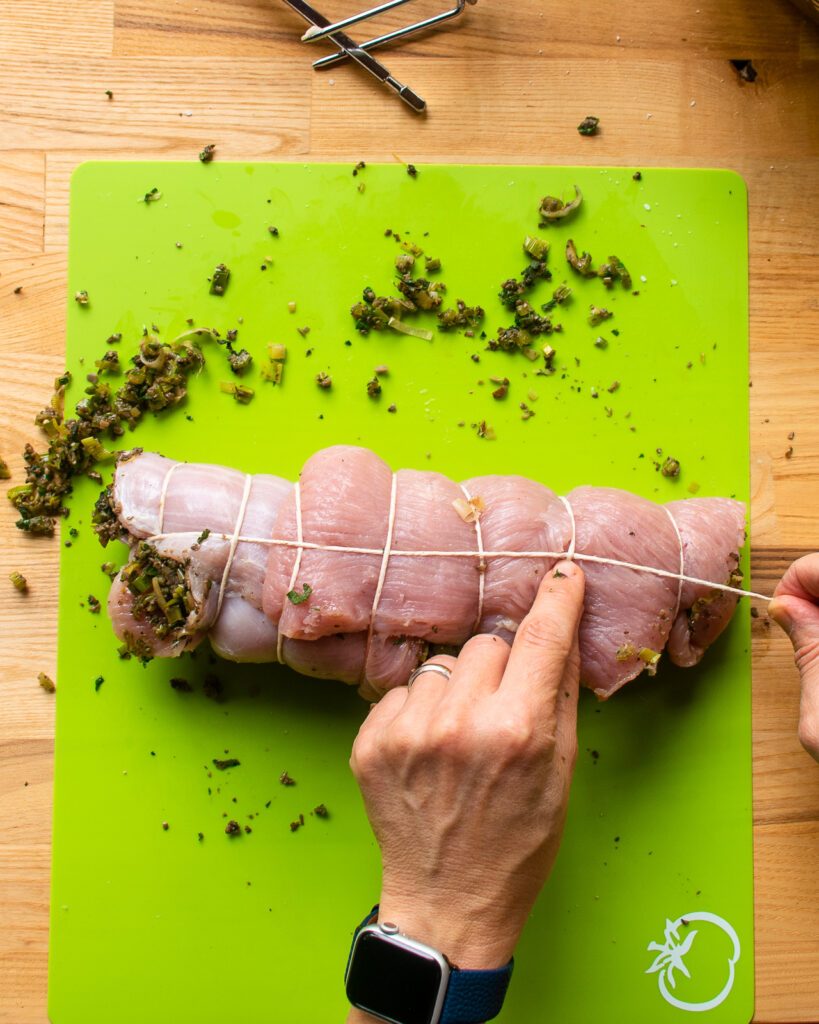
Step Eight: Thread the End
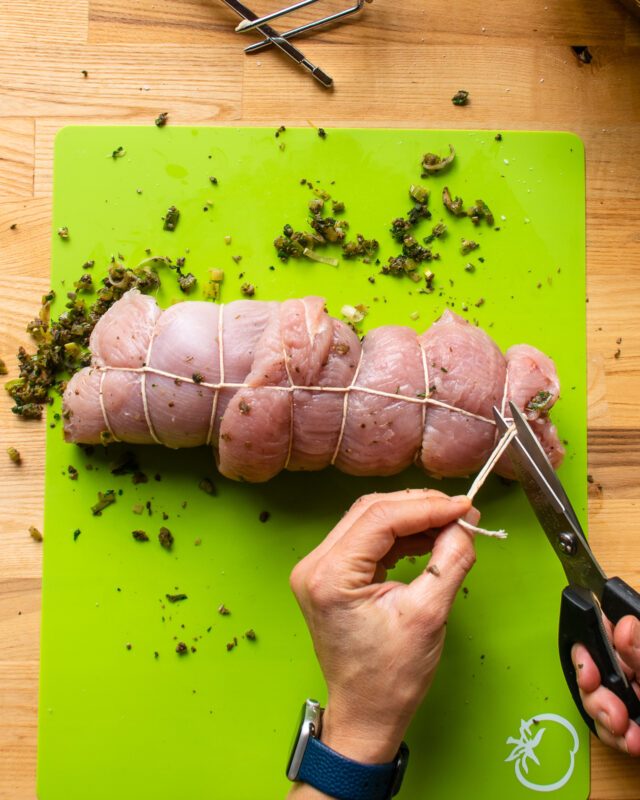
Thread the remaining long end of twine over and under the loops of twine, making your way back to the end where you started. Then, turn the turkey breast over again.
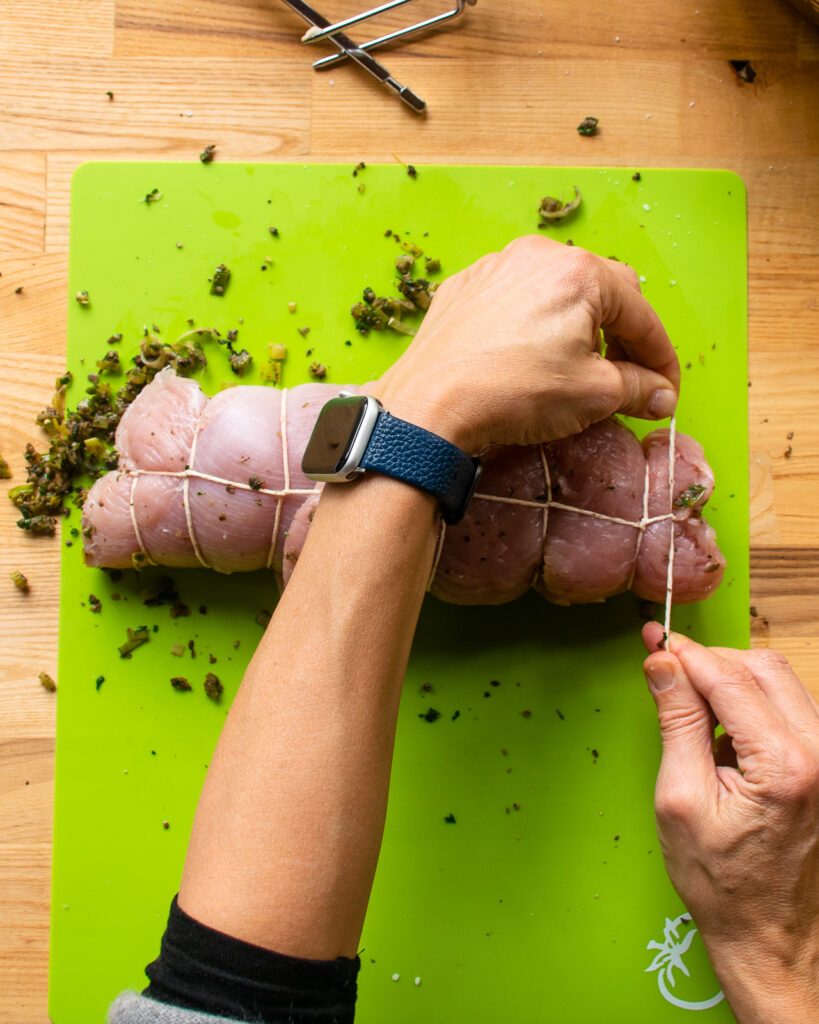
Step Nine:
Tie the end of the twine to the short end of twine that you left at the beginning of your project, pulling the roast taught (but not tightly) from end to end.
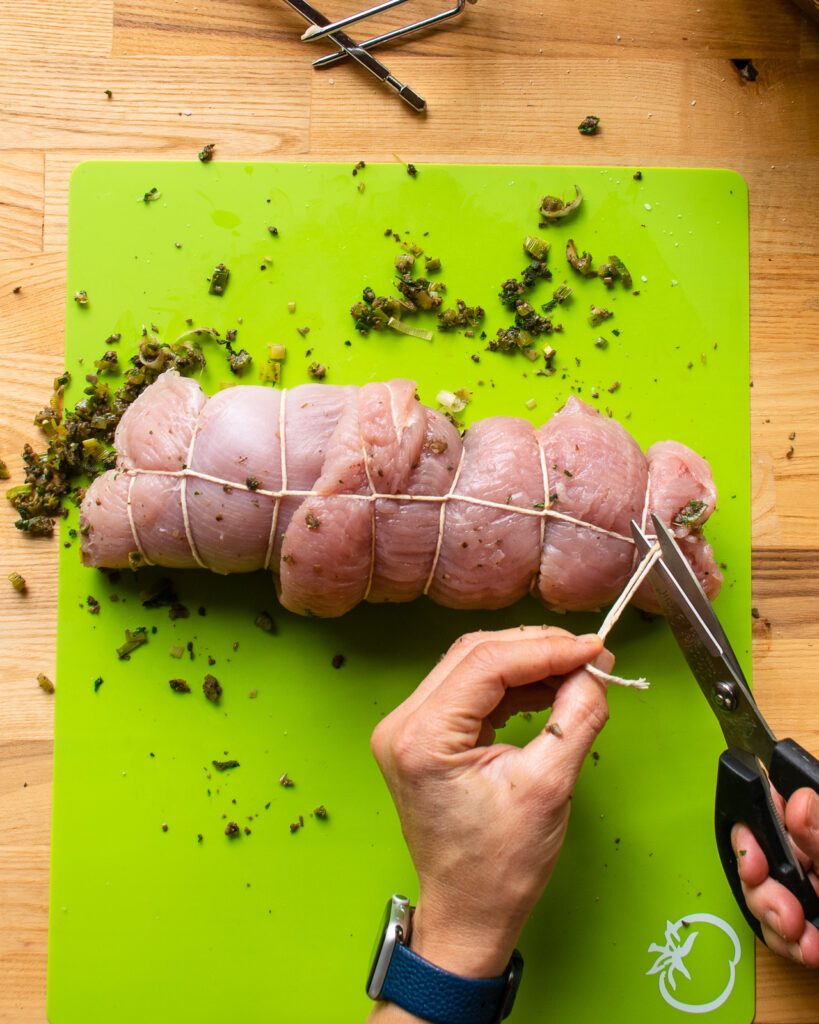
Step Ten: Trim the Twine
Finally, trim the ends of the twine so that there are no long pieces trailing off the roast.
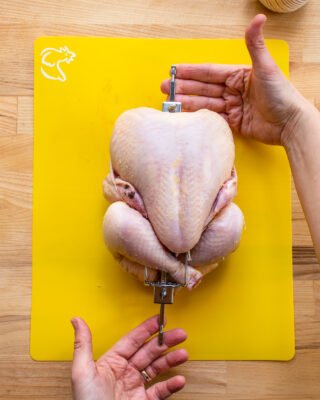
Now your roast is ready to roast or rotisserie cook, keeping a nice uniform shape and consequently cooking evenly. Good for you!
