What is a Sourdough Starter?
Most of us understand that yeast is an ingredient we use to make breads and other baked goods rise. It’s a single-celled organism that is dormant until we give it moisture, food and warmth. We buy it in little packets or jars, but yeasts also exist in nature all around us. These are called wild yeasts. You can’t see them, but there are wild yeasts in flour, in the air and on food surfaces. Obviously, since we can’t see these wild yeasts, we need to trap them in some sort of medium and that medium is called a sourdough starter – a place where the yeast gets moisture (water), food (flour) and warmth and can live quite happily until you’re ready to use it.
Why Bother?
So, what’s the point? If you can buy packages of yeast, why bother to go to the trouble of using a sourdough starter? Well, any baker will tell you that real sourdough, made with wild yeast from wherever the starter lives, creates a bread with a more interesting flavor and a sturdier texture. A sourdough loaf is an artisanal bread that commercially made breads just can’t compete with. Yes, sourdough can be tricky and takes longer to proof, but it is so worth it – not only for flavor and texture, but for the sense of pride you feel after you’ve made it. But there’s more to sourdough starters than just making loaves of bread. Having a sourdough starter opens you up to a whole new world of recipes from sourdough pancakes, sourdough pizza dough, to sourdough biscuits, to sourdough English muffins, to yes, even sourdough chocolate chip cookies! All worth their weight (and then some) in gold.

What You Need
Making your own sourdough starter is not difficult and can actually be a lot of fun as you watch the magic fermentation happen almost before your eyes. You don’t need much in terms of equipment to make a starter, but the following tools are important:
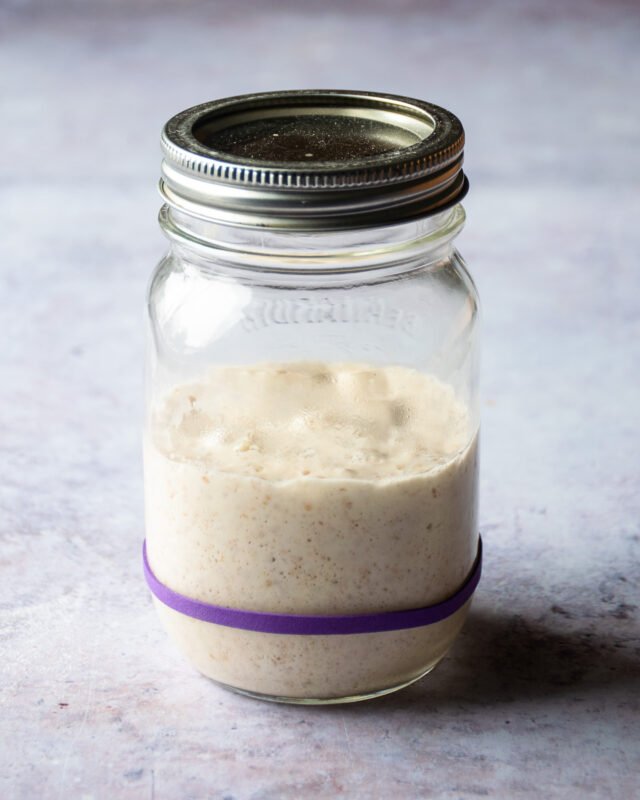
- Jar. Your sourdough will need a place to live and a mason jar is a perfect home – you can see through it to see how your starter is growing, you can leave the lid loose so that air can get inside, and it’s washable and reusable. You can use a pint-sized jar, but I prefer a quart-sized jar which gives you a little more room to stir things together.
- Spatula. A thin spatula that fits into a jar is useful to have to stir the flour and water together easily and to wipe down the inside of the jar.
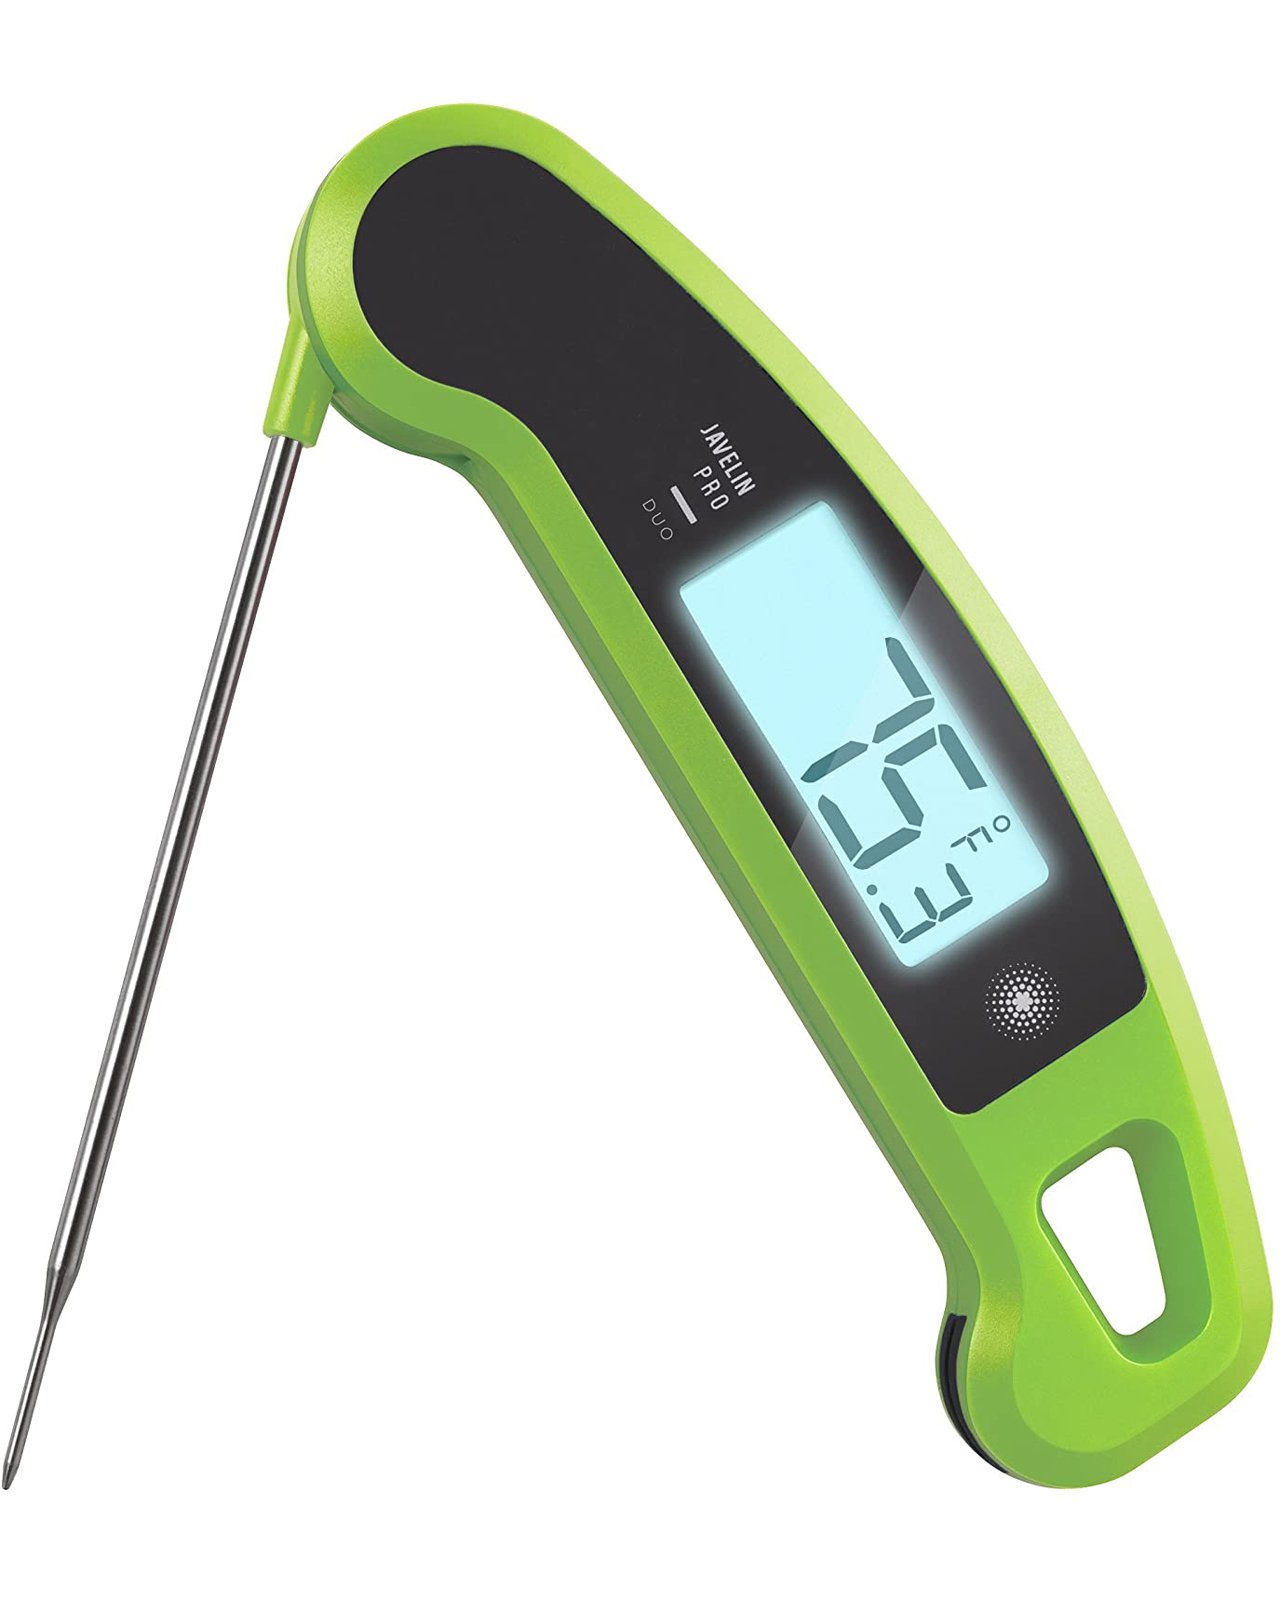
- Thermometer. A sourdough starter will always be happier and behave better if it is kept moderately warm. The way to do that is to add water that is around 80ºF. You’ll need a thermometer to measure the temperature of the water.
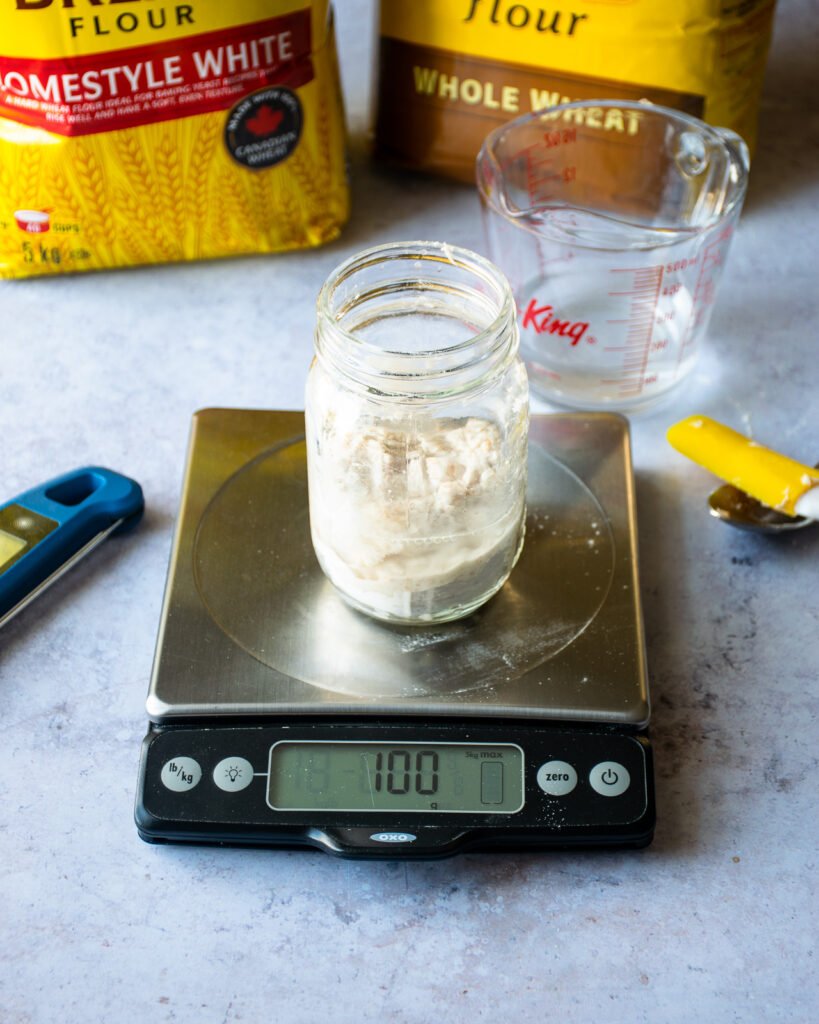
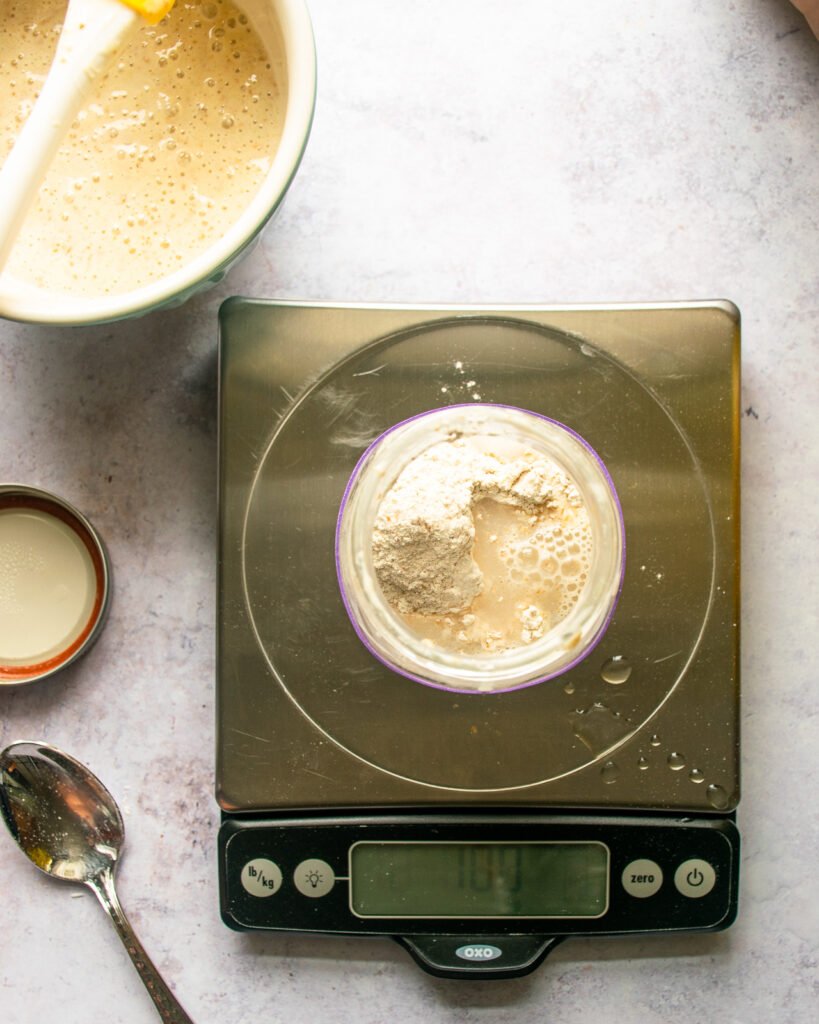
- Scale. You can get away without a scale, but you’ll be much more accurate and consistent if you do have a scale. If the scale has the ability to weigh in grams as well as ounces, even better! Because grams are a smaller unit, they are a more accurate way to measure. I will use grams in this article for ease of reading, but you can use the information below to convert grams to ounces and a rough volume measurement of both flour and water
| grams | ounces | volume | |
| flour | 50 g | 1¾ oz | roughly ⅓ cup |
| 100 g | 3½ oz | roughly ⅔ cup | |
| water | 50 g | 1¾ oz | generous 3 tablespoons |
| 100 g | 3½ oz | scant ½ cup |
As far as the ingredients go, it gets even simpler. You basically need just flour and water to make a sourdough starter from scratch. Any type of flour will work – all-purpose or bread flour, but bread flour has a higher protein content and 4 out of 5 wild yeasts prefer it (I just made that up, but I bet it’s true). Using only white flour is acceptable, but I like to mix white and whole wheat bread flours together in equal parts to feed my starter. I also prefer to use filtered water for my starter, just to make sure I’m using water that is as pure as reasonably possible.
Equal Parts Flour & Water
So, you’re ready to embark on this project. Let’s go!
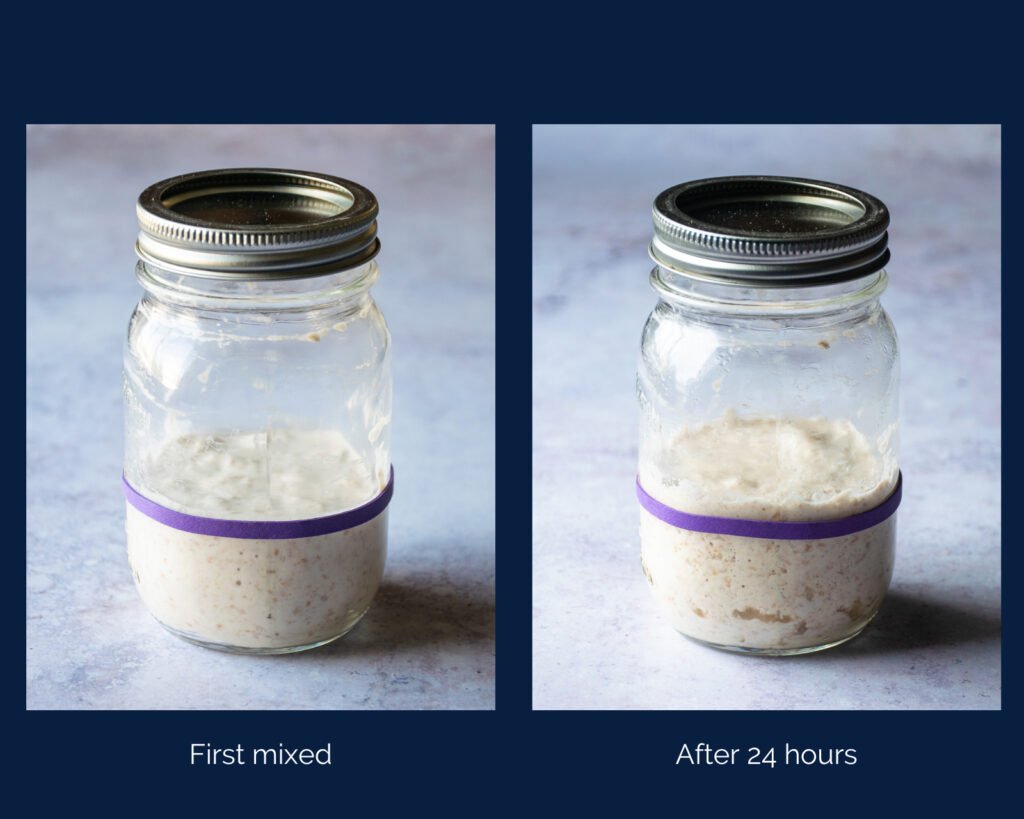
DAY 1: You’ll start by mixing equal parts flour and water by weight together. Combine 50g of white bread flour, 50g of whole wheat bread flour and 100g of 80ºF filtered water together in a jar. That’s roughly a scant ½ cup of water and ⅔ cup of flour (50% white and 50% whole wheat). Mix until everything is combined and loosely screw the lid on top – just enough for it to catch. That’s it!
Mark the Spot
Once you’ve mixed your flour and water together, place an elastic band on the jar to mark the level of the starter. That way, you’ll be able to see what the starter has been up to in your absence and how it might have grown. Place the jar somewhere where the temperature is at least 70ºF for the night. (If your room is really cold, your oven with just the oven light on is a great place for a starter to live – just remember it’s in there before you pre-heat the oven for something else!) After 24 hours, your starter should look a little different – perhaps a few bubbles, perhaps a little bigger in volume. If you see no change, don’t worry – just proceed with the directions for Day 2.
How to Feed your Starter
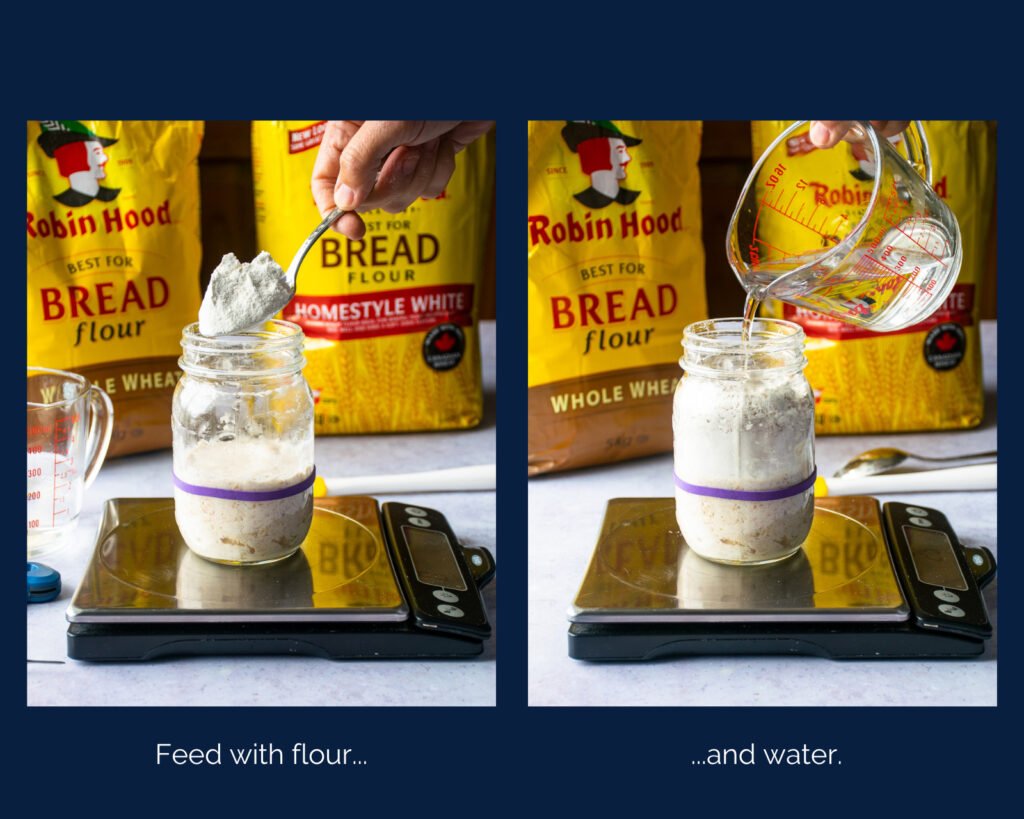
DAY 2: On day 2, 24 hours after having mixed it together, give your starter its first feeding. Add another 50g of each flour (for 100g of flour in total) and 100g of 80ºF filtered water. Mix it all together and move the elastic band up to mark the level of the starter. Put it back in its 70ºF environment for another day.
How Often to Feed Starter
You will need to feed your starter every day for the next week or so, but on day 3, we reduce the amount of starter we feed so that the starter doesn’t take over your kitchen.
DAY 3: Measure out 50g (roughly 2 tablespoons) of your starter into a bowl and combine with 25g of each flour (50g of flour total) and 50g of 80ºF filtered water. Discard the remaining starter in your jar and wash the jar before returning your newly fed starter back to its home.
Since you’re only saving 50g (2 tablespoons) of starter, you will have some starter left over and this is what we call your sourdough discard. You can’t keep feeding the full quantity of starter because as the starter grows it needs more food to feed it and it will eat you out of house and home. So, the discard goes into your compost bin, into your garbage or down your sink diluted with a lot of water. Wash out your mason jar and place your starter back in the jar, lid loosely screwed on top and into its usual 70ºF environment.
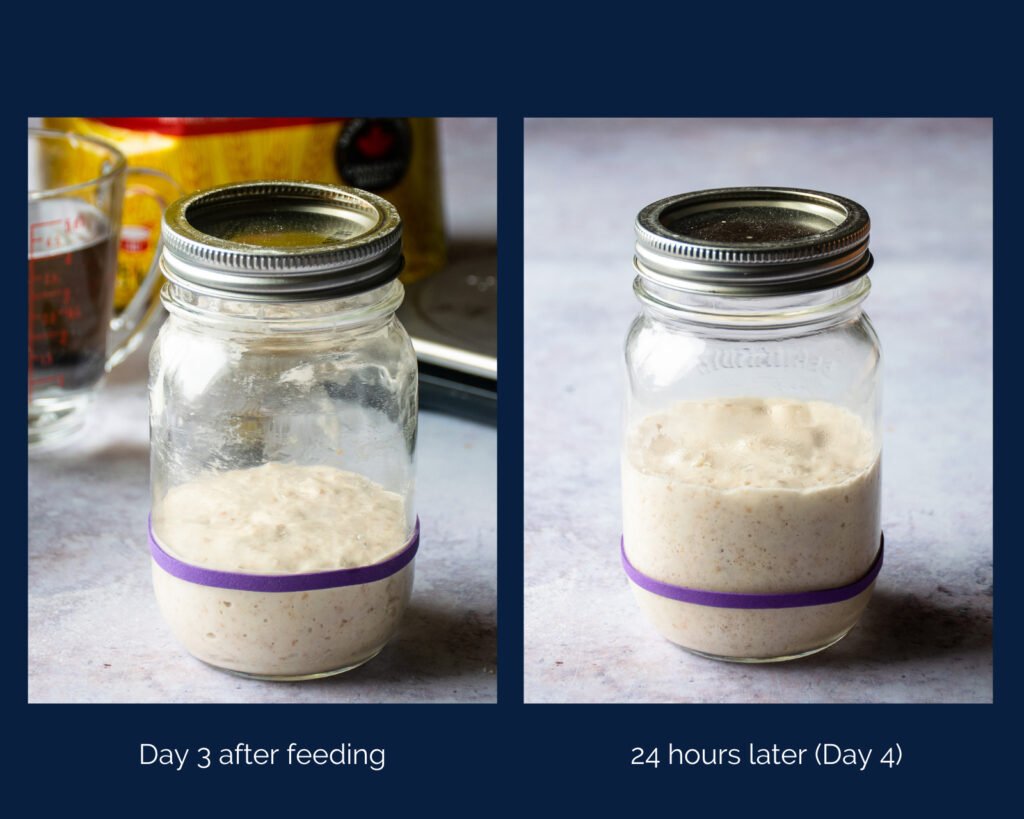
At this stage, you should start to see more bubbles and activity in your starter and it will start to have a sour or musty smell. If you don’t see any activity, just be patient. Some starters take longer than others to catch on.
DAYS 4 to 7 (or beyond): Repeat Day 3’s instructions each day, discarding all but 2 tablespoons of starter and adding equal parts by weight of flour and water.
If your starter starts to take off at this stage, you might need to feed it twice a day. You’ll know if you need to do this because your starter will double in bulk and then start to fall. If it starts to fall, it’s hungry (the same thing happens to me!). If your starter is behaving this way, feed it every 12 hours instead of every 24 hours.
It will take another week or so of daily feedings for your starter to become really robust and active. The stronger your starter, the better it will work for you in baked goods. A robust starter doubles in bulk in 12 hours, has bubbles throughout and has a yeasty, sour odor. Until your starter is strong and healthy, keep it at room temperature and continue with the daily or twice daily feedings.
Maintaining your Sourdough Starter
If you’ve read this far, congratulations! You have a new member of the family and you should give your sourdough starter a name. Now, as with all the other members of your family, you need to keep your starter fed to keep it alive. You could continue to feed the starter every day, but that gets old quickly. So, the alternative is to pop the starter in the fridge. When it gets cold, starter activity slows down considerably. Keep it in the refrigerator and take it out once a week, feed it, leave it on the counter for a few hours and then pop it back in the fridge.
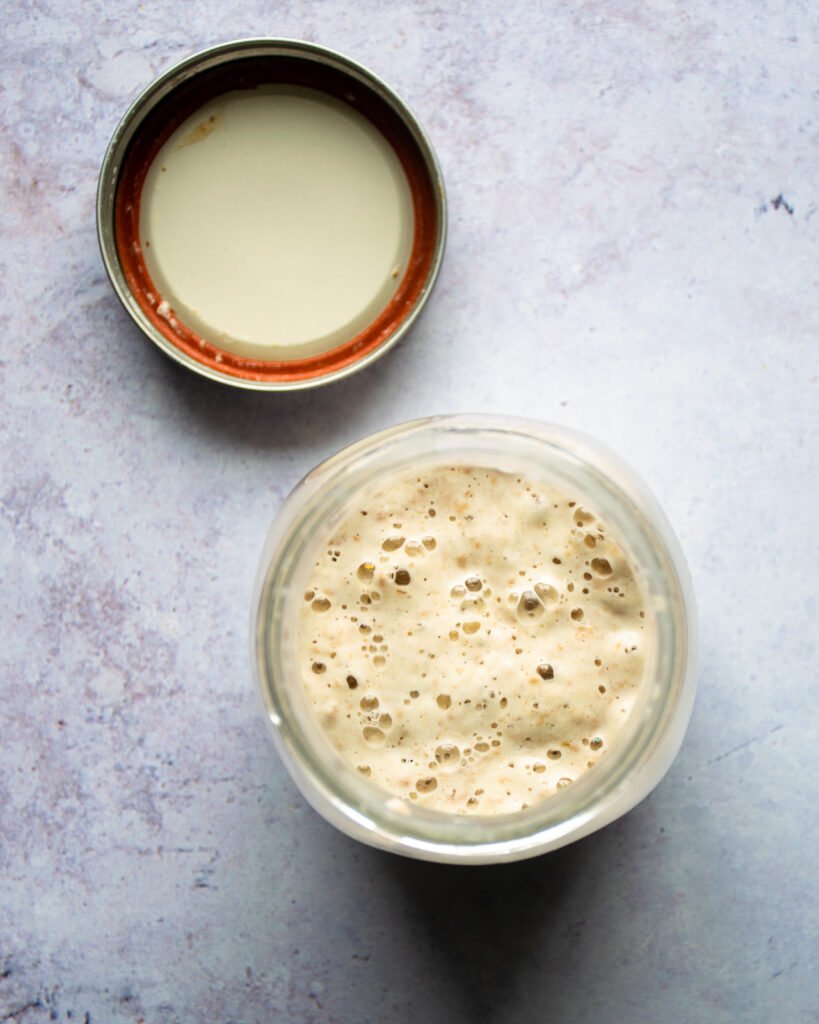
Sometimes you’ll see liquid separating from your starter. This liquid is a naturally-occurring alcohol called ‘hooch’. It’s telling you that the starter is hungry. Just pour the hooch off and give your starter dinner. If you continue to feed a starter once a week, it can last indefinitely in your refrigerator. If you forget a week (or two 😳), just take it out of the fridge and feed it at room temperature for a couple of days to bring it back to life.
How to Increase or Decrease the Amount of Starter
You may find that you have more or less starter at the end of this process than you want or need. Increasing or decreasing the amount of starter that you maintain is easy. Just increase or decrease the amount of starter that you save each time you feed it, and feed whatever you save with equal weights of flour and water. Use a 1:1:1 ratio of starter:flour:water. I like to keep 100g of starter each time I feed it and I add 100g of bread flour (50% white and 50% whole wheat) and 100g of water. That way, I usually have enough discard to make something tasty with it. How much discard you need really depends on the recipe you are following and how much that recipe calls for.
What to do with your Starter
Of course, the first thing you’ll want to do with your sourdough starter is to make sourdough bread. It’s not a quick process, but it’s a relaxing and magical experience. You can learn how to make your first sourdough loaf here.
But, there are lots of things you can do with your sourdough discard as well. You’ll find a lot of super inventive ways to use your starter discard here, but you can also add starter to your baking recipes for that special sourdough taste. Your sourdough starter is equal parts flour and water, so you substitute the starter for the same quantity of flour and liquid called for in a recipe. King Arthur Flour explains the process well here. Stay tuned, however, because you’ll be seeing new sourdough recipes popping up on this website soon.
Of course, you can also give your sourdough discard away to a friend so they can start feeding it and making their own sourdough. It’s the gift that keeps on giving!
Quick Notes:
- Tools needed for a sourdough starter: a mason jar, a spatula, a scale and a thermometer.
- Ingredients needed: flour and water.
- Day 1: combine 100g of 80ºF filtered water and 100g of bread flour in a mason jar. Screw the lid on until it just catches. Place in a 70º – 75ºF environment for 24 hours.
- Day 2: add 100g of 80ºF filtered water and 100g of bread flour to the starter. Screw the lid on until it just catches. Place in a 70º – 75ºF environment for 24 hours.
- Day 3: discard all but 50g (2 tablespoons) of starter. Add 50g of 80ºF filtered water and 50g of bread flour. Screw the lid on until it just catches. Place in a 70º – 75ºF environment for 24 hours.
- Days 4 – 7: repeat Day 3’s instructions
- If your starter becomes really active and doubles in bulk in 12 hours, feed it twice a day.
- Once your starter is robust and reliably doubles in bulk, store it in the refrigerator until you are ready to use it, feeding it once a week.


If I want to do gluten-free sourdough do I just replace with a one-to-one gluten free flour? My daughter has wheat allergies.
HI Joni. I’m afraid I am not a gluten-free cook and haven’t tried sourdough with gluten-free flour. You might check out one of these gluten-free blogs recommended by the Kitchn. https://www.thekitchn.com/10-inspiring-blogs-for-glutenf-137359
ML
One question and one comment, Can the starter be frozen? I live alone and one loaf would last me a week or more. The Cabot cheese web site has recipes for sourdough discard crackers and corn bread. Have you ever tried them?
Hi Terry. Yes, you can freeze your starter. Freeze it in a bag after feeding. It can be frozen for up to a year. When you want to use it again, remove it from the freezer and put it in the refrigerator to thaw. Then, feed it for a few days to get it back to its active state.
hi Meredith
i just made a starter. Should there be a lid on top of the mason jar? i couldn’t tell from the website photo.
thanks
diane
Hi Diane. You should put the lid on loosely so that it is NOT airtight.
Hi Meredith, I have a sour dough starter that was given to me. It is made of potato flakes, sugar and water. I made bread several times and it is good. Just wondering if that is a real sour dough or what’s the difference?
Hi Cindy. Yes, that is a real sourdough starter. The only reason it is active and able to make bread is because it contains active wild yeast that have been attracted from the environment. Different starters can have different ingredients in them – they just all need to have been fermented.
I’m on day two of starter and it has risen almost to top of jar in 6hrs ? What to do?
Hi Toni. Smell the starter. It should smell yeasty, slightly sweet and ever so slightly sour. Sometimes, when you first begin a starter it can have a burst of energy and rise very rapidly. Not to worry. You should expect your starter to at least double in size, so make sure you leave enough room in the jar. I use a big jar and my starter only takes up ¼ of the jar when first fed. If your starter has risen very high after 6 hours, you could discard and feed it again, but I would still wait until about 12 hours. It’s obviously very active so feed it every 12 hours for a week. Then, back off to feeding it once every 24 hours.
While the starter is resting in the frig, is the weekly feeding the 1:1:1 ratio? Or a smaller portion of flour and water so it does not increase in size?
Hi Cheryl. Every time you feed the starter, you will discard some of the starter. So, measure out 1 part starter (I do this by weight and measure 100g, but you could measure out ½ cup or so) and discard the rest. You can either throw the sourdough discard away or use it in a recipe like sourdough pancakes, sourdough biscuits, etc… Then, add the 1 part flour and 1 part water.
We live in the country and have a well and septic tank. Is it a good idea to flush the unwanted discard to encourage enzyme action in the tank. We have been flushing a store bought yeast package once a month.
I’m having trouble getting past day 2. Everything is working day one and day 2. When it comes time to day 3 and removing the 50 g, there is a bit of liquid in the bottom, I try to avoid that and the starter on top is very sticky and hard to remove. I then put it in a clean jar, add the new 50g flour mix/water and it won’t grow. This is the second time I’ve tried it, one time mixing day one with liquid before removing and the second time carefully taking starter out just from the top. I’m using filtered water and bread/wheat flour and storing in a 70ish spot. Help!
Hi Christine. Are you making sure you don’t completely seal the jar? You might try just putting some paper towel over the jar and securing it with an elastic band. There does need to be some airflow so the wild yeast can interact with the starter. Does the starter rise after day 1 at all? Feel free to email me at hello@bluejeanchef.com if you’d like to continue the conversation.
Many years ago tried a starter but ended in disaster. Either I didn’t understand about discard or it wasn’t discussed. So naturally it grew too big. Ended that adventure. Or I would discover a jar of black goo in the fridge – forgot to feed it.
Getting ready to try again but have a question about the discard. After a couple of weeks, of hopeful success, the discard will be ready to use. How long during the week, till the next weekly discard and feeding, will the discard last? If I can’t bake with it on feeding day, will it last a few days in the fridge? Thanx
Hi Cindy. Yes – your discard can be kept in the fridge for a few days before you use it. If you worry about it losing its strength at all, just give it a little feeding (equal parts by weight of flour and water) and it will be fine.