It’s truly such a simple meal to make, although there are a few things that will take it from good to great.
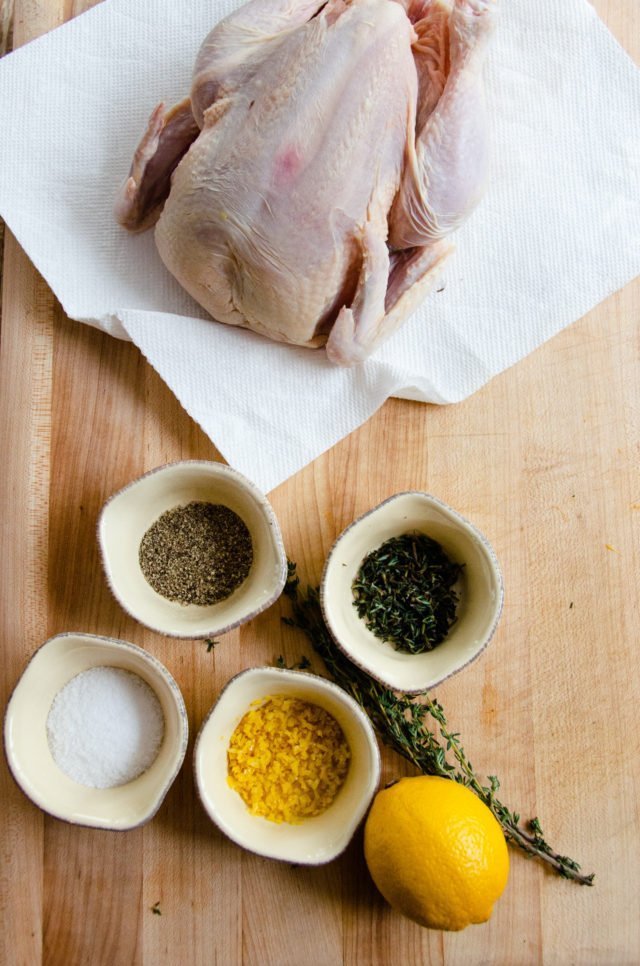
The first enhancement to this simple dish is to salt the chicken ahead of time. Salting both the inside cavity and the outside of the chicken a day ahead allows the seasoning to really penetrate the chicken, rather than just sitting on top. Of course, this takes a little forethought (you need to know you’ll want chicken for dinner tomorrow), so if you’re flying by the seat of your pants don’t worry about it, but know for next time that it does make a nice difference.
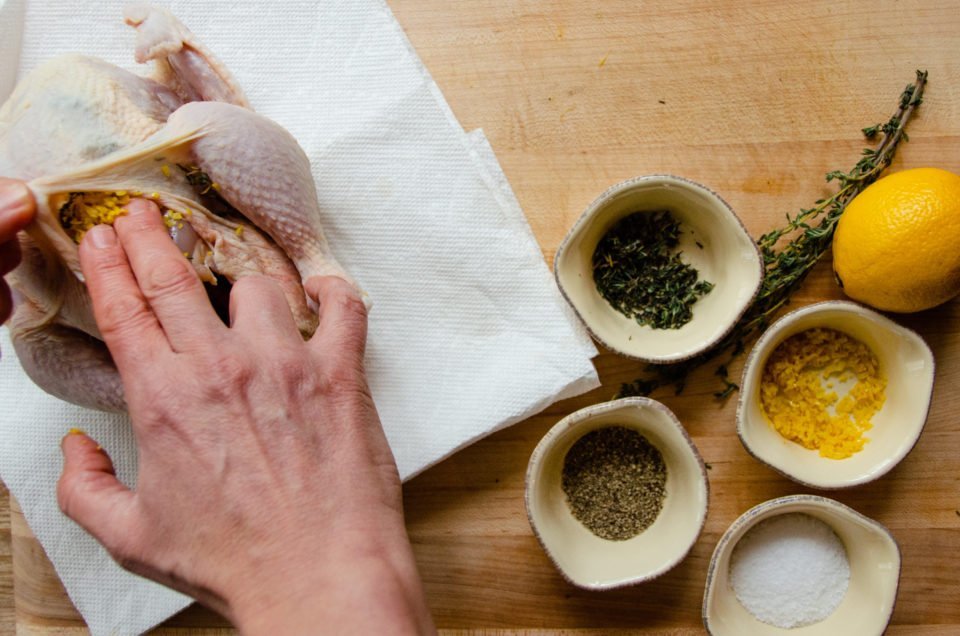
Secondly, stuffing some herbs or seasonings under the skin really helps to add flavor. The skin of the chicken is permeable, but it takes time to really get flavors through the skin into the meat. If you love chicken skin, seasoning on top of the chicken may seem sufficient to you. If you are not a fan of eating the skin, however, you’ll want to make sure some flavor actually reaches the breast and thigh meat that you enjoy. I love any fresh herb and lemon zest with chicken and never tire of it, but you could use other flavors too – like a chili powder spice rub, some crushed garlic cloves, etc…
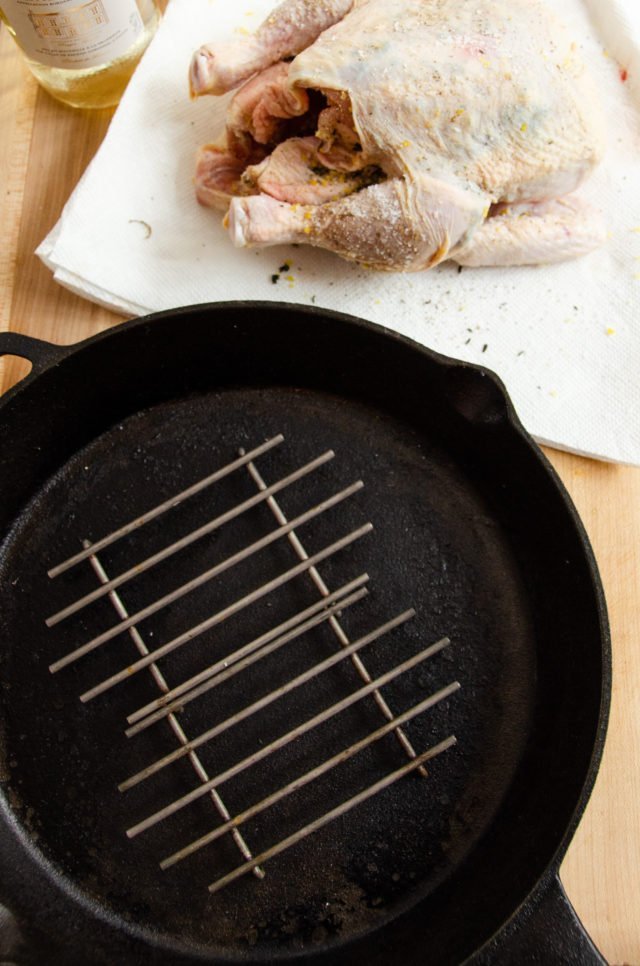
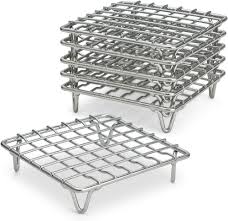
Another way to make sure your chicken is as good as it can be is to use the right equipment. Roasting really does require a rack if you want the thighs and back of the chicken to be properly roasted. If the chicken is not sitting on a rack, the moisture will accumulate under the bird and that prohibits browning. I like mini roasting racks that can fit into any size pan in different configurations. This way, if I’m only roasting one chicken, I can use one or two small racks in a cast iron skillet and don’t have to use my big roasting pan. If you are using a large roasting pan, having the chicken as high as possible on a rack is the best option. This roasting pan has the highest rack I’ve seen and works really well. No rack? No problem – try using some carrots or ribs of celery to elevate the chicken above the bottom of the pan.
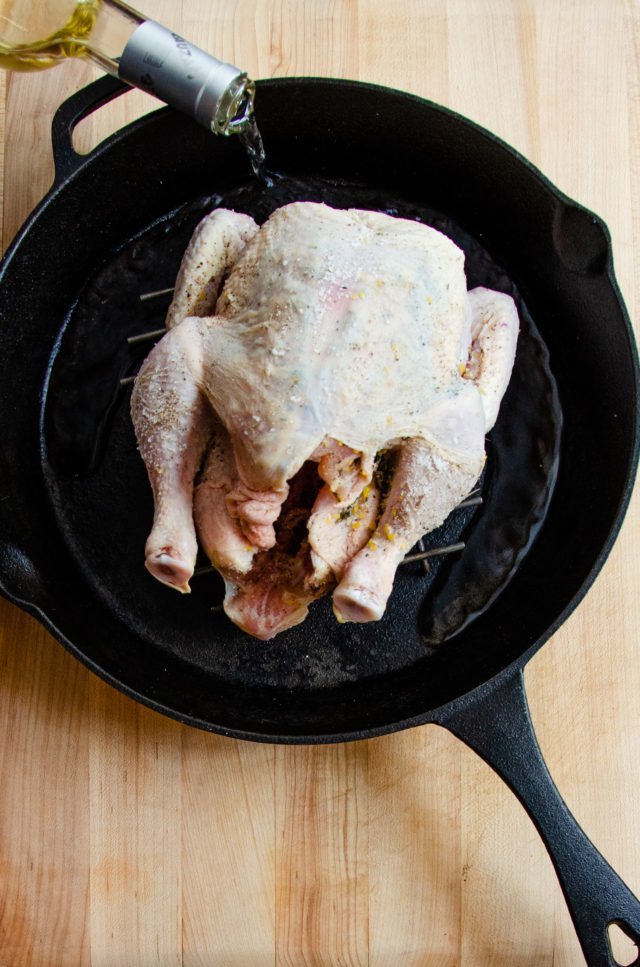
Having the right sized pan is also important. A shallow roasting pan is the best roasting pan (especially if you don’t have a high rack) – it allows more hot dry air to reach all parts of the chicken (specifically the thighs), getting it brown all over. Try to use a roasting pan that is the right size for what you’re roasting. Large roasting pans are great for two chickens. If you’re only roasting one chicken, use a large skillet or cookie sheet (with a rack, of course). If the pan is too big for what you are roasting, all your drippings will evaporate and you’ll have no juices with which to make a gravy.
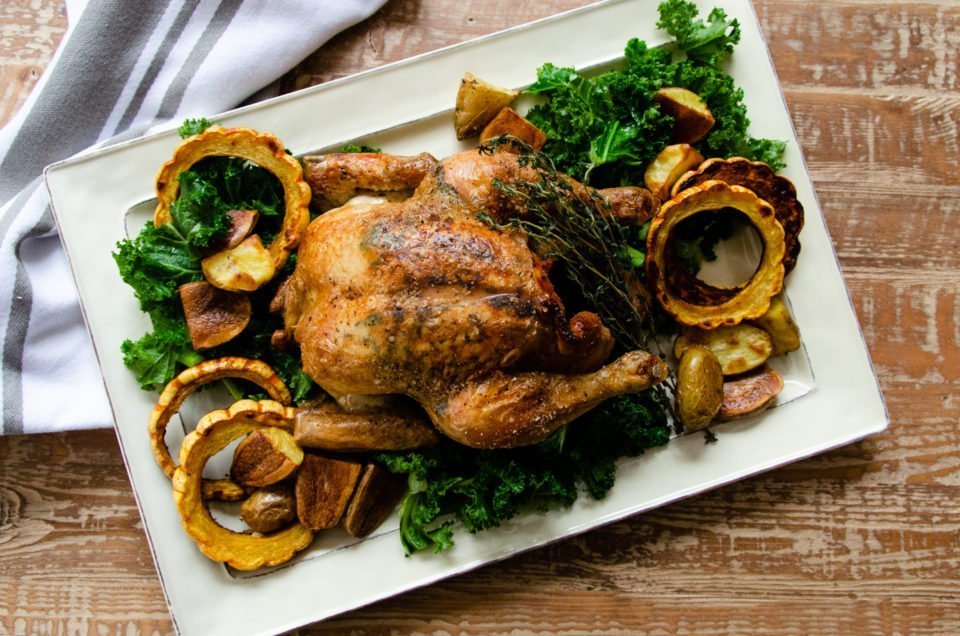
Finally, it all comes down to time and temperature. There are cooks who like to roast a chicken at a moderate temperature for a longer roasting time. Others (like me) prefer to start the chicken in a HOT oven (over 400ºF) to get a nice brown sear on the chicken. Then, reduce the oven temperature and roast the chicken until the internal temperature has reached 165ºF on an instant read thermometer OR leave the oven temperature high and roast the chicken for a shorter period of time. The constant high temperature method works particularly well on small chickens (3 pounds or so). They cook more quickly than larger chickens and so the high temperature doesn’t over-brown the chicken breast. With larger chickens (5 pounds) it’s better to lower the temperature after the initial 15 minutes so that the top doesn’t burn. So, think about the size of the chicken you are roasting and then decide if it will need more time to cook through and therefore a lower temperature.
As for basting… I don’t do it. Basting just moistens the chicken skin that you’re working hard to get crispy.
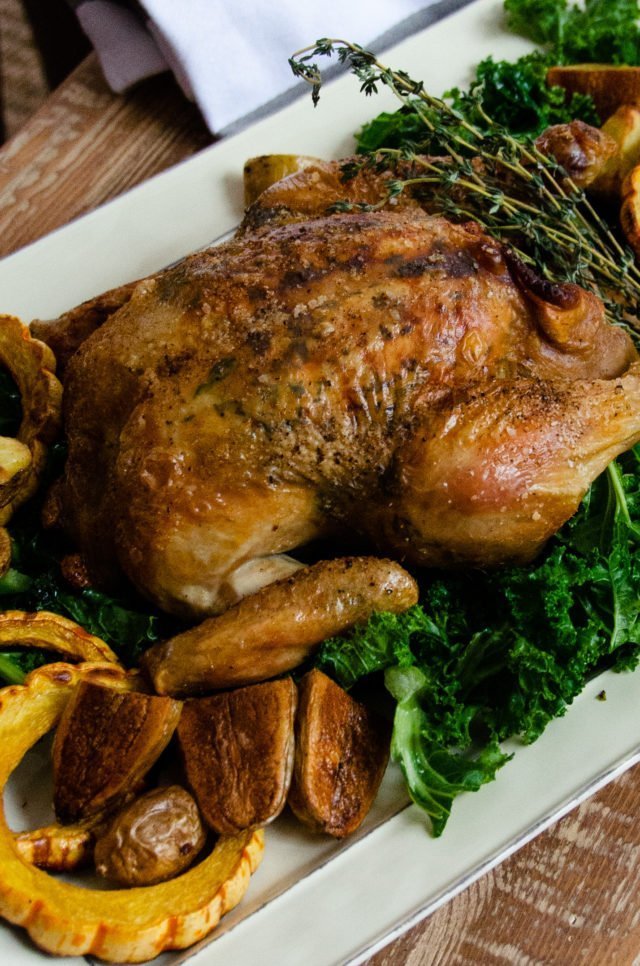
Before I really learned to cook, roasting a chicken seemed out of reach, too big a job with too many things that could go wrong. In fact, the opposite is true – it’s an easy meal, a fall-back dinner, an “I don’t know what to cook” meal. It’s not often that all those qualities end with a dinner that is so satisfying and, with just a few little enhancements, fabulous! In fact, once you figure out how easy it is to roast the perfect chicken, why not roast two? It’s just as easy and there are so many things to do with leftover chicken, like make this chicken and dumplings dinner…

Can I air fry with my rotisserie?
Hi Crystal. Air-fryers use a fan immediately behind a heating element to blow very hot air at the food. If your rotisserie has a fan that blows the air at the food, you will be air-frying while you rotisserie cook. Otherwise, you are just cooking on a rotisserie. Check to see if your rotisserie has an air fry setting.
I love how your explanations are so easy to follow. While I’ve roasted a cut up chicken, I can’t say I’ve ever roasted a whole chicken, only a whole Turkey. This is definitely one to try. TY
Do I follow the same basic principles if I’m cooking on my grill/smoker outdoors?
Yes the same principles as far as the prep and seasoning of the chicken can be used for the grill. You can either grill your chicken directly in the grill grates or use a roasting pan placed on top of the grill grates so you have drippings for your gravy.
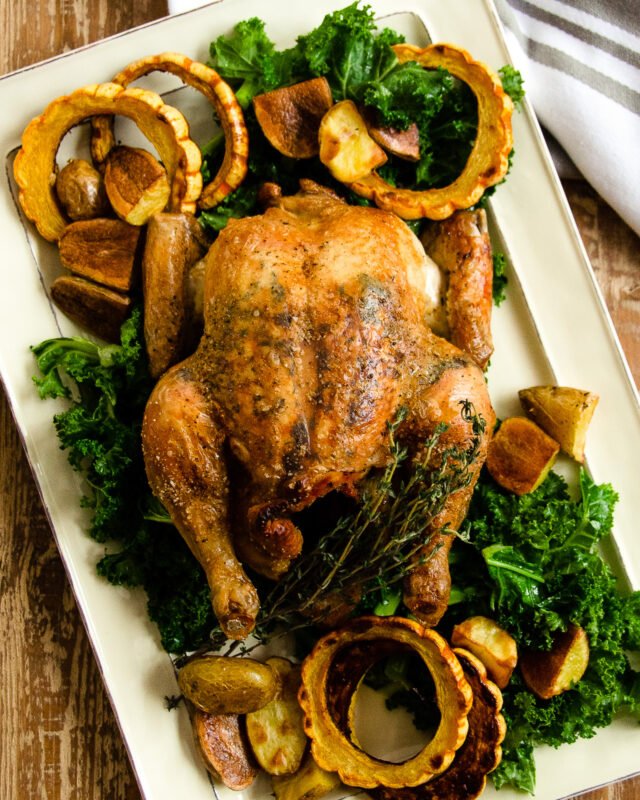
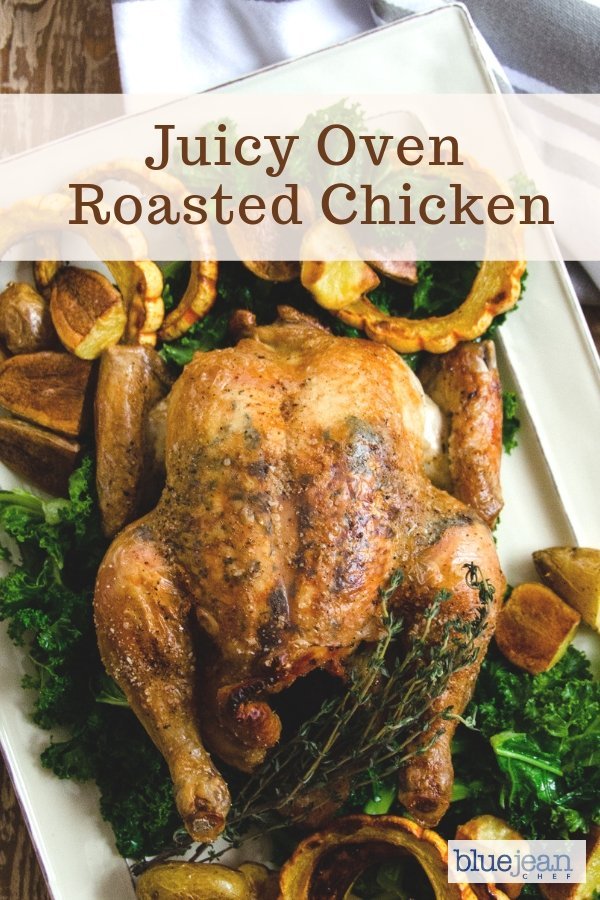
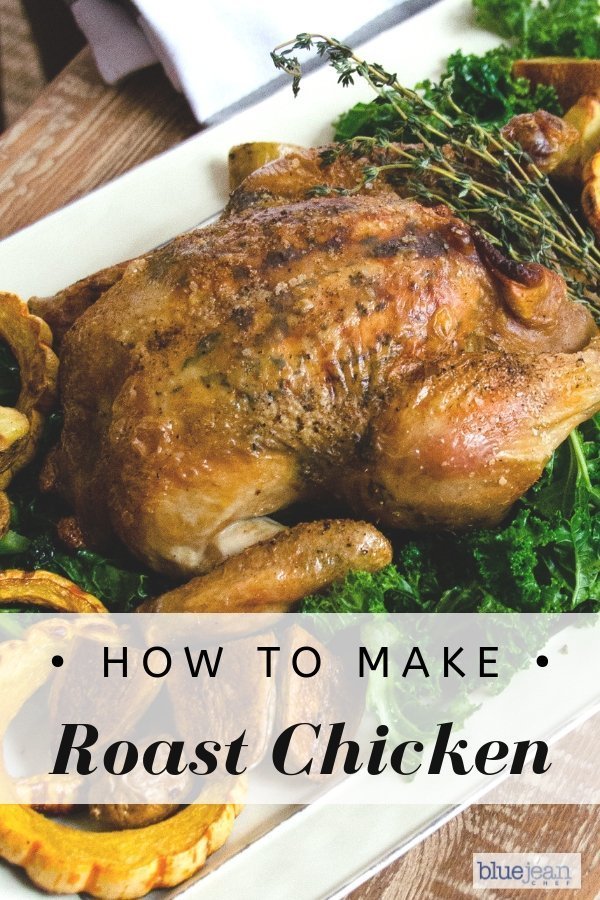
Loving the look of this chicken, but how do I makes the squash in the photo? It look amazing.
The squash in the photo is delicata squash. You can remove the seeds and slice the unpeeled squash into rings, then drizzle with olive oil and season with salt and freshly ground black pepper. Roast them alongside the chicken for about 40 to 45 minutes. Or if roasting them alone, roast at 375°F for about 30 to 40 minutes.
Do you ever spatchcock a whole chicken for indoor roasting or especially for the grill?
Check out Meredith’s recipe for Orange Spiced Spatchcocked Chicken. https://bluejeanchef.com/recipes/orange-spiced-grilled-spatchcocked-chicken/
I’m just wondering how the lemon might make the gravy taste?
The lemon acts as an aromatic that infuses flavor into the chicken. It will give the gravy some depth, but it is not enough lemon to give it a strong lemon flavor.