American Scones vs British Scones
My mother is British, so these peaches and cream scones are nothing like what I grew up with. It wasn’t until I was an adult that I even learned about the type of scone that we tend to enjoy here in the United States. There is a real difference between what the British call a “scone” (rhymes with “gone”) and what North Americans think of when they hear the word “scone” (rhymes with “own”) and it’s not just how it is pronounced. (This great article from Cook’s Illustrated goes into more detail.) I grew up with British scones that were enjoyed with lots of clotted cream and strawberry jam, but I’ve grown to really adore the North American version and all the variations you can make. Peaches and cream scones is a variation of my Morning Scones, but with sweet ripe peaches inside and out and decadent whipped cream. Yum!
Peeling Peaches
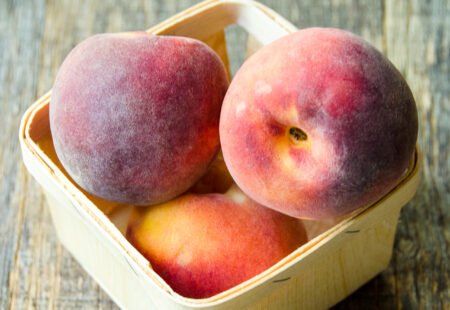
The first step in the process is to peel the peaches. Sure, you could use a peeler for this task, but you’ll end up taking off a lot of the peach flesh and that peach becomes super slippery to hold in no time. Instead, use the score, blanch, shock and peel method that I explain in my cooking school here. It doesn’t take long and the time you spend is well worth the frustration and waste you’ll incur if you use a peeler.
Cold Butter
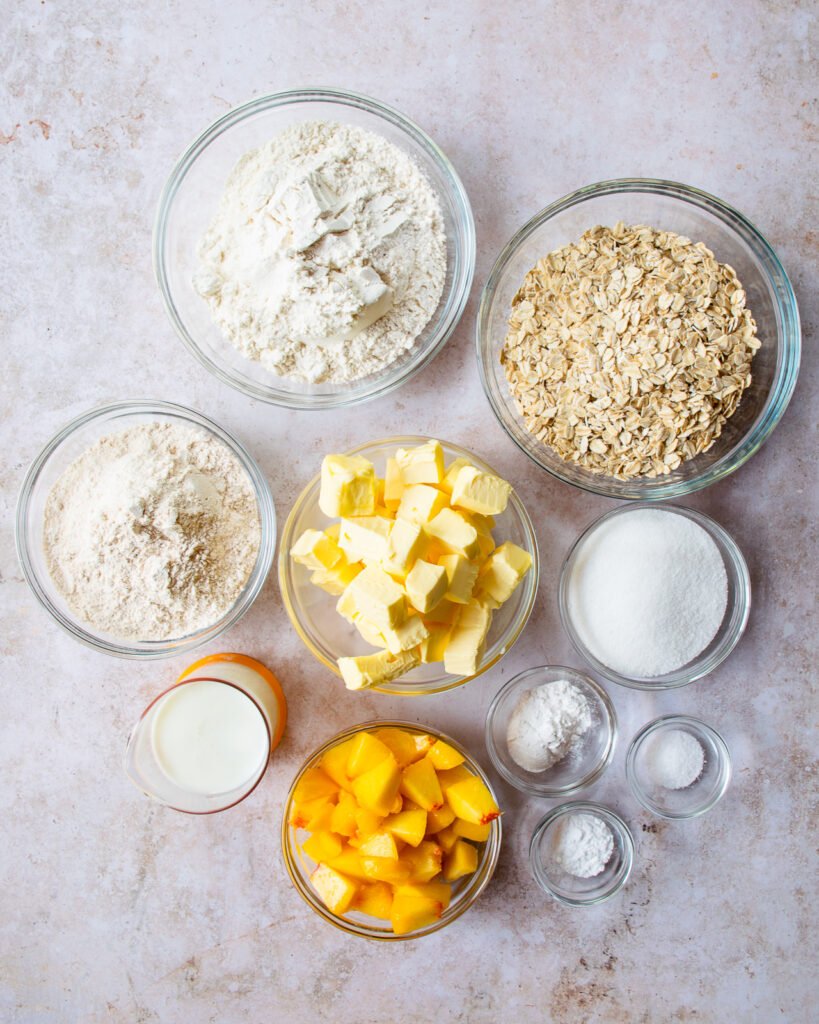
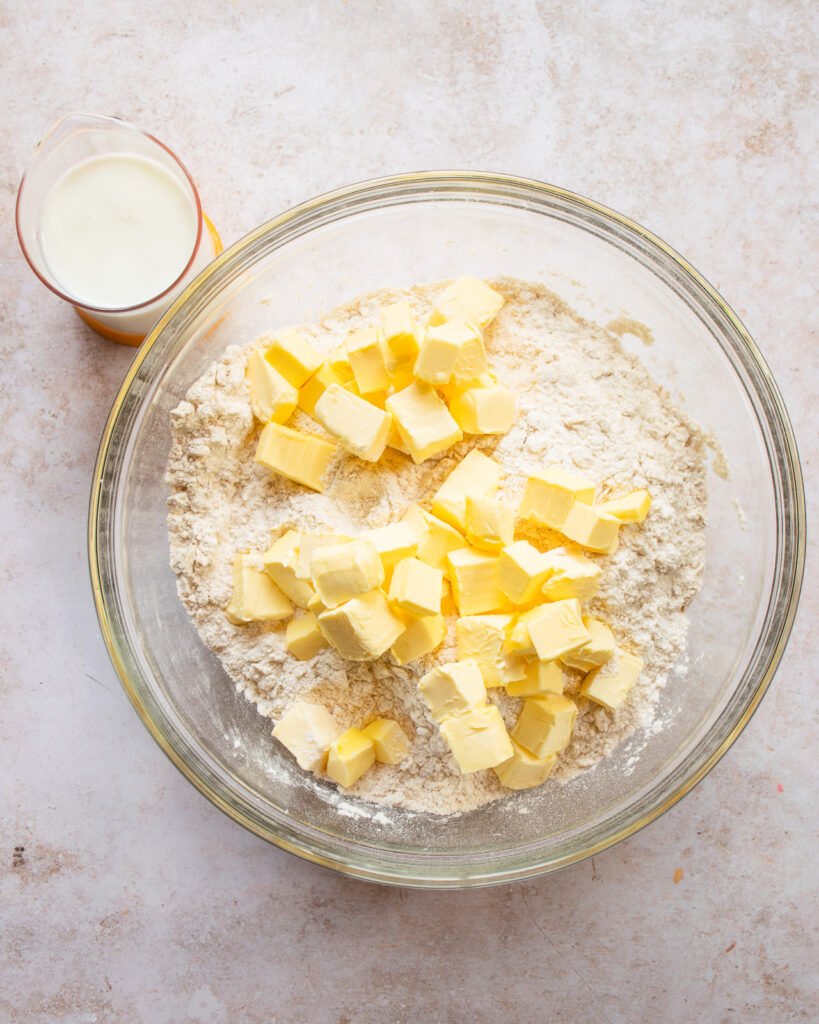
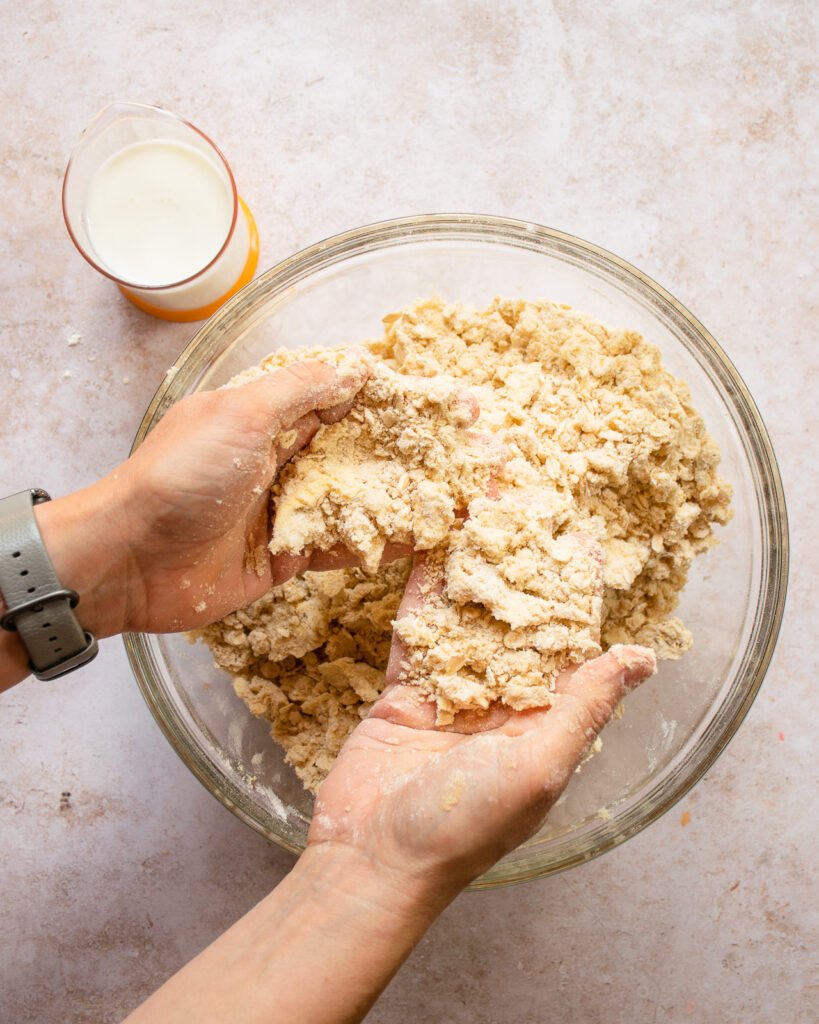
The key to making scones that are tender and crumbly is to start with cold butter. If you’re making the scones by hand, which I recommend, it doesn’t have to be frozen cold, but refrigerator cold is perfect. Pinch the butter cubes between your fingers in the dry ingredients until the mixture looks like coarse meal (see below). If you’re using a food processor or stand mixer to make the scones, freeze the butter cubes for 20 minutes before you start.
How to Make Scones
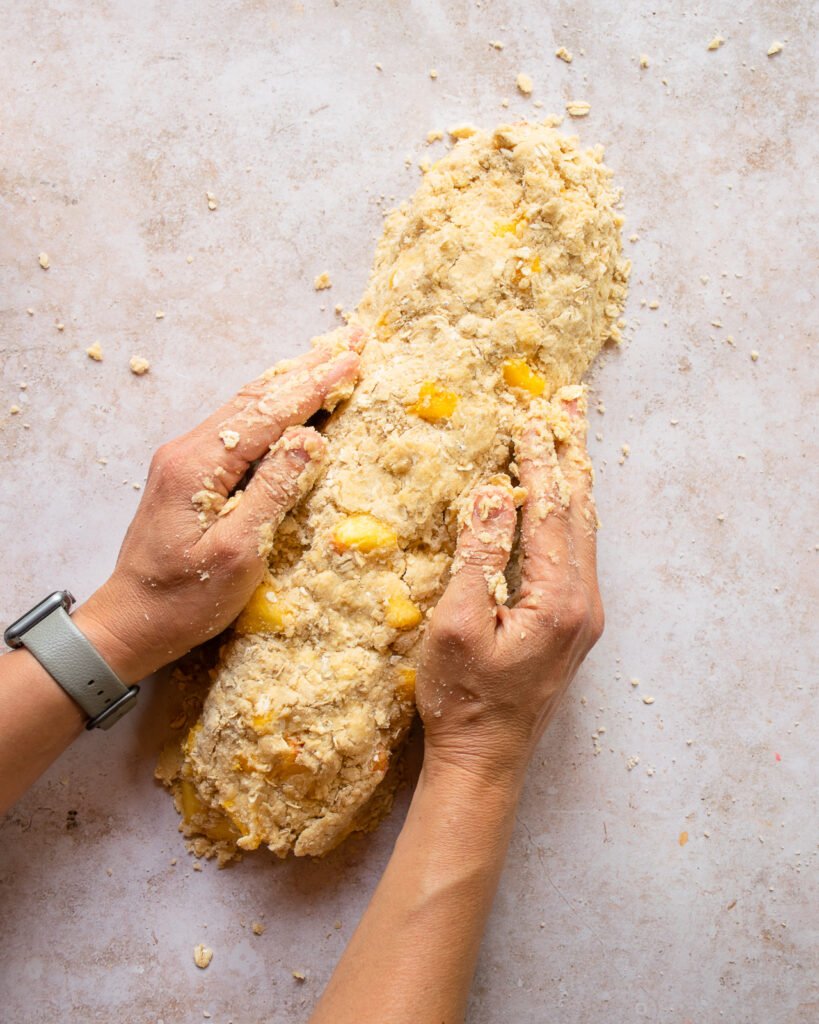
Once the butter has been cut into the dry ingredients, you add buttermilk and bring the mixture together with your hands. You just need the dough to be clump-able when you squeeze it. It can get a little messy as you turn the dough out onto the counter, but don’t stress about it. Just channel your inner Play-Doh®-loving child and mold it into a log.
Shaping Scones
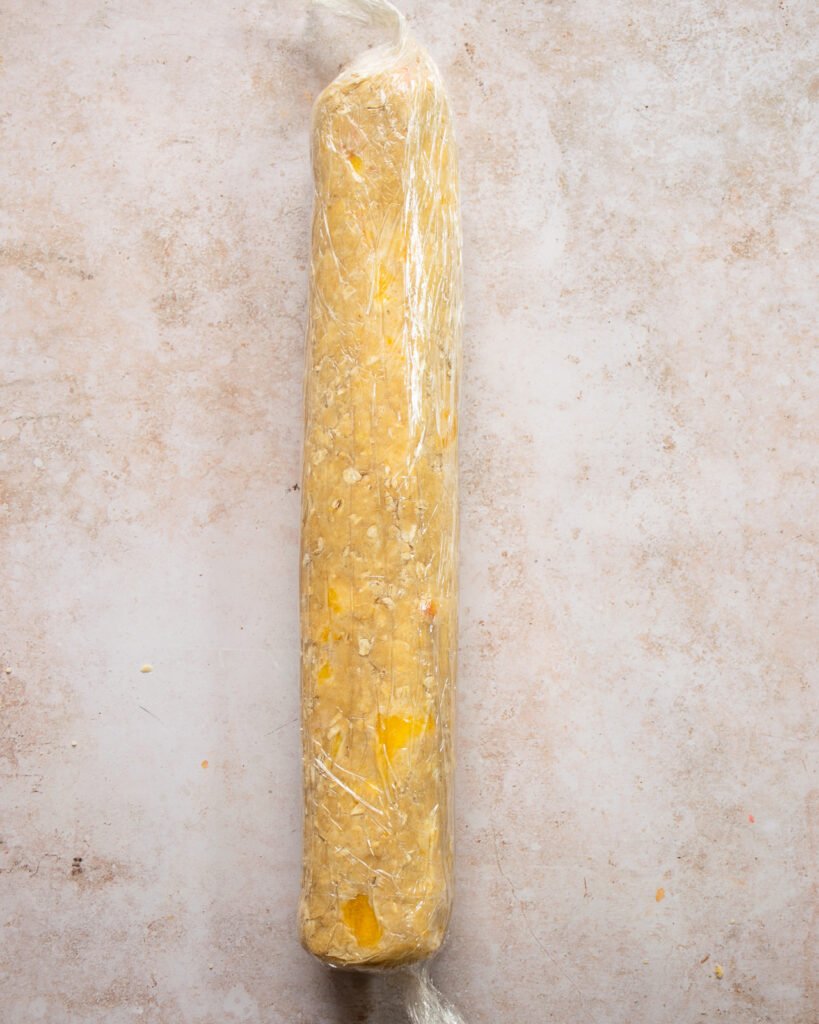
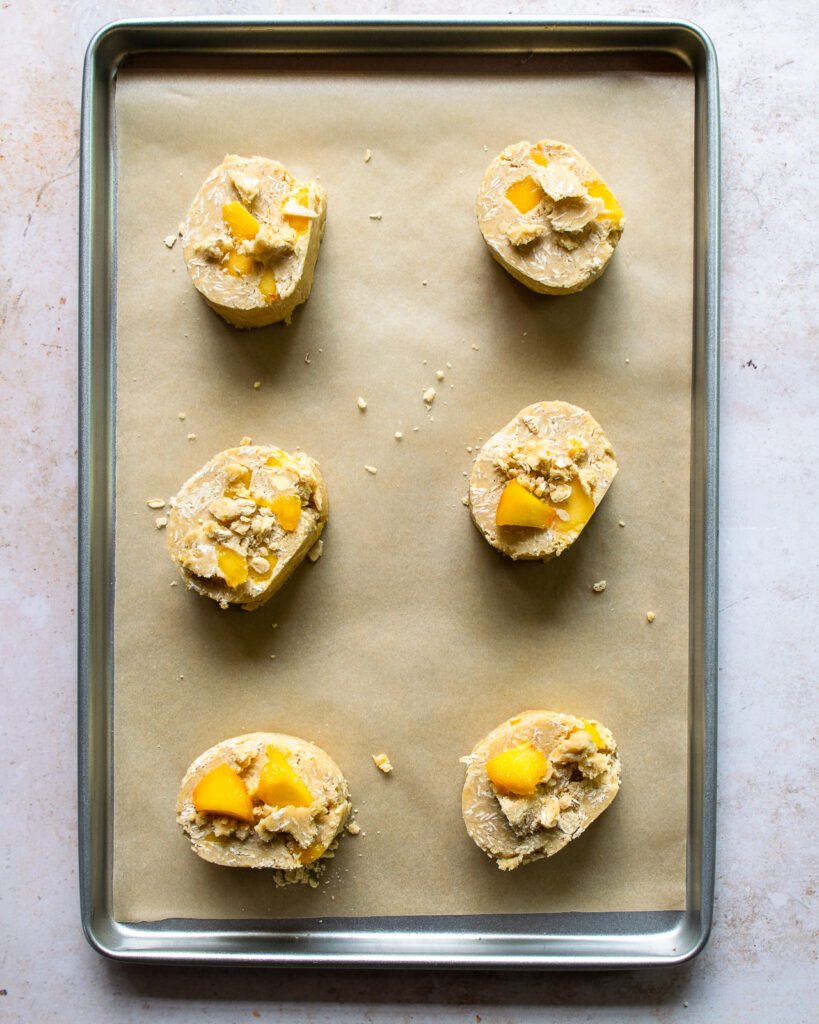
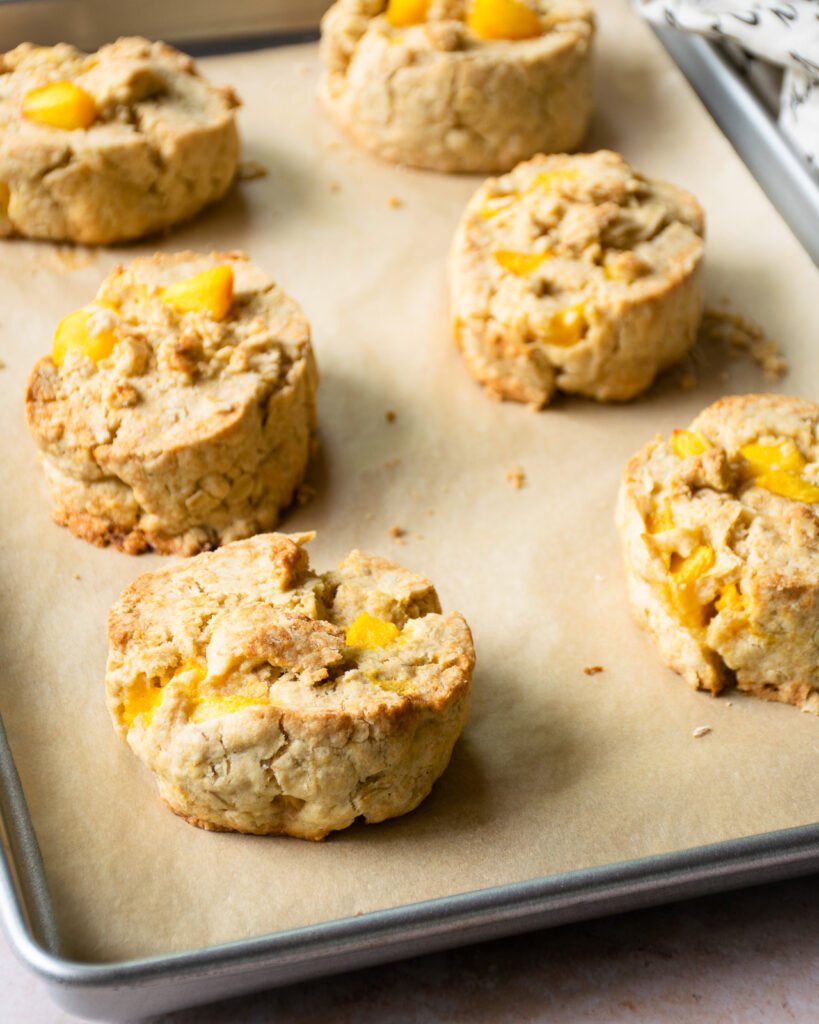
You can shape scones any way you like. The traditional shape for North American scones is a triangle and you can see how to shape that here. British scones are usually round, but they are cut out with a cutter. I chose to make these scones round, but instead of cutting the dough into circles, re-rolling the dough and then cutting again, I make a log of dough to freeze and then slice it into rounds before baking.
Freezing Scones
Scones freeze beautifully, making them a perfect make-ahead treat, but even if you’re planning on making scones right away, freezing for a few hours helps to make the scones tender and crumbly. By freezing the scones, you’re freezing the butter which then takes longer to melt when it is finally baked. If you are freezing scones for a rainy day, I like to freeze them in desired portion sizes. Let the scone log freeze for an hour or so and then slice the log into two, three or four portion pieces before the final freezing. That way, you can take just two scones out of the freezer on any given day.
Baking Scones
When you slice the log, chances are some of the scone will crumble. Perfect! These pieces can be placed on top of the scone, resulting in a rustic pebbly surface. You can also top the scone with any additional pieces of peach if you like.
How to Store Scones
Scones will store at room temperature, wrapped in plastic for a day or two, or in the refrigerator for up to 5 days. You can freeze the scones once baked, but I prefer to freeze them raw and bake them to order.
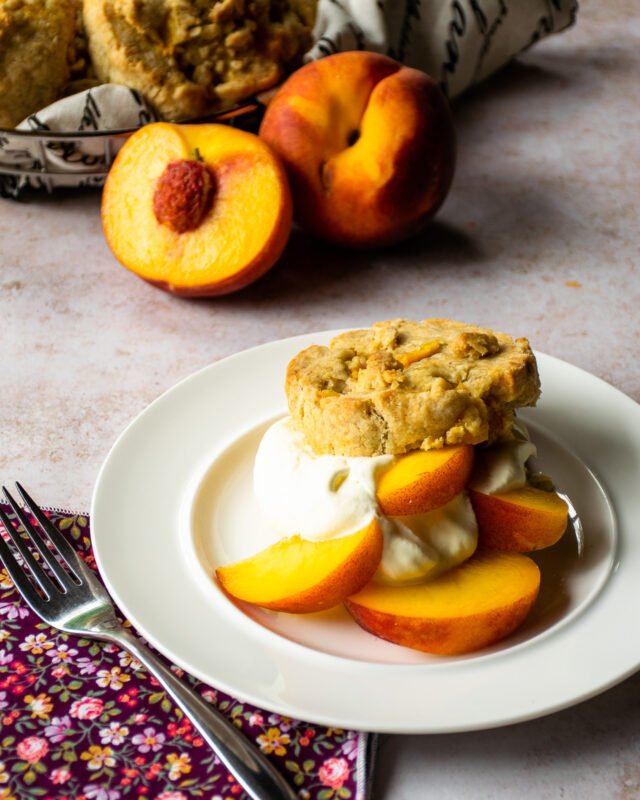
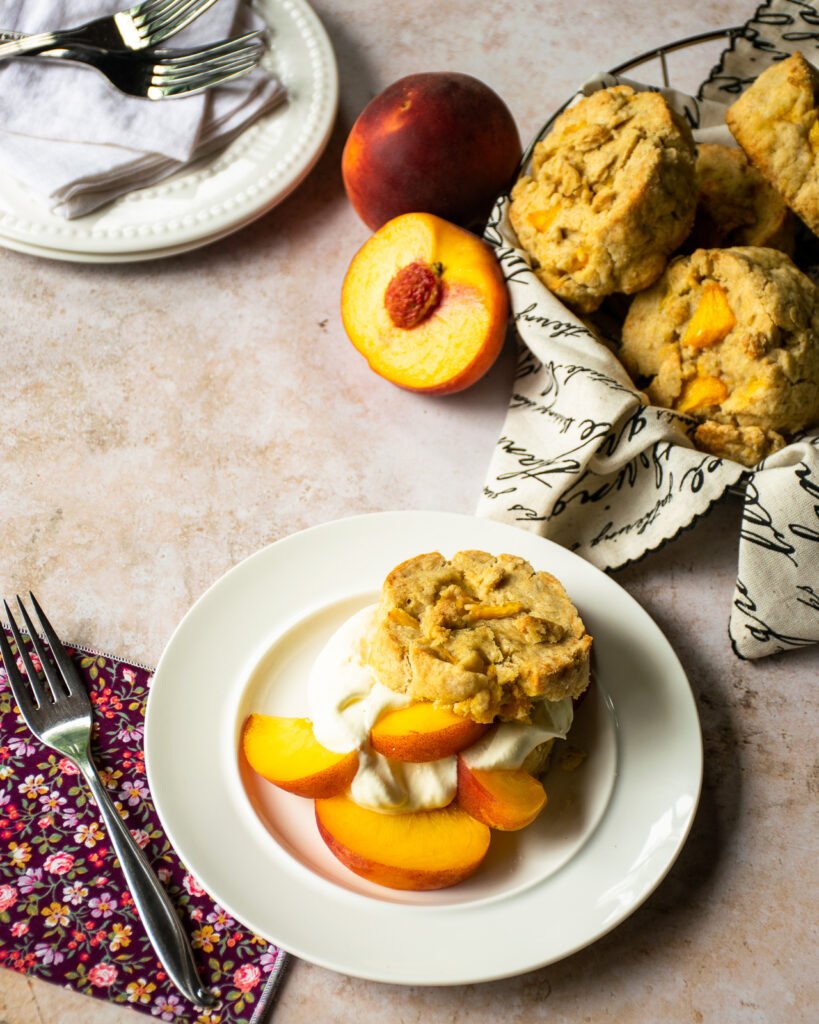
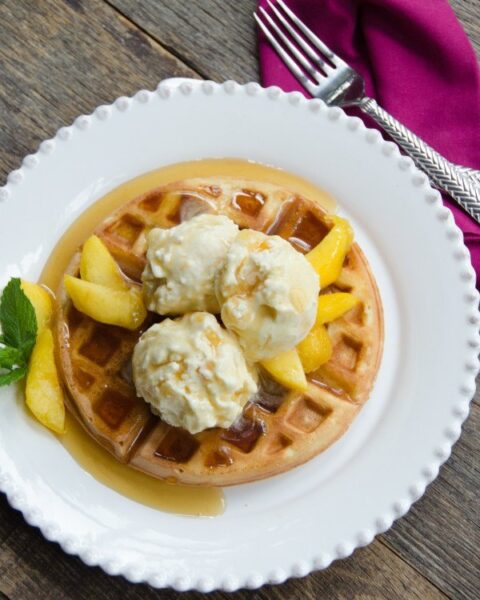
How to Serve Peaches and Cream Scones
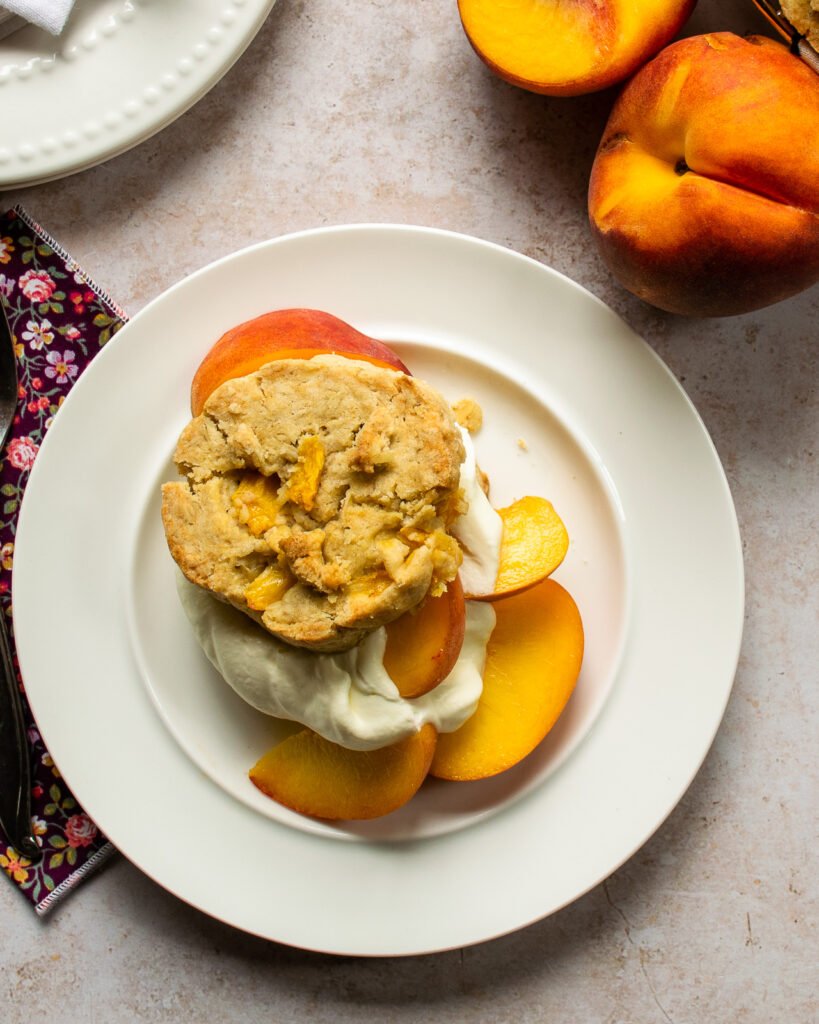
To serve peaches and cream scones, slice the baked scone in half horizontally. Place some peach slices (they don’t need to be peeled) on the bottom half of the scone, dollop on some whipped cream and one or two more slices of peach and then top with the other half of the scone. It’s a decadent weekend breakfast or brunch, a delightful afternoon tea or a lovely summer dessert.


These are amazing! I froze the butter, then grated it and stirred the flakes into the flour mixture. Instead of a log, I patted the dough into a circle, cutting it into wedges and separating them a little. The cookie sheet went into the freezer for an hour…….then brushed the tops with cream and a sprinkle of coarse sugar……then straight to the hot oven. Oh my, heaven for sure.
What is the purpose of freezing for 3 hours?
Hi Sue. Freezing the scones allows the butter to freeze. Having the butter frozen when it goes into the hot oven means that it takes longer for the fat to melt and you get more rise, a more moist scone and no grease leaking out of the scone.
If you don’t have whole wheat flour, is it possible to use only all purpose flour in this recipe, rather than both whole wheat and all purpose flour? If so, how will it affect the baking process and the quality of the scones? I’m looking forward to trying these scones. The recipe seems a bit similar to your wonderful biscuit recipe that my family absolutely loves! Thank you for your time and consideration, as well as your lovely website.
Hi Jan. You can use all white flour if you like, but hold back a little on the buttermilk when you go to add that – just don’t dump it in all at once until you’re sure you will need it to pull the dough together. The texture will be a little more cake like than if you use the whole wheat which gives it more texture.