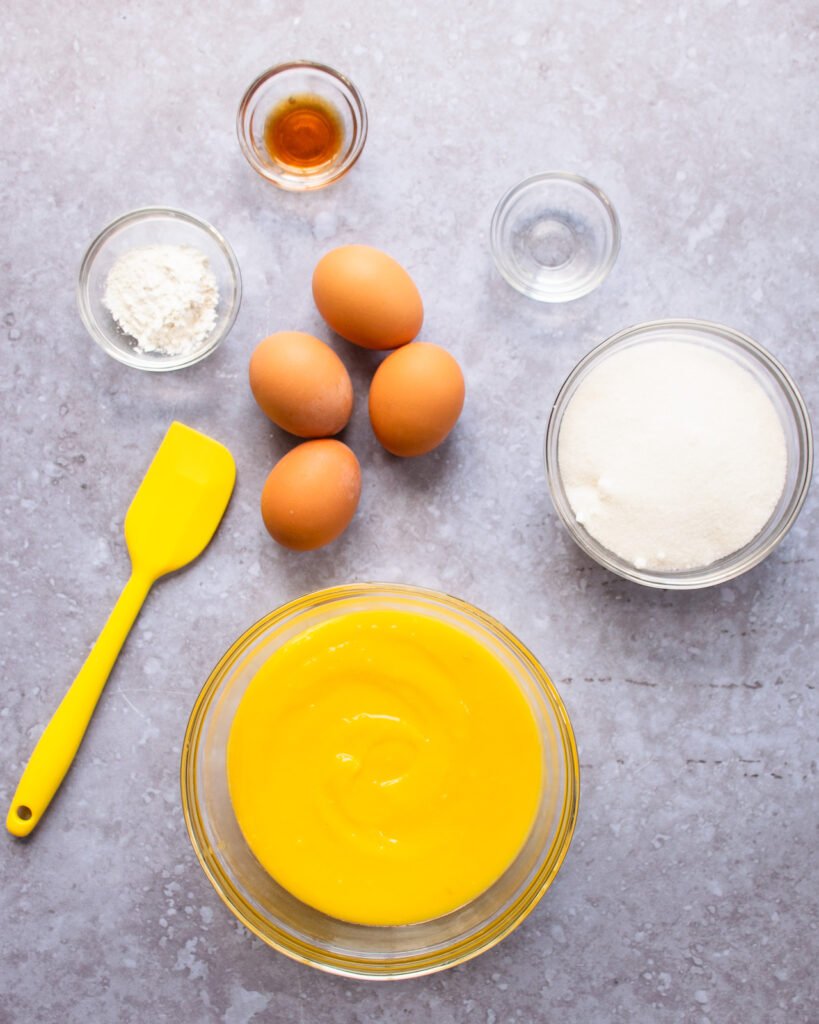
The first step in making these delightful mini lemon pavlova clouds is to prepare the components, of which there are four: the lemon curd, the pavlova, the whipped cream and whatever garnish you choose to use. Let’s start with the lemon curd.
Lemon Curd
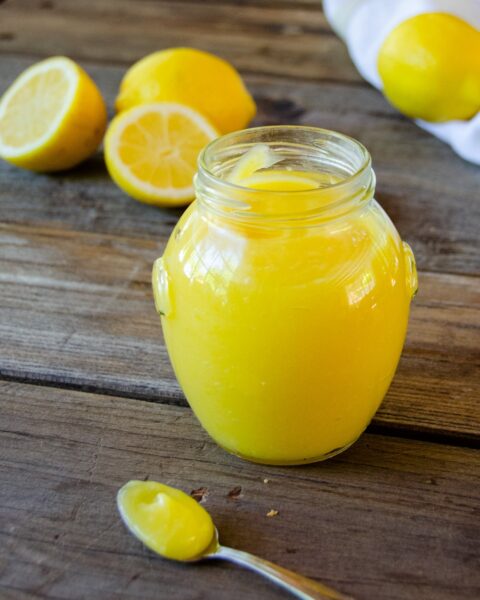
You have a choice when it comes to the lemon curd – you can buy prepared lemon curd at the grocery store or you can choose to make the lemon curd from scratch. One of the benefits of making lemon curd yourself is that there are no preservatives or artificial flavors in it. It’s bright and lemony and it’s something you can be proud of. If you use my recipe for lemon curd, another bonus is that you won’t use it all in this recipe. You’ll have some leftover which you can enjoy in yogurt, with a scone or on toast. It also makes a very special gift when put into a little jar with a ribbon. If you make your own lemon curd, do it in advance of this recipe so that it has time to properly cool.
In addition, if you are making your own lemon curd think about your final garnish before you squeeze all the lemons. If you decide you will garnish the clouds with lemon zest, zest the lemons before you squeeze them because it’s much easier to zest a whole lemon than half a squeezed lemon. You can also make candied lemon peel as a garnish if you are feeling really ambitious. On to the pavlova…
What is a Pavlova?
In simplest terms, a pavlova is a baked meringue. It’s easy to make by beating egg whites, incorporating sugar as you go, until they are stiff and glossy. Then, you stabilize the whites by stirring in cornstarch, add some vinegar and any flavoring you like (such as vanilla extract) and bake the meringue in the oven until the outside becomes crisp and crunchy while the inside remains soft and chewy. It’s actually much easier than you think, but does require a little time to bake and cool properly.
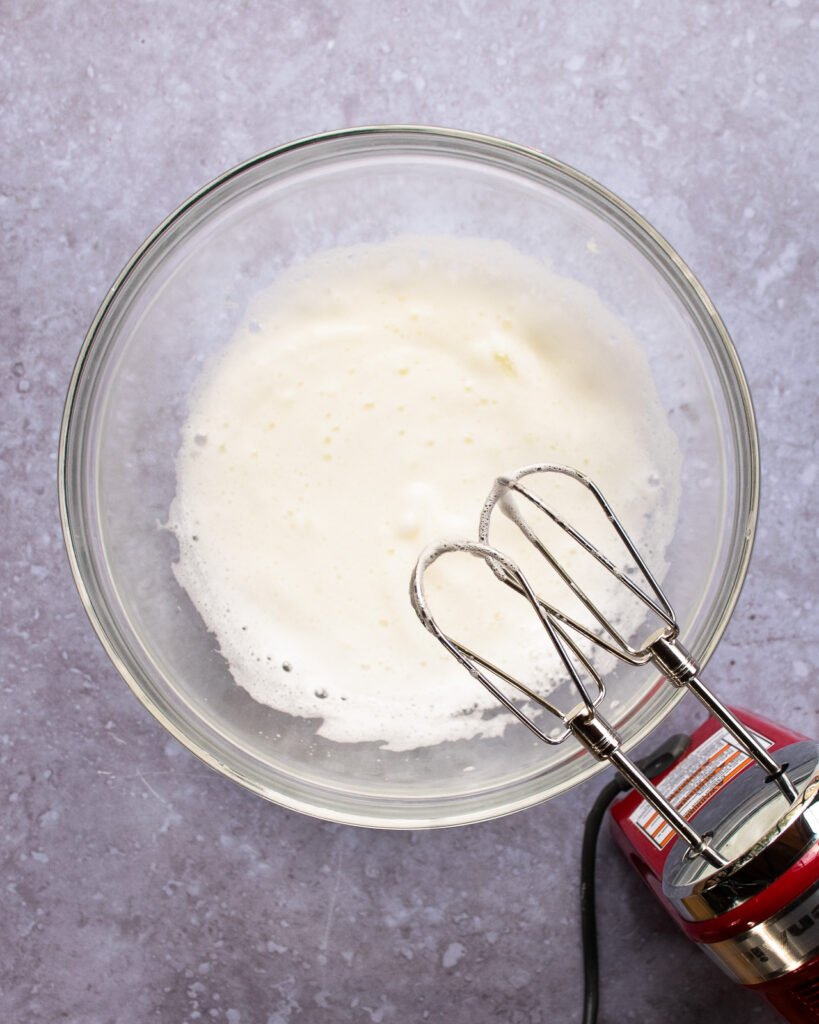
Frothy Egg Whites
Start by separating the eggs very carefully. You can see two different ways of doing this in the video below. Then, begin beating the egg whites until they are just frothy as in the photo above. That’s when you’ll continue to beat, but adding sugar a tablespoon at a time.
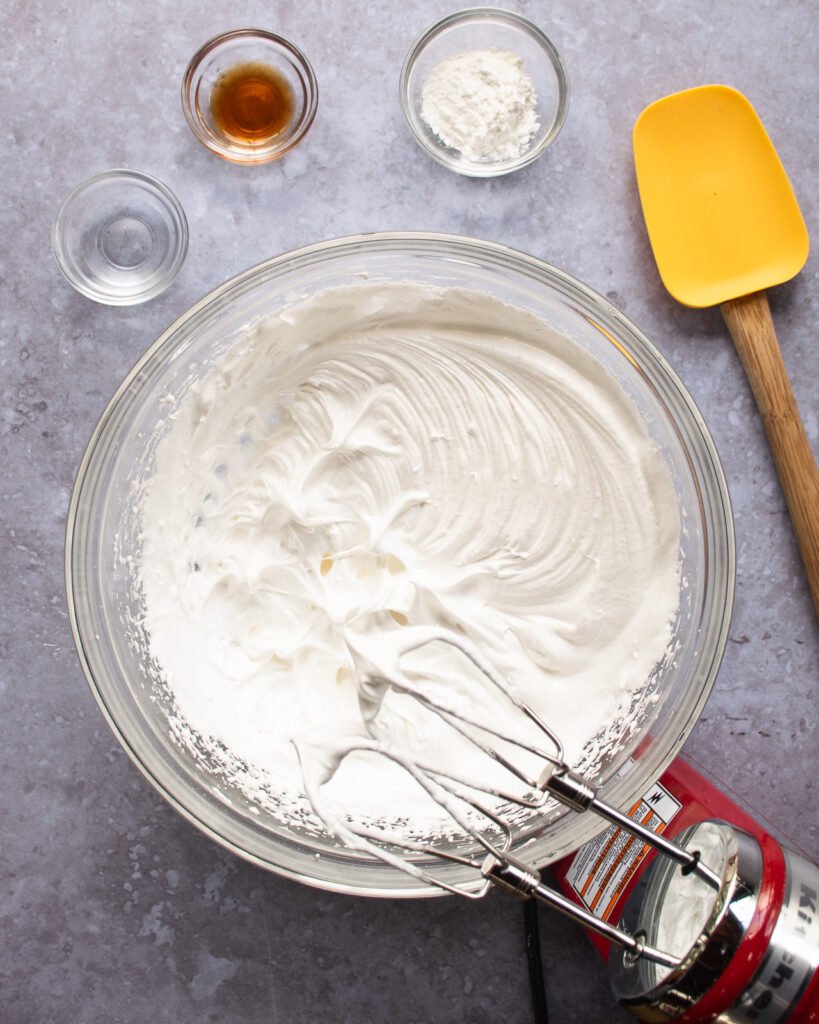
Stiff and Glossy Egg Whites
Knowing how long to beat the egg whites is really the only tricky part of making pavlova. What you are looking for is a glossy sheen and stiff peak stage. You can see in the photo above that the egg whites maintain a peak on the beaters when lifted out of the meringue. In soft peak stage, the peak folds over and looks like a Hershey’s® Kiss. In stiff peak stage, the peak stands straight up. When you reach this stage, use a spatula to fold in the cornstarch, vinegar and vanilla extract.
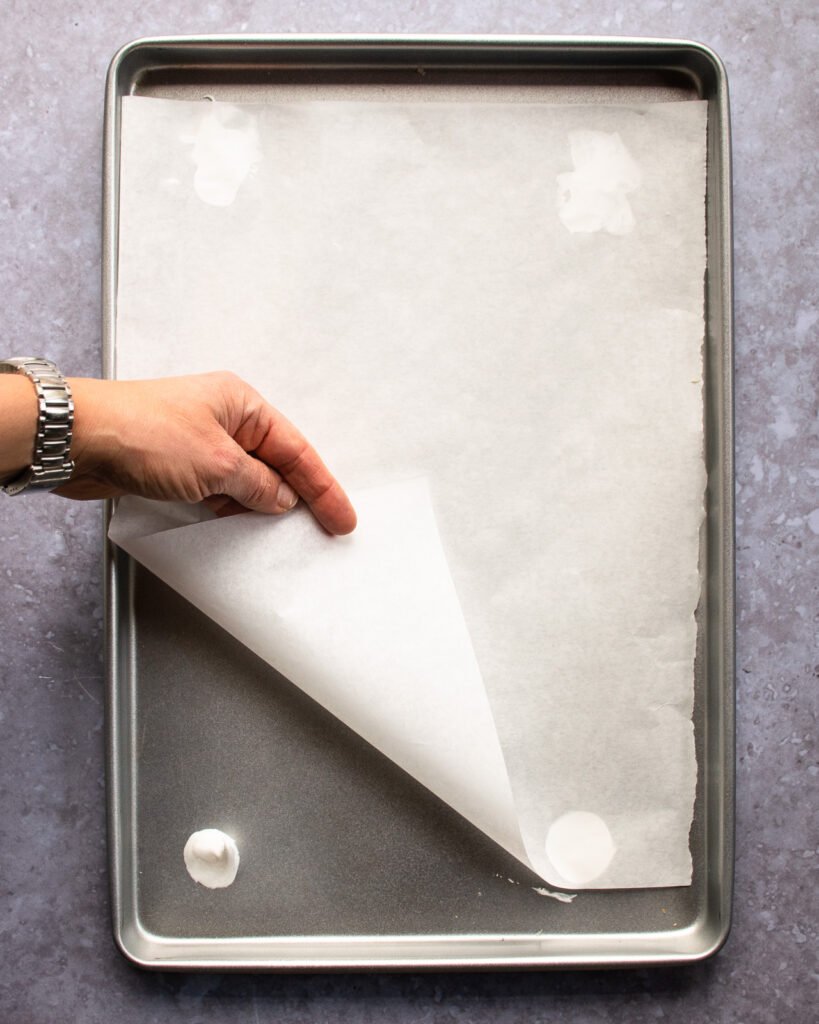
Pavlova Baking Tip
Using parchment paper on your baking sheet ensures that you will be able to remove your pavlovas from the sheet easily, but parchment paper can shift around as you spoon the sticky meringue onto the pan. Here’s a tip that will save you a lot of grief: dollop four blobs of meringue onto the corners of the baking sheet and use it as glue for your parchment paper.
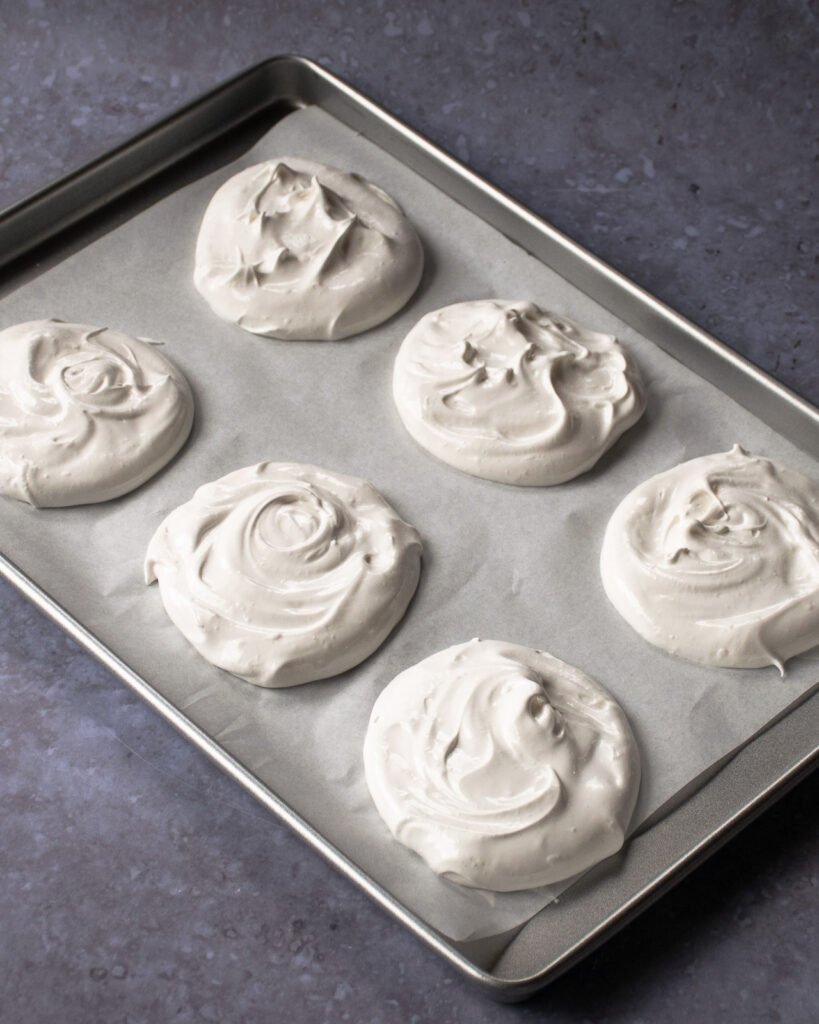
Mini Pavlovas
Usually you bake a pavlova in one large circle, but for these mini lemon pavlova clouds you’ll divide the meringue into six. Divide the batter onto the baking sheet first and then swirl each meringue around in a whimsical manner, making each one into a circle.
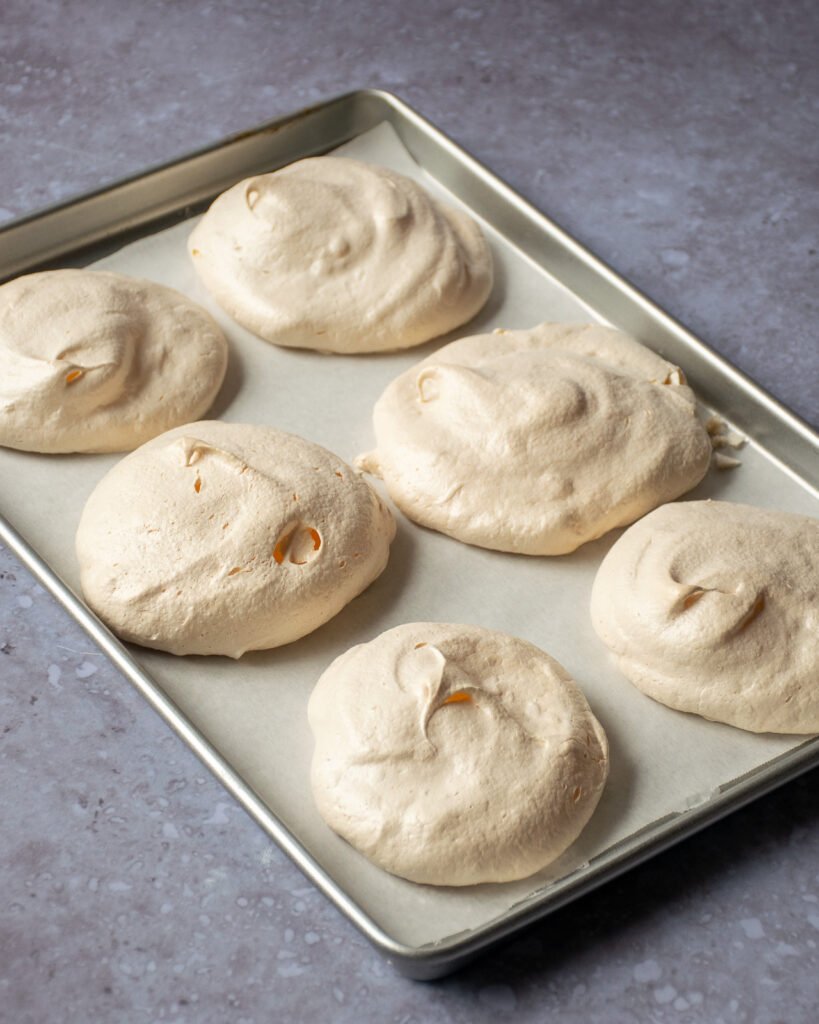
Cooking Time for Pavlova
These mini pavlovas will take a total of one hour to bake in the oven, but it’s important to pay attention to the oven temperature. Pavlovas like a good hot oven at the on-set of baking and then a lower temperature to bake through without browning too much. So, pre-heat the oven to 350ºF and then lower the temperature immediately to 275ºF for the first 30 minutes. For the second half of baking, turn the oven off completely but leave the pavlovas inside. Letting them sit inside the turned off oven lets the pavlovas cool more gradually and helps prevent cracking.
Homemade Whipped Cream
The next component in these mini lemon pavlova clouds is the whipped cream. To me, “homemade whipped cream” is a redundant term. There is only homemade whipped cream. Buy heavy cream and whip it. Period. In many instances, people sweeten whipped cream, but I don’t recommend that for pavlova desserts. The meringue is already sugary and the lemon curd is very sweet. The whipped cream just needs to be whipped to soft peak stage as is. Easy peasy.
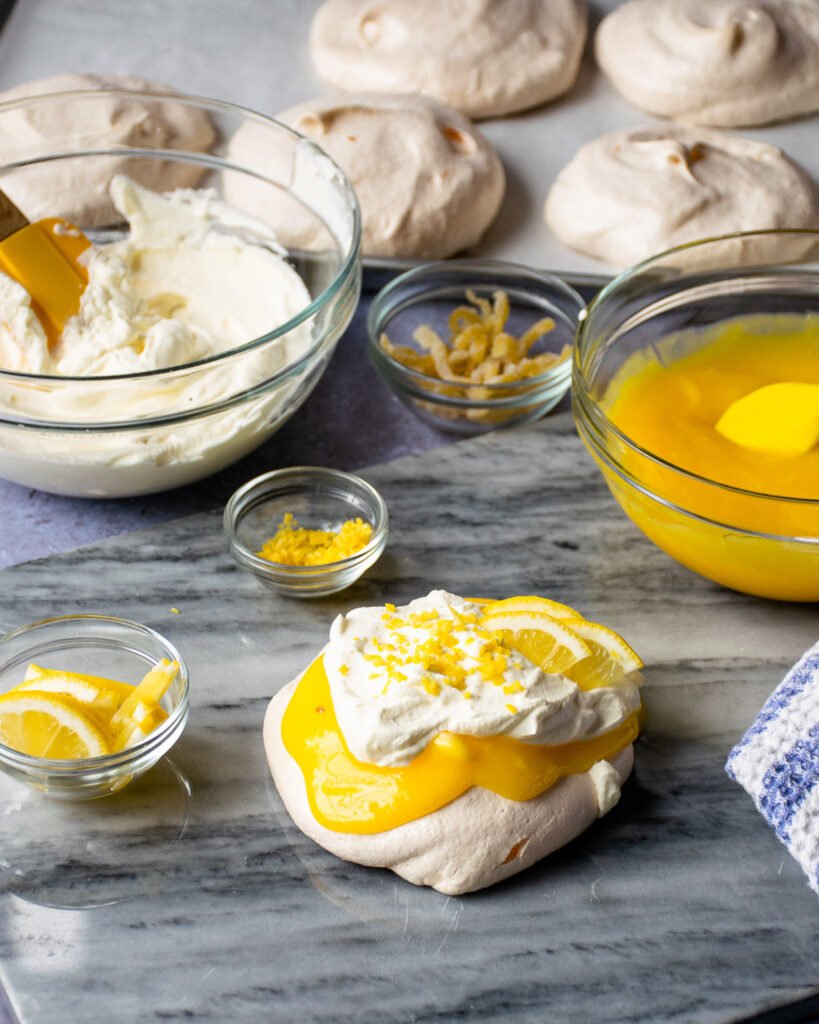
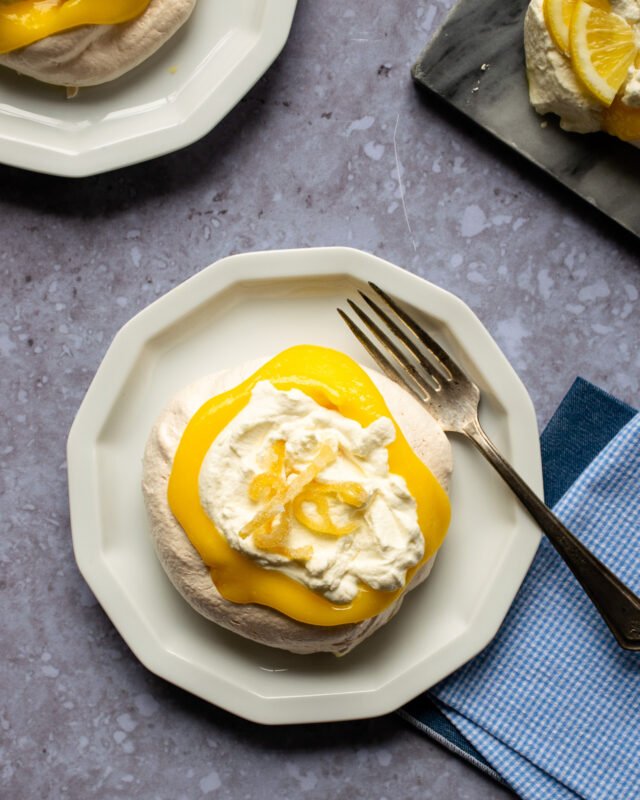
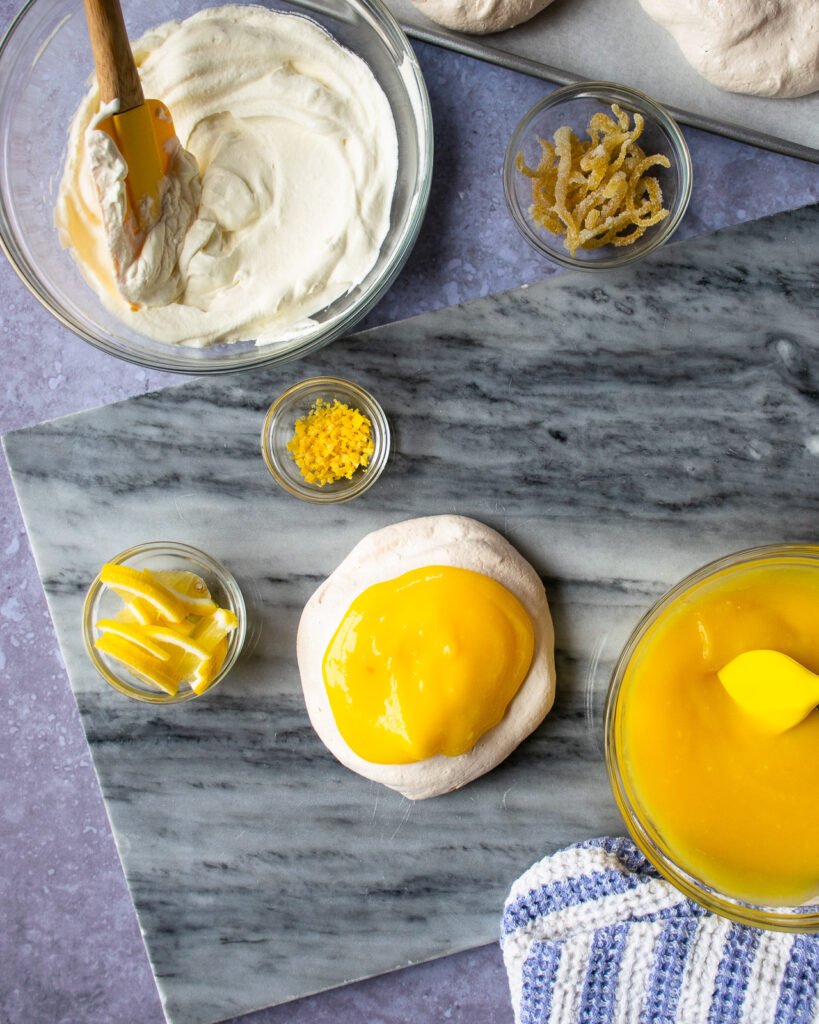
Assemble the Pavlovas
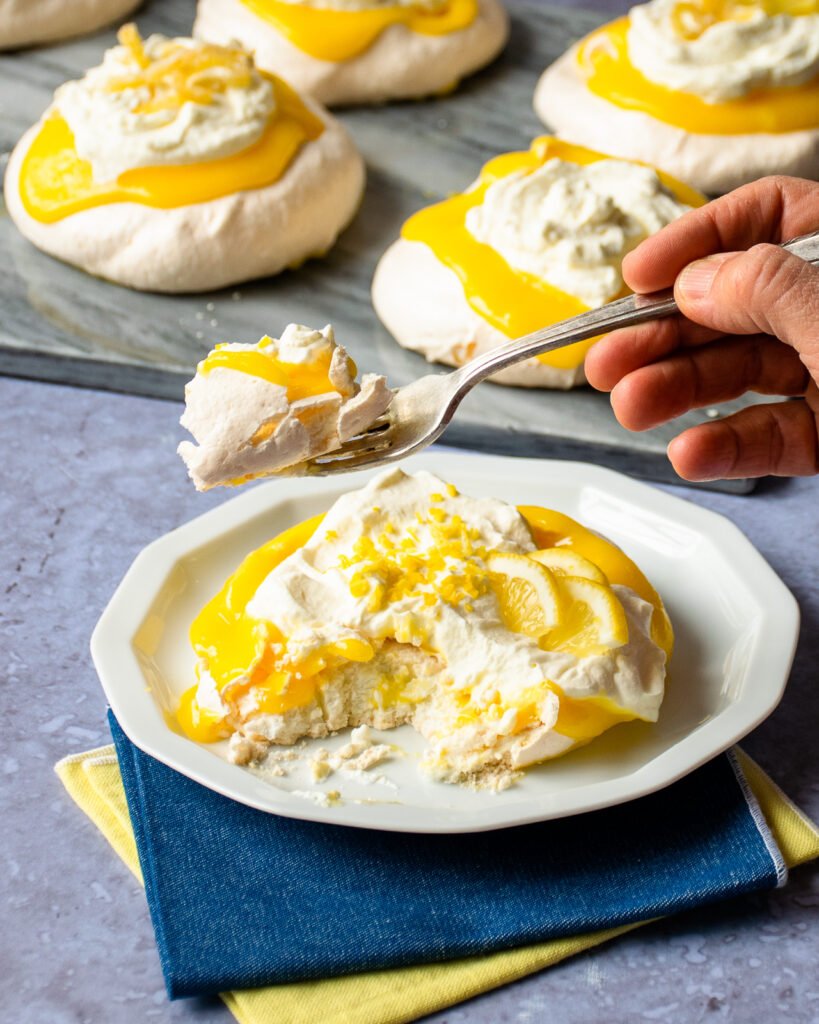
You can prepare or make all of the components ahead of time, but the final assembly of the mini lemon pavlova clouds needs to be at the last minute. The good news is that it takes no time at all. Start by spooning a little lemon curd onto the pavlovas. Top with a couple spoons of whipped cream and garnish with the lemon zest, lemon slices or candied lemon peel. Then serve and impress.
Other Pavlovas
If you enjoy making pavlovas (as I do) and are interested in other flavors, check out my Pistachio Pavlova with Strawberries or the classic Chocolate Eton Mess that layers chocolate pavlova with cream, raspberries and chocolate flakes.