The Perfect Hamburger Bun
Not every burger is perfect. In fact, not every burger is even very good. Burgers tend to be one of those meals that are so common to all of us, that often the details get overlooked and you just make a burger. I’m here to tell you that you can take your average burger, pay attention to the details and make that burger great. After building the burger patty – either with the traditional method or the smash burger method – the most important part of a burger is the bun, and there’s nothing better than homemade soft hamburger buns.
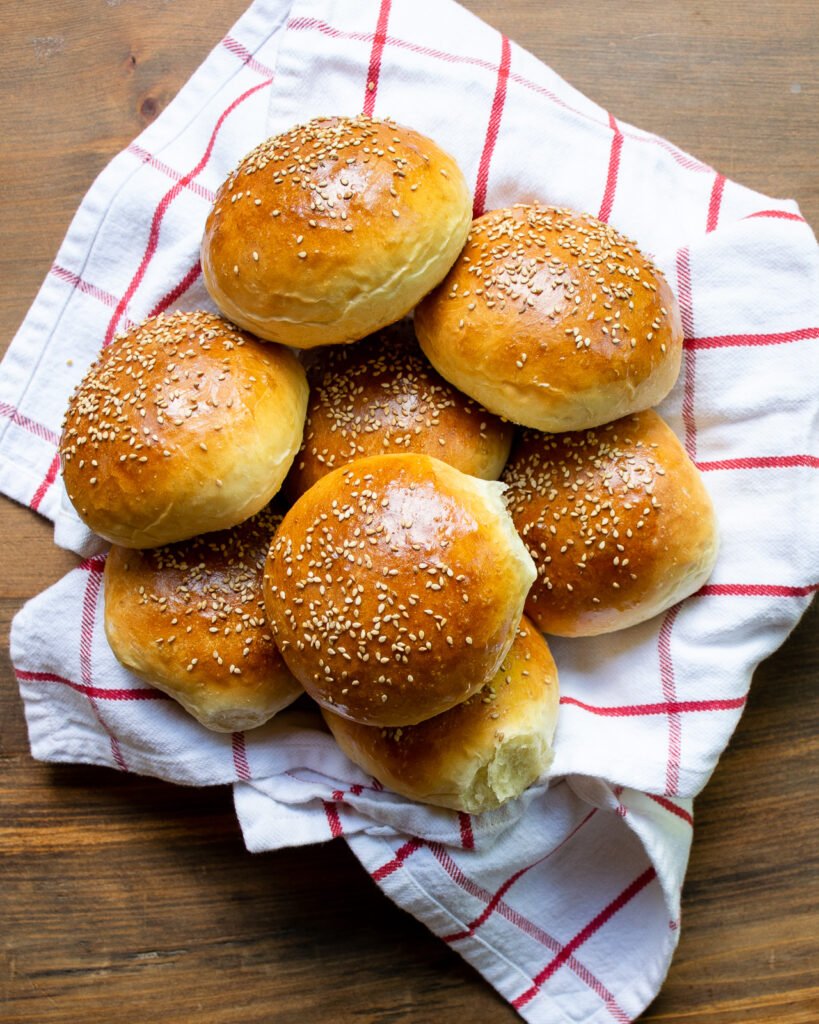
Brioche-Like Burger Buns
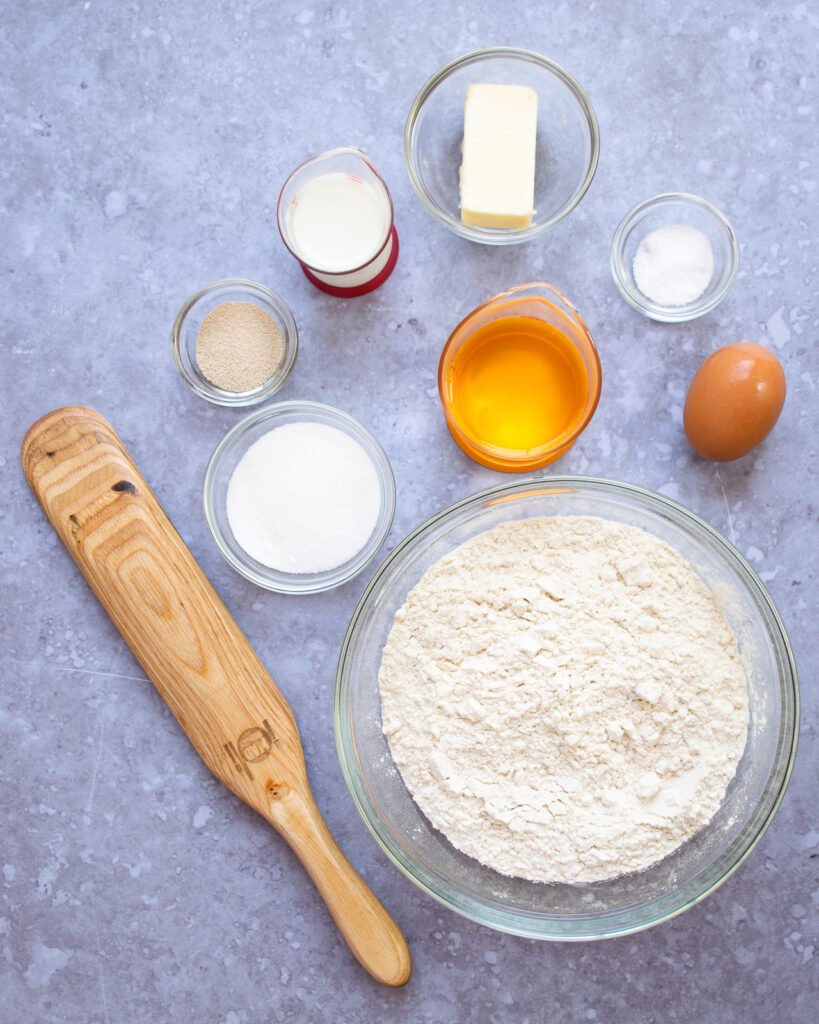
It may seem over-the-top to make your own hamburger buns, but it’s not difficult and they do make such a difference to that final delicious sandwich. The perfect hamburger bun has an even crumb so that you can toast it evenly and add nice even spread of your favorite condiments. It should also be soft enough to bite into so you don’t tear or tug at that burger. Finally, it needs to be delicious all on its own. These homemade buns have all three qualities because of the addition of butter, egg and milk. They are somewhat similar to a brioche dough, but without nearly as much fat.
How to Make Homemade Soft Hamburger Buns
Making these homemade soft hamburger buns basically entails stirring the ingredients together in a bowl, kneading the dough a little and letting it rise before shaping and baking. You will notice that this recipe calls for instant yeast (or fast-acting yeast), as opposed to active dry yeast. Instant yeast is a more concentrated form of yeast that is milled into smaller granules. It’s easier to use than active dry yeast because it can be mixed right into dry ingredients, rather than having to proof the yeast in liquid before adding other ingredients. If active dry yeast is what you have, then not to worry – you can still use it. Just increase the quantity to 1 tablespoon OR let the dough rise for a little longer than you would otherwise. You can ready all about how to convert different types of yeast here.
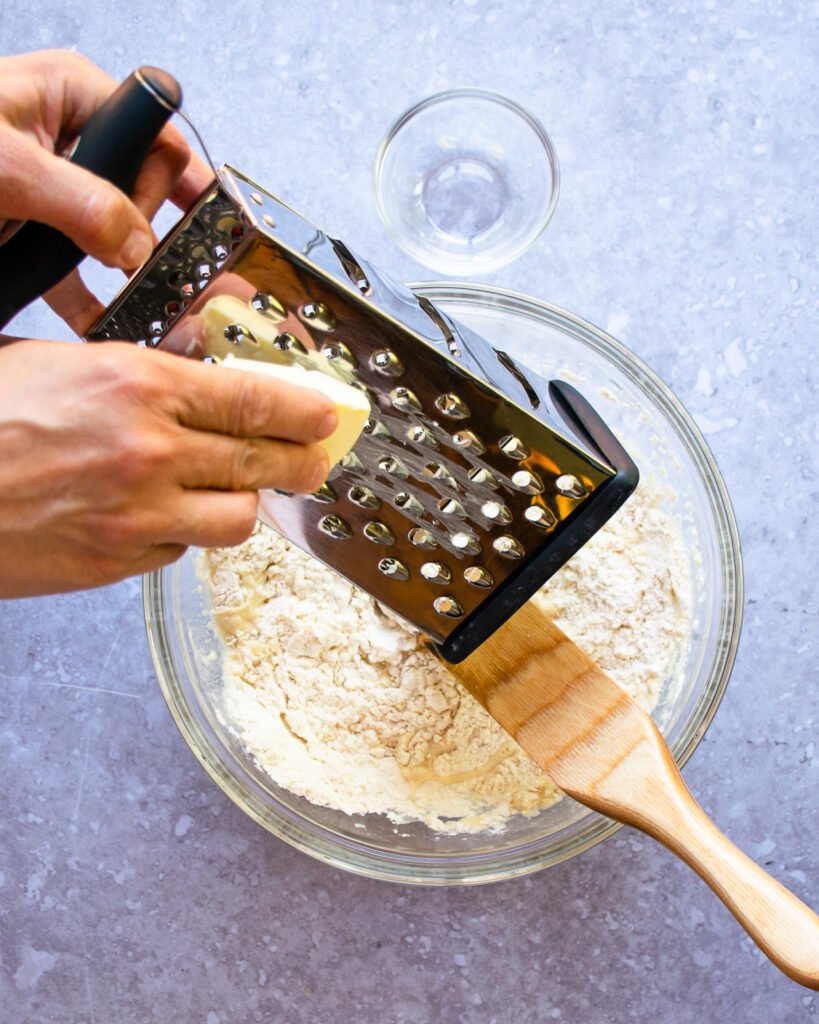
Grating in Butter
If you’re using a stand mixer to mix your dough, cut the butter into tiny chunks and just throw it in a little at a time as the dough hook turns. If you’re making this dough by hand, freeze the butter for 10 minutes or so and then grate it into your flour mixture. This creates chunks of butter that are the perfect size and they will disappear into the dough as you knead.

Kneading Dough by Hand
Mixing and kneading the dough by hand is not really a big deal, unless you have dexterity issues. Start by folding the dough over on itself in a bowl, picking up all traces of dry flour. Then tip it out onto the counter with a little flour and push the dough away from you with the heel of your hand, fold the far end towards you over on itself, give the dough a quarter turn and repeat. Continue to knead until the dough is soft and smooth.
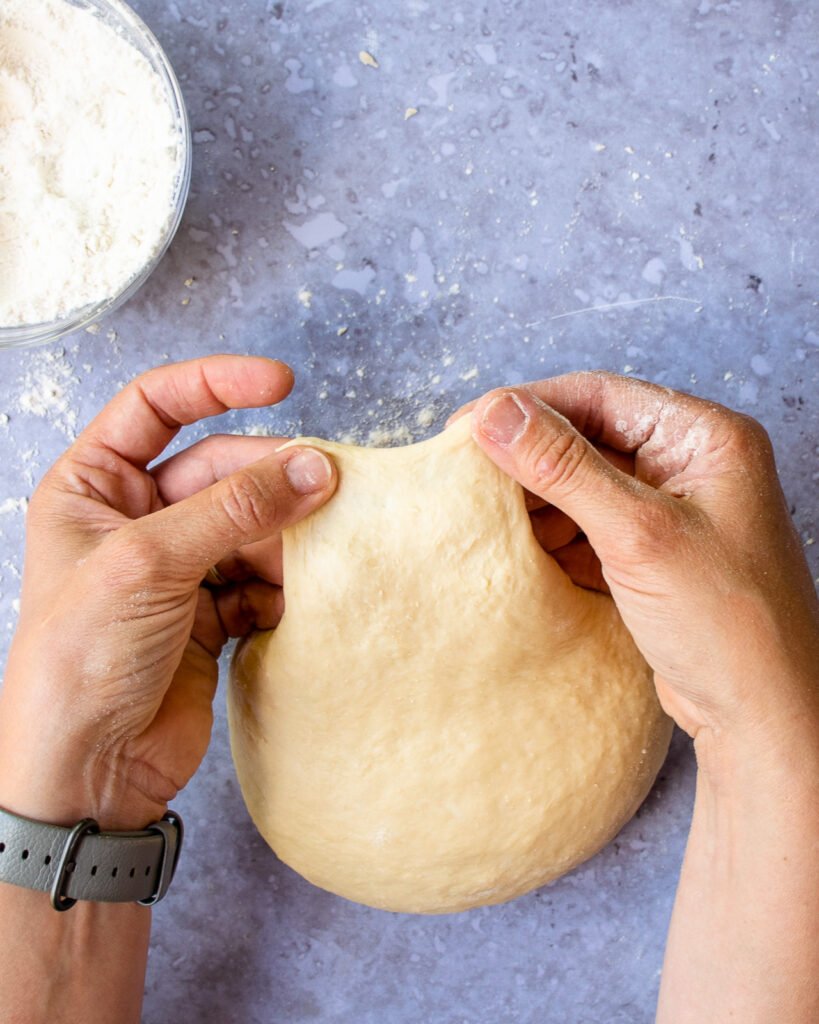
How to Tell if you’ve Kneaded Enough
You’ll know when the dough has been kneaded enough by stretching a small piece of the dough with your fingers. If it rips, it needs more kneading. Once you can stretch it apart without it tearing, you’re ready to let the dough rise.
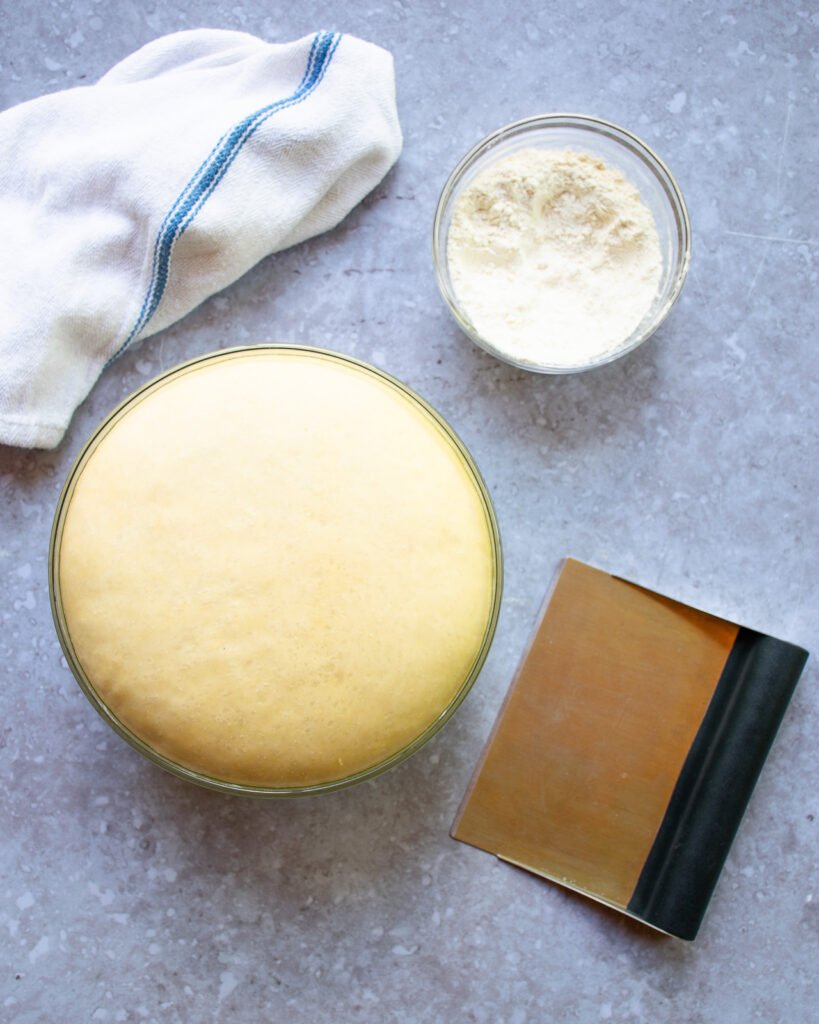
First Rise
The first rise should take 1½ to 2 hours, but it really depends on your room environment – the warmer the room, the faster the dough will rise. Instead of timing the dough, judge the timing by how the dough looks. Once the dough has doubled in bulk, it’s ready to be divided and shaped.
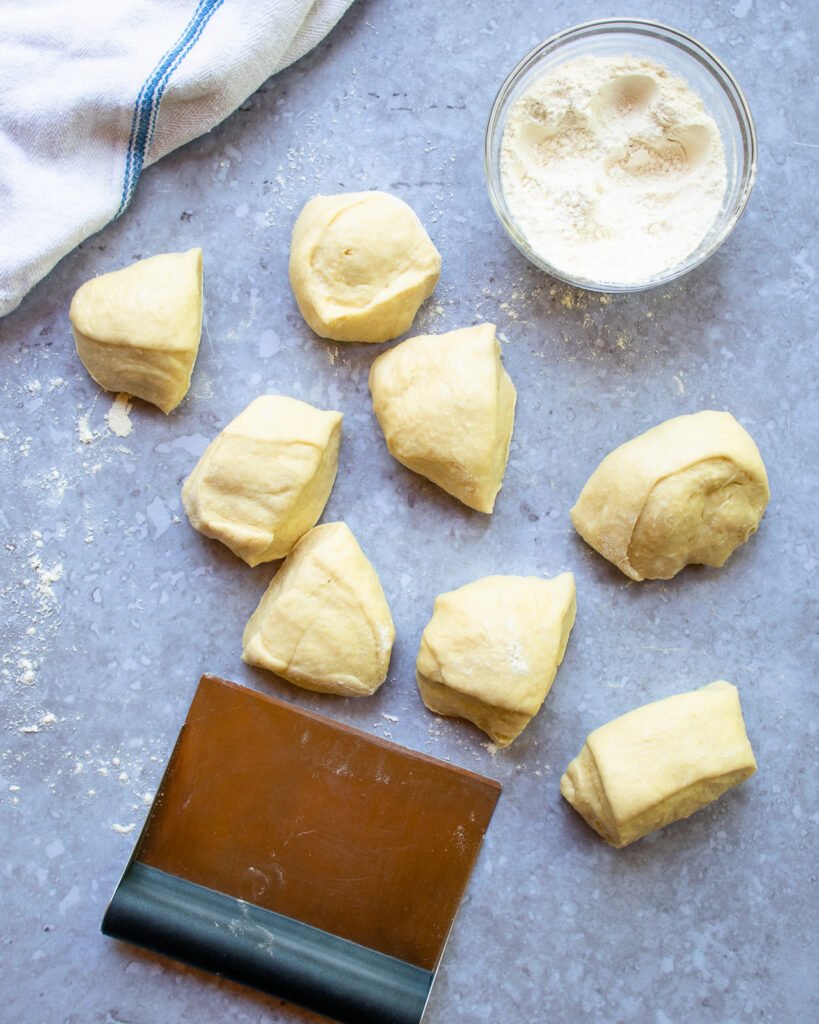
How to Adjust Size of Buns
Cutting the dough into 8 portions will give you buns that fit a burger perfectly, but you may choose to make these buns smaller depending on how you are going to use them. If you’re making sliders, for example, you’ll want to divide the dough into 24 little portions and bake for a shorter period of time – about 12 to 15 minutes in the oven. Once the dough portions have been cut, tuck all the cut sides of the dough underneath, leaving a smooth surface on top. Place the dough on the counter and cup your hand over it. Move your cupped hand with the dough inside in a circle on the countertop to seal the loose ends on the underside. Place each ball on a greased baking sheet and press it down to flatten it a little.
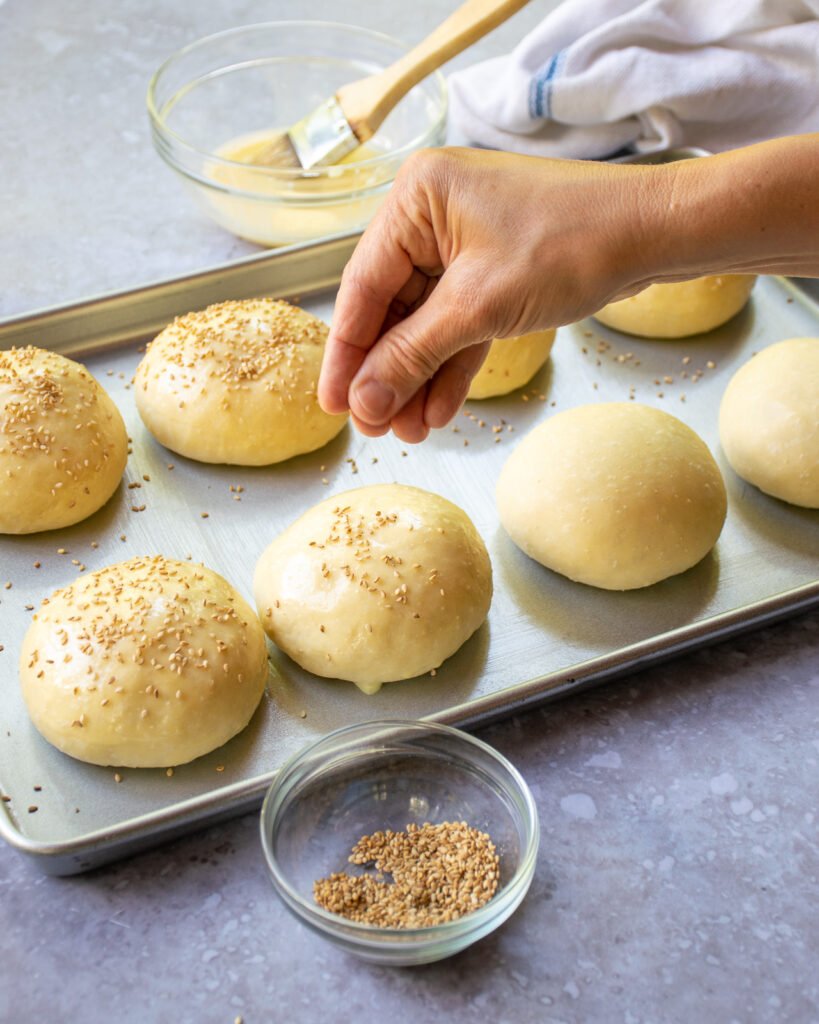
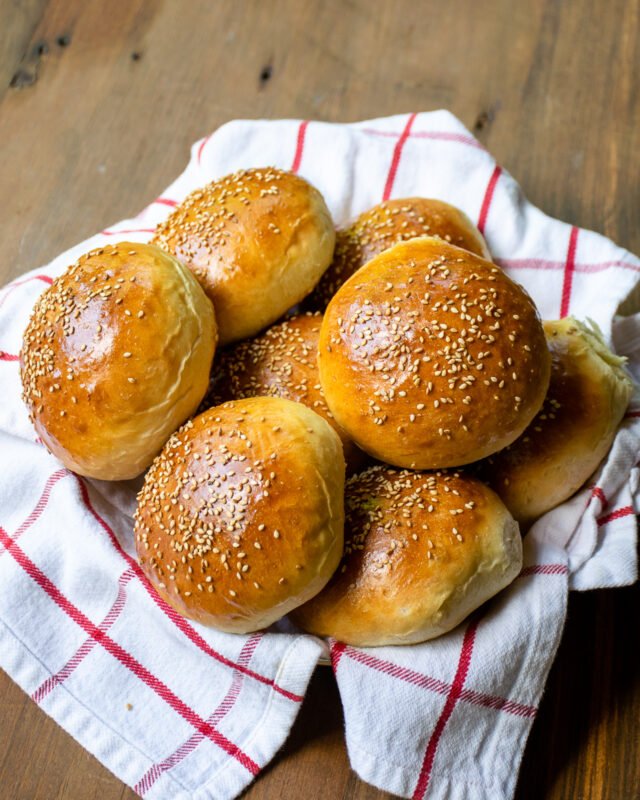
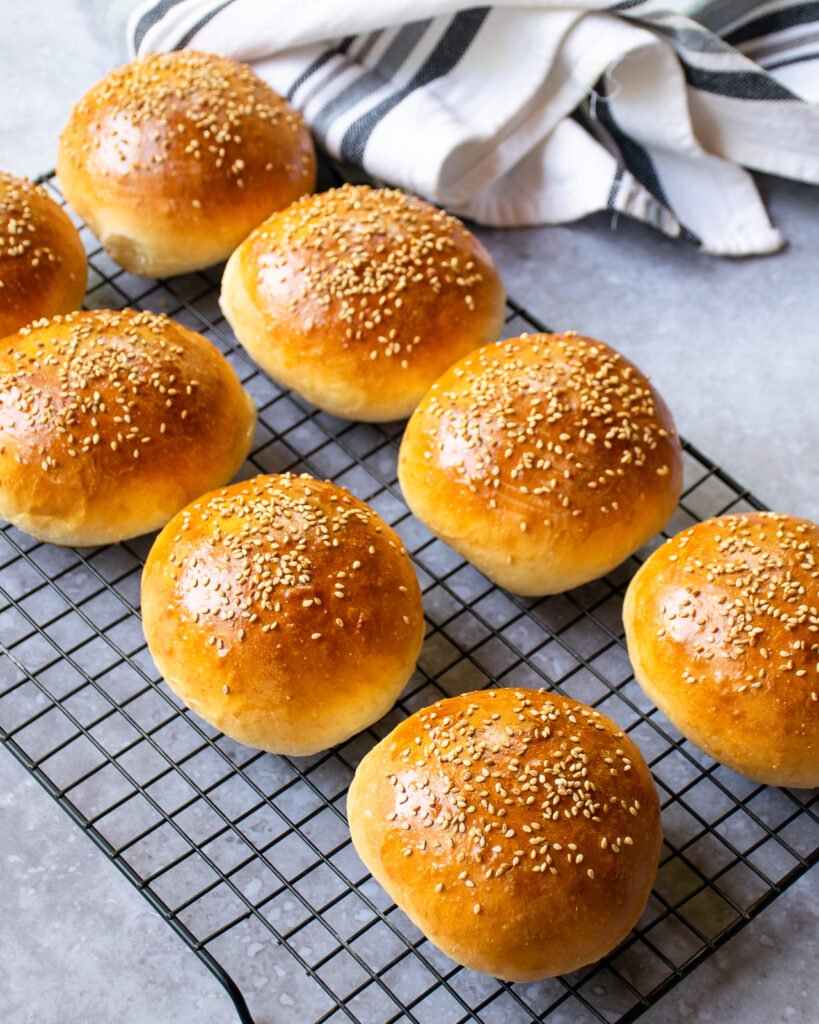
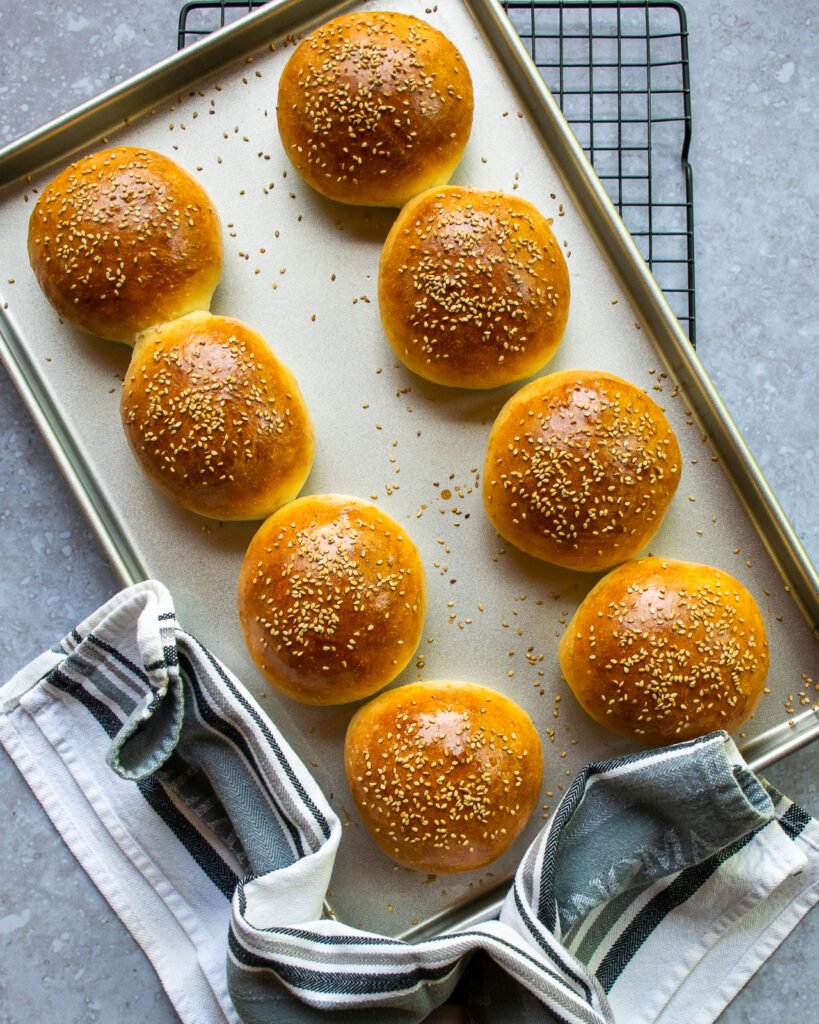
Sesame Seed Hamburger Buns
The classic burger bun has sesame seeds on top, but that’s entirely up to you. Maybe you’ve never liked those sesame seeds, in which case, leave them off. These are just as delicious with or without the sesame seeds. What is important, however is the egg and milk wash that goes on top. This is what will give you the dark brown shiny color that makes these buns look bakery-shop perfect.
How to Store
Of course, there’s nothing like enjoying a homemade soft hamburger bun on the day it is made, but unless you’re making 8 burgers you’ll have some leftovers. You can store these in an airtight bag at room temperature over night or in the refrigerator for up to a week. You can also freeze the buns for up to 3 months, which means you’ll have a homemade burger bun any time you like! You never know when you might need the perfect burger bun, after all.


These were easy to make and delicious! Thank you!
I made this recipe to the letter and these Hamburger Buns were Delicious! I had not ever made Homemade Hamburger buns but my Mama used our make them when we were children, mostly out of necessity. They brought back wonderful memories and were perfect with our pulled pork!
Amazing spot on recipe!
The buns just came out of the oven and they are beautiful. We will be eating them tonight. I have been making other quick buns and other bread for a very long time and always looking for new recipes. I came upon your web cite by chance and so glad I did. The dough was so easy to handle. I lightly buttered the counter to cut the dough and form the buns and that works perfectly without any additional flour. Looking forward to trying your other recipes. Don’t have the shallots but I will be trying that recipe next time.
So glad you liked it, Ettie, and welcome to the BJC website!
Easy to follow. Tasty.
I totally made the hamburger buns today oct 2,2020. Exclude the sesame seeds wish I could post my pic of the buns
This was my first attempt making my own buns. Wow! Amazing! The recipe is so thorough and easy to follow. Made them the old fashion way without a stand mixer and loved the entire experience! Everyone enjoyed the buns! Thank you for the great recipe!
My dough consistency was perfect, thanks to the spot-on recipe ingredients and measurements. 🙂 I always appreciate your attention to detail, Meredith! It makes all the difference. The flavor of the buns is really, really good. They are beautiful and delicious. With some of my leftover buns, I’m going to split them apart, use a garlic butter spread, then top with shredded mozz and pop them into the toaster oven for a bit, to go along with a pasta meal later this week. The bun recipe is so easy, especially with the help of my KitchenAid stand mixer. Anyone can make these.
Awesome buns. I also want to thank you Meredith for putting in the time in the stand mixer. It seems that no one ever puts how much time in the stand mixer and for novices like myself, that’s a problem. So thank you for doing that and I hope you will continue to do it and other recipes.
I have now made these rolls a couple of times! Delicious! I used my bread machine to make the dough. Just add the ingredients as you normally would do for your machine. I weighed the dough, 85g, for a slightly smaller hamburger roll. Placed them on lightly buttered parchment paper and let them rise for an hour and baked. I am getting better at forming them into a ball! They smell so good!
Thank you so much for this easy recipe. I too had never made hamburger buns. Hubby was not liking the ones that I had tried from the store. Geronimo…. He liked them and said…….now thats a winner!! So easy to make using the mixer and turned out perfect. I did bake them in my toaster oven at 370 degrees and they came out great. Keep up the great work Meredith and thank you for what you are doing to help us all.
I first made these buns at the start of the pandemic. I’m not a baker but I thought nows the time to start a new hobby. I was amazed at how easy the recipe was to follow and how great they came out. I have made them regularly since and they are now a family favorite. Thank you, Meredith!
Thank you Meredith!!! Oh my! These turned out sooooo good! I love your recipe! I will be doing these again!!!
I really look forward to your recipes because you make it easy to understand and make me feel like I can do it!! Thank you!!
Only make your recipes
They are easy , nutritious , and interesting. Thank you
My son-in-law loved these buns, but asked if they could be made into dinner rolls for Thanksgiving. If so, what changes need to be made?
You can keep the recipe the same, just roll the dough into smaller balls for dinner sized rolls. You could also check out Meredith’s recipe for Sheet Pan Dinner Rolls. https://bluejeanchef.com/recipes/sheet-pan-dinner-rolls/
Oh. My. Goodness. I have been looking for a recipe similar to this for at least seven years. You knocked it out of the park!
First of all thank you, thank you for sharing this awesome recipe, I made the buns and it came out beautifully. The second time I attempted a loaf of bread and my family loved it. I will be using this recipe every time I make bread and buns.
I have 12 grandkids, and they (and their parents) all give these buns an A+ ! Whether it’s BBQ pulled pork or a big, juicy burger, these get thumbs up from the entire family.
I have made this recipe twice and it was delicious both times! Thank you for sharing it!
I make these buns at least twice a month. We and our grandkids love them for burgers, sloppy Joe’s, and pulled pork sandwiches. And if there are (rarely) 1 or 2 left after dinner, I love to lightly toast them and use for egg & bacon sandwiches, or spread with crunchy peanut for breakfast!
Can this recipe be made with einkorn flour?
Hi Mary,
I haven’t tested the recipe using einkorn flour, but you could give it a try if you would like to. When substituting einkorn flour for all-purpose flour, you need to add an extra ¼ cup of einkorn flour for every cup of AP flour. So, for this recipe, you would need to test it with 4-¼ cups of Einkorn, adding a little more as needed to absorb the liquid. As I mentioned, I haven’t tested the recipe with einkorn, but that would be my starting point.
Good luck!
ML
Omg! Thank you! I was just looking for a recipe for these! I didn’t try them yet but certainly will this weekend!
YUM!!! don’t know how to a photo in here.
Perfect all three times. Now my go to recipe. Thank you!