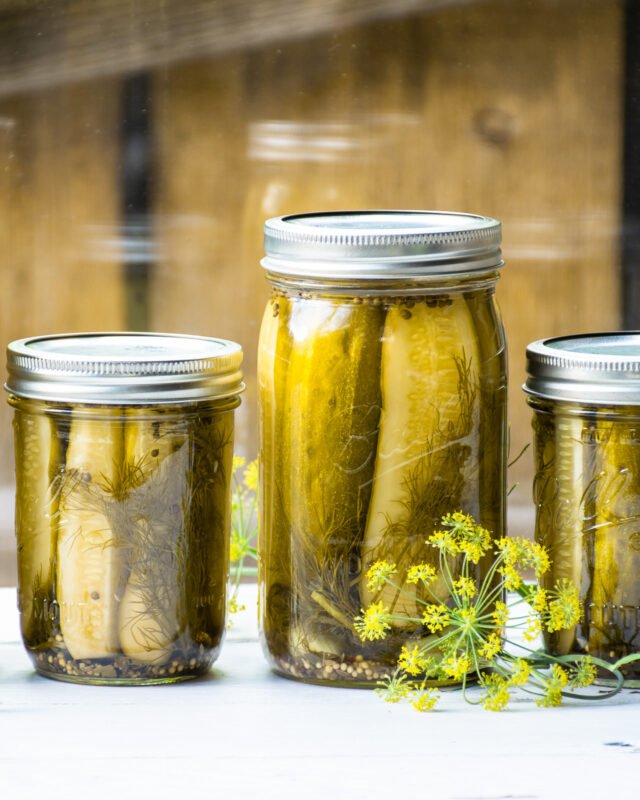
How to Make Dill Pickles
Making your own homemade dill pickles is not difficult. In fact, you might be surprised at just how easy it is. So easy that you might even be a little disappointed that you haven’t done it before. All you need are cucumbers (the right kind), some pickle brine (made with your homemade pickle spice), some garlic and dill (totally optional) and some canning jars.
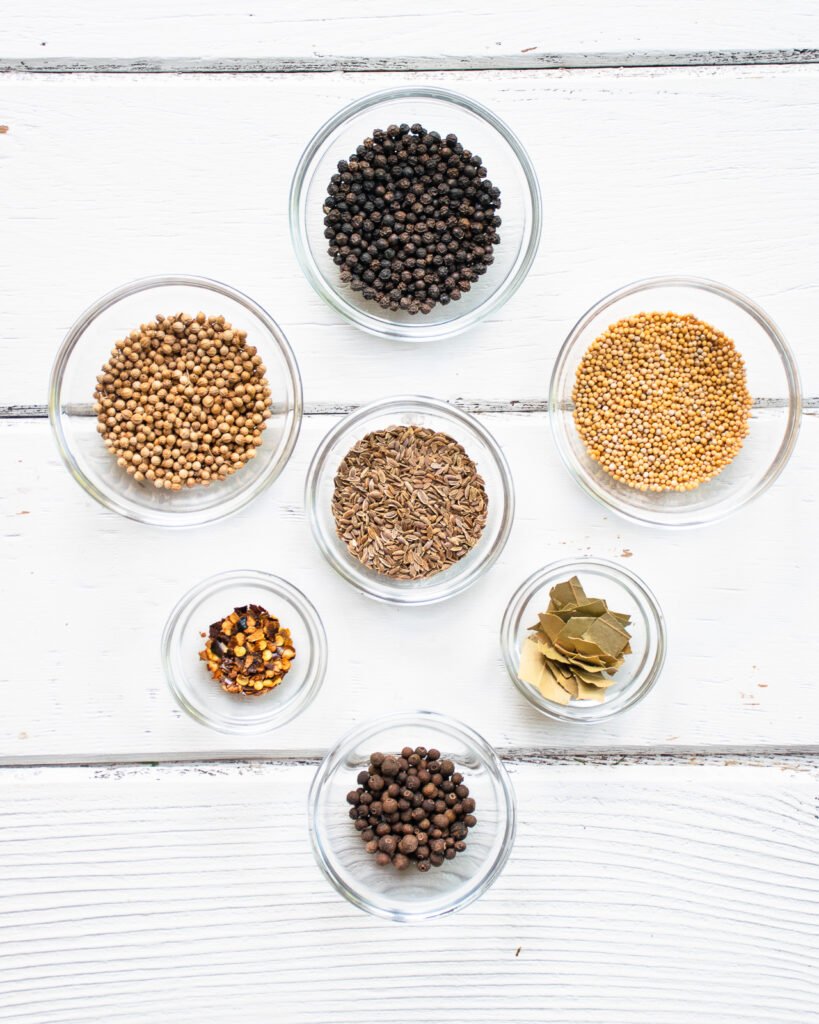
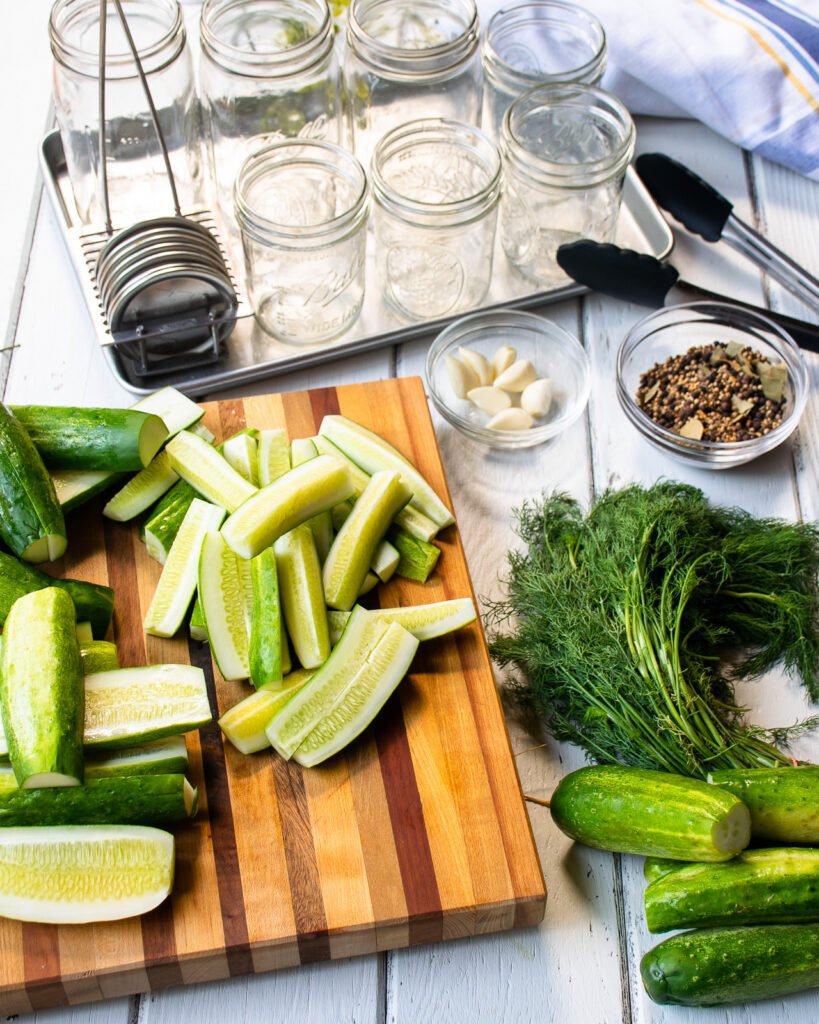
Pickling Spice Blend
Whenever you’re making pickles of any kind, the first step is to make your pickling spice blend. Here’s where you can make your personal mark on your pickles – by customizing your spice blend. The key to dill pickles, of course, is to make sure you have dill seed in your spice blend because that is where all the dill flavor comes from. Now I’m sure you’ve heard it before, but I’ll say it again – make sure your spices are relatively fresh. We all keep our spices for longer than is ideal, but fresh spices will impart more flavor. No-one likes to throw out food, so buy your spices in smaller quantities more often and try to use fresh spices for your pickles because this is one place where the spices really matter.
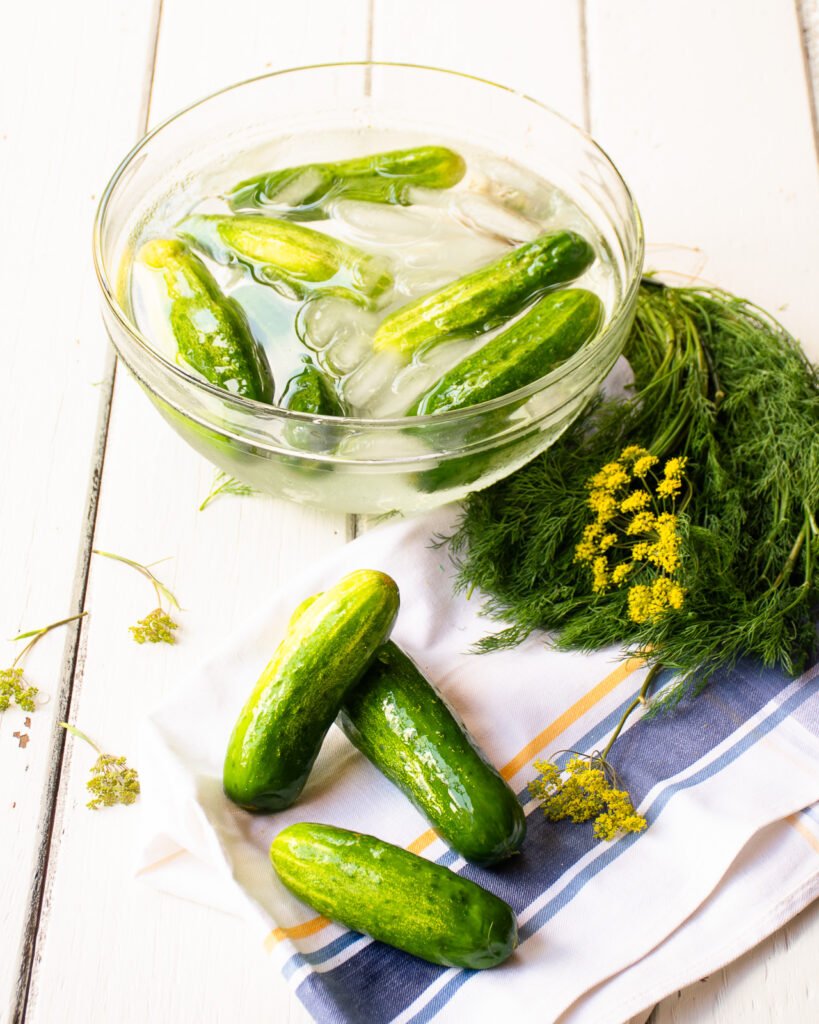
What Cucumbers to use for Dill Pickles
While you can pickle almost any vegetable, the best cucumbers to use for pickles are, no surprise, pickling cucumbers. You can read all about the different varieties of cucumbers here, but essentially when you are choosing a cucumber for dill pickles, you want a cucumber that has good flavor, few seeds and a skin that is not too bitter. The most common type of cucumber for this purpose are called Kirby or Liberty cucumbers. They are shorter, with a bumpy skin and have a nice crisp texture. Persian cucumbers will also work. Whichever you choose, pick cucumbers that feel firm, with no blemishes and no wax on the skin. Freshness is important with your cucumbers as well – the fresher the cucumber, the better the chances of making crisp pickles.
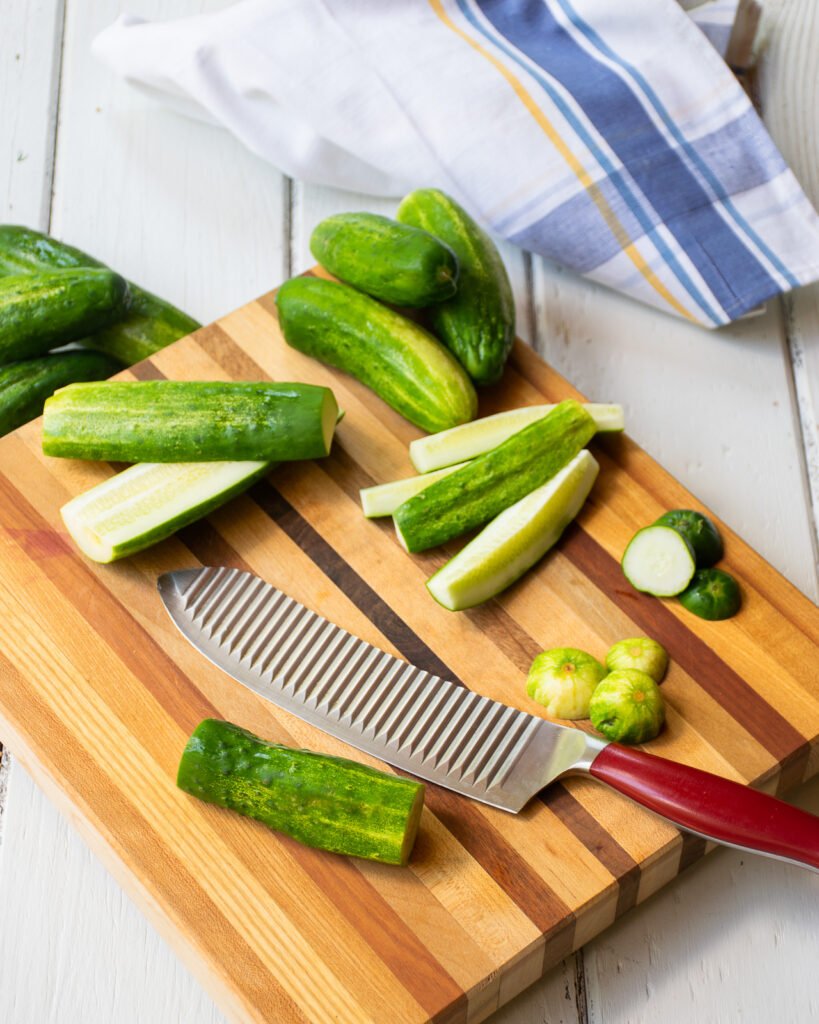
Trim the Blossom End (or both!)
Your cucumbers will require a little preparation before you turn them into pickles. The first step is to wash them well and then soak them in salted ice water for several hours. This draws the moisture out of the cucumber and helps it stay crispy – the same holds true for a cucumber salad. Remember to rinse the cucumbers after they have soaked. Another tip to help you keep your cucumbers crispy is to trim the blossom end of the cucumber. The blossom end contains an enzyme that softens the cucumber over time. If you don’t know which end is the blossom end (pictured next to the knife in the photo above), just trim both ends of the cucumber, giving it a more uniform look.
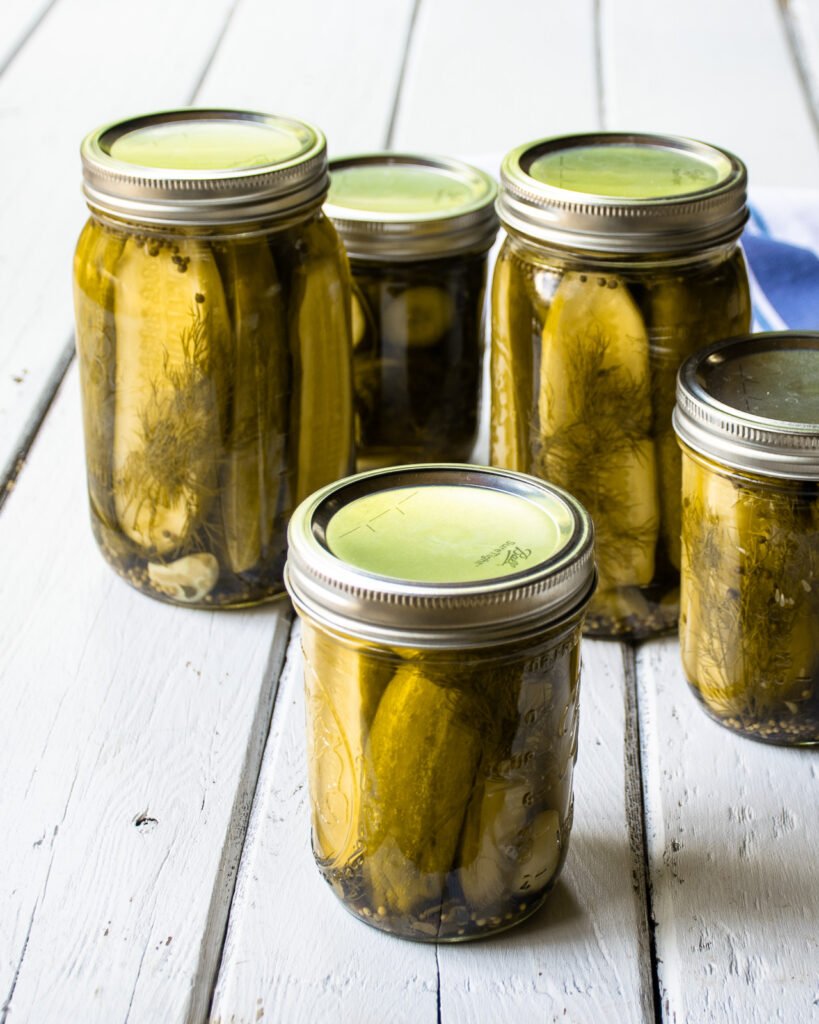
What Jars to Use
With your cucumbers prepped and your pickling spice blended, it’s time to fill your canning jars. This recipe will fill 8 pint-sized jars or 4 quart-sized jars, or a mix of the two. It is critically important, however, to make sure that those jars are completely clean and sanitized. You can do this by putting the jars and lids in a large pot of water and bringing the water to a boil for a minute, or by using the sanitize setting on your dishwasher. Let the jars and lids sit in the hot water or warm dishwasher until you are ready to pack the cucumbers into the jars. It’s also a good idea to sanitize any tools that you’ll be using to pack the jars – tongs, a funnel and of course, your hands.
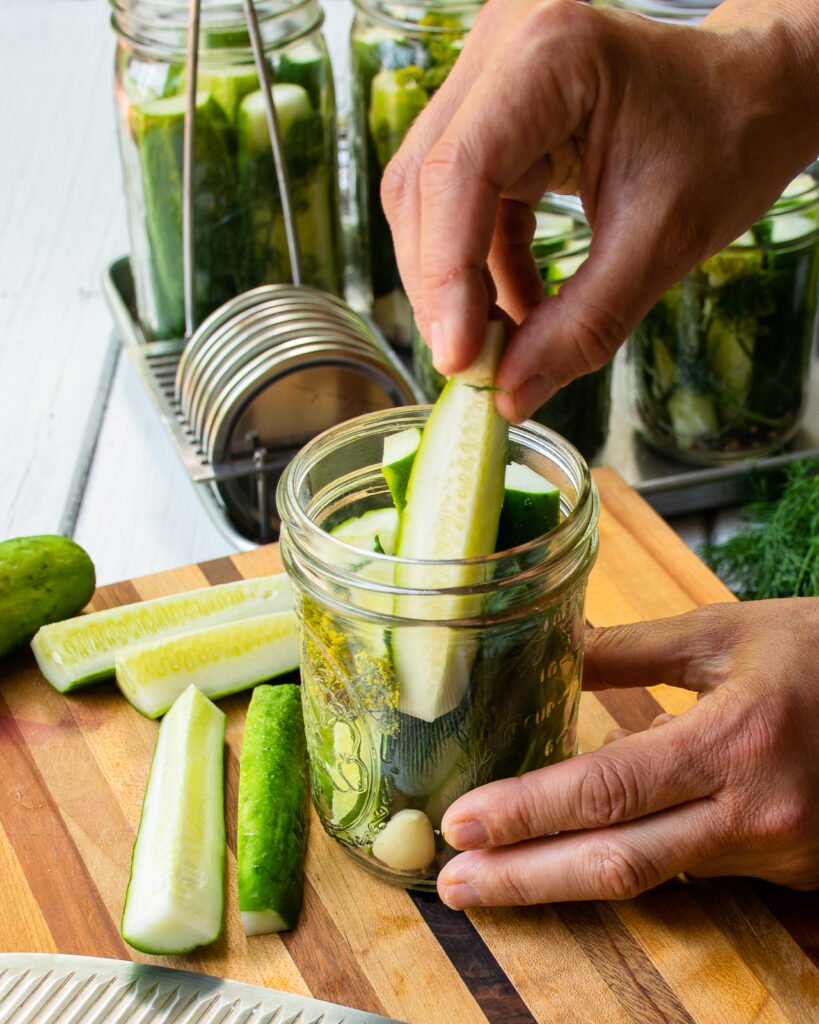
Packing the Jars
Once you have popped a clove of garlic, some pickling spice and perhaps a few sprigs of dill into the jars, pack the cucumber spears into the jars tightly. It can be like a game of Tetris to fit the cucumbers together as efficiently as possible, but more cucumbers means less brine per jar, which will save you having to make more brine.

Use Hot Pickle Brine
The brine is a quick fix – just bring the salt, sugar, vinegars and water to a boil. Pour the hot brine into the jars, making sure you cover the cucumbers completely but leave a little room at the top of the jar.
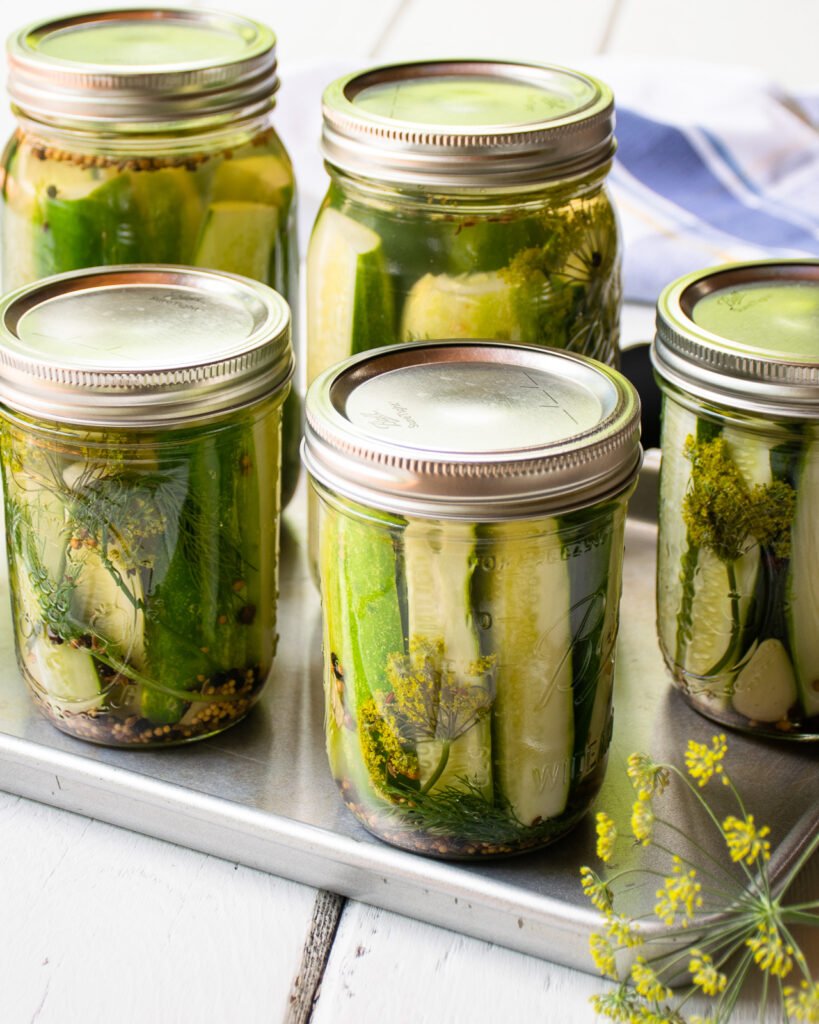
How Long will Dill Pickles Last?
You can stop at this point and keep your pickles in the refrigerator for several weeks or… you can keep on going and process the jars in a hot water bath, extending their shelf life to a year. The canning step is not difficult, although by processing the pickles you will cook them a little and they will be a little softer than if you just keep them as refrigerator pickles. If you’re up for canning… read on.
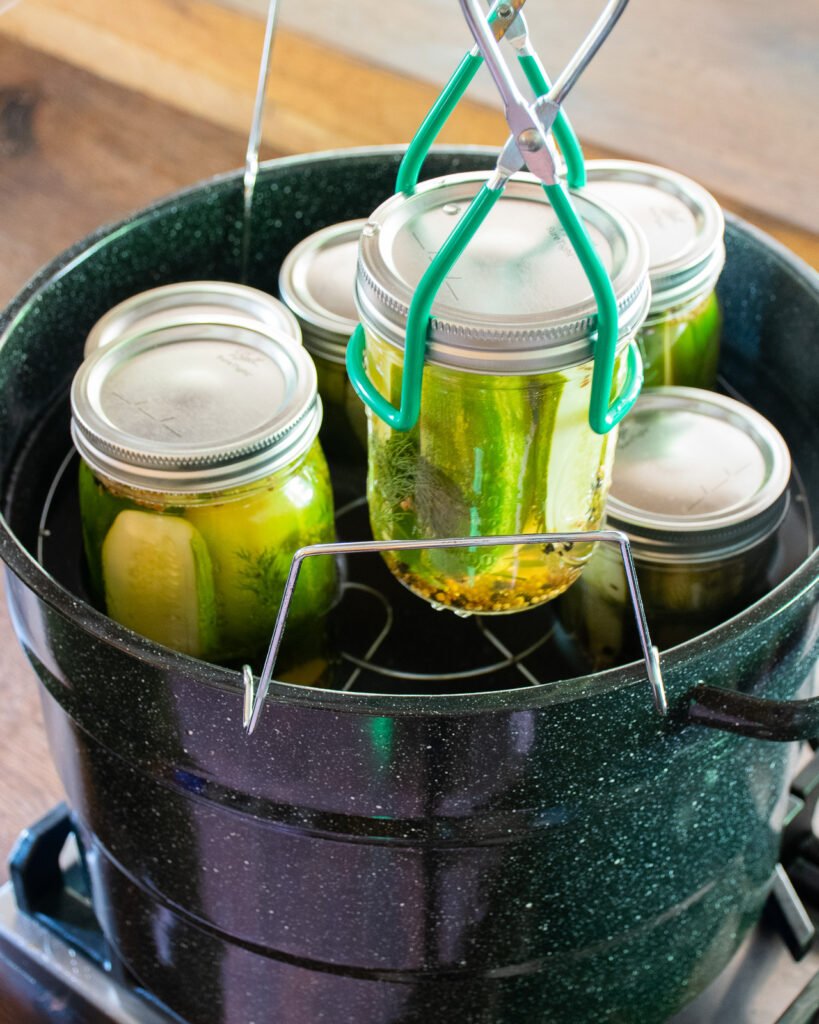
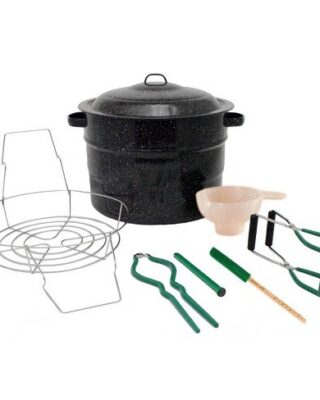
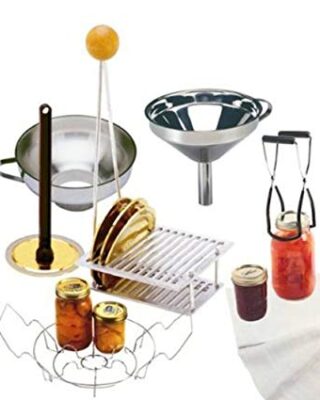
How to Can Dill Pickles
Canning anything is much easier if you have the right equipment. You’ll need a really large pot, a rack and some tongs at the very least, but if you plan on canning more than once, getting a canning kit makes the whole process very easy. Bring the very large pot of water to a boil and then lower the jars into the water. Knowing exactly how much water to bring to the boil can be tricky, since the jars will displace a lot of the water, but you need to have enough water to cover the jars completely. The easiest way to do this is to lower the jars into the water before you bring it to a boil. Add enough water to cover the jars by at least 1 inch and then remove the jars, turn on the heat and bring the water to a boil. Lowering the jars into the water after it boils helps minimize the time the pickles spend in the hot water and therefore minimizing how much they get “cooked”.
For quart jars, boil the pickles for 10 minutes and then leave the jars in the hot water for another 5 minutes before removing them to a towel-lined countertop to cool. For pint jars, boil the pickles for 10 minutes and then remove them right away. As the jars cool, the lids will “pop” and seal. If any jars lids to not seal properly (you’ll know because you’ll be able to press on the lid and make a popping sound with your finger), store them in the refrigerator. Otherwise, your canned pickles will last at room temperature for up to a year.
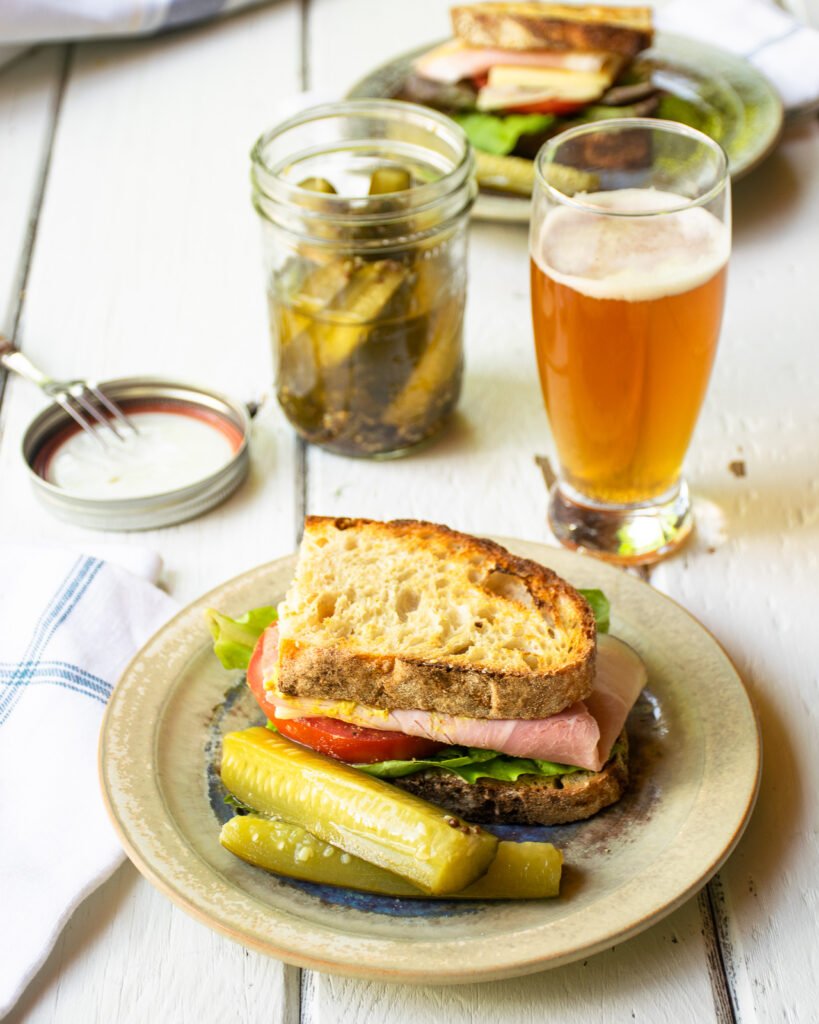
So You Have Pickles… Now What?
I doubt you need help knowing what to do with your new homemade dill pickles, but just in case you want ideas other than going alongside your favorite sandwich or burger… a little chopped up pickle is a nice addition to tuna salad and once you have finished the pickles, the brine is a perfect marinade for pickle-brined fried chicken. Of course, another nice thing to do with your homemade pickles is to give them away as gifts. Your friends will be impressed and everyone loves a homemade gift.
Once you’ve mastered your dill pickles, why not try their sweeter cousin (and my favorite), bread and butter pickles. They can be canned the same way.


Haven’t made pickles in years but this might change my mind.
This recipe looks fantastic! I’ve been looking for new ways to make pickles. Would this recipe work for other vegetables as well? Thank you for sharing!
Yes you can use the pickling spice and brine for other vegetables.
We used to canning pickles etc. Now we don’t down size our home to apt living and we miss a big garden . We don’t canning nothing any more we miss it but we wish we can but our health is not good any more .we wish we can get fresh veg s or homemade canning .jam or
Any kind we don’t drive have to give it up to paid other doc Bill’s we live in our need your easy recipe sound good have a good day
I only made a couple of jars so I didn’t put them in a water bath, only in the fridge like this says, but how long until I can eat them?
Hi Tiffani. You can keep the pickles in the fridge for 2 – 3 months, but they will lose their crunch a little over time.
Can you process the pickles in the InstaPot?
It is not recommended to can food in a pressure cooker or Instant Pot®. To ensure safe canning, it is best to process in a large pot of boiling water for 5 to 15 minutes depending on the type and size of the food you are preserving.
I’m new to canning. At the last minute I realized my pot wasn’t tall enough to cover my 2 quart jars by 1 inch of water. It came to the neck of the jars. I went ahead and finished the process. The lids have sealed. Will it be unsafe to eat these pickles?
The pickles are not unsafe to eat right after you’ve canned them this way, but they are not properly processed. The good news is that you can process them in the water bath again, making sure they are covered this time. If you don’t feel like doing that, I would keep the jars refrigerated and eat them within 3 to 4 weeks.
The recipe calls for the same measure of pickling salt or kosher salt. This will result in a salt concentration difference of about 30% from one to the other. Best list this ingredient by weight.
Kosher salt granules are larger than pickling salt, so you can add an additional 1 tablespoon of kosher salt to the brine.
How long do you suggest letting the pickles sit before enjoying?
It is best to wait at least 3 weeks before enjoying your pickles.