General Tips For Pressure Cooking
Below are lots of tips for pressure cooking, but the NUMBER ONE question I get from folks is “why is there steam escaping from around the lid and what can I do?” or “why won’t my pressure cooker come to pressure?” Here’s the answer, but scroll down for more tips and tricks.
ANSWER: If you find that steam is escaping from around the rim of your pressure cooker, or through the pressure release valve, check that the valve is closed and give the lid a firm push down. Pushing down on the lid helps the gasket form a seal around the rim of the pressure cooker and the cooker should almost immediately stop releasing steam and come to pressure. I do this almost every time I use a pressure cooker to ensure accurate timing of the recipe. Once the machine has come to pressure, I walk away and let it do the rest of the work.
Preparing to pressure cook
- Tip 1: Always use at least one to one and a half cups of liquid (or the minimum amount of liquid suggested by your pressure cooker manufacturer). Unfortunately, this does NOT include canned tomatoes or prepared sauces like BBQ sauce. The liquid required needs to be watery, like juice, wine, stock, or water.
- Tip 2: Never fill your pressure cooker more than two-thirds full.
- Tip 3: For ingredients that foam or expand in the pressure cooker – like pasta, beans, grains, legumes and some fruit – be sure to only fill the cooker half full. It is also prudent to add a little oil to the cooker when cooking these ingredients to help prevent foaming.
- Tip 4: Check the gasket of your pressure cooker before each use, to make sure that it is clean and properly in place. The gasket can hold on to odors from cooking. Try washing it in a vinegar-water solution to keep it odor free.
- Tip 5: If you’re in a rush and you still want to brown the meat before pressure-cooking, double up and use a second skillet on the stovetop as well as the pressure cooker to sear the meat. You’ll get twice as much meat browned in the same amount of time.
- Tip 6: If your cooker does not have a specific “brown” setting, just turn the cooker on and do not cover with the lid. The element at the bottom of the cooker will engage and heat up and you’ll be able to brown right in the cooker.
Setting and building the pressure
- Tip 1: 95% of all pressure cooker recipes call for HIGH pressure. If your pressure cooker doesn’t have low-medium-high settings for pressure, you probably only have the high setting. Because so many cookers only have the high setting, you’ll find all the recipes in this book use high pressure.
- Tip 2: Some pressure cookers use the metric measure of kilopascals (kPa) as the unit of pressure, rather than pounds per square inch (psi). HIGH pressure is usually 12 to 15 psi, which would be roughly 80 to 100 kPa. To convert from kPa to psi, multiply the number of kPa by 0.15.
- Tip 3: Remember that it takes time for the pressure cooker to build the pressure inside. Depending on what and how much food you are cooking, that time can be as much as fifteen minutes. Try to account for that time the same way you would account for the time it takes for your oven to pre-heat.
- Tip 4: If your pressure cooker doesn’t seem to be coming to pressure it might be because you don’t have enough liquid inside. Open it up and add more liquid before trying again.
Releasing the pressure
- Tip 1: A natural release can take longer than you think it should, depending on what and how much food you have inside the cooker. My rule of thumb is to allow a natural release for fifteen minutes. After that, I will release any residual pressure with the quick-release method without any negative effects.
- Tip 2: If the steam releasing from your pressure cooker during a quick-release starts to spit and sputter liquid, close the valve and let the pressure drop naturally. You can also hold a kitchen towel above the pressure release valve to stop any splattering from messing up your cabinets.
- Tip 3: Be careful opening the lid of the pressure cooker. Even though the pressure will have dropped, the food inside will still be very hot and steam will be released.
Finishing touches
- Tip 1: Because you need liquid to create the steam needed to build pressure, you never thicken the sauce before cooking. Instead, thicken sauces once the cooking procedure is over. You can do this by whisking in flour, adding a beurre manié (equal parts soft butter and flour mixed together), stirring in a slurry (cornstarch dissolved in a tablespoon of water), or by adding potato flakes or cornmeal. Whatever you add, make sure you bring the liquid back to a simmer in order to thicken it.
- Tip 2: Let the food cool for at least 5 minutes before serving it. Foods become very hot in a pressure cooker and not only are they likely to burn you if you eat them too quickly, but the flavors need a little time to blend and settle before serving.
- Tip 3: Invest in accessories for your pressure cooker. It will expand your repertoire.
- A rack that fits inside your pressure cooker is very important to have. I have two small racks about 5-inches long by 4-inches wide. These can be used in any combination to fit most pressure cookers.
- A small 7-inch cake pan will fit inside most pressure cookers. You’ll need this to cook all the bread puddings and cheesecakes.
- A steamer basket is nice to have in a pressure cooker for steaming vegetables among other things.
- Rarely, but on occasion, you might experience a “blow out” with your pressure cooker. This is not a sign of a faulty cooker but is in fact a safety mechanism. A “blow out” is when the steam will suddenly be released from the cooker usually from the side of the lid. It occurs when too much pressure has built up in the cooker. Let the pressure drop completely, open the lid, make sure all the valves are clean and try your recipe again.


I saw your recipe for slow cooker dressing/stuffing. Can I do this in an Instapot?
Hi Jackie. I’m afraid I don’t think that would work. You could put stuffing into a cake pan and cover it with foil to cook it in a pressure cooker, but pressure cookers are a moist-heat cooking method and won’t give you any crispy edges to the stuffing and the results won’t be the same.
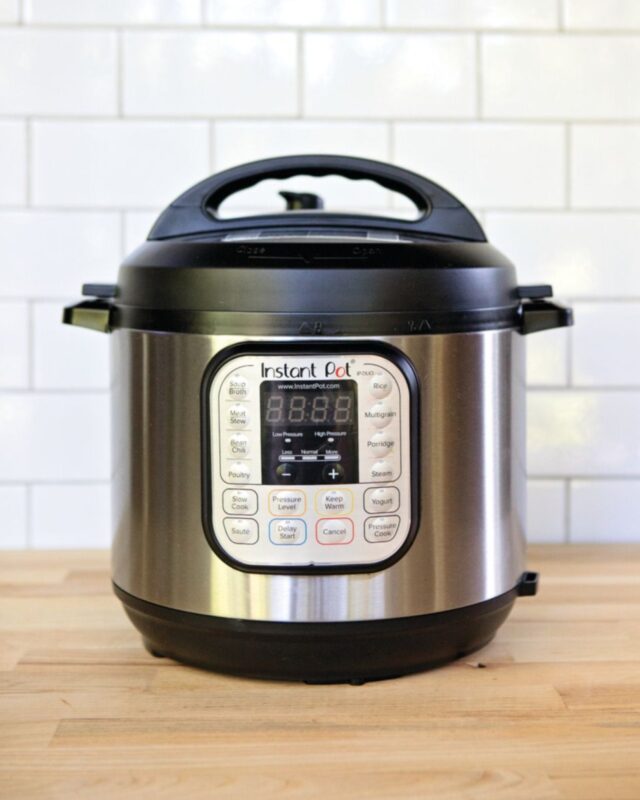
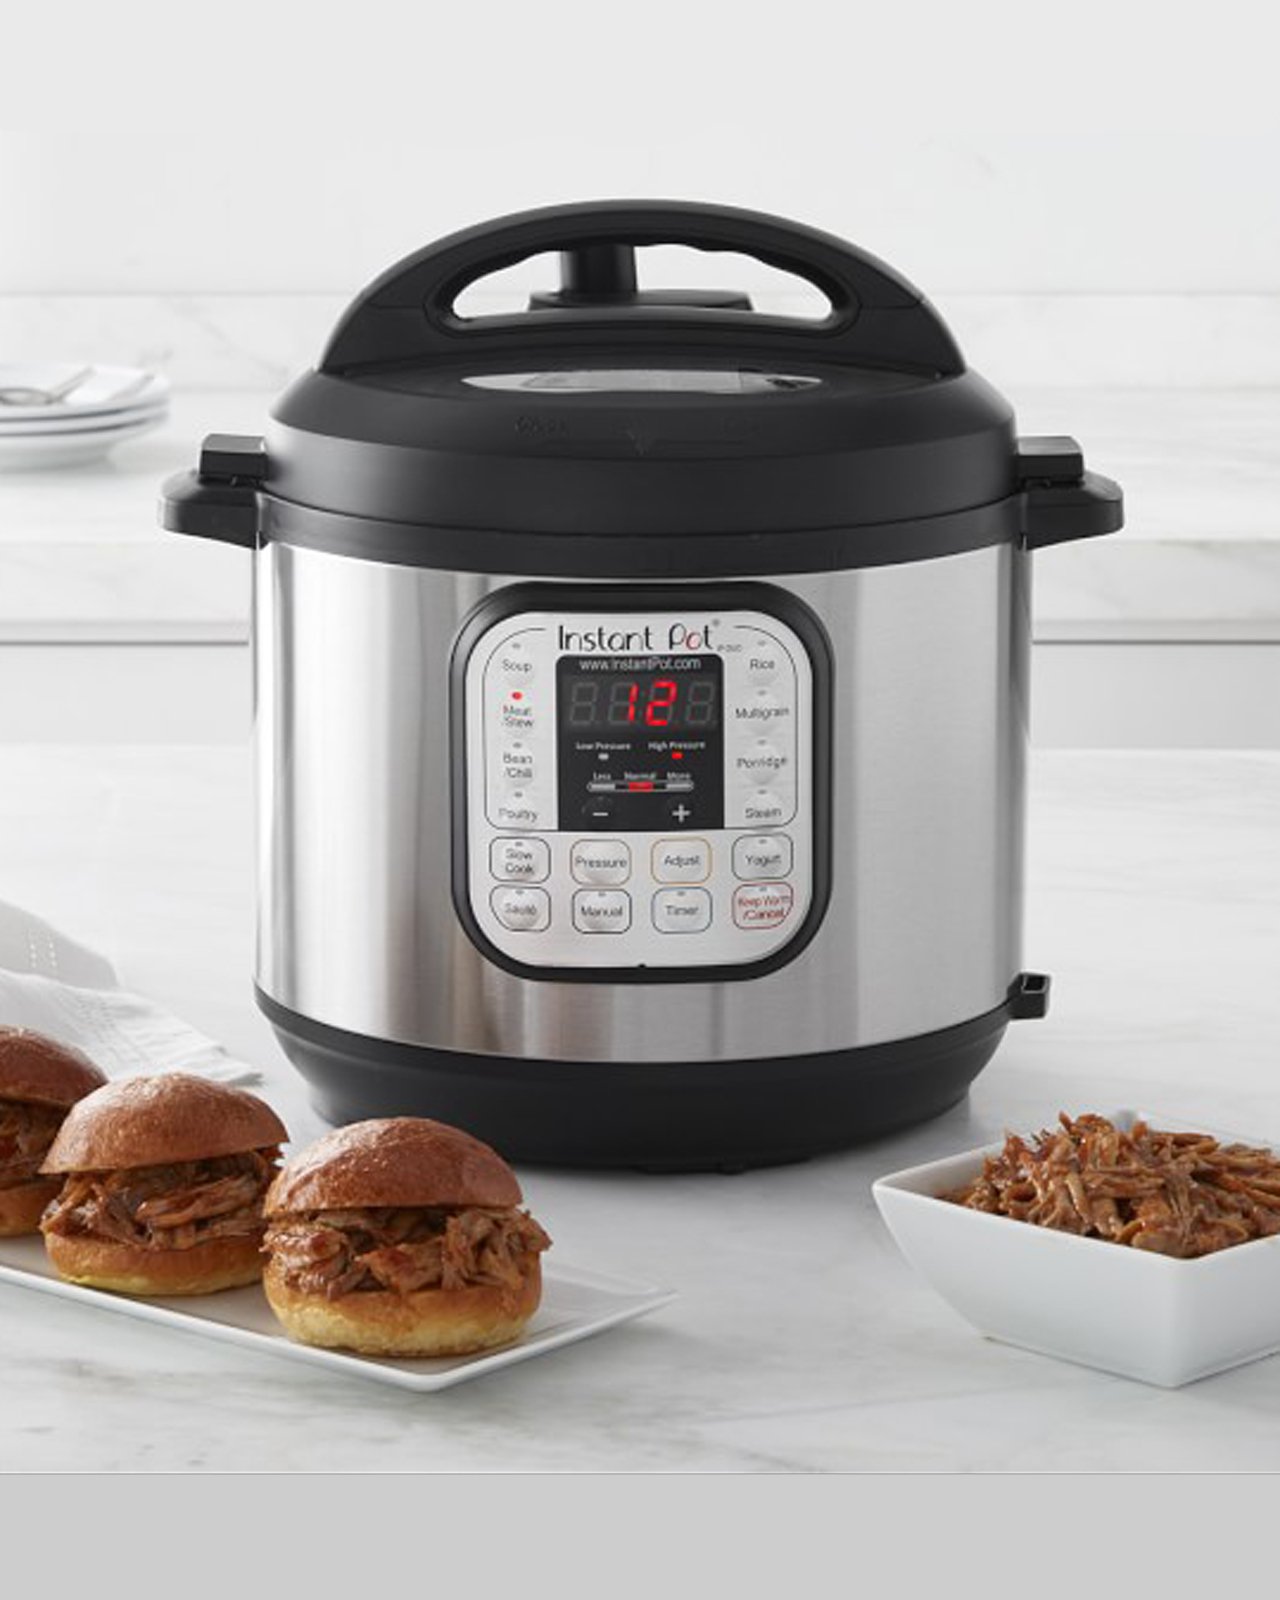
There was not an instant pot under the tree, but you can bet your bottom I am going to get one. I would like to get a large one. Do you recommend the Instant pot brand. Meredith I love your recipes. I don’t know what to fix next. There are so many delicious looking ones. Thanks for sharing.
Hi Kate. I have used the Instant Pot as well as many Cook’s Essentials models. All have worked well for me, but I do like the stainless steel insert for the Instant Pot. I recommend at least 6 quarts in size (it’s easier to do a little in a large pot than do a lot in a little pot!) and I don’t care much about pre-set buttons. All you need is a time and pressure setting button. Good luck and HAVE FUN!
I make the banana bread recipe from your cookbook but it doesn’t always get fully cooked. I live in Colorado so is it the timing or liquid that is messing with me?
Everyone loves the edges that are cooked thoroughly.👩🏻🍳
Hi Deb. High altitude baking can be a little tricky. Adding 15 – 25ºF to the oven temperature would be my first recommendation. There is more info about high-altitude baking at King Arthur Flour here: https://www.kingarthurflour.com/learn/resources/high-altitude-baking
ML
Thanks you so much.