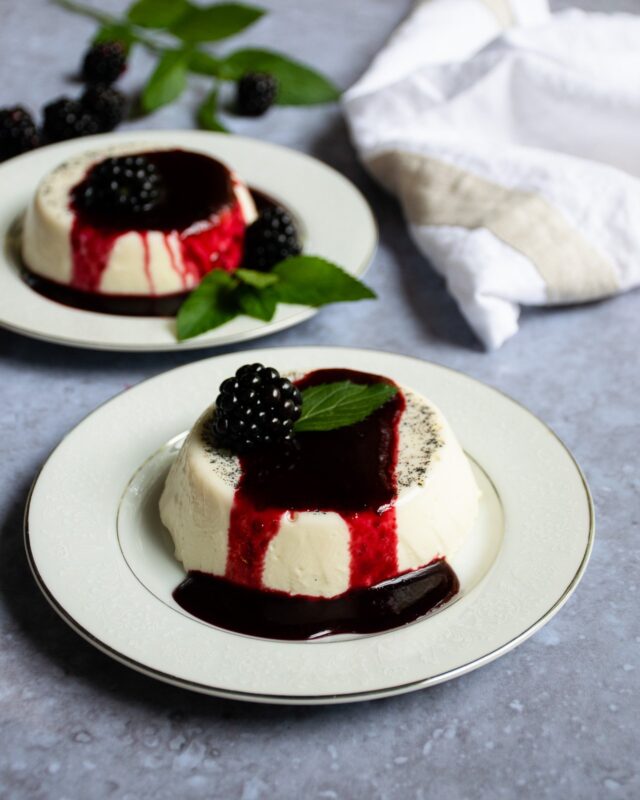
It’s so lovely when something that seems so elegant is actually easy to make. Panna cotta is exactly that. Un-molded out of little ramekins onto individual dessert plates, panna cotta sits there looking pure and innocent, with a decadent luxurious sauce drizzled on top like a gorgeous scarf or pashmina. It’s the perfect little black dress – simple, plain but so ready for a daring accessory. (I don’t know how I know this fashion and style information not having a little black dress myself, but it’s what I believe to be true.)
Panna cotta literally translates into “cooked cream”, but in fact there is very little cooking involved. While you do bring the cream, milk, sugar, vanilla and (in this case) rum to a boil in a saucepan, the mixture is actually thickened with gelatin. If you haven’t worked with gelatin before, you need to know a few things. First of all, gelatin is not vegetarian. It is a product made from animal collagen, so if you have vegetarian guests coming for dinner, substitute agar-agar in the same proportion (you can learn more about agar-agar here). Secondly, you need to “bloom” the gelatin. That simply means moistening the gelatin with water and then heating it so that it can work its magic and offer that elasticity that holds this dessert together. In this instance, you will moisten the gelatin with water and it will get heated when added to the hot milk and cream.
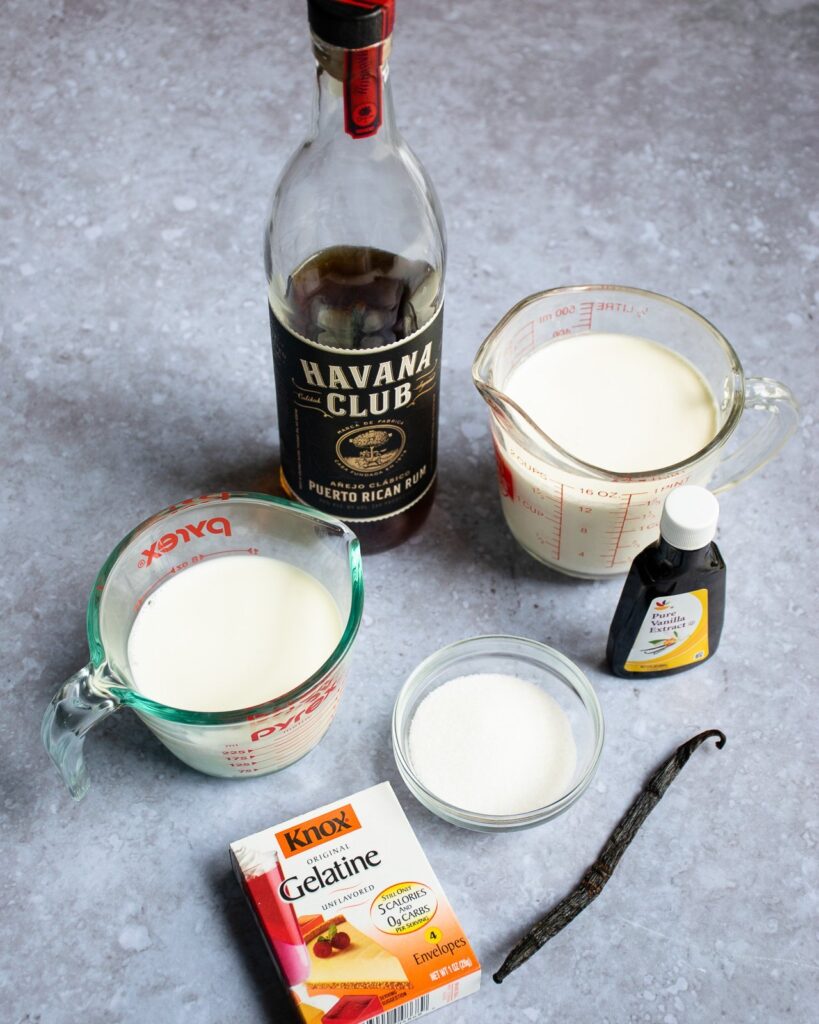
The other ingredient that gives this recipe for panna cotta a little cachet is the vanilla bean. The recipe already calls for vanilla extract, so why bother with the vanilla bean too? Well, because it provides an even more intense and pure vanilla flavor and puts those tiny little specs of vanilla seeds in the cream that any lover of vanilla will be thrilled to see. If you don’t have a vanilla bean on hand (or don’t want to pay the exorbitant prices charged for vanilla beans), you can stick with the vanilla extract.
The panna cotta do need about 4 to 6 hours to chill and set up after you’ve combined all the ingredients. Wrap the ramekins with plastic wrap while they chill. If you can manage to remember, after about an hour of setting time, push the plastic wrap down onto the surface of the desserts. This will help prevent a skin from forming on the top. If you don’t remember, or don’t have time to come back for this step, don’t worry. After all, the top of the little puddings will eventually become the bottom of the presented desserts and no-one will see or taste it.

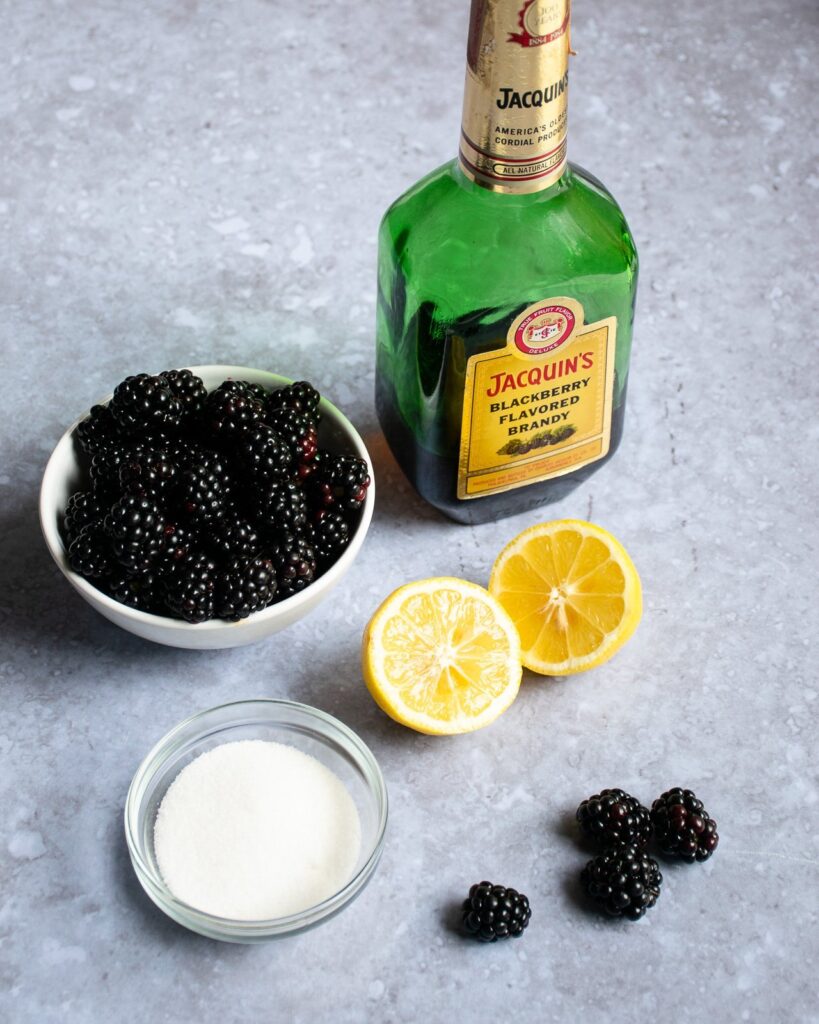
The chilling time for the panna cotta is enough time to make ten or twelve batches of blackberry brandy sauce… and you only need one. In other words, there is plenty of time to make the accompanying sauce and it is a very quick throw together, so there’s no need to rush. It’s what we call a “dump-and-stir” recipe – put all the ingredients in a pan and stir them together. There is the added step of puréeing the blackberries and straining it, but again… you have the time!
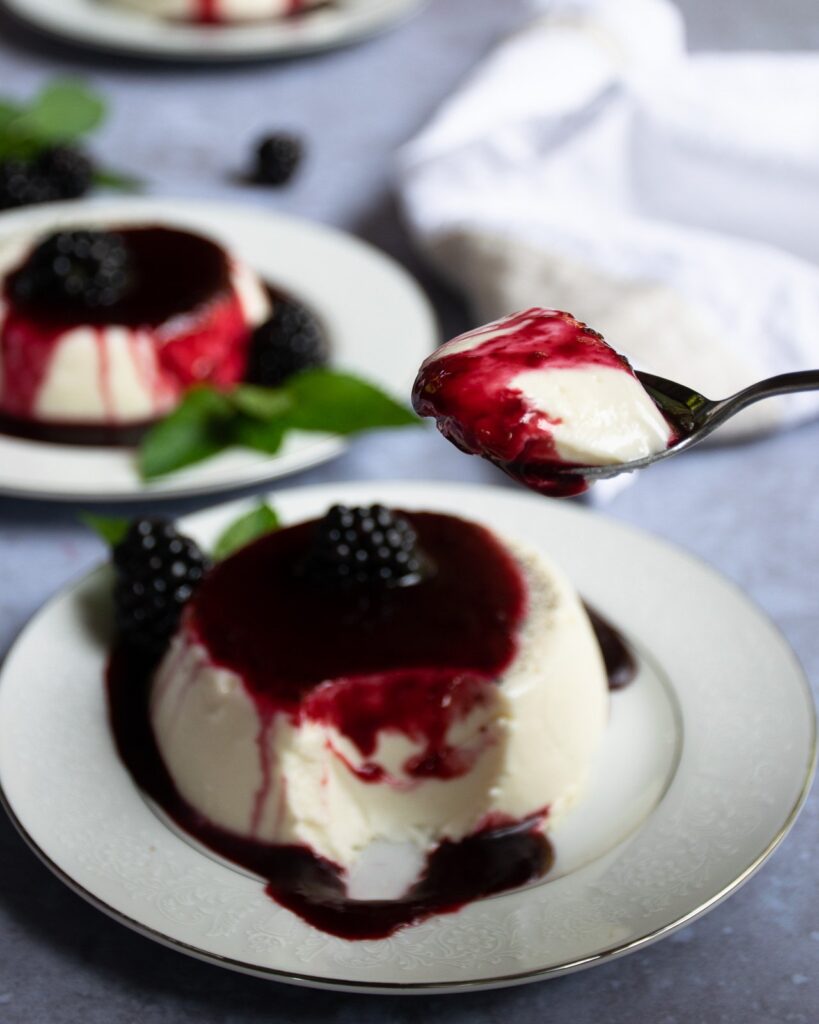
Make sure to let the sauce cool to at least room temperature before spooning it delicately on the panna cotta. The intense color is such a lovely contrast to the just off-white puddings and its smooth texture blends right in with the soft and smooth cooked cream, making it an experience. An elegant experience.


Just made the panna cotta part and served with some berries I had. Easy and delicious! Recommned!
Can I make this a few days in advance?
Yes, you could make the panna cotta up to two days before serving. The sauce can be made up to five days ahead and could even be frozen if you wanted to store it longer.