Scallops are such a treat. They are usually something that I see on a restaurant menu, rather than on my own dinner table, and yet they are so easy to make that I really wonder why. Why don’t I buy scallops more often for dinner? They are easy to cook, quick to prepare and versatile enough to handle an infinite number of different sauces. It’s true, they are not the cheapest food to put on the table, but good seafood is rarely inexpensive. So, let’s make a vow together now… next time we’re in the mood for seafood, we’re going to consider scallops as a good option. Deal! You just need to know a few things before you start – how to buy scallops and how to NOT over-cook them. Let’s go!
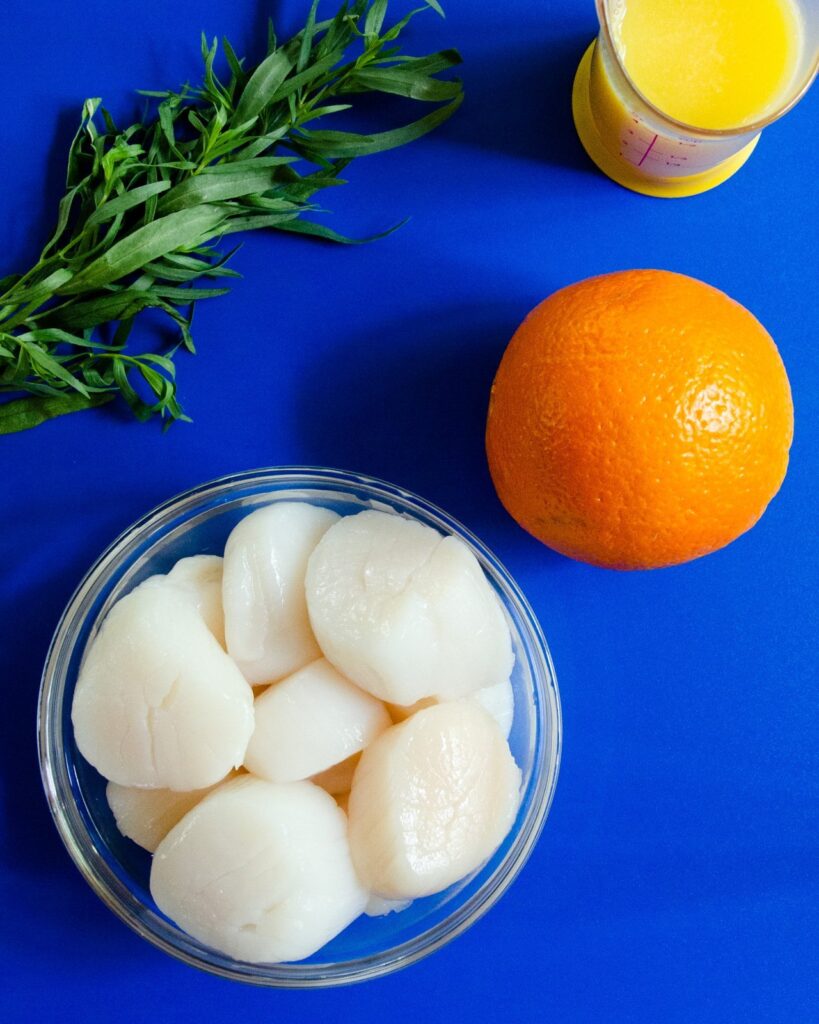
The first thing to consider is what you are buying. Scallops are categorized by size – just like shrimp. The numbers associated with them refer to how many you would get if you ordered one pound. So, if you order one pound of 16/20 shrimp, you’ll get between 16 and 20 little crustaceans. Scallops are classified the same way. One pound of 20/30 scallops will give you between 20 and 30 individual scallops. Sometimes there’s a “U” thrown into the title and it means “under”. For instance, “U/10 scallops” means under 10 scallops per pound. (Those are the nice big scallops we’re after.)
There are three types of scallops that you’ll usually see in a grocery store or fish counter. The smallest of these are called bay scallops and they are also classified as 70/120 scallops (between 70 and 120 scallops per pound). They come from bays along the East coast and are usually not great for sautéing because they are so small that they get over-cooked and tough very quickly. I use bay scallops in a seafood stew, tossing them into the stew at the last minute with the shrimp.
The largest scallops you’ll find at the store are called sea scallops. That is what is called for in this recipe. These are the large U/10 or U/15 scallops that you’ll see at most restaurants. They are easy to prepare and sauté, getting a nice sear on the outside without over-cooking, leaving the center of the scallop medium-rare or medium, just like a steak (or more cooked if that’s what you prefer).
Finally, you might see diver scallops at the market. These are scallops that are harvested by hand by divers (makes sense). They are not a set size, but range from 10 to 30 per pound. What is nice about diver scallops is that they are thought to be more ecologically conscious (or at least those who eat them are) because the divers who harvest them choose only larger scallops, leaving the smaller scallops to continue to populate. They are, of course, also more expensive.
Whichever you choose, there is one important thing to look for when you’re buying scallops. Buy “dry scallops” rather than “wet scallops”. Dry scallops are scallops that have not been treated with additives or preservatives. When placed on a paper towel, they should not release much, if any water. Wet scallops have been treated with sodium tripolyphosphate, which turns them very white in color and enables them to absorb water, which they do, making them plump and heavy (more weight = more $$), but not more flavorful. You end up paying for water weight and that water will be released in the pan when you cook them, preventing a good sear on the surface. So, dry scallops are the ticket. You’ll be able to identify them by looking for scallops that are slightly pink rather than bright ivory and of course, you could ask your fish monger for dry scallops.
Other than that, make sure your scallops look firm and opaque rather than shiny, and if they get the chance, they should smell like the sea, not like something that was in the sea many many days ago! With your scallops in hand, you’ll just need a good pan – cast iron or a non-stick skillet will work – and just a quick 15 minutes to prepare this dish.
Quick is the answer to not over-cooking. Get the pan hot first. Add the oil and butter (butter for flavor, oil so that the butter doesn’t burn) and place your scallops in the pan only when the pan is super hot. Let the scallops sit in the pan for 2 to 3 minutes per side (depending on how big they are). That should be enough time to get some nice color on the outside of the scallop. If it isn’t, you didn’t let your pan get hot enough first. When you think your scallops are cooked, give them a tender push in the center to test them. They should feel firmer than when you started (which means you should also give them a tender push when you start to sear them so you have something to compare to), but not like rubber. Remove them to a plate, cover loosely with foil and make your sauce. This sauce is a super quick fix. Returning the scallops to the pan allows them to get coated with the sauce and have a quick little re-heat.
That’s it! Done. 15 minutes. Serve them with a beautiful salad and some crusty bread, or with some mashed potatoes on the side and a green vegetable.
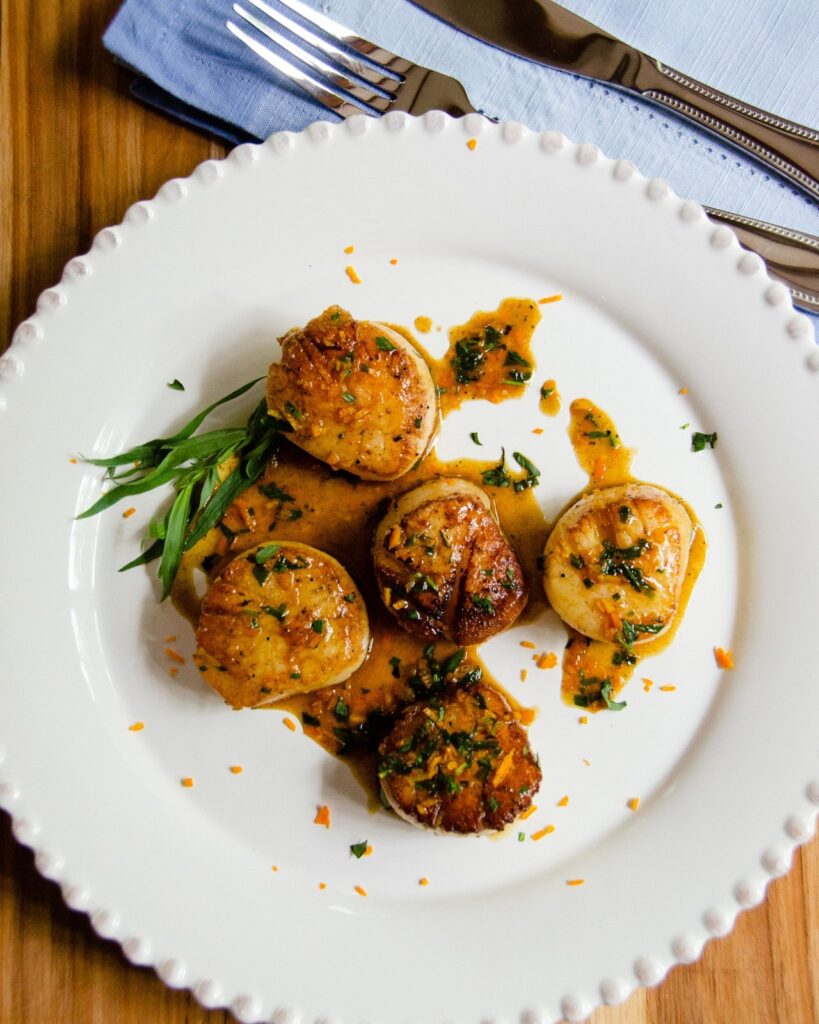
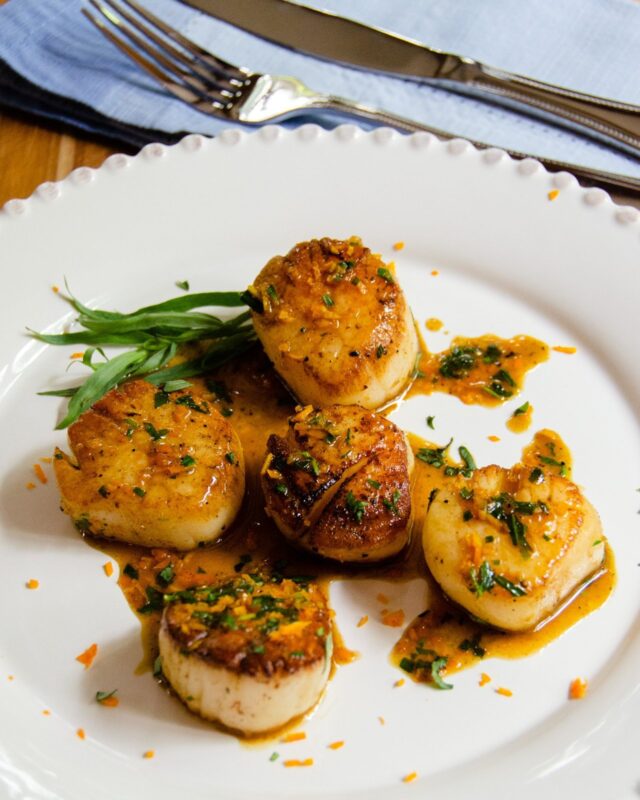
Meredith is such a great instructor. Great video. I purchased, prepped, and seared my scallops as directed, but did not make the sauce. Will deglaze another day. I did serve the seared scallops over a bed of orzo (cooked in stock) tossed with sautéed mushrooms and shredded swiss cheese.
Made this many times…it’s so easy and delicious. It’s a favorite in our house. One time, though, I had no oranges so I tried it with lemon juice and zest and dill. Equally good. Just gave me another variation. Thanks for all the good recipes and tips, Meredith!
What could you replace the vermouth with? Or is the key ..?
Hi Mary, you could use dry white wine or dry sherry instead of vermouth.